Updated . Built against the tool’s current screens and checked step by step. How we check this lesson
Typing receipts into a spreadsheet is slow and easy to get wrong. In this free tutorial you build an AI receipt extractor in n8n: drop a photo of a receipt into a chat, and the agent reads it, chooses a category and adds a row to your Invoices sheet.
At a glance
| Question | Answer |
|---|---|
| What you build | Drop a photo of a receipt into an n8n chat. An AI agent reads it, pulls out the date, vendor and amount, picks a category, and adds a row to Google Sheets. |
| Tools | n8n |
| Time | About 12 minutes, 71 steps in 11 parts |
| Level | Intermediate |
| Cost | Free |
| Ways to learn it | Practice it step by step, watch the video |
The 11 parts, in short
- New workflow: Create a workflow.
- Chat trigger: Add the first step, On chat message, Add an option, Allow File Uploads, and 2 more steps.
- AI Agent: Add the next step, Search for the agent, AI Agent, Close the node.
- Chat model: Give it a brain, Search for OpenAI, OpenAI Chat Model, Where the key comes from, and 8 more steps.
- Memory: Add memory, Simple Memory, Close the node.
- Sheets tool: Add a tool, Search for Sheets, Google Sheets Tool.
- Connect Google: Open the credential list, New credential, Sign in with Google, Pick your account, and 1 more step.
- Create the sheet: Go to Google Drive, New, Google Sheets, Blank spreadsheet, and 6 more steps.
- Point the tool at it: Back to n8n, Change the operation, Append Row, Pick the document, and 8 more steps.
- Instructions: Open the agent, Add an option, System Message, Write the instructions, and 1 more step.
- Test it: Open the chat, Say hello, Attach the receipt, Find it, and 6 more steps.
In the course: Part 9 · n8n Automation Toolkit (Module 75 of the full course)
Part of: AI for Accounting & Bookkeeping Firms (step 23 of 41). Next up: Build an AI Agent That Categorizes Business Expenses
Part of: AI for Finance Teams (step 13 of 23). Next up: Build an AI Agent That Categorizes Business Expenses
Part of: Business Automations with n8n (step 2 of 22). Next up: Daily Job Alerts: Email Each Tech Their Jobs from Google Sheets with n8n
Part of: AI Back Office for Small Business (step 3 of 22). Next up: Invoices from Your Inbox to Google Sheets, with Approval
Part of: AI That Reads Your Documents (step 8 of 10). Next up: Invoices from Your Inbox to Google Sheets, with Approval
Part of: n8n Intermediate: Real Business Workflows (step 10 of 17). Next up: n8n AI Email Responder: Draft Gmail Replies Automatically
AI Receipt Extractor: Receipts to Google Sheets with n8n: video walkthrough
The whole lesson in 5:35, narrated step by step.
Simulated practice environment. Recorded in Stepthrough’s simulated practice environment, not the live tool. Practice it yourself free at learn.ynteractive.com.

Chapters
Click a chapter to jump the video there.
- 0:00 Intro: what you'll build
- 0:12 New workflow
- 0:29 Chat trigger
- 0:45 AI Agent
- 1:05 Chat model
- 1:42 Memory
- 2:00 Connect Google
- 2:35 Create the sheet
- 3:20 Point the tool at it
- 4:10 Instructions
- 4:40 Test it
Now do it yourself, free
Watching is the warm-up. The interactive lesson puts you in a practice copy of n8n: you do every step yourself, it checks your work, and “Do it for me” finishes any step you get stuck on. Nothing touches your real accounts.
Practice “AI Receipt Extractor: Receipts to Google Sheets with n8n” step by stepFull transcript
Intro: what you'll build
0:00 Stop typing receipts by hand. You'll build an AI agent in n8n that reads them for you. Drop a photo in the chat and the vendor, amount, date, and category go straight into Google Sheets. Let's build it.
New workflow
0:11 In Module 2 your agent wrote ideas into a spreadsheet. This time it reads. You'll drop a photo of a receipt into a chat, and the agent pulls out the date, the store, the total, picks a category, and adds a row to a sheet. You already have n8n and an OpenAI key from Module 2, so we start right here on the Overview page. Click create workflow.
Chat trigger
0:29 An empty canvas. Every workflow starts with a trigger, the thing that kicks it off. Click add first step.
0:34 We want to hand the agent a receipt by chatting with it, and n8n's chat lets you attach files. So pick on chat message.
0:41 The defaults are fine. The chat stays private to you while you build. Close it.
AI Agent
0:45 Now, what happens when a message comes in. Click the plus next to the trigger.
0:49 There are hundreds of nodes, so search. Type agent.
0:52 AI Agent. This is the part that looks at the receipt and decides what to do with it.
0:56 See how the prompt already comes from the chat trigger? Whatever you type in the chat goes straight to the agent. We'll give it instructions at the end, once it has everything it needs. Close it for now.
Chat model
1:05 That red warning means the agent has no brain. Click the plus under chat model.
1:09 Type openai.
1:11 OpenAI chat model.
1:12 Here's the payoff from Module 2. You don't need a new key. Open the credential dropdown.
1:17 Pick OpenAI account. That's the key you saved in Module 2. n8n keeps it, so every workflow can reuse it. If you skipped Module 2, you'd choose create new credential and paste a key instead.
1:28 Now the model. The default is fine for text, but this agent has to read a picture. Open the model dropdown.
1:34 Pick gpt-4o. It reads images reliably and quickly, and it's the model we used when we built this for real.
1:40 Brain's in. Close it.
Memory
1:42 Next, memory. It lets you say things like, actually, call that one office supplies, and the agent knows which receipt you mean. Click the plus under memory.
1:50 Simple memory. It lives inside n8n, so there is nothing to sign up for.
1:54 It keys the memory to your chat session and remembers the last five messages. That's plenty. Close it.
Connect Google
1:59 Now the part that makes it an agent and not just a chatbot: a tool. This is how it writes to your spreadsheet. Click the plus under tool.
2:06 Type sheets.
2:07 Google sheets tool.
2:09 It opens set to get rows, which reads a sheet. We'll change that. But first, n8n needs permission to touch your Google account. Open the credential dropdown.
2:16 Create new credential.
2:18 Leave it on managed OAuth. That's the easy way, n8n handles the setup. Click sign in with Google.
2:23 A Google window pops up. Pick the account that owns the Drive you want the spreadsheet in.
2:28 Google checks that you trust n8n dot cloud. Click continue. You'll see connection successful, and the window closes on its own.
Create the sheet
2:35 Connected. Now the tool needs a spreadsheet to write to, and we haven't made one. Leave this open and switch to the Google Drive tab.
2:42 This is a bookkeeping folder, shared with an accountant. Keeping the sheet here means they see every receipt as it lands. Click new.
2:50 Google sheets.
2:51 Blank spreadsheet.
2:52 Because the folder is shared, Google asks before making something new in it. That's what we want. Click create and share. If your folder isn't shared, you won't see this.
3:00 A new tab opens. Name it first, so you can find it in n8n's list. Click the title and type Invoices.
3:06 Now the column headers. These matter. The agent fills the sheet column by column, so these names tell it what goes where. A1, Date.
3:13 B1, Category.
3:15 C1, Vendor.
3:16 And D1, Amount. Four columns. That is the whole spreadsheet.
Point the tool at it
3:19 Back to the n8n tab. The sheets tool is still open, right where you left it.
3:23 First, fix the operation. Get rows reads from a sheet. We want to add to it. Open the operation dropdown.
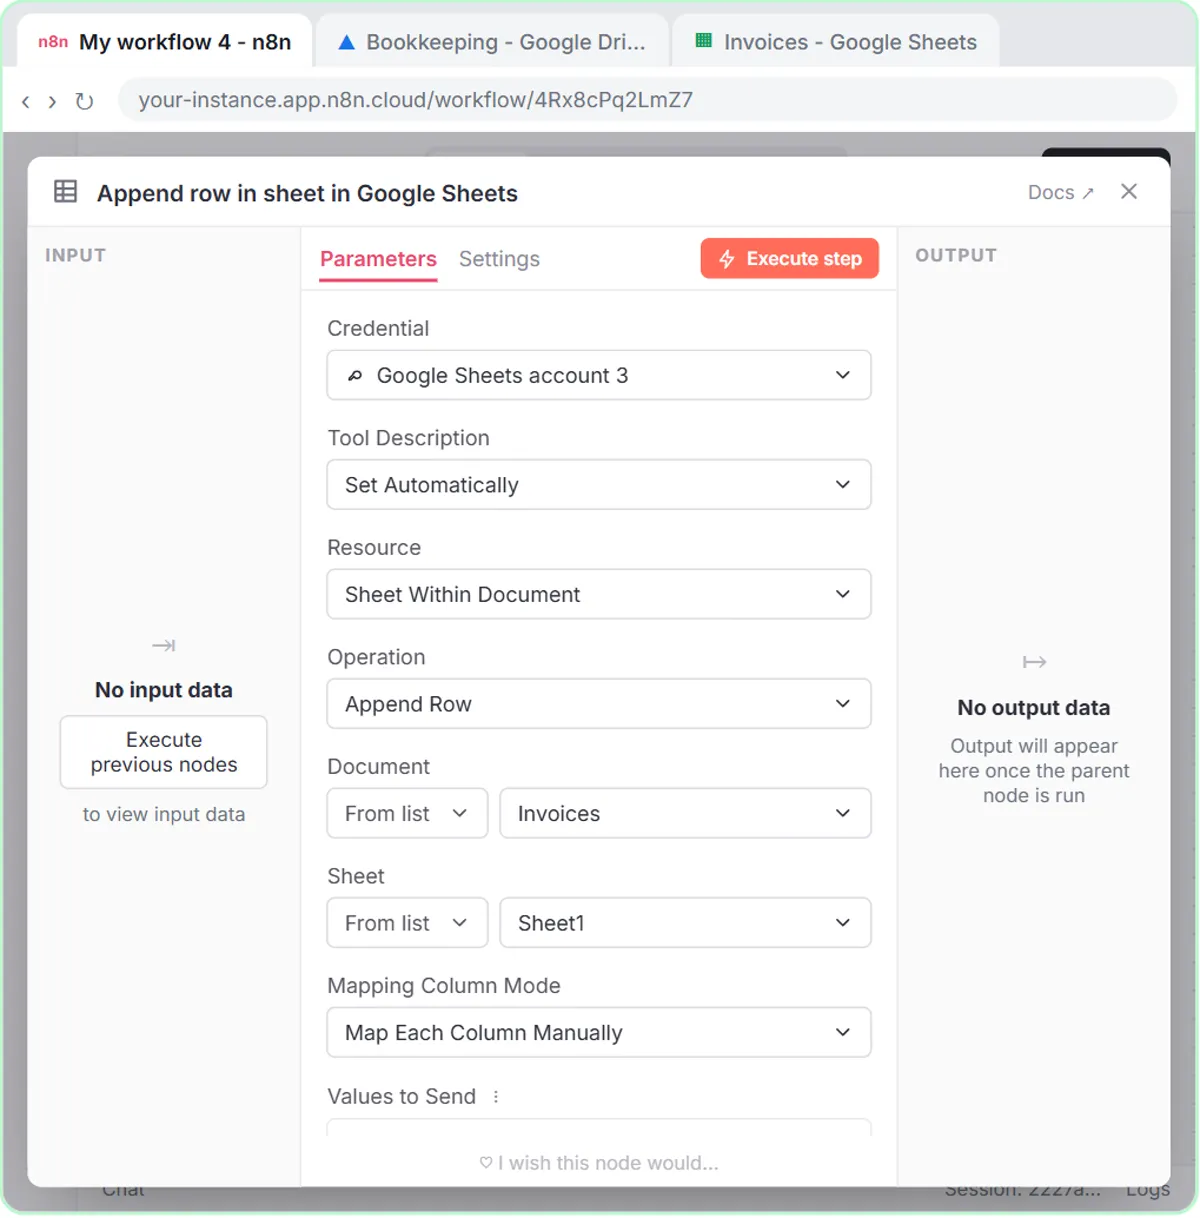
3:29 Append row. Every receipt becomes a new row at the bottom. Notice the node on the canvas renames itself to match.
3:34 Now which spreadsheet. Open the document dropdown.
3:37 There's Invoices, the one you just made. n8n can see it because of the Google account you connected. Click it.
3:43 Now the tab inside it. Open the sheet dropdown.
3:46 Sheet one. n8n reads the header row and lists your four columns.
3:50 Here's the clever bit. Each column has a little sparkle button. Click it, and instead of you mapping a value, the model decides what goes there, based on the receipt. Click the sparkle next to Date.
4:01 Category.
4:02 Vendor.
4:03 And amount. All four now say defined automatically by the model.
4:07 The tool is wired to the sheet. Close it.
Instructions
4:09 Last piece. Right now the agent has a brain, a memory and a tool, but no idea what it's for. Double click the AI agent.
4:16 Click add option.
4:18 System message. This is the standing instruction it reads before every chat.
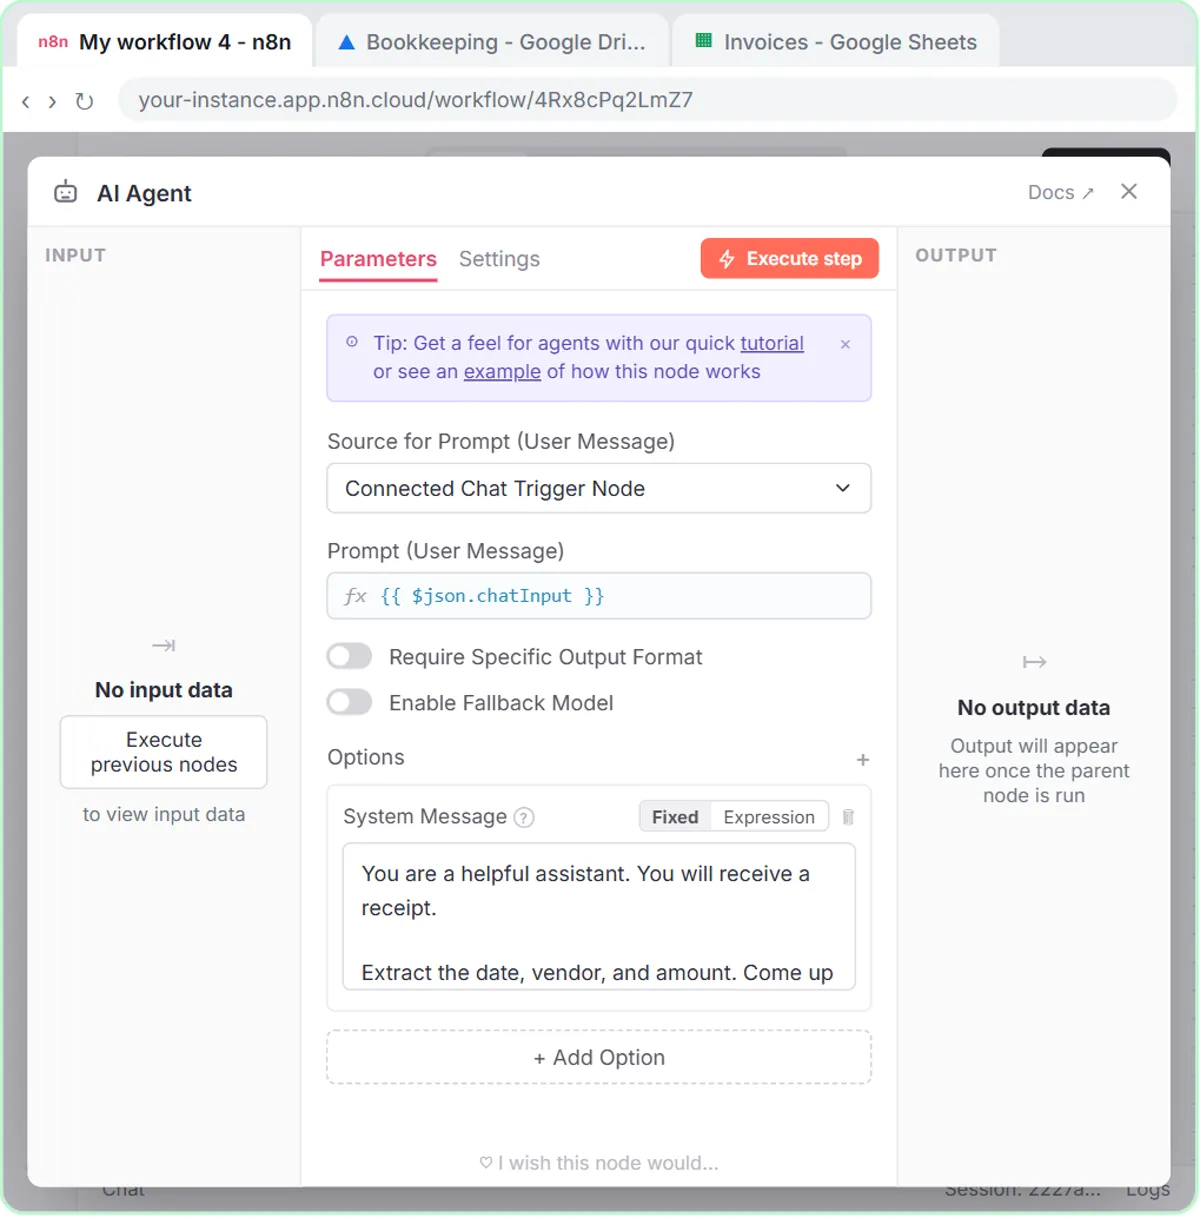
4:22 Paste this in. It's three short lines. You'll get a receipt. Pull out the date, vendor and amount. Come up with a category yourself. Then use the sheets tool to add it. Notice we never say where each value goes. The column names in the sheet take care of that.
4:36 That's the whole workflow. Close it and let's try it.
Test it
4:39 Click open chat at the bottom.
4:41 Type a short message. It doesn't need to be clever, the instructions already say what to do. Heres a receipt is enough.
4:48 Now the receipt. Click the paperclip.
4:50 Your file browser opens. Search for receipt.
4:53 Pick receipt dot png. The photo, not the PDF.
4:56 Open. It sits under the message, ready to go.
4:59 Send. Watch the canvas. The trigger fires, the agent reads the picture with gpt-4o, and then calls the sheets tool. It takes a few seconds.
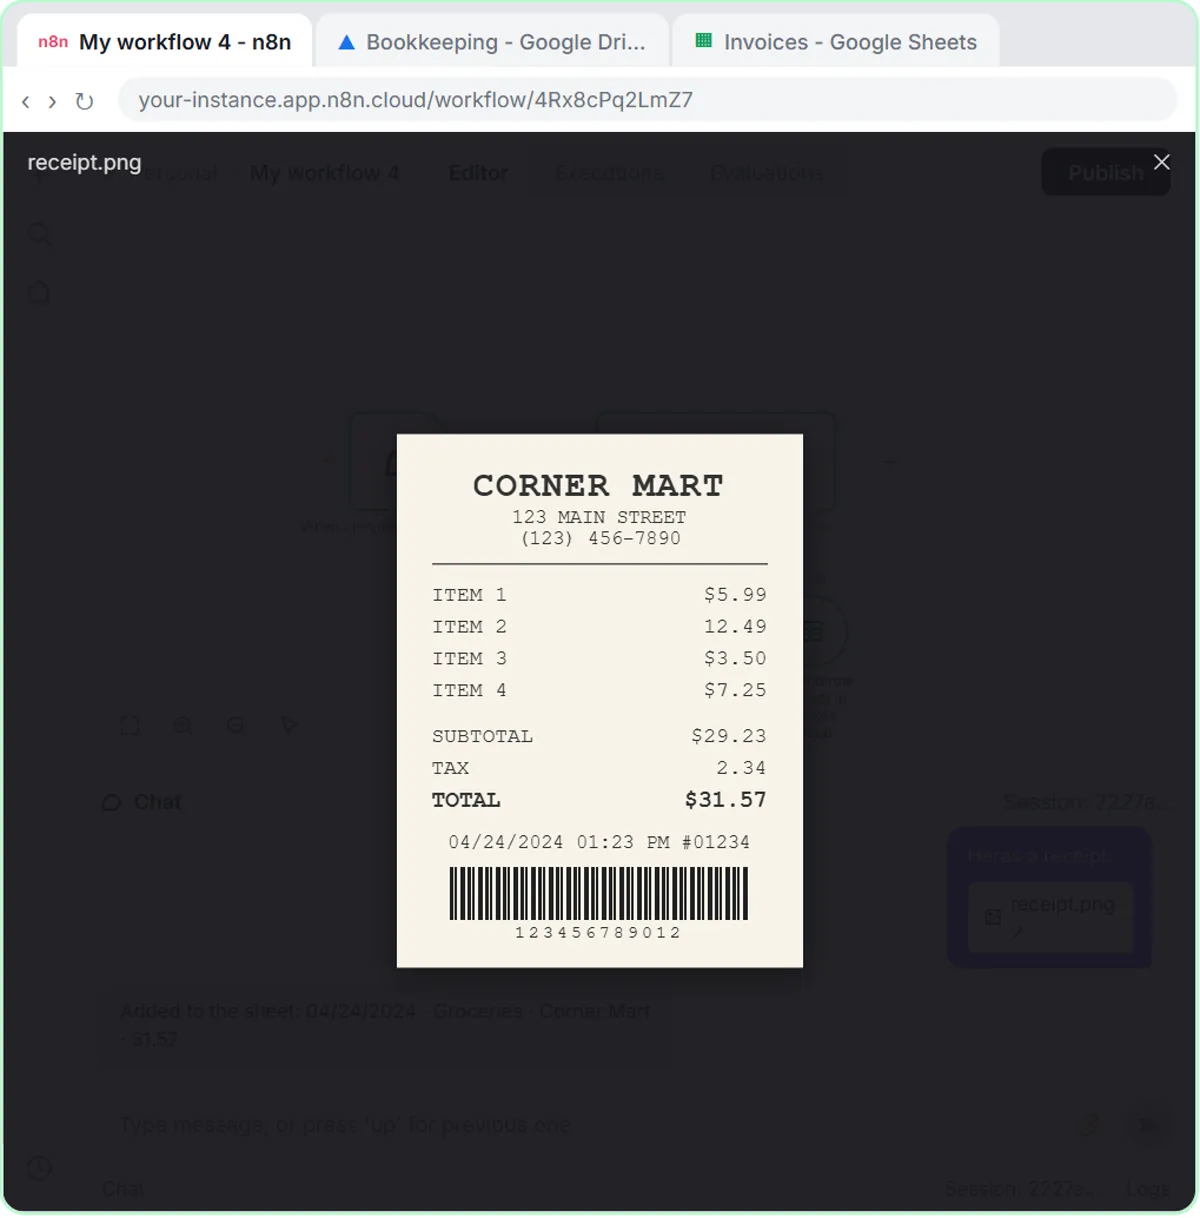
5:07 Everything turned green. Before you trust it, check its work. Click the receipt in your message. Corner Mart, April twenty fourth, total thirty one fifty seven.
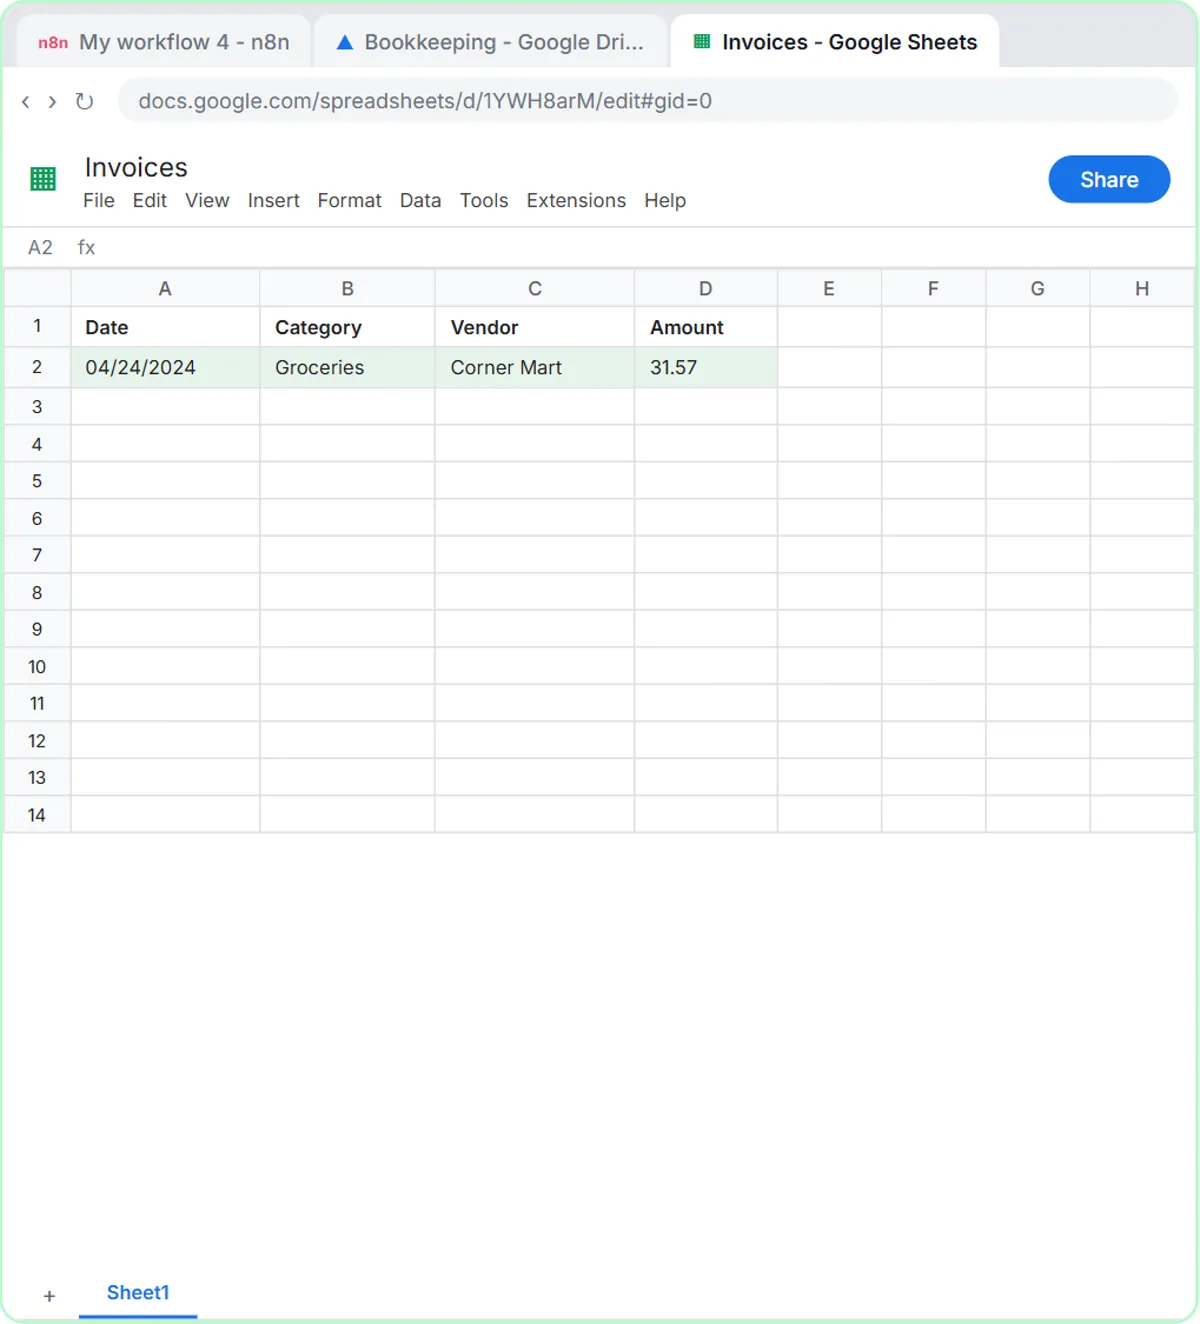
5:16 Now switch to the Invoices tab. There's the row. Date, groceries, Corner Mart, thirty one fifty seven. It matches the receipt, and it picked groceries without being told. Drop in another receipt and you get another row.
5:28 Simple as that. We show you and you do it. Sign up below to learn AI automation for free.
Watch the 30-second version
3 short videos from this lesson. Watch, then do it yourself in the free practice copy.
 0:27
Stop typing receipts by hand
Stop typing receipts by hand. By hand, a receipt means typing the store, the date and the amount, then picking a category. In this lesson you drop the photo into an n8n chat, an AI agent reads it, and a new row lands…
Transcript
Stop typing receipts by hand. By hand, a receipt means typing the store, the date and the amount, then picking a category. In this lesson you drop the photo into an n8n chat, an AI agent reads it, and a new row lands in your sheet. You never type a single number.
 0:11
A box full of receipts?
Got a box full of receipts? Snap a picture and the AI reads the store, the date and the total, then adds the row to your spreadsheet.
 0:33
AI Receipt Extractor in n8n, step by step
AI Receipt Extractor in n8n, step by step. A short from the free Stepthrough lesson “AI Receipt Extractor: Receipts to Google Sheets with n8n”: Drop a photo of a receipt into an n8n chat. An AI agent reads it, pulls…
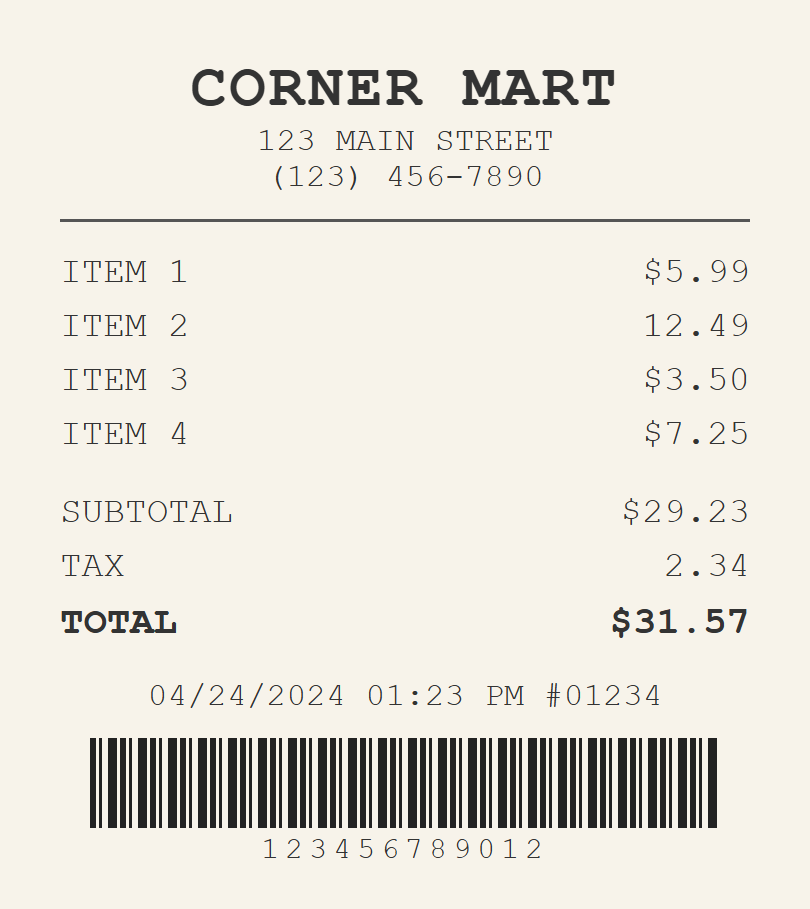
The receipt it reads
The test receipt is a photo, receipt.png: CORNER MART, four items, subtotal $29.23, tax 2.34, TOTAL $31.57, dated 04/24/2024. You attach it in the n8n chat; the lesson shows it in the file picker's preview before you send it. Download the same image to test your own build.
Download the sample receipt (PNG)
The sheet it fills
You create the Invoices sheet in Google Drive during the lesson, with four headers in row 1. After the test, row 2 should read 04/24/2024, Groceries, Corner Mart, 31.57.
| Date | Category | Vendor | Amount |
|---|---|---|---|
| 04/24/2024 | Groceries | Corner Mart | 31.57 |
Download the sheet headers (CSV) To use it, open Google Sheets and choose File, Import, Upload, and name the sheet Invoices.
Where the OpenAI key comes from
The key is made at platform.openai.com under API Keys: + Create new secret key, then Copy (it is shown only once), with a few dollars of credit under Settings, Billing. In n8n, the OpenAI Chat Model's Credential dropdown has + Create new credential, where you paste it into API Key and Save. Module 2 (n8n AI agent) does this step by step; this lesson reuses that saved credential and shows the key's page again.
What you will build
You will build an n8n workflow with a chat trigger and an AI agent that can see images. You attach a receipt photo in the n8n chat, and the agent pulls out the date, the vendor and the total, decides what kind of expense it is, and uses a Google Sheets tool to append the result. In the lesson it reads a Corner Mart receipt from April 24, files it as Groceries without being told, and writes the date, category, vendor and 31.57 to the sheet.
The spreadsheet lives in a shared Bookkeeping folder in Google Drive, so an accountant can see each receipt as it lands.
Who this is for
This module is for small business owners, bookkeepers, contractors and anyone who ends the month with a pile of paper receipts. It is part of Part 9 of the course, the n8n Automation Toolkit. It reuses the OpenAI key you created in the n8n AI agent module, so it moves quickly through setup and spends its time on the part that is new: getting AI to read a picture.
It is also a gentle introduction to AI that works with files instead of just text. Once you have seen an agent turn a photo into a clean row of data, you will start to spot other paperwork it could handle for you.
What you need
- An n8n account and the OpenAI credential you saved in the n8n AI agent module. If you skipped that module, you will need an OpenAI API key with some credit on it.
- A Google account with Google Drive and Google Sheets. A shared folder is optional but handy if someone else does your books.
- A clear photo of a receipt. Flat, well lit and in focus gives the model the best chance.
Why three lines of instructions are enough
The system message never says which value goes in which column. It does not need to. Because each Sheets column is set to be filled by the model, the agent reads the header names (Date, Category, Vendor, Amount) and matches what it found on the receipt to the right place. Clear column names do the mapping for you.
Choosing the right model matters too. The receipt is a photo, not text, so the lesson switches the model to gpt-4o, which can look at images. Asking the agent to invent a category is a small touch that saves real time: you get a grouped expense list without building a set of rules first.
How to use this in your business
Snap a photo of each receipt on your phone, drop it into the chat, and your expense sheet fills itself. Keep the sheet in a folder your accountant can see and month-end gets shorter. You can add columns such as Payment Method or Job Number, and the agent will try to fill them as long as the name is clear. Always spot-check the first batch, as the lesson does, before you trust totals for taxes or reports.
How the practice works
Each step is shown on the left under Watch, then you do it on the right under Your turn, in practice copies of n8n, Google Drive and Google Sheets. Every click is checked, and Do it for me finishes a step if you get stuck. No workflow is saved, no Google account is connected and no file leaves your computer.
Try it yourself, free
Reading the steps is a start. Doing them is how it sticks. The interactive module walks you through every click in a practice copy of n8n, checks each step, and never touches your real accounts.
Start “AI Receipt Extractor: Receipts to Google Sheets with n8n”Step by step: AI Receipt Extractor: Receipts to Google Sheets with n8n
All 71 steps of the interactive module, in order. In the module you watch each one, then do it yourself in a practice copy that checks your work.
1. New workflow
- Create a workflow. You already have n8n from Module 2. On the Overview page, click Create workflow (the orange button, top right).
In Module 2 your agent wrote ideas into a spreadsheet. This time it reads. You'll drop a photo of a receipt into a chat, and the agent pulls out the date, the store, the total, picks a category, and adds a row to a sheet. You already have n8n and an OpenAI key from Module 2, so we start right here on the Overview page.
2. Chat trigger
- Add the first step. An empty canvas. Click Add first step.
An empty canvas. Every workflow starts with a trigger, the thing that kicks it off.
- On chat message. Pick On chat message.
We want to hand the agent a receipt by chatting with it, and n8n's chat lets you attach files. So pick on chat message.
- Add an option. The chat has to accept a photo. Under Options, click + Add Field.
One change here. Out of the box, this chat only takes text, and we need to send it a photo. Under options, click add field.
- Allow File Uploads. Choose Allow File Uploads.
Allow file uploads.
- Turn it on. The option is added but switched off. Click the toggle next to Allow File Uploads to turn it on.
It shows up switched off. That's what puts a paperclip in the chat box later.
- Close the node. That is all the trigger needs. Close the node.
Everything else can stay as it is. The chat stays private to you while you build. Close it.
3. AI Agent
- Add the next step. Click the + to the right of the chat trigger.
Now, what happens when a message comes in.
- Search for the agent. Type agent into the search box.
There are hundreds of nodes, so search.
- AI Agent. Click AI Agent.
AI Agent. This is the part that looks at the receipt and decides what to do with it.
- Close the node. The prompt already comes from the chat. We'll add instructions once the agent has its tools. Close it.
See how the prompt already comes from the chat trigger? Whatever you type in the chat goes straight to the agent. We'll give it instructions at the end, once it has everything it needs. Close it for now.
4. Chat model
- Give it a brain. The red warning means there is no model. Click the + under Chat Model.
That red warning means the agent has no brain.
- Search for OpenAI. Type openai.
- OpenAI Chat Model. Click OpenAI Chat Model.
OpenAI chat model.
- Where the key comes from. The model needs your OpenAI API key. It comes from platform.openai.com (the developer site, not ChatGPT), under API Keys in the left menu. Switch to the OpenAI tab to see it.
This model needs your OpenAI API key. Before you pick it, look at where it comes from. It's on platform dot openai dot com, the developer site, not ChatGPT, under API keys in the left menu. Switch to the OpenAI tab.
- Your key from Module 2. This is the key you made in Module 2, n8n agent. OpenAI showed it in full only once, when you clicked Copy, and you pasted it into n8n, which saved it as OpenAI account. No key yet? Click + Create new secret key, Copy it, add a few dollars under Settings › Billing, and in n8n choose + Create new credential and paste it into API Key. Click your key's row.
This is the key you made in Module 2, called n8n agent. OpenAI showed it in full only once, when you copied it, and n8n saved it as OpenAI account. No key yet? Then in n8n, choose create new credential, and paste it into API key.
- Back to n8n. Switch back to the n8n tab.
Now switch back to the n eight n tab.
- Pick your credential. Open the Credential dropdown.
Here's the payoff from Module 2. You don't need a new key.
- Reuse your OpenAI key. Choose OpenAI account, the credential you saved in Module 2.
Pick OpenAI account. That's the key you saved in Module 2. n8n keeps it, so every workflow can reuse it. If you skipped Module 2, you'd choose create new credential and paste a key instead.
- Change the model. Open the Model dropdown.
Now the model. The default is fine for text, but this agent has to read a picture.
- Search the list. The list is long. Type gpt-4o into the Search... box at the top.
The list is long, so search it.
- gpt-4o. Choose gpt-4o.
Pick gpt-4o. It reads images reliably and quickly, and it's the model we used when we built this for real.
- Close the node. Close the model.
Brain's in. Close it.
5. Memory
- Add memory. Click the + under Memory.
Next, memory. It lets you say things like, actually, call that one office supplies, and the agent knows which receipt you mean.
- Simple Memory. Click Simple Memory.
Simple memory. It lives inside n8n, so there is nothing to sign up for.
- Close the node. It remembers the last 5 messages of each chat session. Close it.
It keys the memory to your chat session and remembers the last five messages. That's plenty. Close it.
6. Sheets tool
- Add a tool. Click the + under Tool.
Now the part that makes it an agent and not just a chatbot: a tool. This is how it writes to your spreadsheet.
- Search for Sheets. Type sheets.
- Google Sheets Tool. Click Google Sheets Tool.
Google sheets tool.
7. Connect Google
- Open the credential list. It opens set to Get Row(s). First, connect Google: open the Credential dropdown.
It opens set to get rows, which reads a sheet. We'll change that. But first, n8n needs permission to touch your Google account.
- New credential. At the bottom of the list, click + Create new credential.
Create new credential.
- Sign in with Google. Leave it on Managed OAuth2 and click Sign in with Google.
Leave it on managed OAuth. That's the easy way, n8n handles the setup.
- Pick your account. A Google window opens. Pick the account whose Drive you want the sheet in.
A Google window pops up. Pick the account that owns the Drive you want the spreadsheet in.
- Allow access. Google asks if you trust n8n.cloud. Click Continue.
Google checks that you trust n8n dot cloud. You'll see connection successful, and the window closes on its own.
8. Create the sheet
- Go to Google Drive. The tool needs a spreadsheet to write to, and it doesn't exist yet. Switch to the Google Drive tab.
Connected. Now the tool needs a spreadsheet to write to, and we haven't made one. Leave this open and switch to the Google Drive tab.
- New. You're in a Bookkeeping folder. Click + New.
This is a bookkeeping folder, shared with an accountant. Keeping the sheet here means they see every receipt as it lands.
- Google Sheets. Hover Google Sheets.
Google sheets.
- Blank spreadsheet. Click Blank spreadsheet.
Blank spreadsheet.
- Create and share. Because the folder is shared, Google checks first. Click Create and share.
Because the folder is shared, Google asks before making something new in it. That's what we want. If your folder isn't shared, you won't see this.
- Name it. Click Untitled spreadsheet and name it Invoices.
A new tab opens. Name it first, so you can find it in n8n's list.
- Header: Date. In A1, type Date.
Now the column headers. These matter. The agent fills the sheet column by column, so these names tell it what goes where. A1, Date.
- Header: Category. In B1, type Category.
B1, Category.
- Header: Vendor. In C1, type Vendor.
C1, Vendor.
- Header: Amount. In D1, type Amount.
And D1, Amount. Four columns. That is the whole spreadsheet.
9. Point the tool at it
- Back to n8n. Switch back to the n8n tab. The Sheets tool is still open, right where you left it.
Back to the n8n tab. The sheets tool is still open, right where you left it.
- Change the operation. Open the Operation dropdown.
First, fix the operation. Get rows reads from a sheet. We want to add to it.
- Append Row. Choose Append Row.
Append row. Every receipt becomes a new row at the bottom. Notice the node on the canvas renames itself to match.
- Pick the document. Open the Document dropdown.
Now which spreadsheet.
- Invoices. Choose Invoices, the sheet you just made.
There's Invoices, the one you just made. n8n can see it because of the Google account you connected.
- Pick the tab. Open the Sheet dropdown.
Now the tab inside it.
- Sheet1. Choose Sheet1.
Sheet one. n8n reads the header row and lists your four columns.
- Let the model fill Date. Under Values to Send, each column has an empty box with a ✦ button on its right. Click the ✦ under Date.
Here's the clever bit. Under values to send, each column has an empty box with a little sparkle button on its right.
- Category. Click the ✦ under Category.
Category.
- Vendor. Click the ✦ under Vendor.
Vendor.
- Amount. Click the ✦ under Amount.
And amount. All four now say defined automatically by the model.
- Close the node. The tool is set up. Close it.
The tool is wired to the sheet. Close it.
10. Instructions
- Open the agent. Now tell the agent its job. Double-click AI Agent.
Last piece. Right now the agent has a brain, a memory and a tool, but no idea what it's for. Double click the AI agent.
- Add an option. Click Add Option.
- System Message. Choose System Message.
System message. This is the standing instruction it reads before every chat.
- Write the instructions. It starts with You are a helpful assistant. Click in the box, select all of that text, and paste the instructions over it. Three short lines is all it takes.
It already says, you are a helpful assistant. It's three short lines. You'll get a receipt. Pull out the date, vendor and amount. Come up with a category yourself. Then use the sheets tool to add it. Notice we never say where each value goes. The column names in the sheet take care of that.
You are a helpful assistant. You will receive a receipt.

Extract the date, vendor, and amount. Come up with a category.

Use the google sheets tool to add the receipt to the sheet.
- Close the node. Close the agent. Time to test.
That's the whole workflow. Close it and let's try it.
11. Test it
- Open the chat. Click Open chat at the bottom of the canvas. The chat box opens under it, next to Logs.
The chat box opens under the canvas.
- Say hello. Type a short message, like Heres a receipt.
It doesn't need to be clever, the instructions already say what to do. Heres a receipt is enough.
- Attach the receipt. Click the paperclip in the chat box to attach a file.
Now the receipt. It's there because you turned on allow file uploads.
- Find it. Your file browser opens. Search for receipt.
- receipt.png. Click receipt.png, the photo, not the PDF.
Pick receipt dot png. The photo, not the PDF.
- Look at the receipt. The preview shows the receipt the agent will read: CORNER MART, four items, TOTAL $31.57, dated 04/24/2024. Those are the numbers to expect in the sheet. Click the preview.
Before you send it, look at the receipt. Corner Mart, four items, a total of thirty one fifty seven, dated April twenty fourth. Those are the numbers to expect in the sheet.
- Open. Click Open.
It sits under the message, ready to go.
- Send it. Click send.
Send. Watch the canvas. The trigger fires, the agent reads the picture with gpt-4o, and then calls the sheets tool. It takes a few seconds.
- Check the receipt. Click receipt.png in your message to look at the receipt.
Everything turned green. Before you trust it, check its work. Corner Mart, April twenty fourth, total thirty one fifty seven.
- See the row. Switch to the Invoices tab.
Now switch to the Invoices tab. There's the row. Date, groceries, Corner Mart, thirty one fifty seven. It matches the receipt, and it picked groceries without being told. Drop in another receipt and you get another row.
More videos from this lesson
 1:05
AI Receipt Extractor with n8n: the 1-minute version
Drop a photo of a receipt into an n8n chat. An AI agent reads it, pulls out the date, vendor and amount, picks a category, and adds a row to Google Sheets. Try it free, one click at a time: https://learn.ynteractive.com/modules/receipt-extractor More free AI automation walkthroughs: https://learn.ynteractive.com
Screenshots
Frequently asked questions
- Can n8n read receipts from photos?
- Yes, when the AI Agent uses a model that accepts images. The lesson uses gpt-4o through the OpenAI Chat Model node so the agent can read the receipt picture.
- Is this course really free?
- Yes. Stepthrough is completely free, and the practice copy needs no accounts. To build it for real you need your own n8n, OpenAI and Google accounts, and some of those cost money once you use them for real work.
- How does the agent know which column is which?
- Each Google Sheets column is set so the model defines its value. The agent reads the header names, like Date and Vendor, and fills them from what it sees on the receipt.
- Does it pick an expense category by itself?
- Yes. The instructions tell it to come up with a category. In the lesson it files a Corner Mart receipt as Groceries without being told.
- Should I trust the numbers without checking?
- Check them, at least at first. The lesson ends by comparing the receipt with the new row. AI can misread a blurry photo, so review before using the sheet for taxes.
More in Business Automations
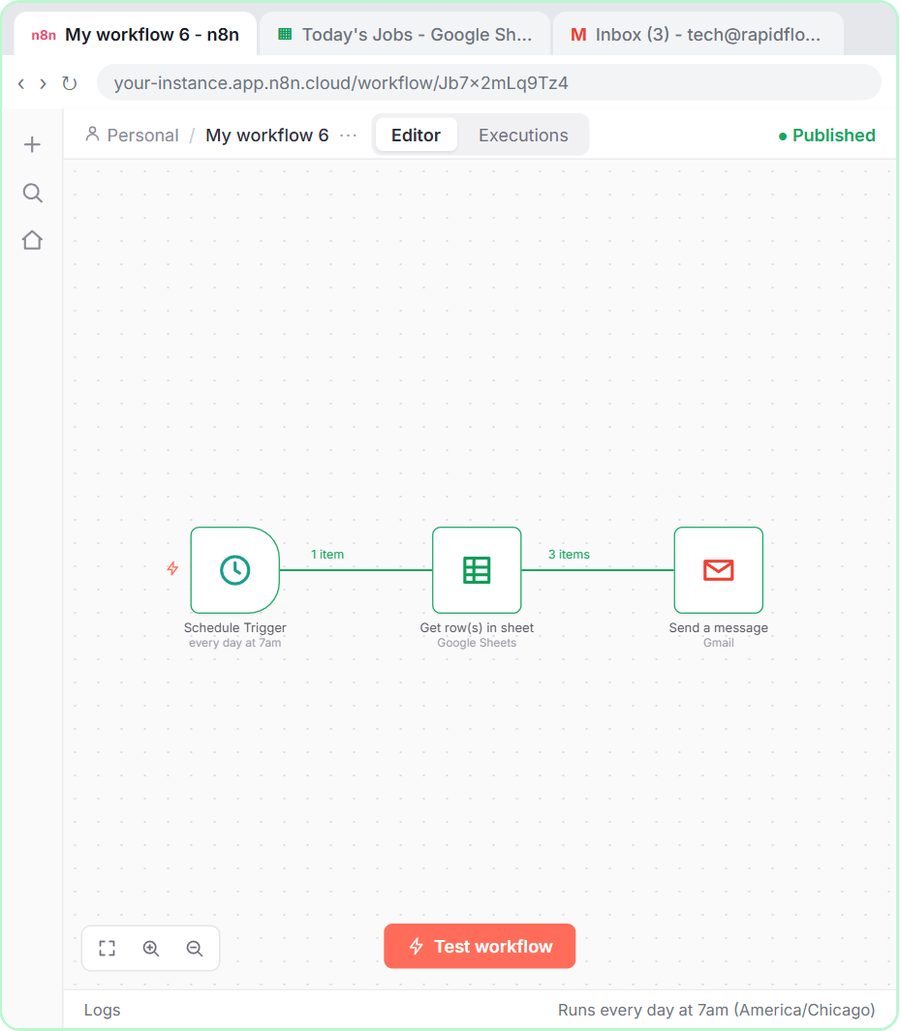 Daily Job Alerts: Email Each Tech Their Jobs from Google Sheets with n8n
Every morning at 7, n8n reads a plumbing company's jobs sheet, skips anything not assigned yet, and emails each job to the tech it's assigned to — customer, address…
Free · Live ~10 min Intermediate
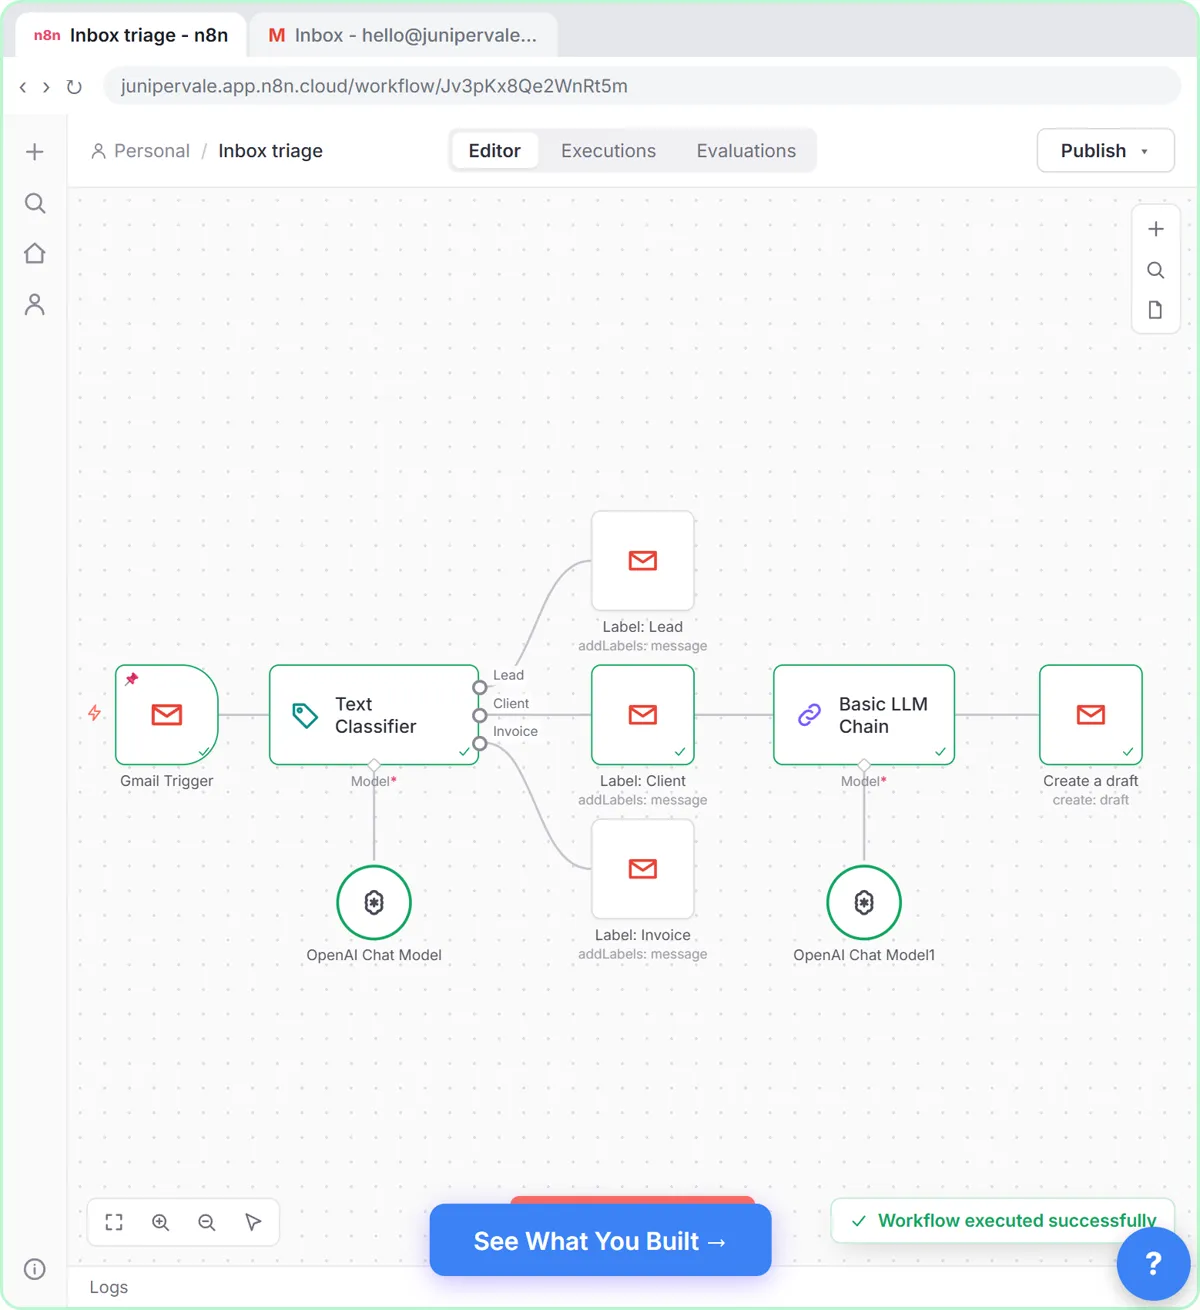 Gmail AI Triage: Auto-Label Every Email and Draft Replies
Build an n8n workflow that reads each new email, sorts it as a lead, a client or an invoice with a Text Classifier, adds the matching Gmail label, and drafts a reply to…
Free · Live ~18 min Advanced
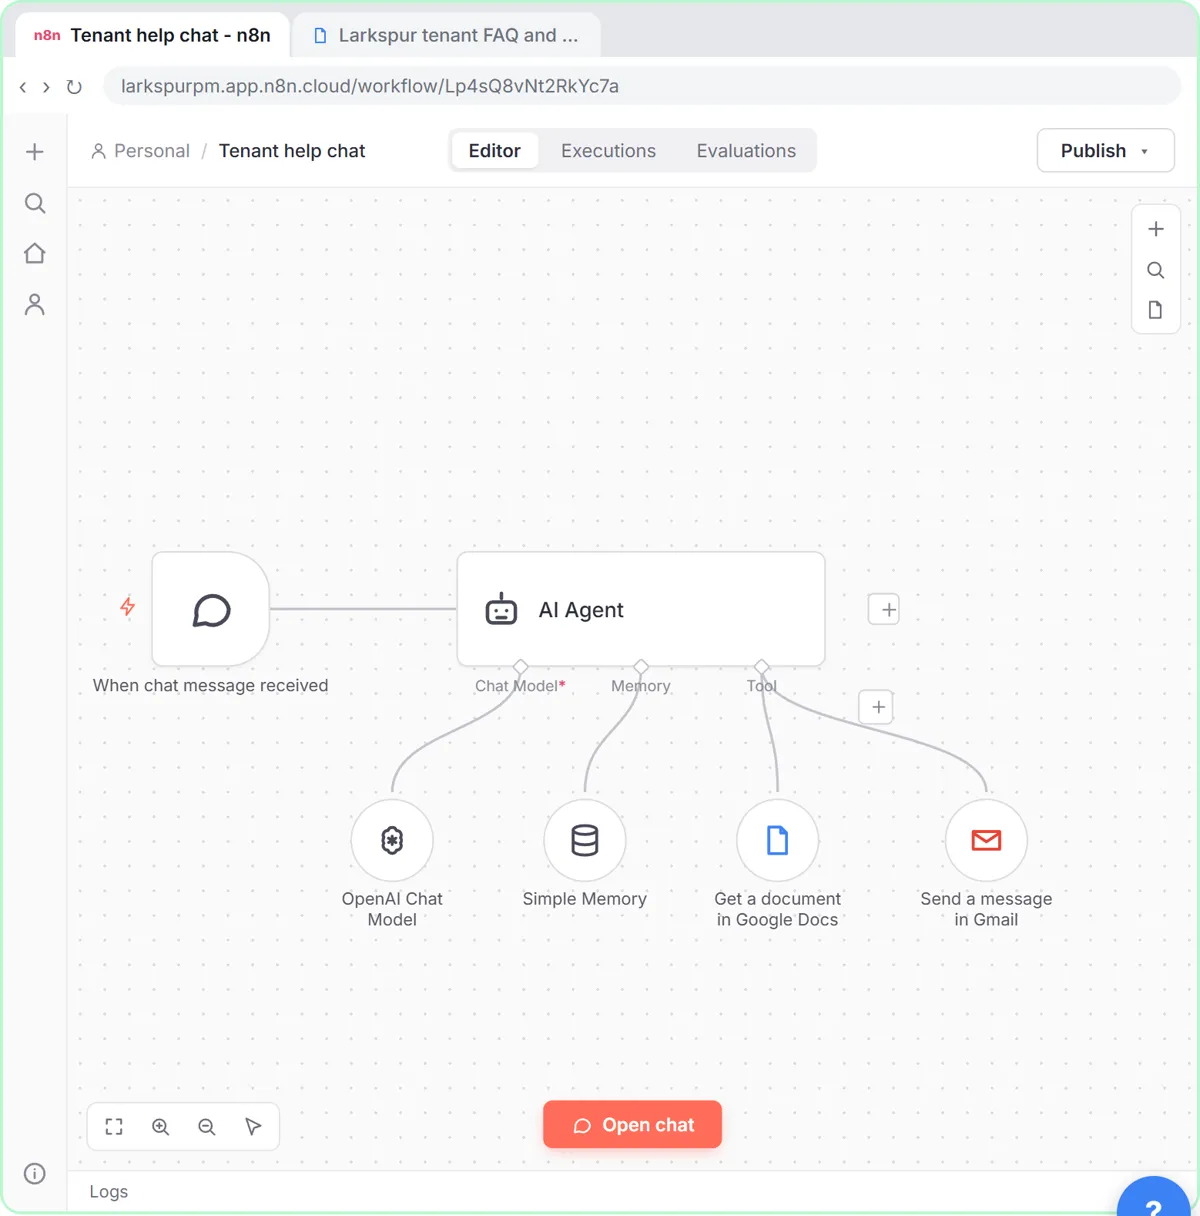 A Support Agent That Answers from Your Own Docs
Turn an n8n chat agent into a support agent that answers only from your policies in a Google Doc, refuses what it should, and hands off to a person by email.
Free · Live ~13 min Advanced
All 34 modules in Business Automations
More n8n tutorials
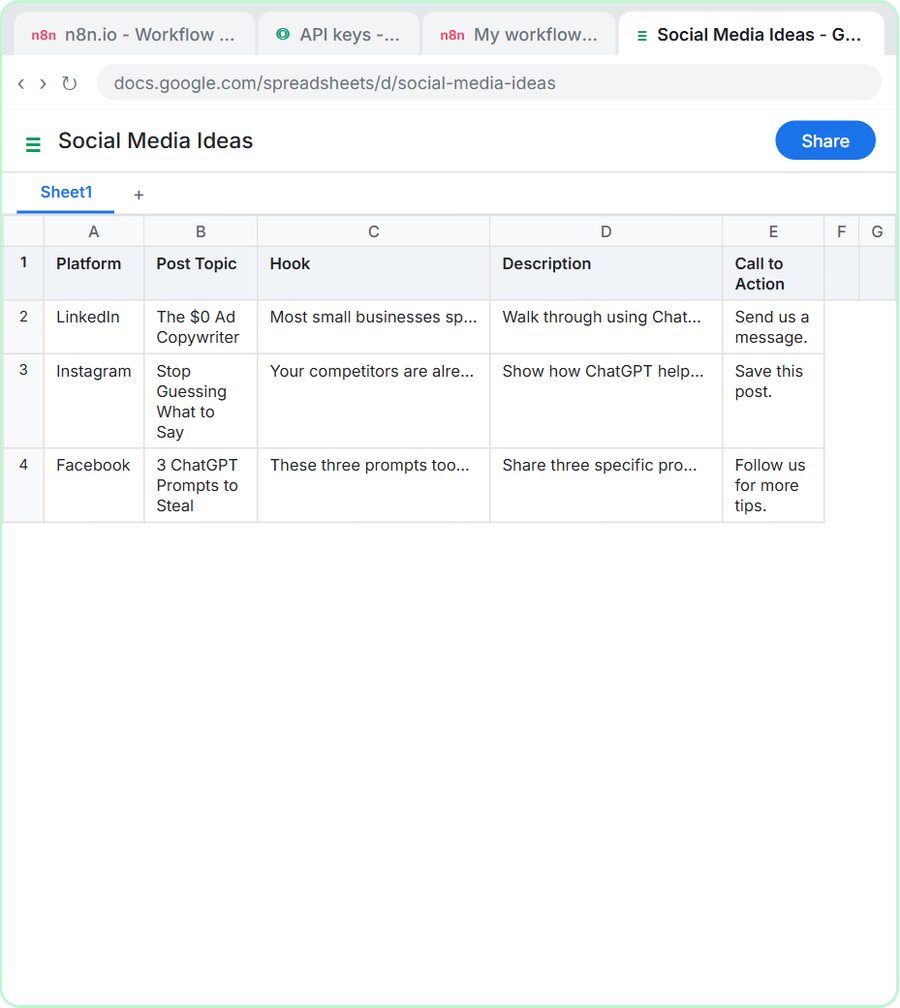 n8n AI Agent Tutorial: Save Social Media Ideas to Google Sheets
Build an AI agent for BrightPath Marketing that generates social media post ideas and saves them to Google Sheets — chat trigger, AI Agent, system prompt, model…
Free · Live ~12 min Intermediate
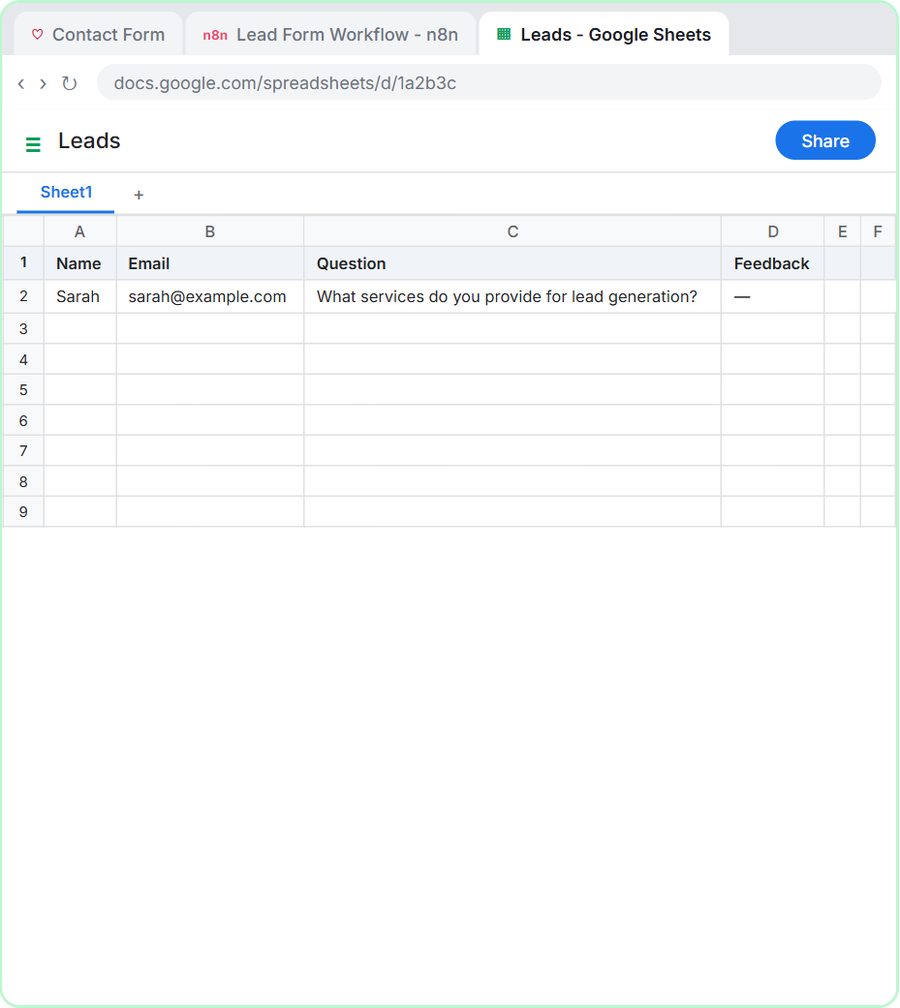 Lovable + n8n: Build a Web App with an AI Backend
Build a contact form in Lovable and connect it to an n8n workflow — webhook trigger, AI Agent, Google Sheets, Gmail, and a Respond node that ties it all together.
Free · Live ~15 min Advanced
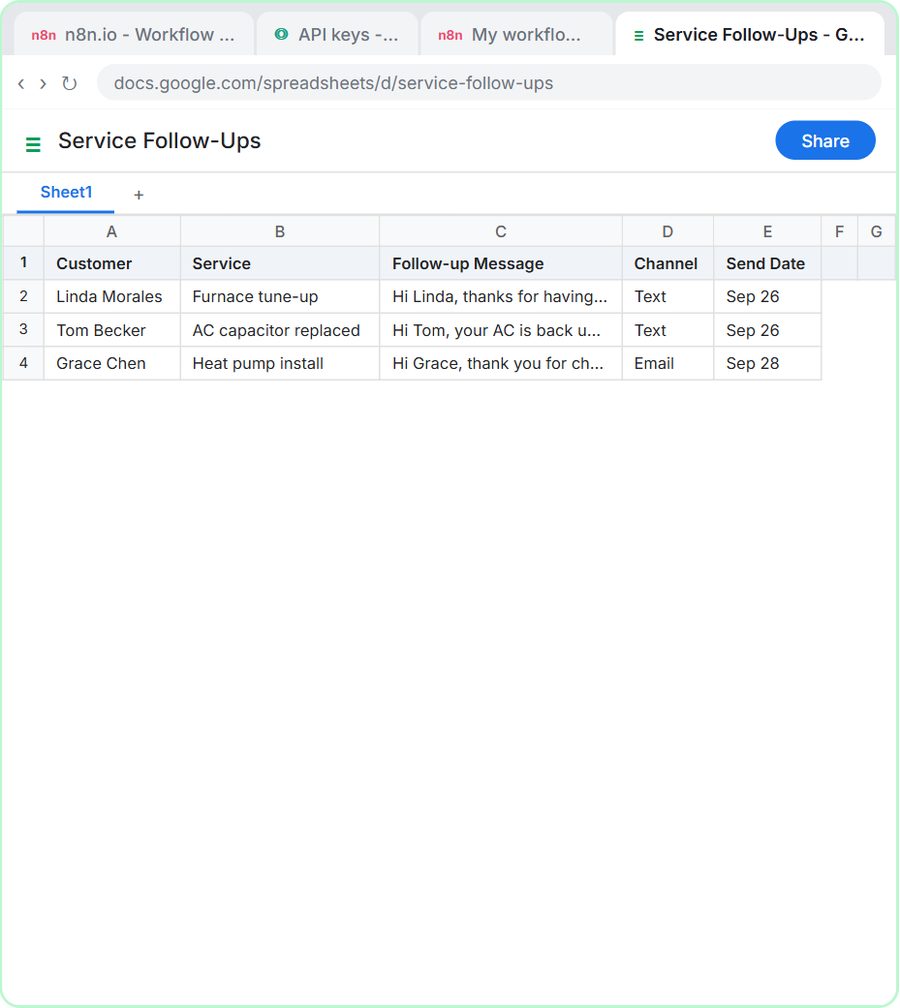 Build an AI Follow-Up Agent for HVAC Service Calls
Build an AI agent for Cedar Ridge Heating & Air that writes follow-up messages for completed service calls and saves them to Google Sheets — chat trigger, AI Agent…
Free · Live ~12 min Intermediate
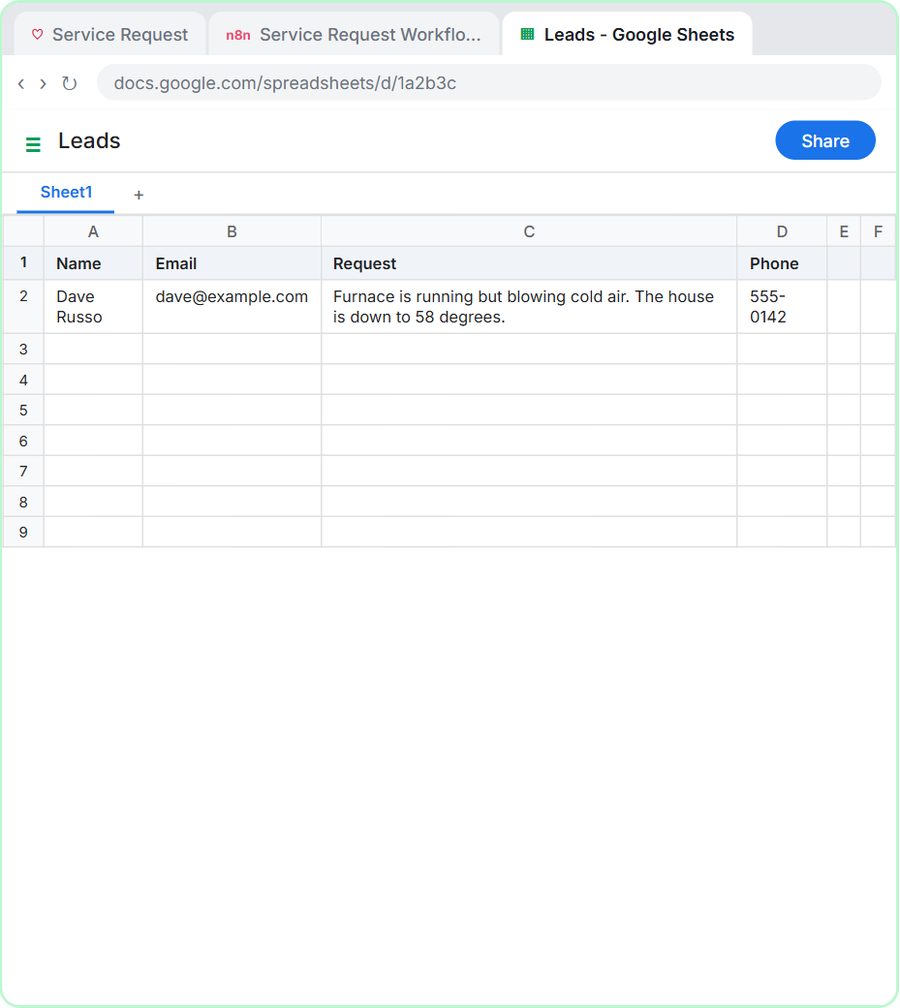 Build an AI Service Request Form for Your HVAC Company
Build a service request form in Lovable for Cedar Ridge Heating & Air and connect it to n8n — the AI agent sorts each job into repair, maintenance, install or…
Free · Live ~15 min Advanced
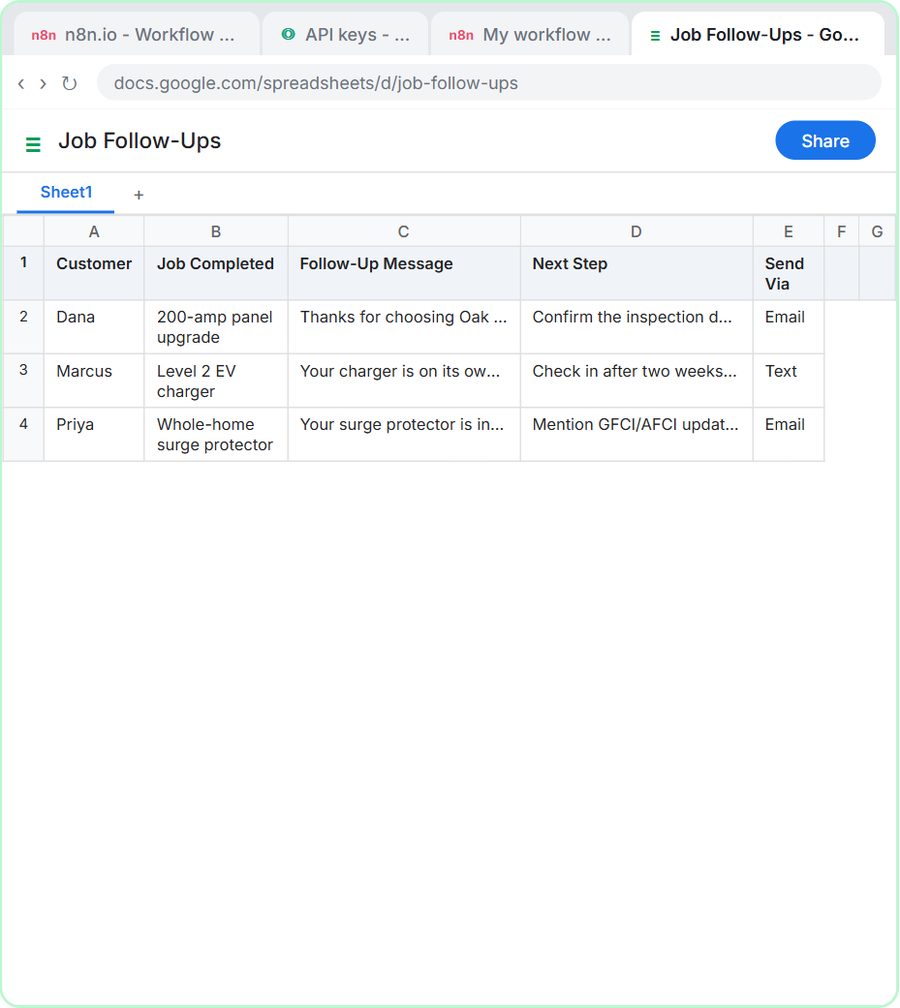 Build an AI Job Follow-Up Agent for Electricians
Build an AI agent for Oak & Wire Electric that writes follow-up messages after completed jobs and tracks them in Google Sheets — chat trigger, AI Agent, system prompt…
Free · Live ~12 min Intermediate
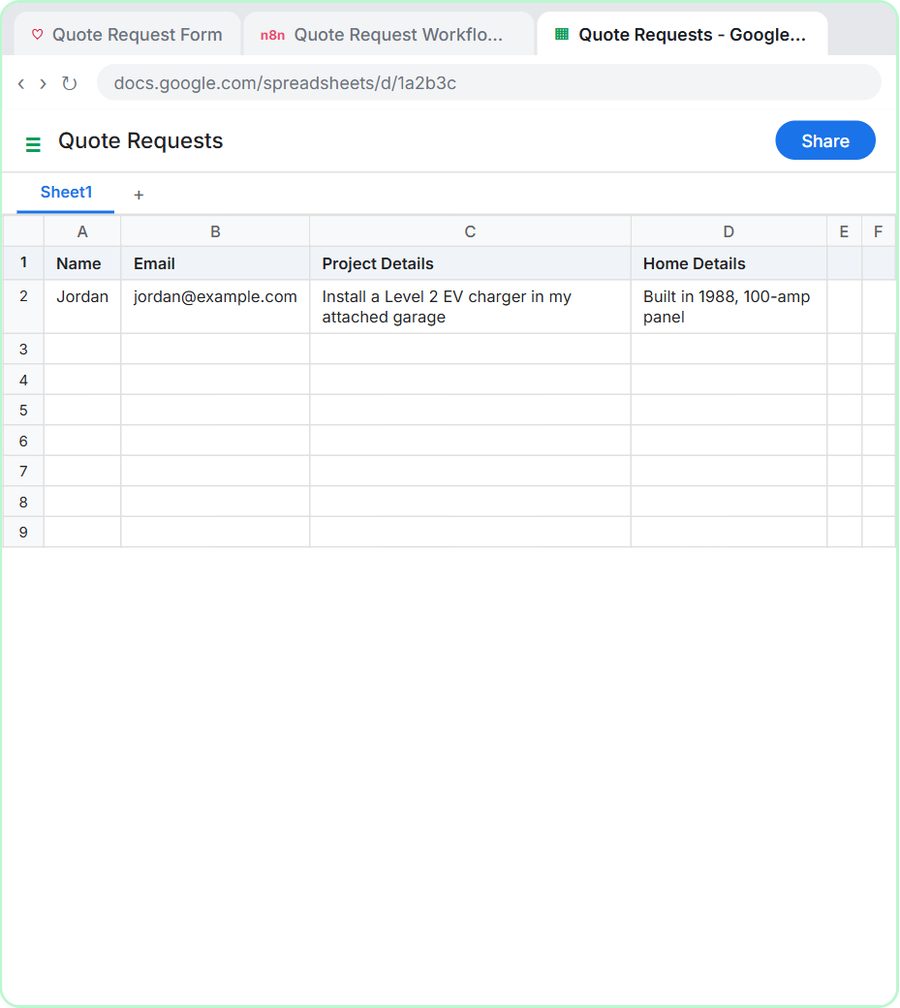 Build an AI Quote Request Form for Electrical Contractors
Build a quote request form in Lovable and connect it to an n8n workflow — webhook trigger, an AI Agent that drafts an initial estimate note, Google Sheets, Gmail, and a…
Free · Live ~15 min Advanced
From the blog
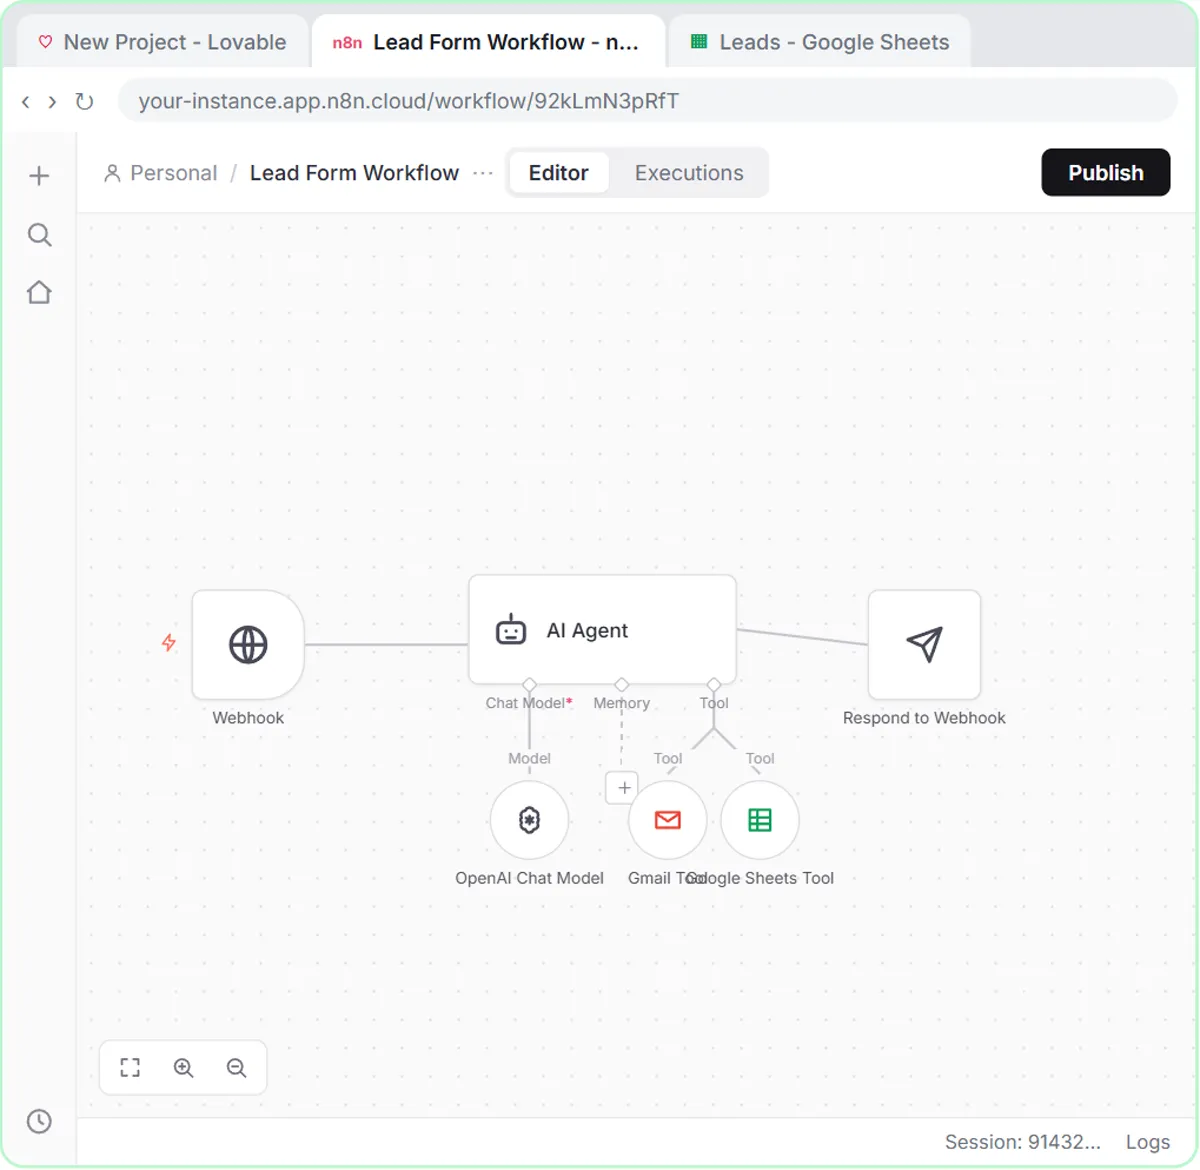 n8n AI Agent Tools: How the Agent Gets Things Done
n8n AI agent tools explained: Google Sheets Tool and Gmail Tool vs regular nodes, naming tools in the system message, and limiting a tool to drafts.
Nov 10, 2026 6 min read
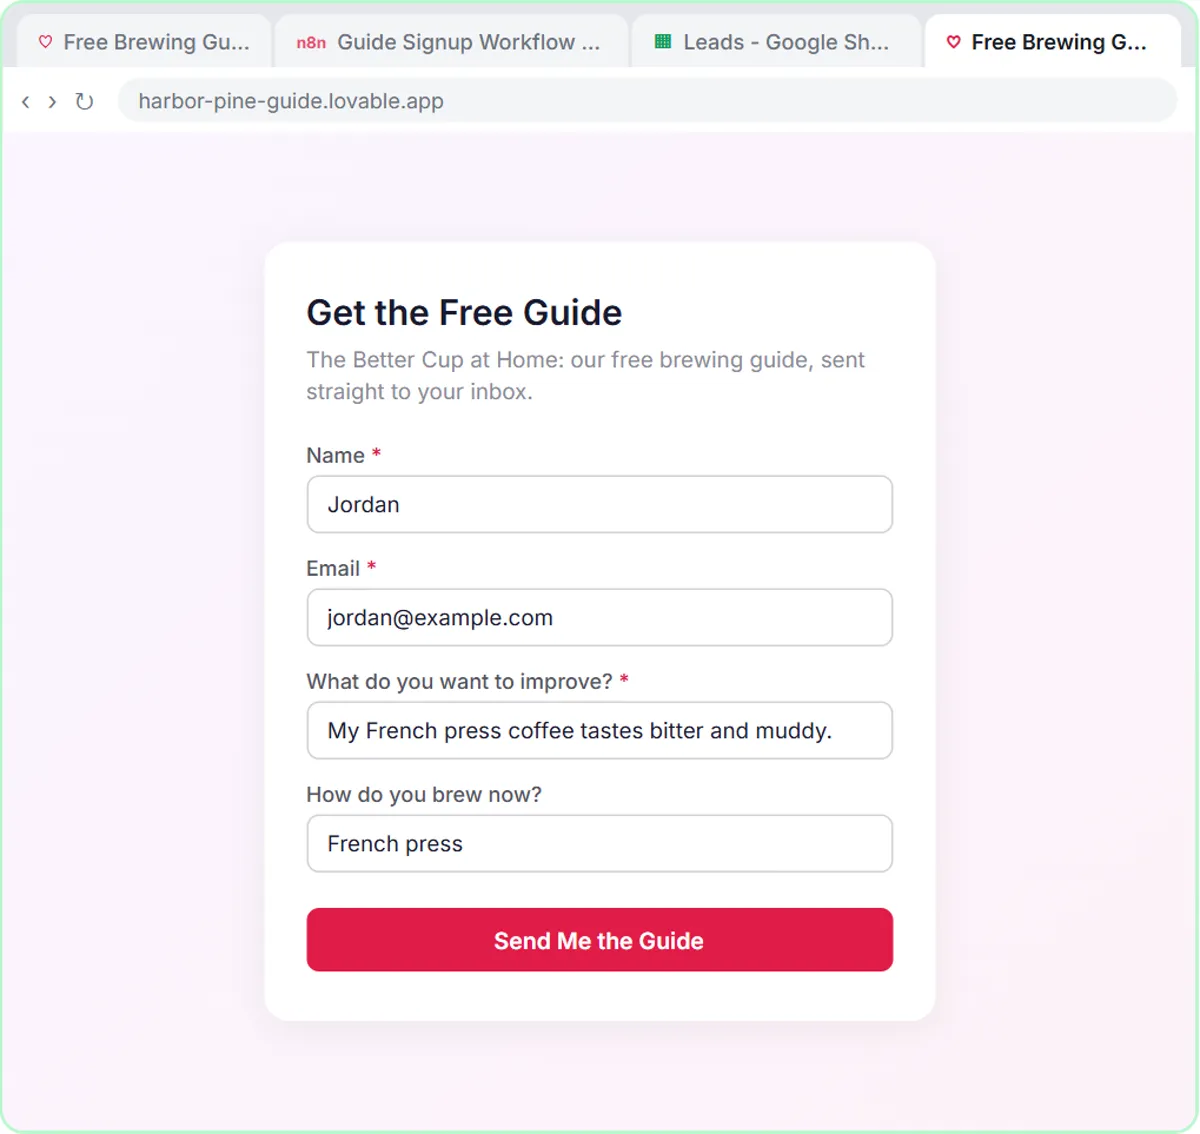 AI for Small Online Stores: Signups, Campaigns and Replies
AI for a small ecommerce business: a signup form that tags each subscriber, a two-week campaign calendar, calmer order-problem replies and receipts.
Nov 5, 2026 6 min read
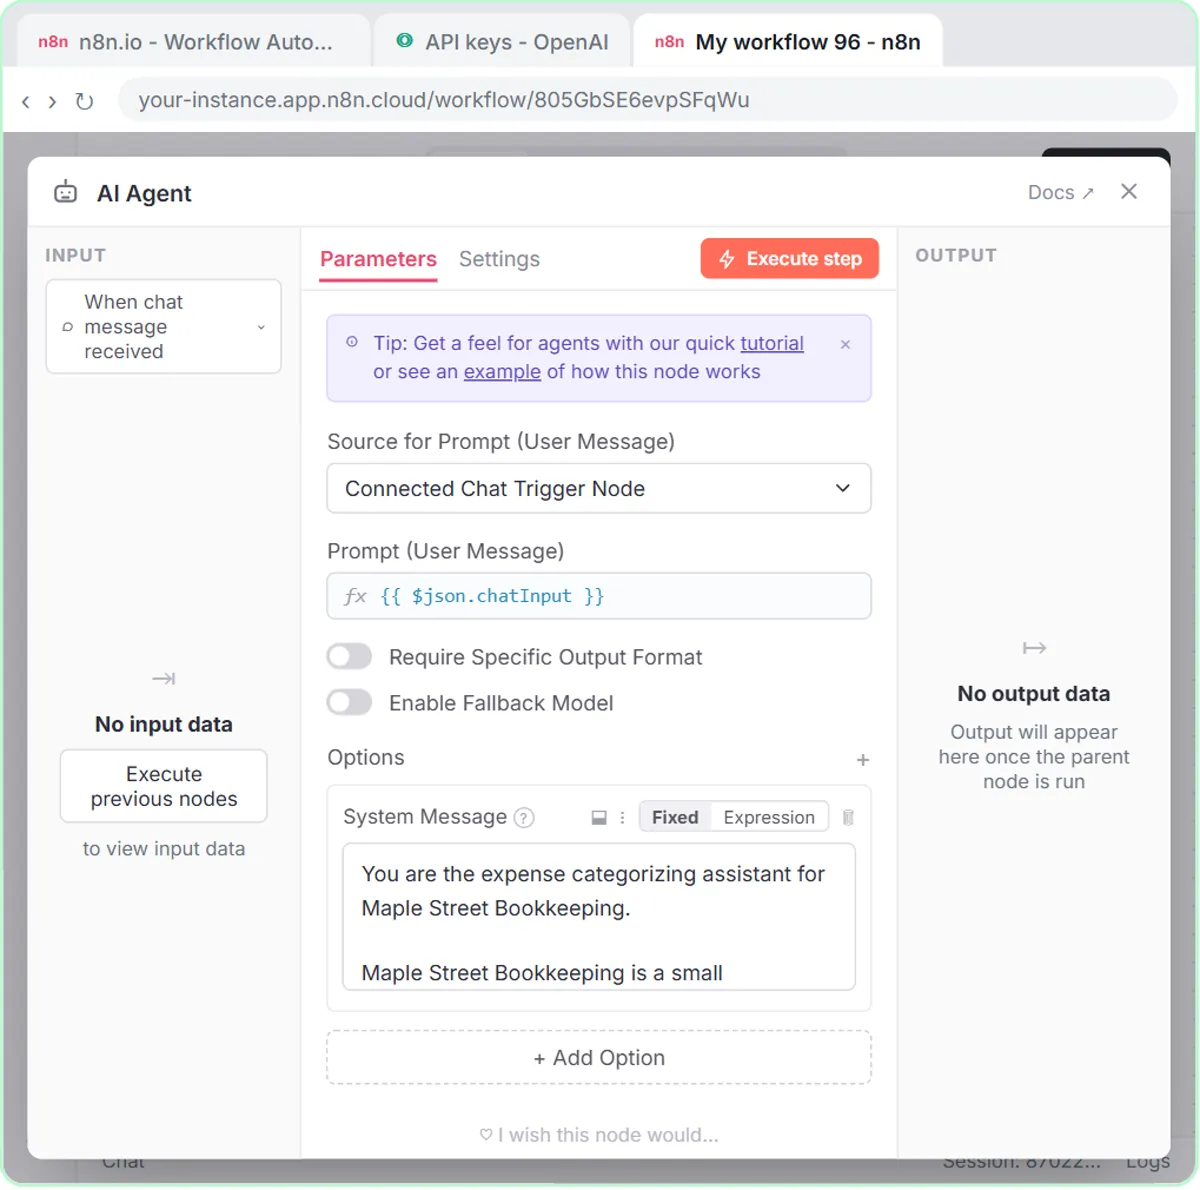 Categorize Business Expenses with AI: A Year-End Cleanup
Categorize business expenses with AI: an n8n agent sorts each one into a fixed list, flags unclear ones as Needs Review and logs them for a bookkeeper.
Nov 3, 2026 6 min read
Visual guides
This lesson’s key ideas as quick visual guides: swipe through the slides, or read the same guide as text.
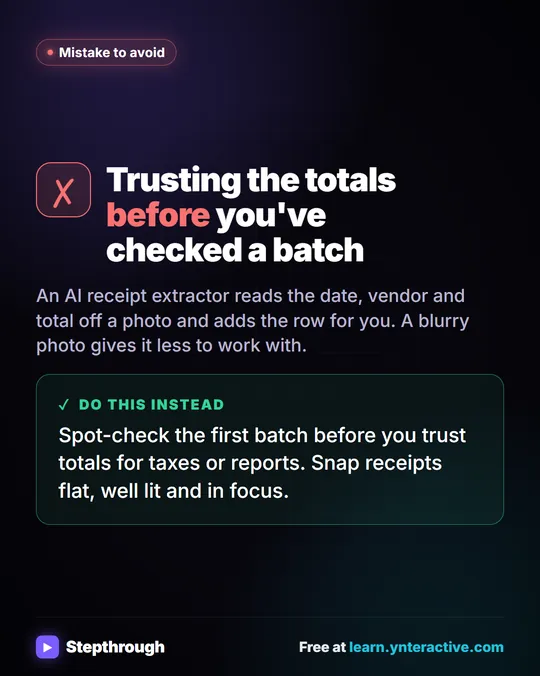 Receipts to Google Sheets with an AI agent in n8n
A box of paper receipts at the end of the month. Typing them in is slow and easy to get wrong.
Mistake to avoid One graphic
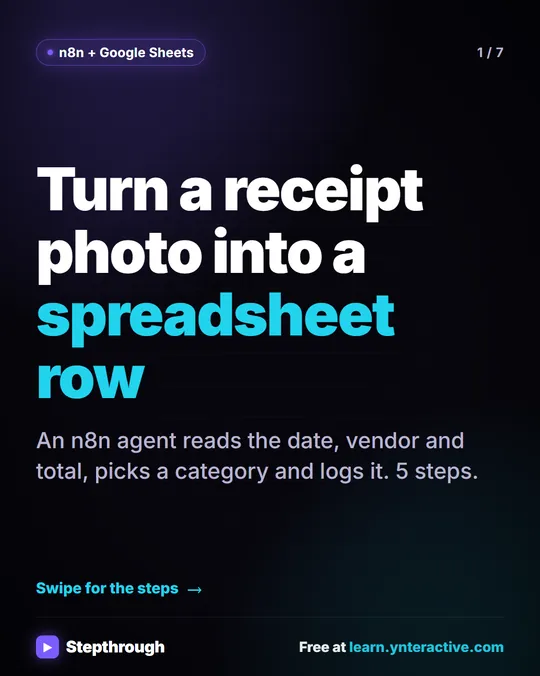 5 Steps to Turn a Receipt Photo into a Google Sheets Row
A visual guide: an n8n AI agent reads a receipt photo, pulls out the date, vendor and total, picks a category and adds a row to Google Sheets.
Step-by-step guide 7 slides
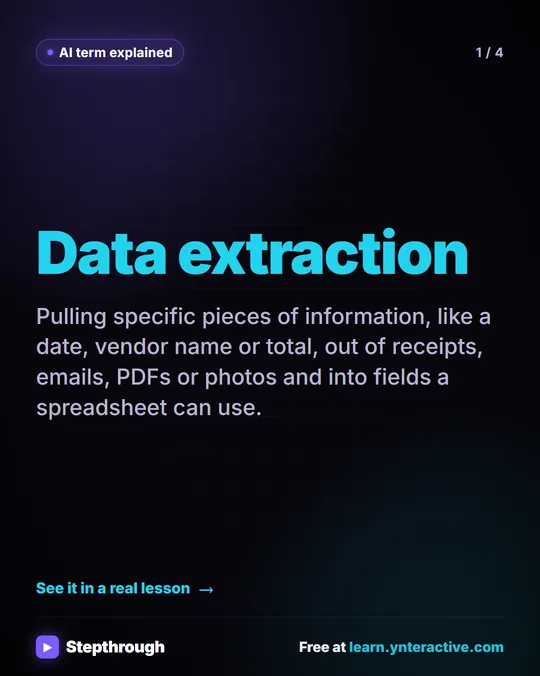 What Is AI Data Extraction? A Visual Guide
A visual guide to AI data extraction: pulling the date, vendor and total out of a receipt photo and into Google Sheets, from a real n8n lesson.
AI term explained 4 slides
Free cheat sheets
Print it or save the PDF: the key steps and checks from this lesson on one page, free.
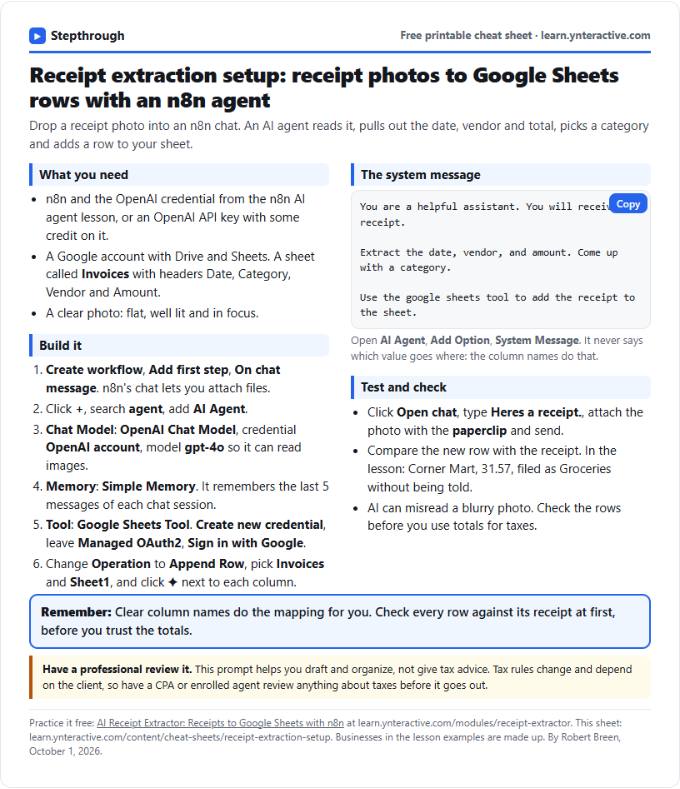 AI Receipt Extractor in n8n Cheat Sheet
A free one-page cheat sheet: attach a receipt photo in n8n chat, and an AI agent pulls the date, vendor and amount into a Google Sheets row.
Lesson cheat sheet Free PDF
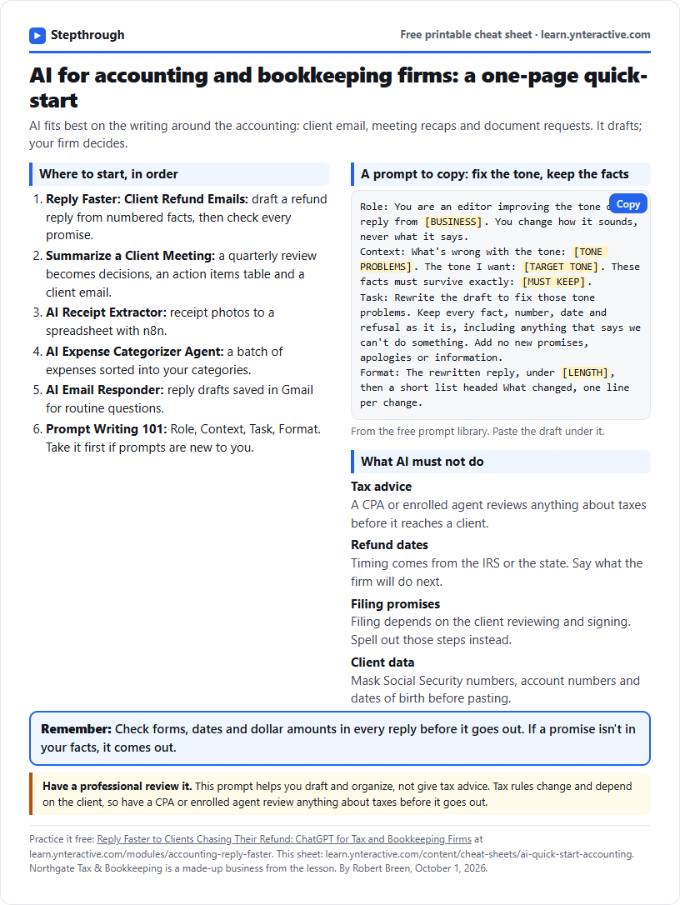 AI Quick-Start for Accounting Firms: Cheat Sheet
A one-page AI quick-start for accounting firms: free lessons in order, a prompt for a client letter about tax changes, and what AI must never promise.
Industry quick-start Free PDF
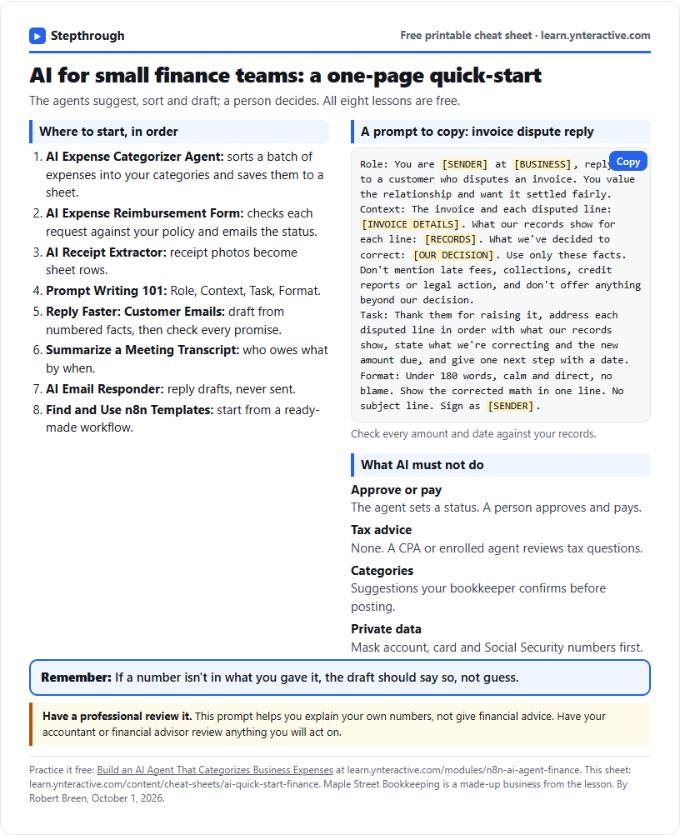 AI Quick-Start for Finance Teams: Cheat Sheet
A free one-page cheat sheet for finance teams: the free AI lessons in order, an invoice dispute prompt and what AI must never approve.
Industry quick-start Free PDF
All free printable cheat sheets
Terms in this lesson
Plain-English definitions, each with an example from a free lesson.
Related prompts
- Invoice data extraction prompt: Copy a vendor invoice into tables: number, dates, PO, terms, line items and total, with unreadable fields flagged instead of…
- Receipt details extraction prompt: Pull date, vendor, tax, total and job from receipt photos into a table, with "Unreadable" instead of guesses and a check that…
- AI pilot plan prompt: Plan a small, time-boxed trial of an AI tool: one task, a few people, success criteria you choose up front, how you'll measure…
- Data cleanup plan prompt: Turn messy spreadsheet columns into clean, consistent ones: a column-by-column plan with standard values, rules for odd entries…
More terms on this topic
More prompts on this topic
- Cancellation request reply prompt: A ChatGPT prompt for confirming a cancellation gracefully: what ends and when, any refund in exact dollars, and at most one…
- Internal announcement prompt: Announce a change to your team in under 150 words: what changes, when it starts, what each person does and who to ask, plus the…
- Post-job care instructions prompt: Turn your own care notes for one job type into a leave-behind sheet: what's normal, simple upkeep, what not to touch, and when…
- Technician on the way text prompt: Write the "your tech is on the way" text: who's coming, the arrival estimate dispatch gave you, what to have ready, and how to…
- Upsell offer email prompt: Offer an existing customer one related service that fits what they bought or told you, with your real price, the reason it fits…