Lovable + n8n: Build a Web App with an AI Backend
This is where the pieces come together. In this free Lovable and n8n tutorial you build a real contact form without writing code, then connect it to an n8n workflow where an AI agent saves each lead to Google Sheets and sends a personal reply through Gmail.
What you will build
The front end is a simple lead form built in Lovable, an AI app builder where you describe what you want in plain English. It has four fields (Name, Email, Question and Feedback), a heading that reads "Have a Question?" and a button that changes to "Sending..." while it works.
The back end is an n8n workflow. A Webhook node receives the form data. An AI Agent reads it, uses a Google Sheets tool to add the lead to a spreadsheet called Leads, and uses a Gmail tool to reply to the person who filled in the form. A Respond to Webhook node tells the form everything worked. You finish by submitting the form and seeing the new row in the sheet.
Who this is for
This module is for anyone who wants a web form that does more than land in an inbox: small business owners, marketers and freelancers who build sites for clients. It is the third module in AI Automation for Beginners. It helps to have done the n8n AI agent module first, since this one moves faster through the agent, model and Sheets steps you learned there.
Step by step: what you do
The lesson has 88 steps across 12 chapters.
- Sign up and build the form: get started with Lovable, start with a prompt, paste a description of the form, and click Build. The prompt tells Lovable to POST the fields as JSON to a webhook URL stored as a secret, not pasted into the page.
- Webhook trigger: in n8n, create a workflow, choose On webhook call, and change Respond to Using 'Respond to Webhook' Node so the workflow can finish before answering.
- AI Agent: add the agent, set the prompt source to Define below, paste a template that pulls in name, email, question and feedback from the webhook body, and add a short system message telling it to save the lead and reply by Gmail.
- Chat model: add an OpenAI Chat Model with your API key and pick gpt-5-mini.
- Sheets tool: add a Google Sheets Tool, create a Leads spreadsheet with Name, Email, Question and Feedback headers, sign in with Google, pick the document and Sheet1, and let the model fill each column.
- Gmail tool: add a Gmail Tool, sign in with Google and grant the Gmail permissions.
- Respond node and publish: add Respond to Webhook, then Publish the workflow.
- Add the secret: copy the webhook's Production URL, go back to Lovable, open More, and save it as a secret named N8N_WEBHOOK_URL.
- Test the form: preview it, fill it with test data, click Send Message, and check the Google Sheets tab for the saved lead.
Why this setup works
Splitting the app into a front end and a back end keeps each part simple. Lovable only has to collect four fields and send them to one URL. n8n does the thinking and the actions. You can change the reply wording or add a new tool without touching the form.
Two details make it reliable. First, the webhook waits for the Respond to Webhook node, so the form only shows success after the agent has finished. Second, the webhook URL lives in a Lovable secret instead of the page code, so it is not exposed in the source and you can swap it later without rebuilding the app.
How to use this in your business
Any form on your site can work this way: quote requests, event sign-ups, support questions or job applications. The agent can log the entry, write a reply that actually answers the question, and hand you a clean spreadsheet of leads. Change the system message to include your services and hours, and the replies will sound like your business instead of an auto-responder. Want a human check first? Point the Gmail tool at drafts instead of sending, the way the AI Email Responder module does.
Common mistakes this avoids
- Pasting the webhook URL into the page. The lesson stores it as a Lovable secret named N8N_WEBHOOK_URL, so it stays out of the source and is easy to change.
- A form that reports success too early. Setting the webhook to wait for the Respond to Webhook node means the visitor only sees success once the work is done.
- Column names that do not match. The Leads sheet uses the same four names as the form fields, so the agent can fill each column without manual mapping.
- Testing an unpublished workflow. The production URL only works once the workflow is published, which is why Publish comes before copying the URL.
- Building the Sheets tool before the sheet exists. The lesson pauses the node, creates the Leads spreadsheet, then comes back to connect it.
How the practice works
Every step is shown on the left under Watch, then you do it on the right under Your turn, in practice copies of Lovable, n8n, Google Sheets and Gmail. Each click is checked, and Do it for me completes a step if you get stuck. No accounts are created, no emails are sent and nothing is published.
Frequently asked questions
- Do I need to know how to code to connect Lovable to n8n?
- No. Lovable builds the form from a plain-English prompt, and n8n connects everything with nodes. You paste a webhook URL into a Lovable secret, and that is the only link between them.
- Is this course really free?
- Yes. Stepthrough is completely free, and the practice copy needs no accounts. To build it for real you need your own Lovable, n8n, OpenAI and Google accounts, and some of those cost money once you use them for real work.
- What is a webhook in n8n?
- A webhook is a URL that starts a workflow when something sends data to it. Here, the Lovable form sends each submission to the n8n webhook as JSON.
- Why use the Respond to Webhook node?
- It makes the webhook wait until the agent has saved the lead and sent the email, then tells the form it succeeded. Without it, the form would get an answer before the work was done.
- Should I use the test URL or the production URL?
- Use the Production URL for the live form, and publish the workflow first. The lesson copies the production URL into the N8N_WEBHOOK_URL secret.
More in AI Automation for Beginners
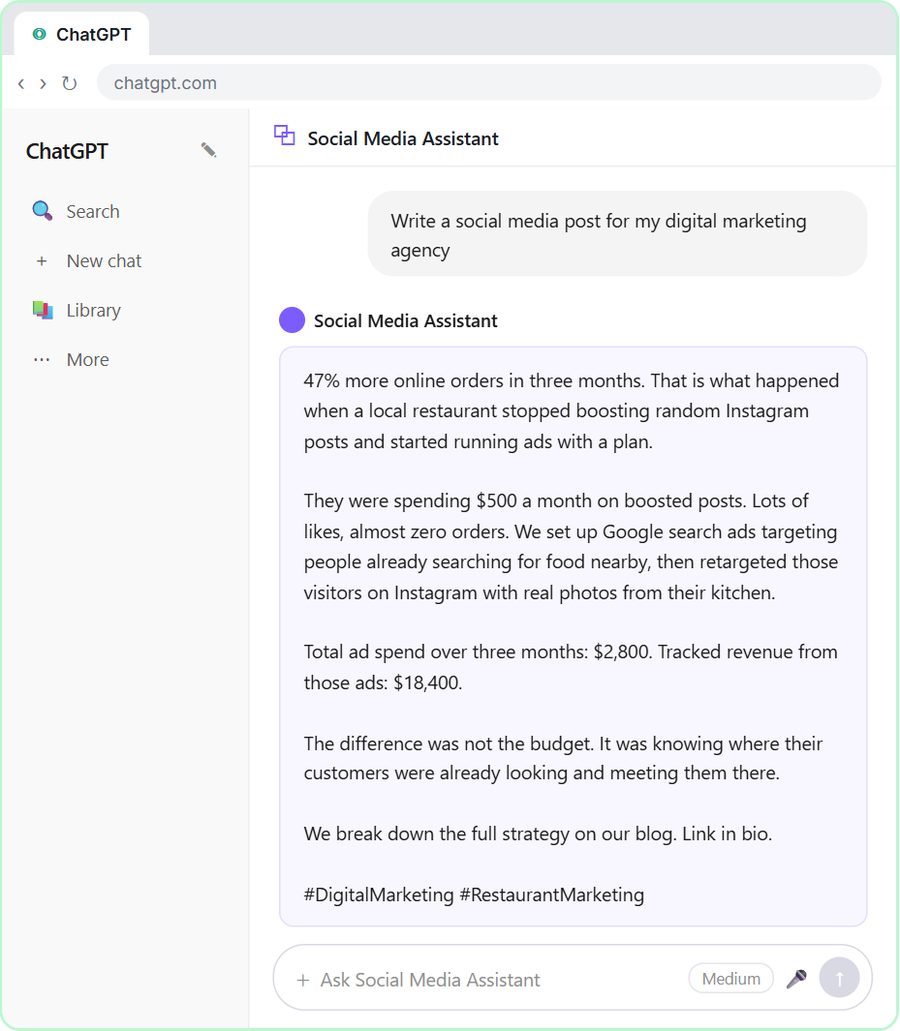 Build a Custom GPT Social Media Assistant
Learn to build a Custom GPT that writes social media posts in your brand voice. Free, interactive, step by step: instructions, a knowledge file and a test.
Free · Live
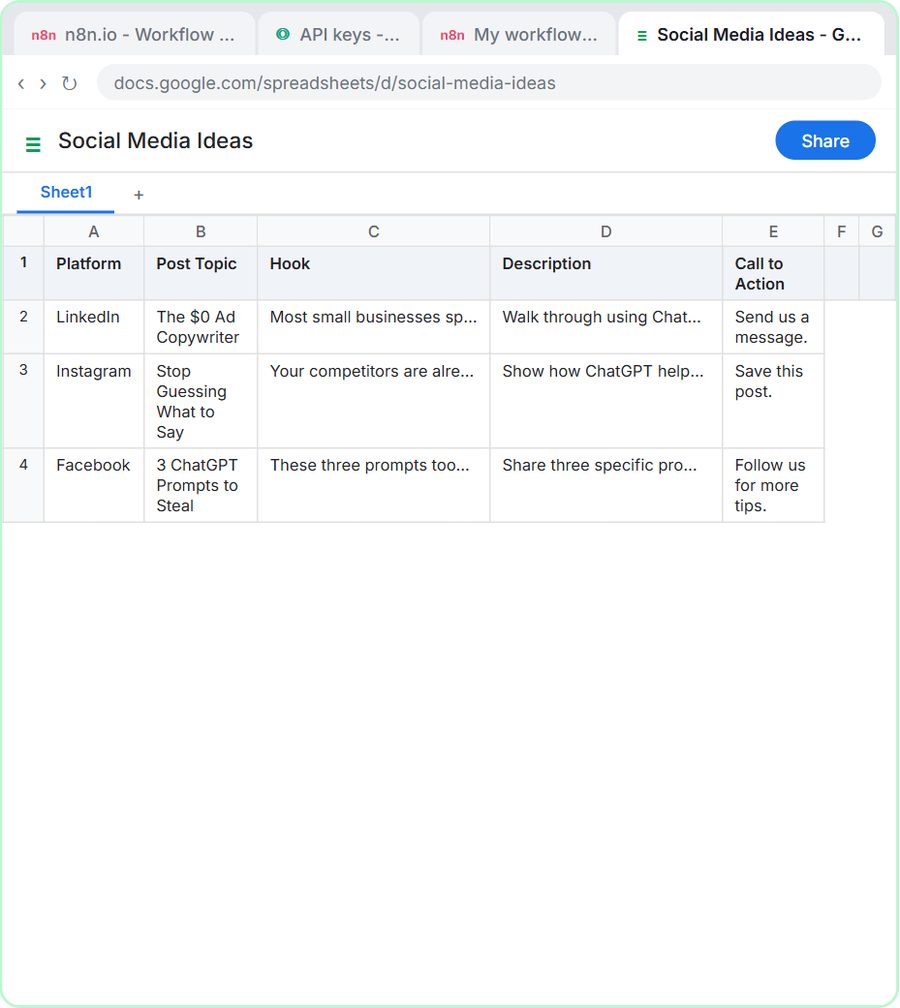 n8n AI Agent Tutorial: Save Social Media Ideas to Google Sheets
Build your first n8n AI agent: chat trigger, system prompt, OpenAI model, memory and a Google Sheets tool that saves post ideas. Free and step by step.
Free · Live