AI Receipt Extractor: Receipts to Google Sheets with n8n
Typing receipts into a spreadsheet is slow and easy to get wrong. In this free tutorial you build an AI receipt extractor in n8n: drop a photo of a receipt into a chat, and the agent reads it, chooses a category and adds a row to your Invoices sheet.
What you will build
You will build an n8n workflow with a chat trigger and an AI agent that can see images. You attach a receipt photo in the n8n chat, and the agent pulls out the date, the vendor and the total, decides what kind of expense it is, and uses a Google Sheets tool to append the result. In the lesson it reads a Corner Mart receipt from April 24, files it as Groceries without being told, and writes the date, category, vendor and 31.57 to the sheet.
The spreadsheet lives in a shared Bookkeeping folder in Google Drive, so an accountant can see each receipt as it lands.
Who this is for
This module is for small business owners, bookkeepers, contractors and anyone who ends the month with a pile of paper receipts. It is the first module in the Business Automations section. It reuses the OpenAI key you created in the n8n AI agent module, so it moves quickly through setup and spends its time on the part that is new: getting AI to read a picture.
It is also a gentle introduction to AI that works with files instead of just text. Once you have seen an agent turn a photo into a clean row of data, you will start to spot other paperwork it could handle for you.
What you need
- An n8n account and the OpenAI credential you saved in the n8n AI agent module. If you skipped that module, you will need an OpenAI API key with some credit on it.
- A Google account with Google Drive and Google Sheets. A shared folder is optional but handy if someone else does your books.
- A clear photo of a receipt. Flat, well lit and in focus gives the model the best chance.
Step by step: what you do
The lesson has 64 steps across 11 chapters.
- New workflow and chat trigger: create a workflow and add On chat message. The defaults are fine, and the chat stays private while you build.
- AI Agent: search for agent and add the AI Agent node.
- Chat model: add an OpenAI Chat Model, reuse your saved OpenAI account credential, and change the model to gpt-4o, which can read images.
- Memory: add Simple Memory, which keeps the last five messages of each chat.
- Sheets tool and Google sign-in: add a Google Sheets Tool, create a new credential, and sign in with Google.
- Create the sheet: in Google Drive, open the Bookkeeping folder, create a blank spreadsheet (choosing Create and share because the folder is shared), name it Invoices, and add four headers: Date, Category, Vendor and Amount.
- Point the tool at it: back in n8n, set the operation to Append Row, pick the Invoices document and Sheet1, and click the sparkle button next to each column so the model fills it in.
- Instructions: open the agent, add a System Message, and paste three short lines: you will get a receipt, extract the date, vendor and amount, come up with a category, and use the sheets tool to add it.
- Test it: open the chat, type a short message, attach receipt.png with the paperclip, send it, then check the receipt and the new row in the Invoices tab.
Why three lines of instructions are enough
The system message never says which value goes in which column. It does not need to. Because each Sheets column is set to be filled by the model, the agent reads the header names (Date, Category, Vendor, Amount) and matches what it found on the receipt to the right place. Clear column names do the mapping for you.
Choosing the right model matters too. The receipt is a photo, not text, so the lesson switches the model to gpt-4o, which can look at images. Asking the agent to invent a category is a small touch that saves real time: you get a grouped expense list without building a set of rules first.
How to use this in your business
Snap a photo of each receipt on your phone, drop it into the chat, and your expense sheet fills itself. Keep the sheet in a folder your accountant can see and month-end gets shorter. You can add columns such as Payment Method or Job Number, and the agent will try to fill them as long as the name is clear. Always spot-check the first batch, as the lesson does, before you trust totals for taxes or reports.
How the practice works
Each step is shown on the left under Watch, then you do it on the right under Your turn, in practice copies of n8n, Google Drive and Google Sheets. Every click is checked, and Do it for me finishes a step if you get stuck. No workflow is saved, no Google account is connected and no file leaves your computer.
Frequently asked questions
- Can n8n read receipts from photos?
- Yes, when the AI Agent uses a model that accepts images. The lesson uses gpt-4o through the OpenAI Chat Model node so the agent can read the receipt picture.
- Is this course really free?
- Yes. Stepthrough is completely free, and the practice copy needs no accounts. To build it for real you need your own n8n, OpenAI and Google accounts, and some of those cost money once you use them for real work.
- How does the agent know which column is which?
- Each Google Sheets column is set so the model defines its value. The agent reads the header names, like Date and Vendor, and fills them from what it sees on the receipt.
- Does it pick an expense category by itself?
- Yes. The instructions tell it to come up with a category. In the lesson it files a Corner Mart receipt as Groceries without being told.
- Should I trust the numbers without checking?
- Check them, at least at first. The lesson ends by comparing the receipt with the new row. AI can misread a blurry photo, so review before using the sheet for taxes.
More in Business Automations
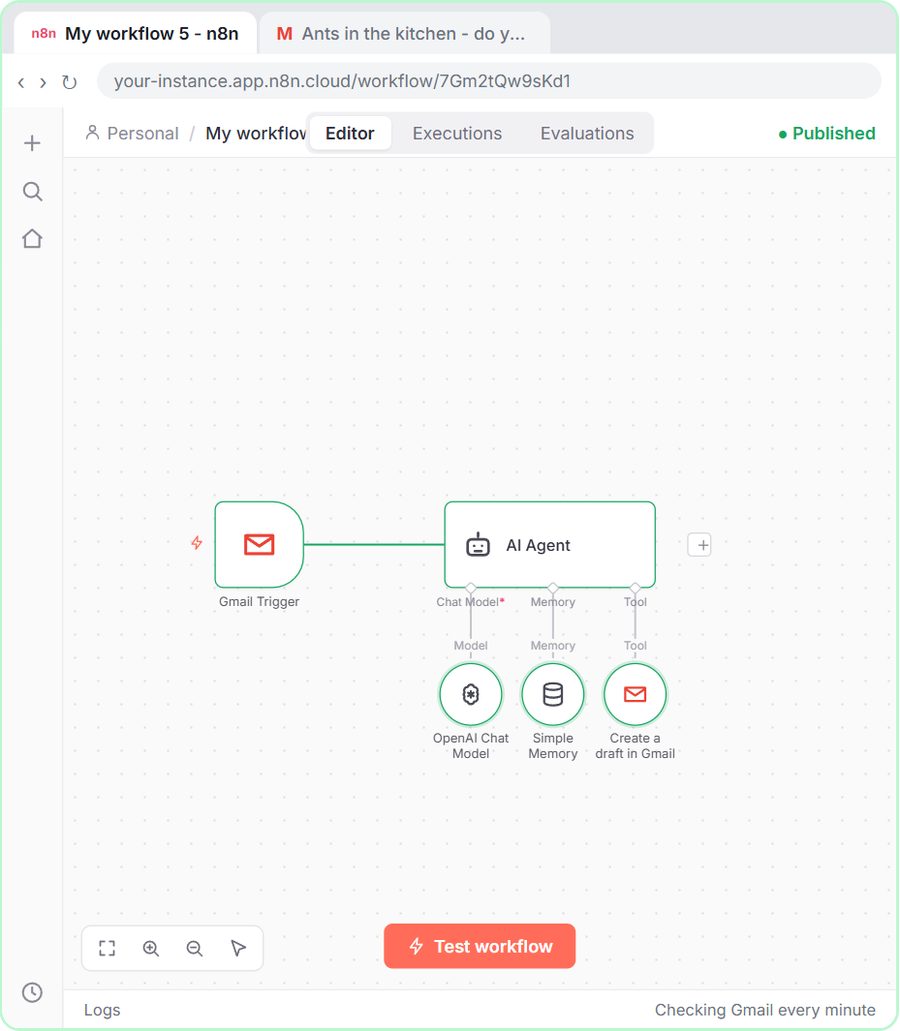 AI Email Responder: Draft Gmail Replies Automatically with n8n
Build an n8n agent that reads each new Gmail message and saves a reply as a draft using your real prices and service areas. You stay in control. Free.
Coming soon
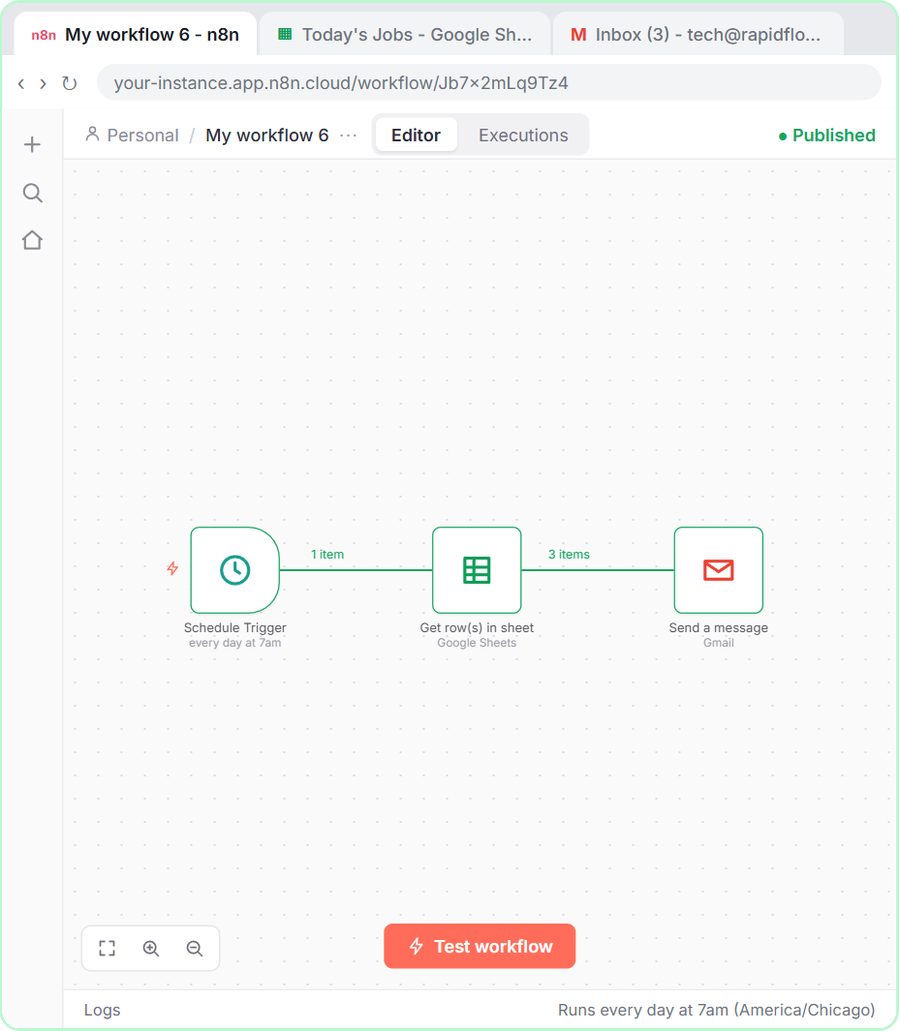 Daily Job Alerts: Email Your Techs from Google Sheets with n8n
Build an n8n workflow that reads today's jobs from Google Sheets at 7am and emails your tech one message per job. A free, beginner-friendly tutorial.
Coming soon
◷AI Quote Replies: Answer Price Emails from Your Price ListComing soon: build an n8n workflow that answers "how much for..." emails with an AI-drafted quote based on your own price list. Free and step by step.
Coming soon
◷Build an AI Customer Service Bot with ChatGPTComing soon: build a ChatGPT assistant that answers customer questions from your company knowledge base, and says so when it does not know. Free course.
Coming soon
◷AI Content Pipeline: Blog Post Drafts from a Topic ListComing soon: build an n8n pipeline that turns a list of topics into formatted blog post drafts, queued for your review. A free, step by step course.
Coming soon
◷AI Appointment Scheduler with Lovable and n8nComing soon: build a booking form in Lovable connected to an n8n AI agent that confirms, reschedules and sends appointment reminders. Free, step by step.
Coming soon