Build an AI Service Request Form for Your HVAC Company
A homeowner's furnace is blowing cold air and the house is at 58 degrees. Your form should know that is an emergency. In this free lesson you build a service request form for Cedar Ridge Heating & Air in Lovable and connect it to an n8n AI agent that sorts the job, saves the lead to Google Sheets and emails a confirmation.
What you will build
Two pieces that work together. The front is a clean Request Service form built in Lovable with four fields: Name, Email, What do you need?, and Phone. The back is an n8n workflow: a webhook that receives each submission, an AI Agent that reads it, a Google Sheets tool that logs the lead in a sheet called Leads, a Gmail tool that emails the customer, and a Respond to Webhook node that tells the form it worked.
The agent sorts every request into one job type: Repair, Maintenance, Install or Emergency. No heat, no cooling in extreme heat, or water leaking from the system counts as an emergency. The confirmation email names the job type. If the customer mentions a gas smell, the email tells them to leave the house and call the gas company from outside.
Who this is for
HVAC owners and office managers who get requests through a website form, and want those requests sorted and answered even when nobody is at the desk. It is the third HVAC lesson, after the estimate writer and the follow-up agent. You do not need to write code, but it helps to have done the follow-up agent first.
Step by step: what you do
- Build the form: start a Lovable project, paste the form prompt and click Build.
- Webhook trigger: in n8n, start a workflow with On webhook call and set it to respond using a Respond to Webhook node.
- AI Agent: set the prompt source to Define below, paste a template that pulls name, email, request and phone from the form, and paste the system message.
- Chat model: connect the OpenAI Chat Model with your API key and pick gpt-5-mini.
- Sheets tool: create the Leads spreadsheet with Name, Email, Request and Phone columns, sign in with Google, pick the sheet and map each column.
- Gmail tool: add Gmail, sign in and allow the email permissions.
- Respond node and publish: add Respond to Webhook, then publish the workflow.
- Add the secret: copy the webhook's production URL and save it in Lovable as the N8N_WEBHOOK_URL secret.
- Test the form: preview it, fill in test data, click Request Service and check the sheet.
Why it works
The form only collects facts. The AI does the judgment call a good dispatcher makes: a furnace running cold in a 58 degree house is not a routine repair. Keeping the webhook URL in a Lovable secret, not in the page code, means you can change the workflow without rebuilding the form. The Respond node makes the form wait until the agent has finished, so the customer sees 'Request received!' only after the lead is saved.
What the homeowner sees
The Lovable form is kept simple on purpose: a Request Service heading, one line asking what is going on with their heating or cooling, four required fields and a button. The email field is checked for a valid format. While it sends, the button reads Sending. When it works, the homeowner sees 'Request received!' and a note to check their email. If something fails, they see a friendly message asking them to call the office, so an emergency never disappears into a broken form.
A few minutes later a confirmation lands in their inbox that names the job type. For a no-heat call on a cold night, knowing the request was read and marked as an emergency is a big part of good service.
What you need
In the lesson, nothing: it is a practice copy. To build it for real you need a Lovable account for the form, an n8n account for the workflow, an OpenAI API key for the model, and a Google account for Sheets and Gmail. You will reuse the OpenAI key and Google connection from the follow-up agent lesson if you already made them.
How to use this in your HVAC business
Swap in your own company name, service area and emergency rules. During the first heat wave or cold snap, when requests arrive faster than anyone can read them, the emergency tag tells the office which calls to return first. Every lead lands in one sheet, so nothing is lost in an inbox. You can also change the job types to match how you dispatch, for example adding a separate type for maintenance plan members.
The same sheet shows you what kind of work your website brings in. In a mild spring it may be mostly tune-ups and install questions. In a heat wave it fills with no-cool calls. That pattern helps you decide when to push maintenance plans and when to keep a tech free for emergencies.
Frequently asked questions
- Can AI tell which HVAC requests are emergencies?
- In this lesson the agent follows written rules: no heat, no cooling in extreme heat, or water leaking from the system is an emergency. You set the rules, so you can match them to how your company dispatches.
- Is it free to build this?
- Stepthrough is free. Doing it for real needs your own Lovable, n8n, OpenAI and Google accounts, and some of those cost money for ongoing use. Check each tool's pricing.
- Where does the job type go?
- The sheet stores what the customer typed: name, email, request and phone. The AI's job type goes in the confirmation email.
- How does the interactive lesson work?
- Each step is shown to you first on the left (Watch). Then you do it yourself in a practice copy on the right (Your turn), and every click is checked. If you get stuck, press Do it for me. It is a practice copy, so no real accounts are touched.
- What if a customer reports a gas smell?
- The system message tells the agent to include a safety line in the email: leave the house and call the gas company from outside.
More in AI Automation for HVAC
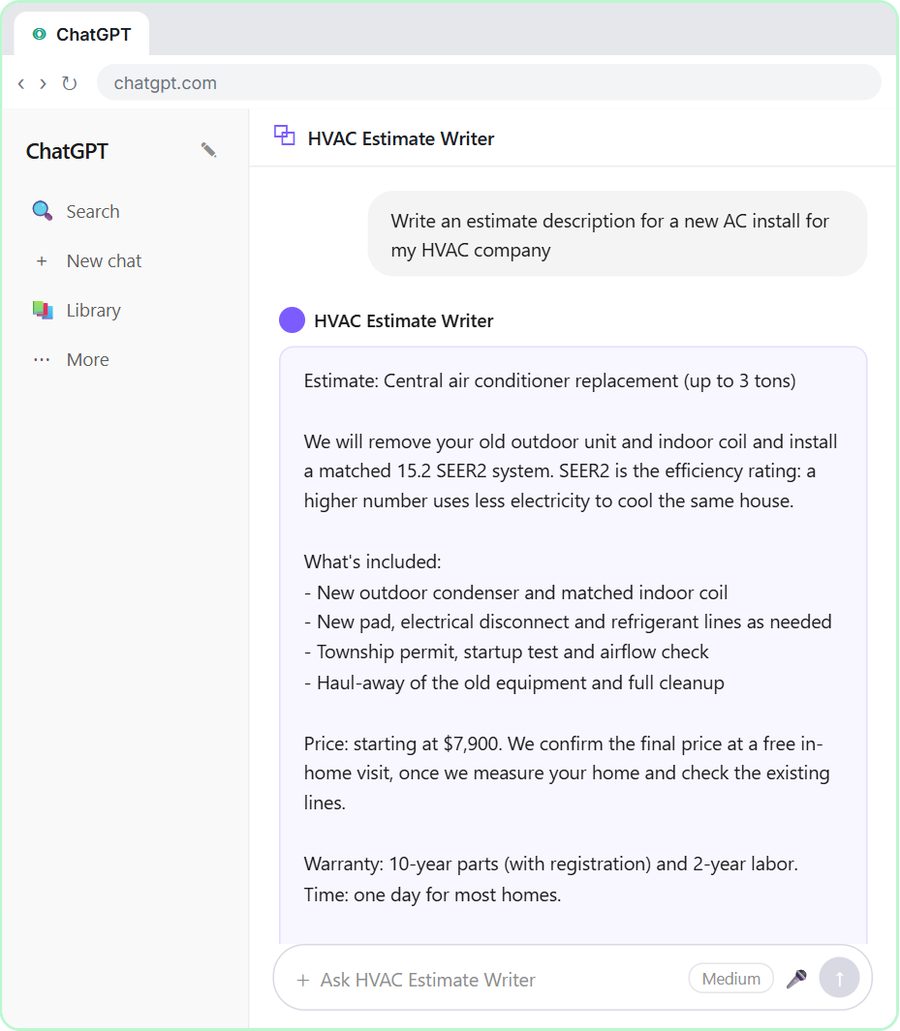 Build an AI Estimate Writer for Your HVAC Company
Build a Custom GPT that turns tech notes into clear HVAC estimates from your own price list. A free, step-by-step ChatGPT lesson for HVAC company owners.
Free · Live
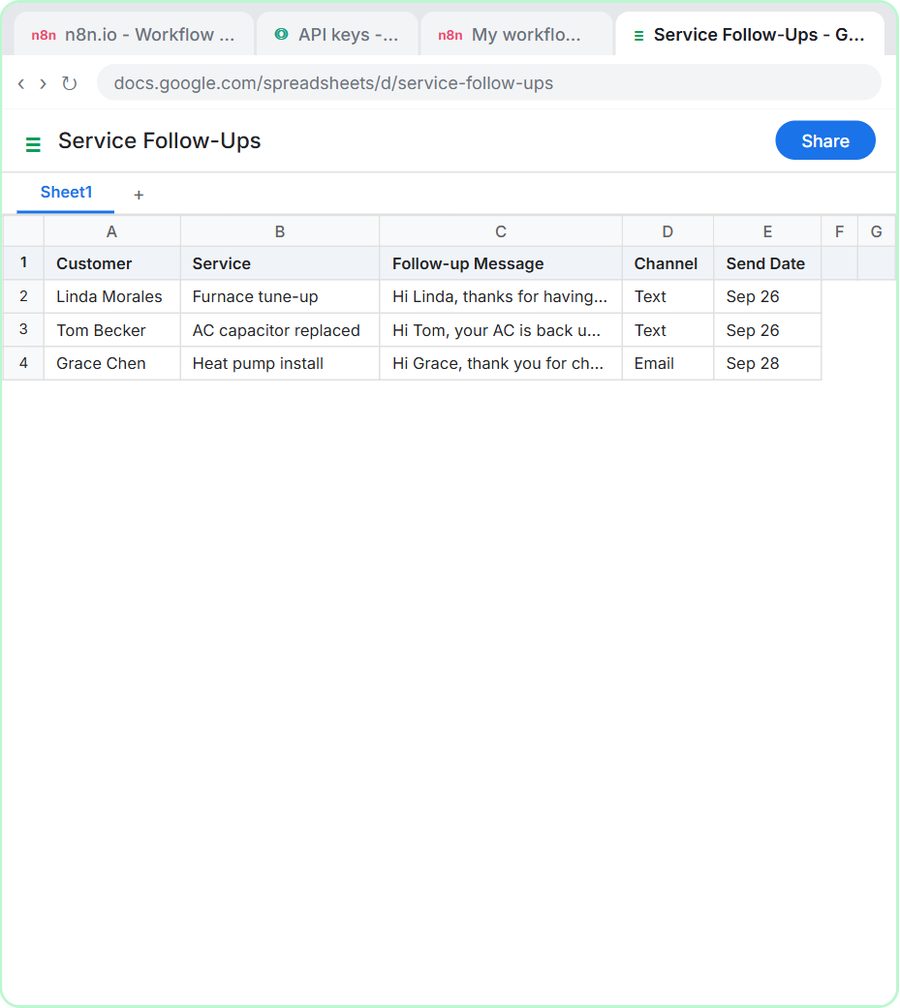 Build an AI Follow-Up Agent for HVAC Service Calls
Build an n8n AI agent that writes follow-up texts and emails after every HVAC service call and saves them to Google Sheets. Free, step by step, no code.
Free · Live