Build a web form with an AI backend, no code
Most website forms just land in an inbox and wait. This one does the work. You describe the form in Lovable, and it builds it.
Slide 1 of 7 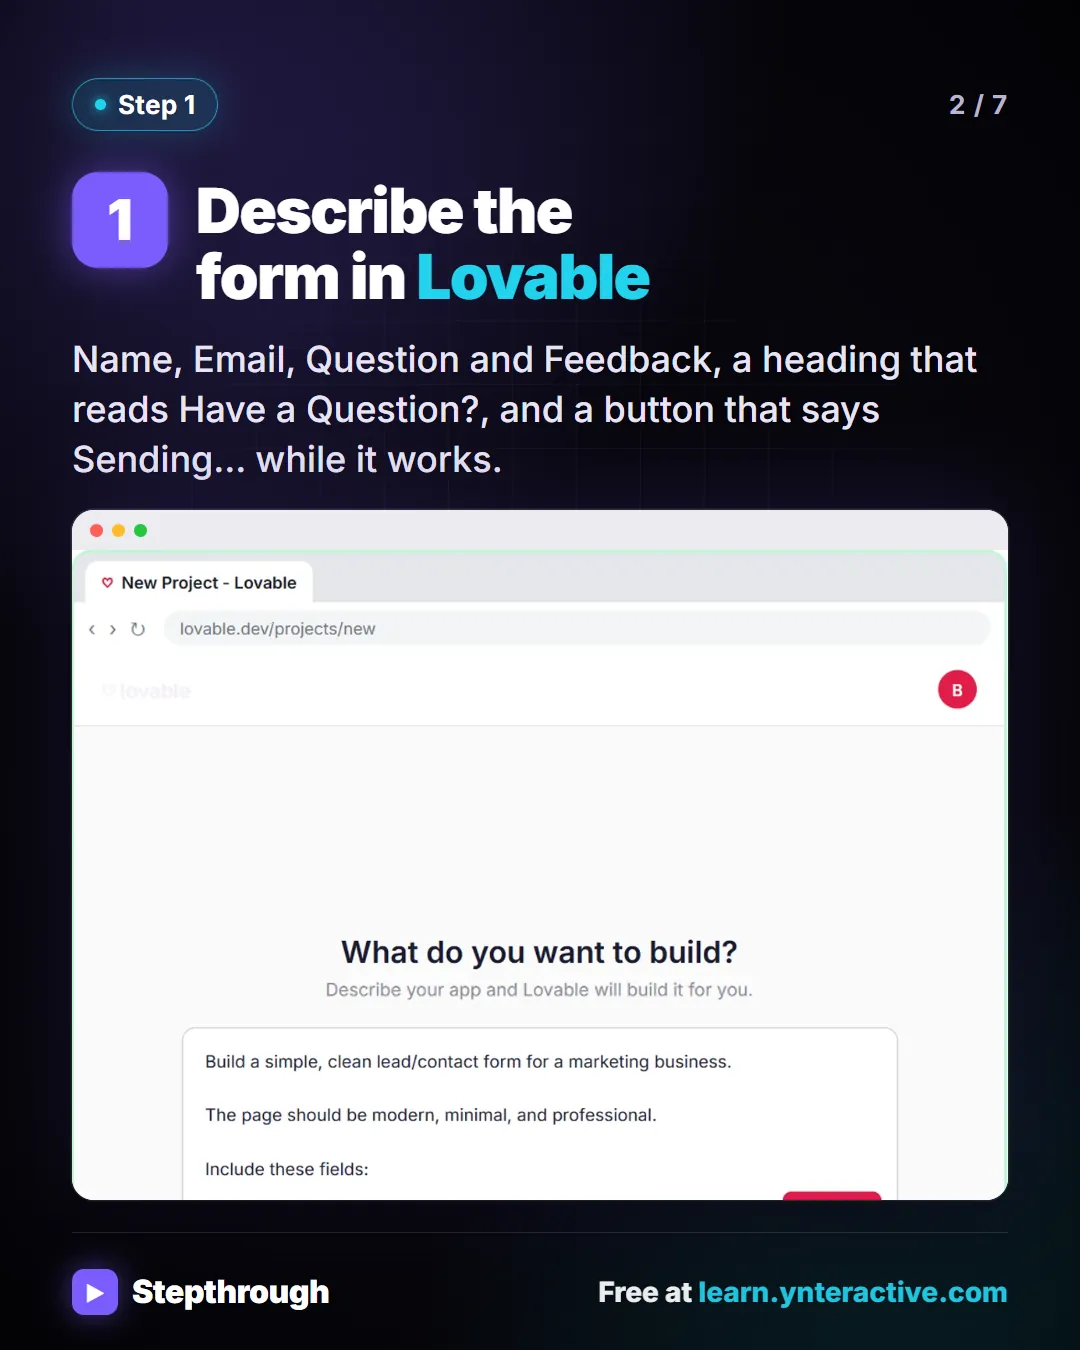
Slide 2 of 7 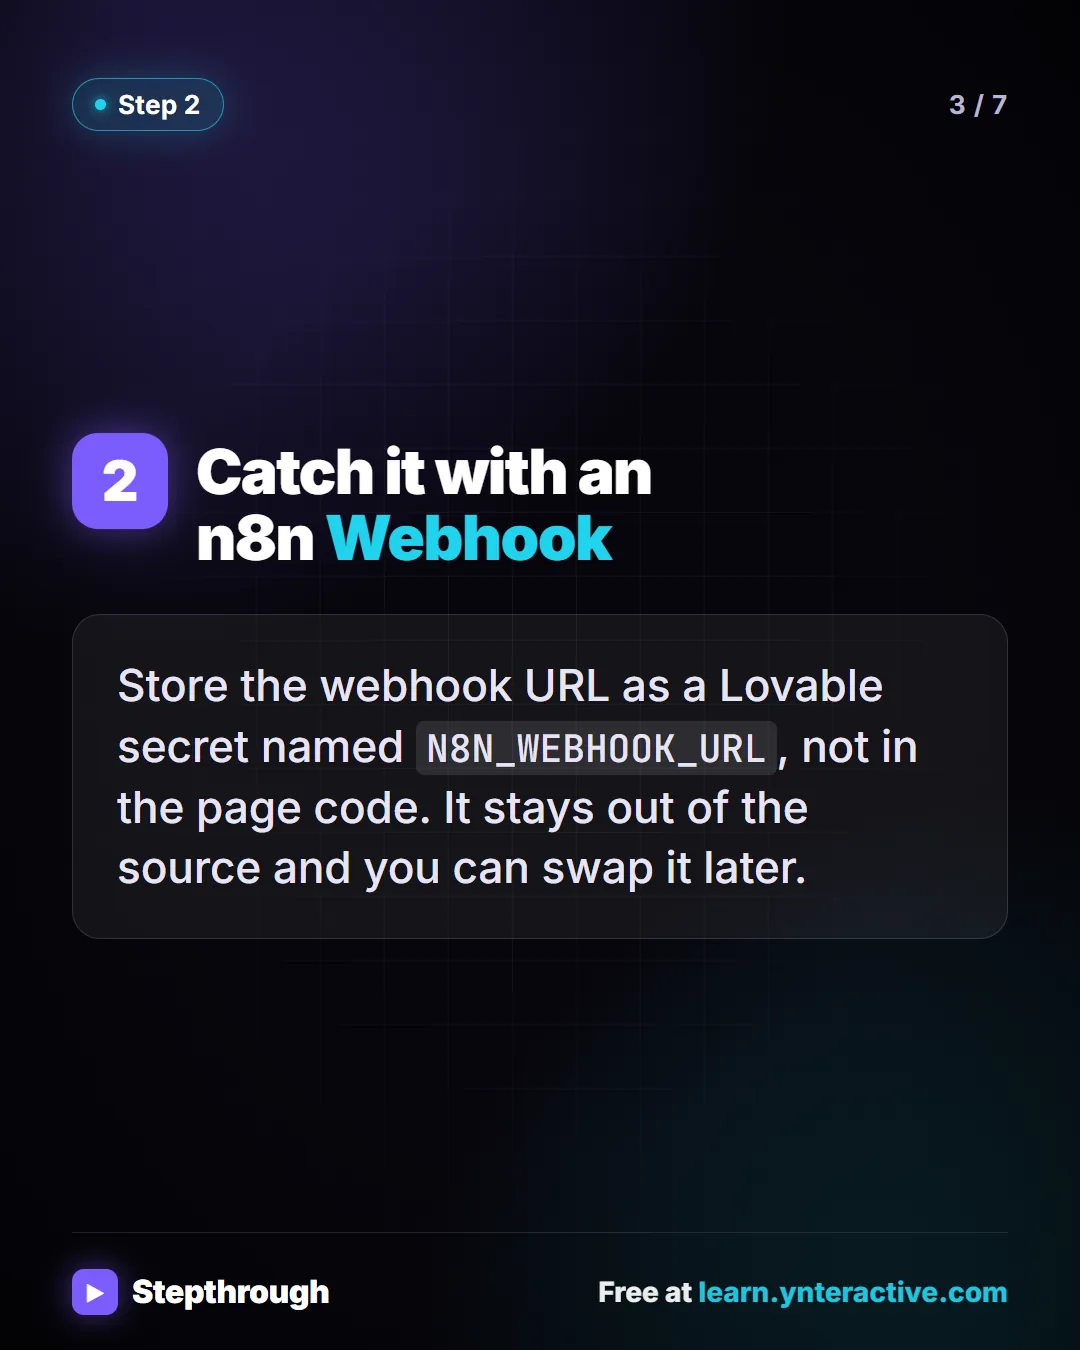
Slide 3 of 7 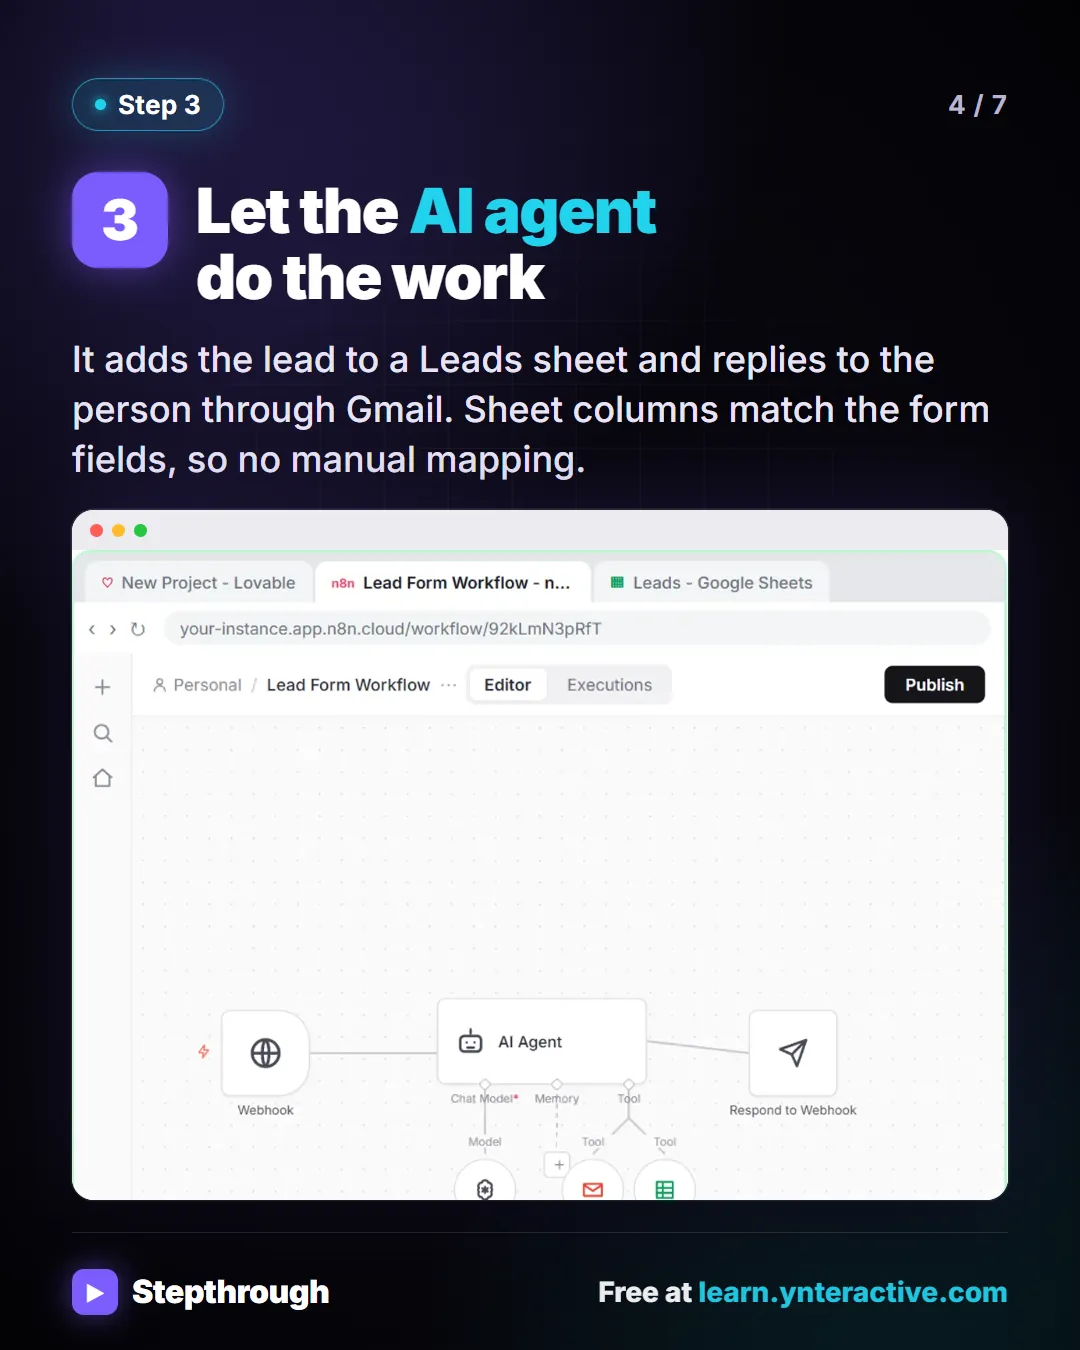
Slide 4 of 7 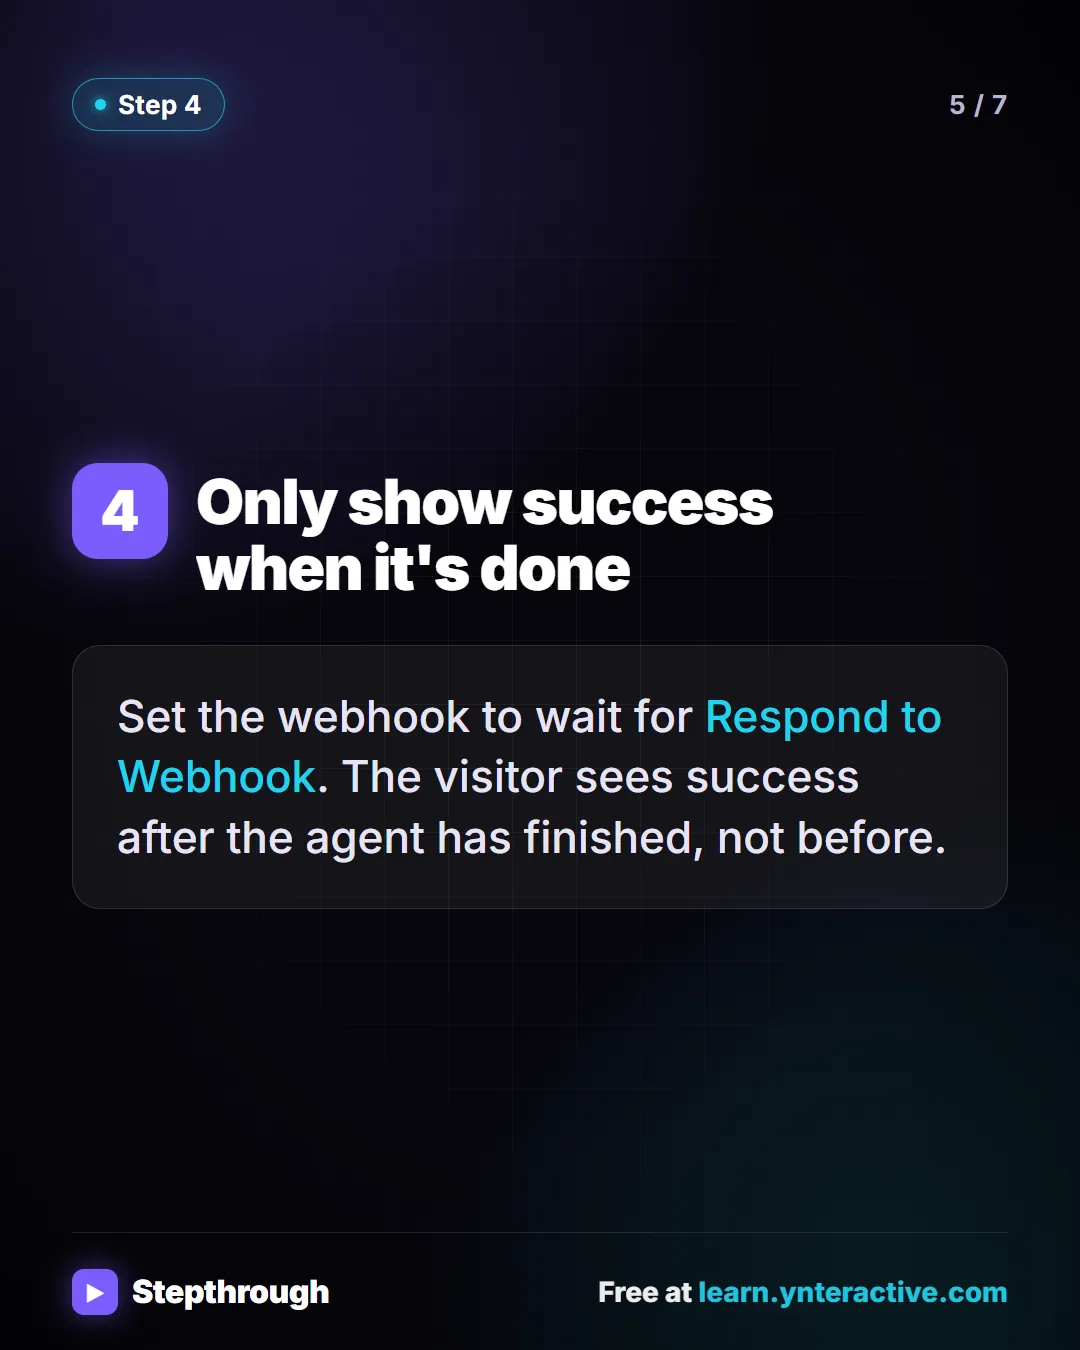
Slide 5 of 7 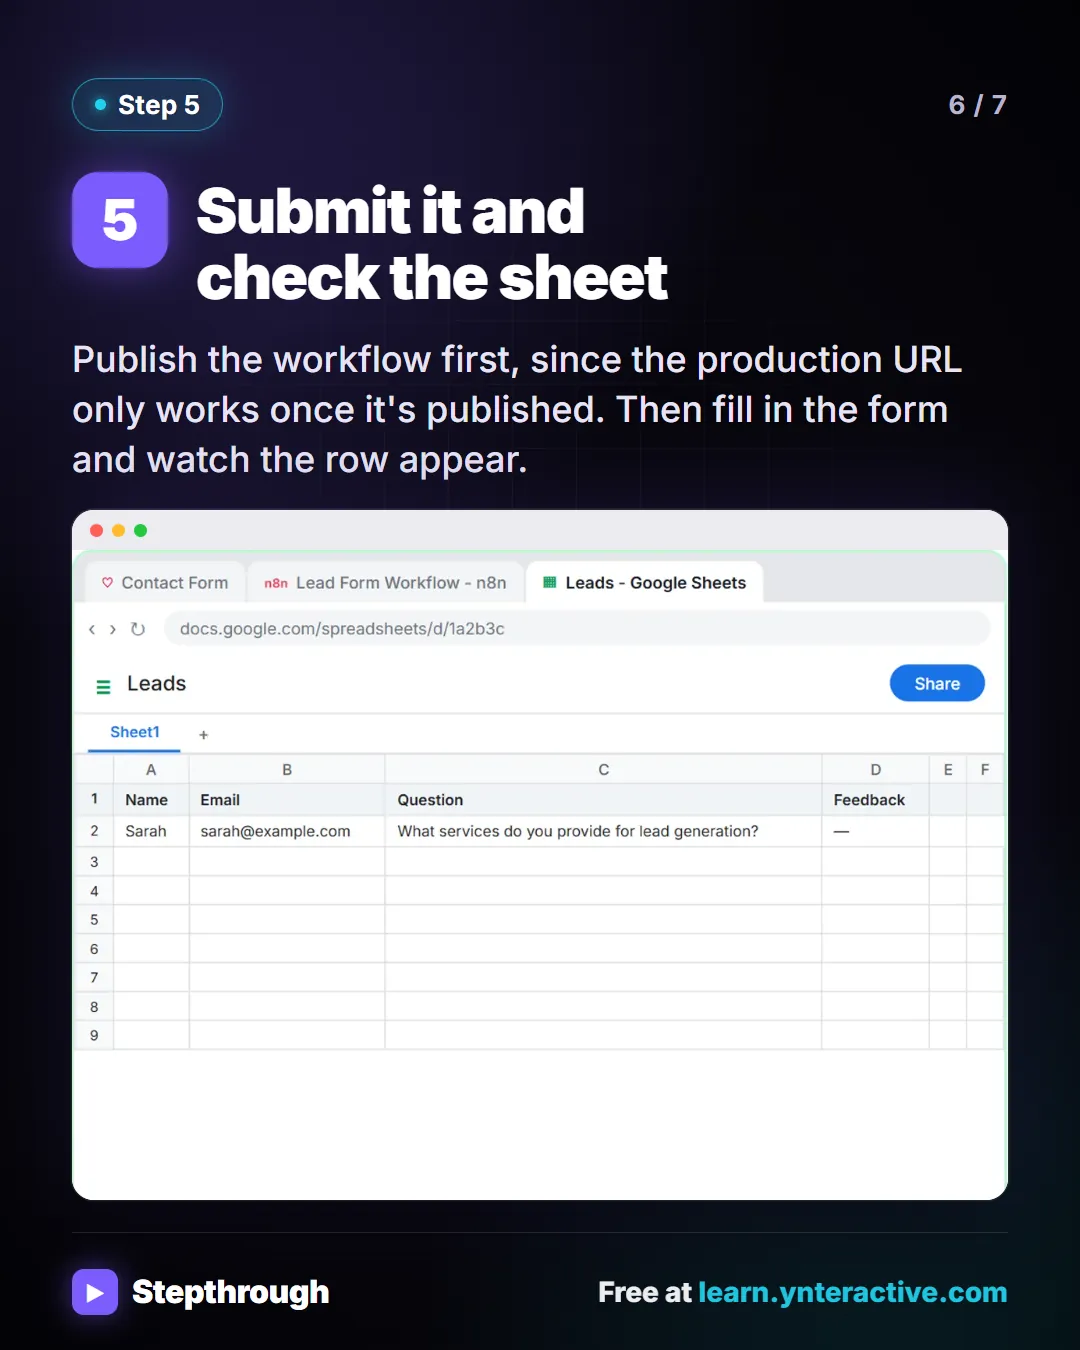
Slide 6 of 7 
Slide 7 of 7
The guide in text
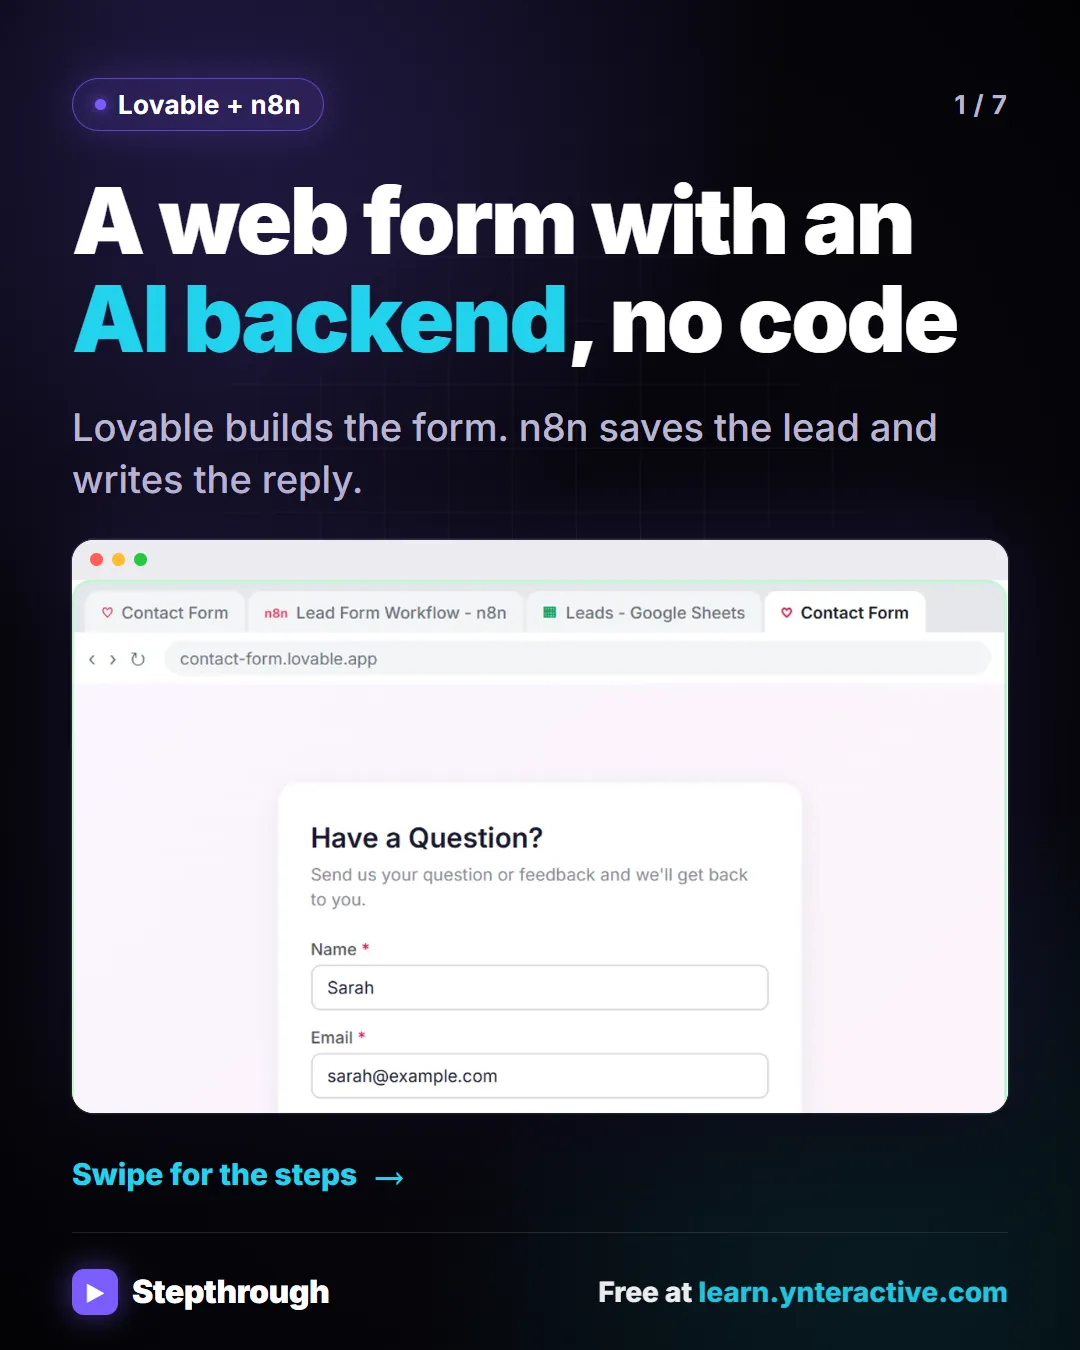
Lovable builds the form. n8n saves the lead and writes the reply.
Step by step
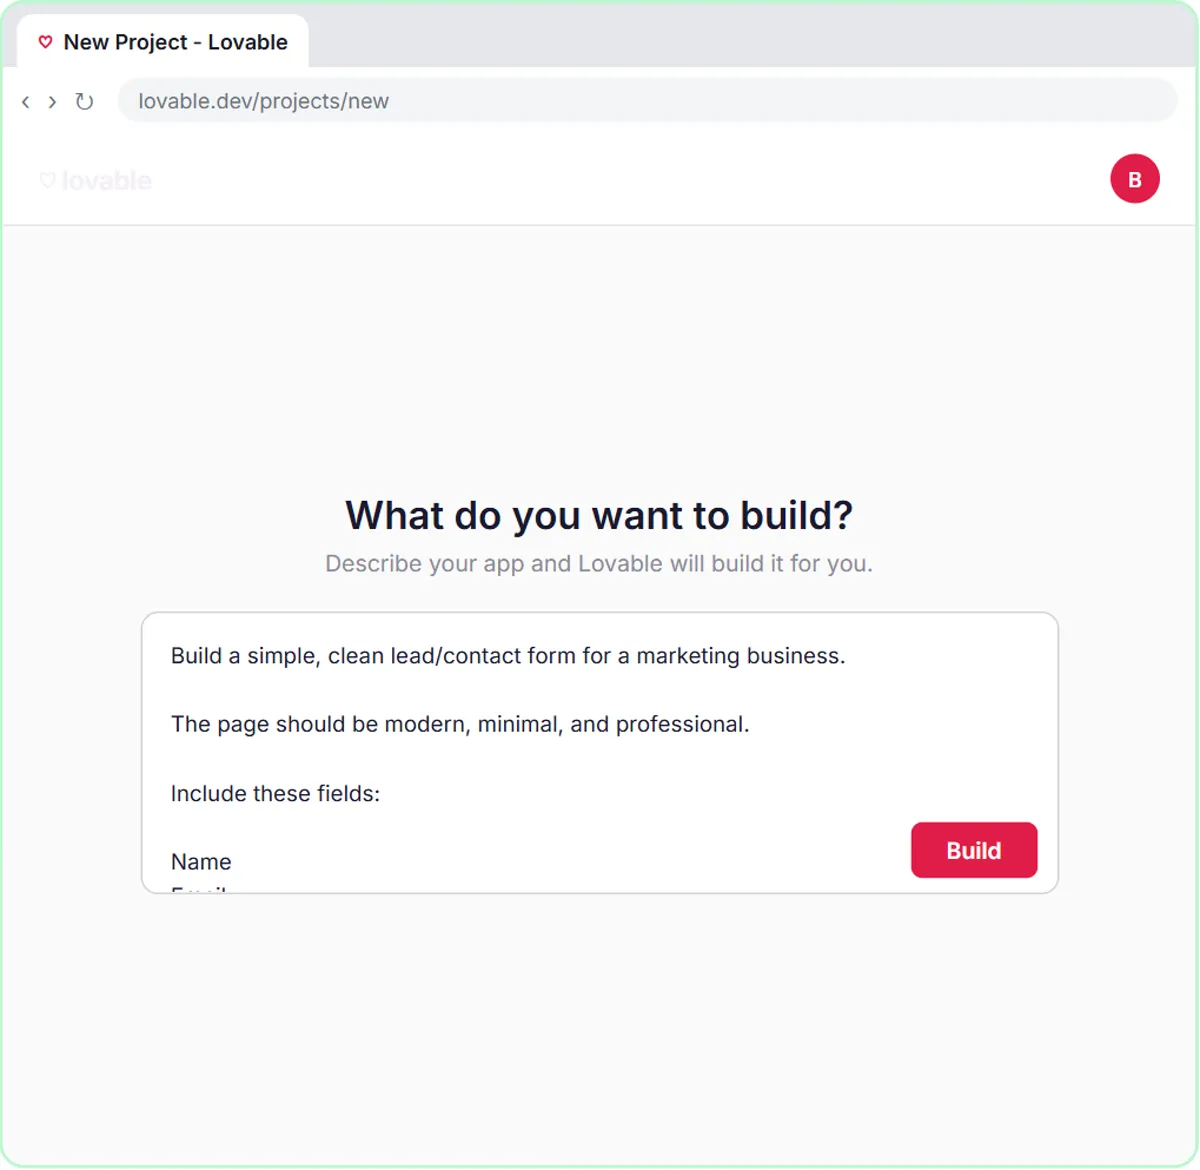
Describe the form in Lovable
Name, Email, Question and Feedback, a heading that reads Have a Question?, and a button that says Sending... while it works.
Catch it with an n8n Webhook
Store the webhook URL as a Lovable secret named
N8N_WEBHOOK_URL, not in the page code. It stays out of the source and you can swap it later.Let the AI agent do the work
It adds the lead to a Leads sheet and replies to the person through Gmail. Sheet columns match the form fields, so no manual mapping.
Only show success when it's done
Set the webhook to wait for Respond to Webhook. The visitor sees success after the agent has finished, not before.
Submit it and check the sheet
Publish the workflow first, since the production URL only works once it's published. Then fill in the form and watch the row appear.
Businesses and people in the examples are made up. The steps, screens and wording come from the free lesson and the Stepthrough glossary and prompt library.
Do it yourself, free
Lovable + n8n: Build a Web App with an AI Backend. Build a contact form in Lovable and connect it to an n8n workflow — webhook trigger, AI Agent, Google Sheets, Gmail, and a Respond node that ties it all together. You do every step yourself in a practice copy of Lovable and n8n, it checks your work as you go, and “Do it for me” finishes any step you get stuck on. Free, and nothing touches your real accounts.
Start the free lessonRelated terms
Plain-English definitions, each with an example from a free lesson.
Related prompts
- Lovable web form prompt: Write a Lovable prompt for a web form that posts to n8n: fields, validation, button states, a thank-you message, and a webhook…
- A/B test plan prompt: Plan one clean A/B test for an email, form or page: a single change, a stated guess, the number that decides the winner and when…
- AI agent system message prompt: Draft the system message for an n8n AI Agent: who it is, what it knows, its rules and how it writes, including a rule never to…
- AI agent test messages prompt: Test an AI agent before launch with realistic messages: normal requests, borderline cases, missing details and tricky ones, each…
From the blog
 What Is Vibe Coding? Build a Real Form with Lovable
Vibe coding means building software by describing it in plain words to an AI. What it is, what it's good for, and a real Lovable form example.
Oct 11, 2026 5 min read
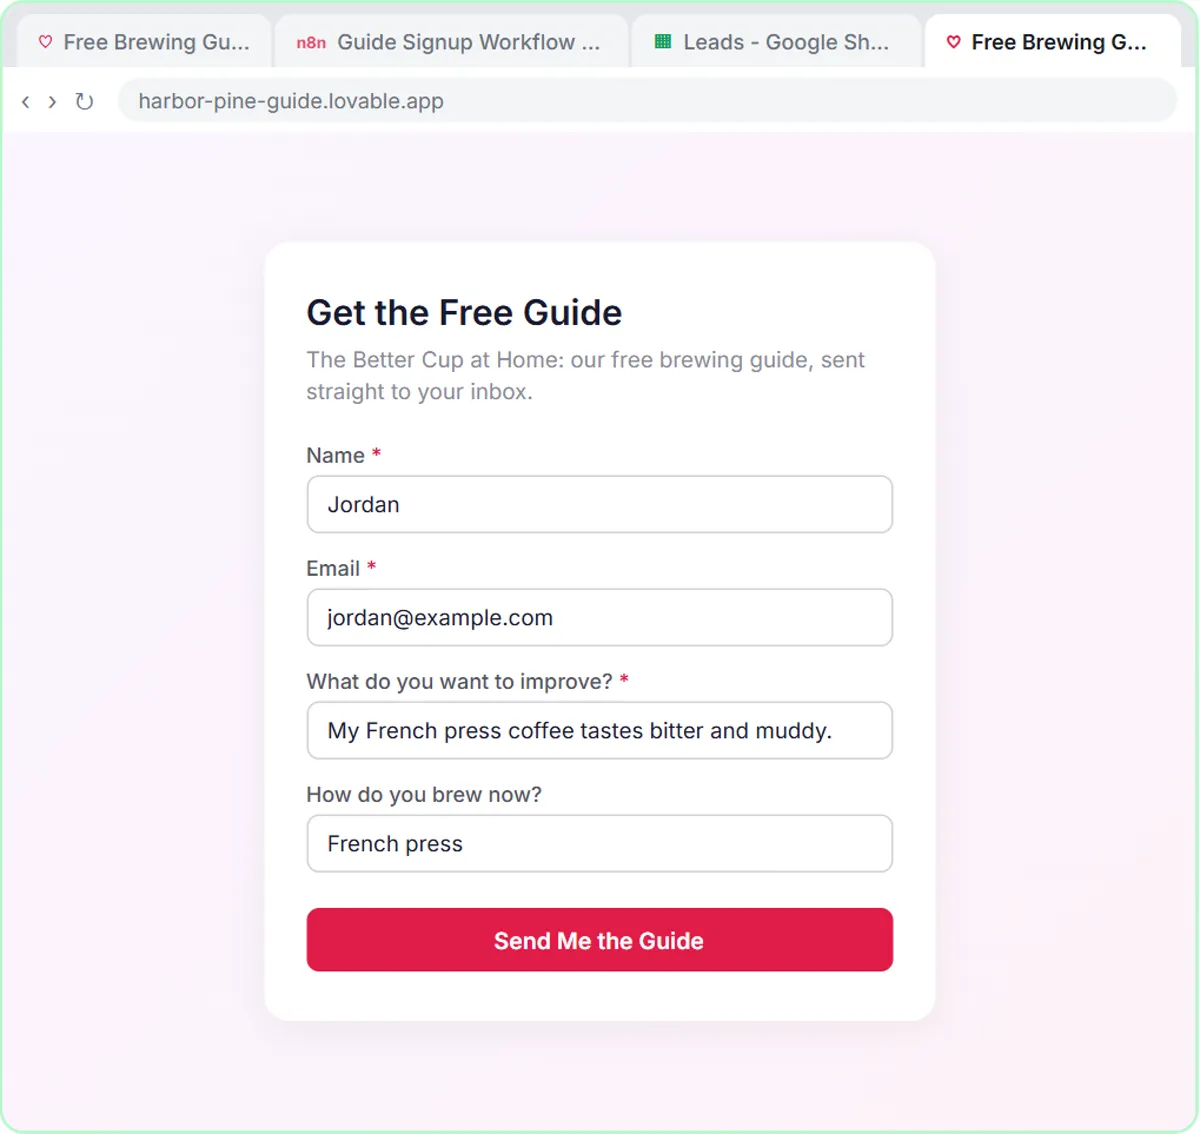 Automate a Lead Magnet Welcome Email with AI
Lead magnet welcome email automation: a signup form sends each lead to an n8n AI agent that tags it, saves it and emails the guide with one tip.
Oct 8, 2026 7 min read
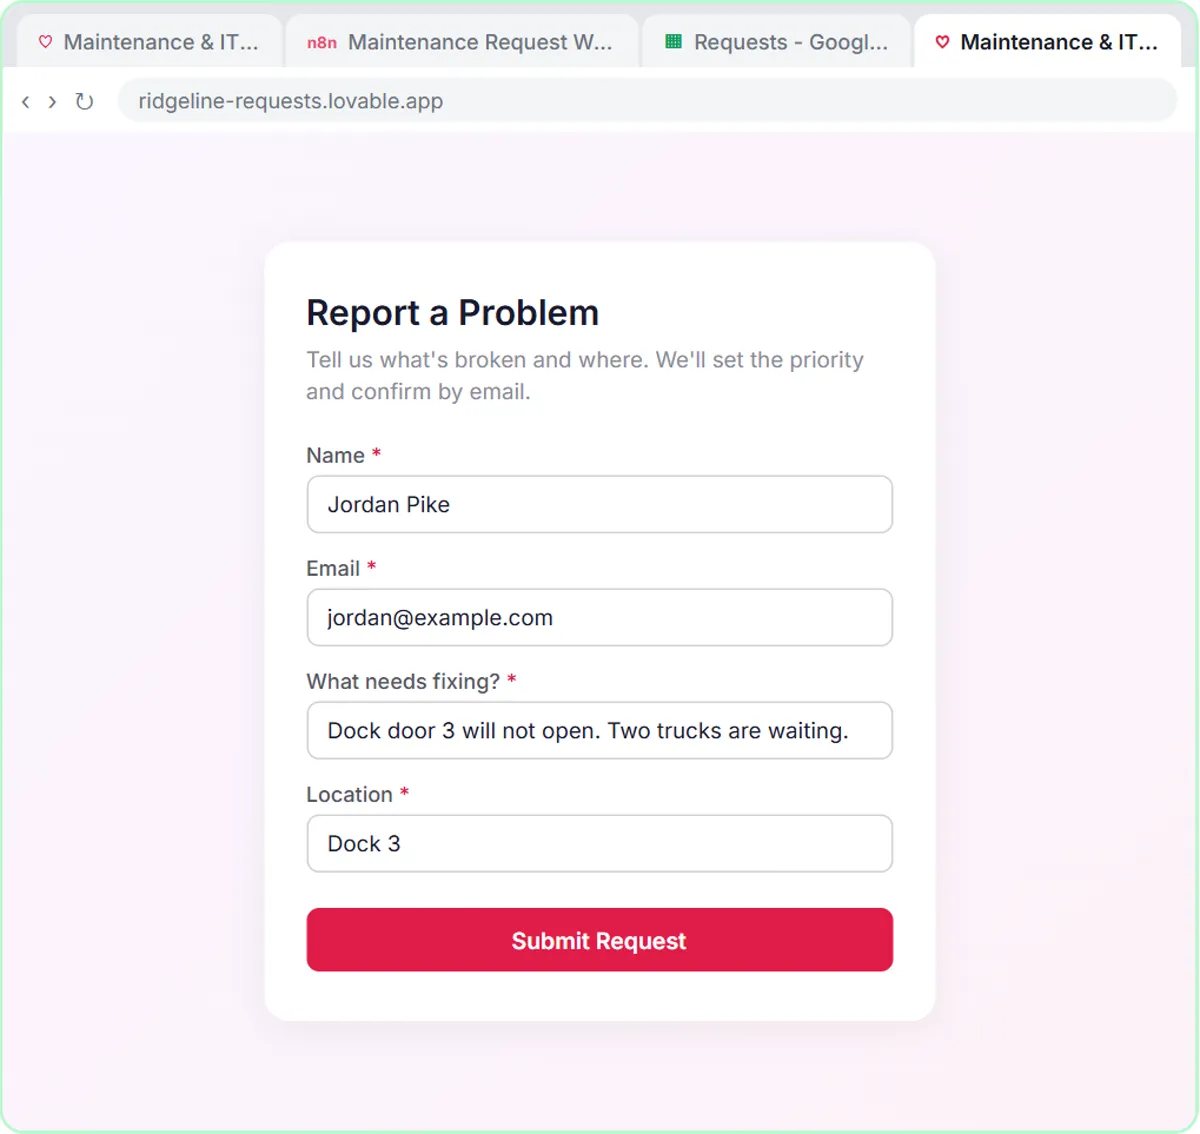 What Is a Webhook? A Plain-English Guide
What is a webhook? A URL that waits for data. See how a website form sends JSON to an n8n webhook, which URL to use, and where webhooks fit in a business.
Oct 2, 2026 7 min read
More visual guides
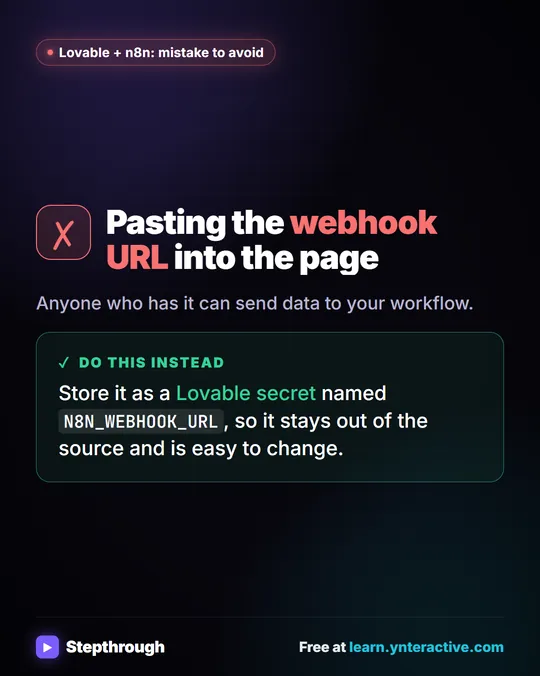 Mistake to Avoid: Pasting a Webhook URL into Your Page
A visual tip: don't paste your n8n webhook URL into the page. Store it as a Lovable secret so it stays out of the source and is easy to change.
Mistake to avoid One graphic
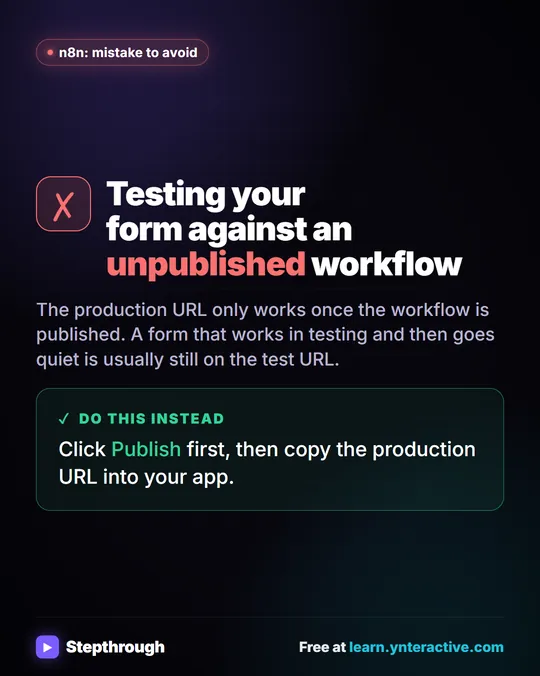 Mistake to Avoid: Testing an Unpublished n8n Workflow
A visual tip: an n8n production webhook URL only works once the workflow is published. Publish first, then copy the URL into your app.
Mistake to avoid One graphic
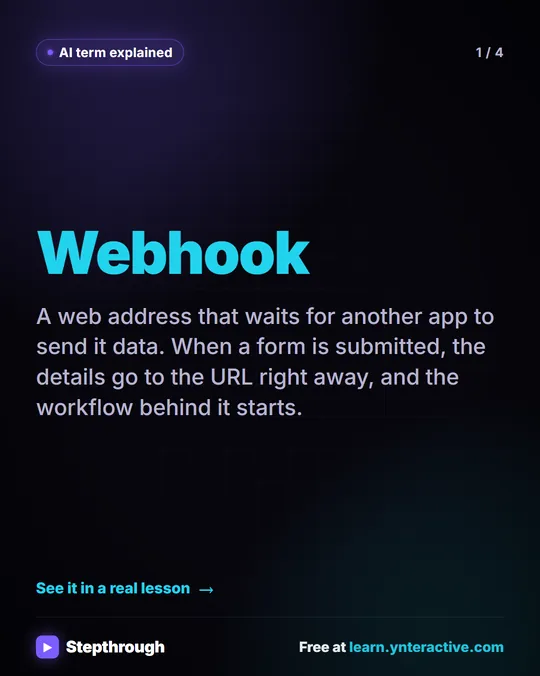 What Is a Webhook? A Visual Guide
A visual guide to webhooks: a web address that waits for another app to send it data, shown in a real Lovable + n8n lesson, with tips to use it safely.
AI term explained 4 slides