Updated . Built against the tool’s current screens and checked step by step. How we check this lesson
Three buttons in the n8n editor do three different jobs, and mixing them up is the most common reason a workflow 'works in the editor' but not for real. In this free lesson you use a practice copy of the n8n editor on a small, already-built workflow for a made-up bookkeeping office: a Webhook catches a new-client form, Edit Fields picks out the email and name, and Google Sheets adds a row. You run one node with Execute step, pin test data, run everything with Execute workflow, publish, copy the Production URL, then change a node and publish again.
At a glance
| Question | Answer |
|---|---|
| What you build | Learn the buttons in today's n8n editor: run one node with Execute step, pin test data, run everything with Execute workflow, then Publish and copy the Production URL. |
| Tools | n8n |
| Time | About 6 minutes, 23 steps in 5 parts |
| Level | Beginner, no coding needed |
| Cost | Free |
| Ways to learn it | Practice it step by step |
The 5 parts, in short
- Execute step: Open a node, Try Execute step, Stop the wait, Close the node.
- Pin test data: Open the Webhook, Add test data, Save it as pinned data, Close the Webhook, and 3 more steps.
- Execute workflow: Execute workflow, Check the real result, Back to n8n.
- Publish: Publish, Open the Webhook, Production URL, Copy it, and 1 more step.
- Change it and publish again: Make a change, Add a field, Close the node, Publish again.
Start here first: Find and Use n8n Templates (module 1 of n8n Automation Toolkit)
In the course: Part 9 · n8n Automation Toolkit (Module 44 of the full course)
Part of: n8n Jump Start (step 2 of 4). Next up: n8n: Talk to Your Google Sheets with ChatGPT (AI Agent)
Execute step: run one node
Open a node and click Execute step at the top of its middle panel. n8n runs that node using the data from the node before it, and shows the result in the OUTPUT panel on the right. It is the fastest way to check one change.
If the node before it has no data yet, the INPUT side says No input data with an Execute previous nodes button. Clicking Execute step anyway makes n8n run the earlier nodes first, and a Webhook trigger then just waits for a test call. Stop it, and pin test data instead.
Pin test data so you stop resending the form
In the Webhook node, click the pencil above the OUTPUT panel, paste a sample submission and save. The banner reads This data is pinned for test executions, and every test run uses it until you unpin it. Form fields arrive inside body, so the email is {{ $json.body.email }}.
Execute workflow: run everything, then check the real result
Execute workflow, at the bottom of the canvas, runs the whole workflow. Each node gets a green check and the lines show how many items passed. A green check means the node ran, not that the output is right, so open the sheet and look at the new row. In the lesson the Service column is blank because no field sends it yet.
Publish and the Production URL
Saving does not turn a workflow on. The Webhook's Test URL only listens while you click Listen for test event in the editor. Click Publish at the top right to make the workflow live, then open the Webhook, switch to Production URL and copy it into your form. The production address has /webhook/ in it, not /webhook-test/.
After you change a node, the live workflow is still the old version. Publish lights up again; click it so real submissions use your change.
Links
- n8n: the workflow tool this lesson teaches.
- n8n docs: data pinning: how pinned test data works.
- n8n docs: Webhook node: Test URL and Production URL.
Try it yourself, free
Reading the steps is a start. Doing them is how it sticks. The interactive module walks you through every click in a practice copy of n8n, checks each step, and never touches your real accounts.
Start “n8n: Execute Step, Execute Workflow and Publish”Step by step: n8n: Execute Step, Execute Workflow and Publish
All 23 steps of the interactive module, in order. In the module you watch each one, then do it yourself in a practice copy that checks your work.
1. Execute step
- Open a node. This workflow is already built: a Webhook gets the intake form, Edit Fields picks out the email and name, and Append row in sheet saves them. Double-click Edit Fields to open it.
This is a small workflow for Maple Street Bookkeeping. A webhook gets the new client form. Edit Fields picks out the email and name. Then a Google Sheets node adds a row.
- Try Execute step. The INPUT side says No input data: the Webhook before it has never run. Click Execute step anyway, at the top of the middle panel.
Look at the left side. It says no input data. The webhook before it has never run.
- Stop the wait. n8n runs the earlier nodes first, so the Webhook is now waiting for a test call that will not come. Click the stop button (the square) next to the spinner.
With no input, n8n runs the earlier nodes first. So now the webhook is waiting for a form to arrive. Nothing is coming.
- Close the node. Instead of waiting for a real form, give the Webhook some test data. Close this node with the X at the top right.
Instead of waiting for a real form, you'll give the webhook some test data. Close this node.
2. Pin test data
- Open the Webhook. Double-click the Webhook node.
- Add test data. The Test URL only works while you test in the editor (that is what Listen for test event does). You can skip the form for now: click the pencil at the top of the OUTPUT panel to type sample data.
See the Test URL. It only listens while you click Listen for test event, here in the editor. You don't need a real form right now.
- Save it as pinned data. A test form submission is already filled in. Notice the form fields sit inside body. Click Save.
Here's a sample form submission. Notice the form fields sit inside body.
- Close the Webhook. The banner says This data is pinned for test executions. From now on, test runs use it instead of waiting. Close the node.
The banner says this data is pinned for test executions. Test runs now use it, instead of waiting for a form. Close the node.
- Open Edit Fields again. The Webhook now shows a pin. Double-click Edit Fields.
The webhook has a little pin on it now.
- Execute step. The INPUT side now shows the pinned data. Click Execute step.
This time the input side shows your test data.
- Read the output, then close. Only this node ran, using the data from the node before it. The OUTPUT panel shows email and name, filled in by {{ $json.body.email }} and {{ $json.body.name }}. Close the node.
Only this one node ran. It used the data from the node before it. On the right, the output shows the email and name. That's what dollar json dot body dot email pulls out. Close the node.
3. Execute workflow
- Execute workflow. Now run everything. Click Execute workflow at the bottom of the canvas.
Now run the whole thing.
- Check the real result. Every node has a green check and 1 item on its line. Green checks mean each node ran, not that the result is right. Open the New clients sheet tab to check.
Every node has a green check. But a green check means the node ran. It doesn't mean the output is right.
- Back to n8n. Row 2 has Dana’s email and name in the right columns. That is the real check. Service is blank: nothing sends it yet. You will fix that after you publish. Go back to the n8n tab.
Row two has the email and name, in the right columns. That's the real check. Service is blank, because nothing sends it yet. You'll fix that later. Go back to the n8n tab.
4. Publish
- Publish. Your work is saved, but saving does not turn the workflow on. Real form submissions only run it once it is published. Click Publish at the top right.
Your work is saved. But saving does not turn it on. Real forms only run it after you publish.
- Open the Webhook. Now the form needs the live address. Double-click the Webhook node.
Now the form needs the live address.
- Production URL. Under Webhook URLs, click Production URL.
- Copy it. The production address has /webhook/ in it, not /webhook-test/. It works all the time while the workflow is published. Click the URL to copy it, then paste it into your form.
The production address says webhook, not webhook test. It works all the time, as long as the workflow is published. That's what goes in your form.
- Close the Webhook. Close the node.
5. Change it and publish again
- Make a change. Now fix the blank Service column. Double-click Edit Fields.
Now fix that blank service column.
- Add a field. Click Add Field. We will fill it in as service = {{ $json.body.service }}.
It becomes service, from dollar json dot body dot service.
- Close the node. Your change is saved in the editor. Close the node.
The change is saved in the editor. Close the node.
- Publish again. The live workflow is still the old version: real forms still skip the service. Publish lights up again because you have changes that are not live. Click Publish.
Here's the catch. The live workflow is still the old version. Real forms still skip the service. Publish is lit up again, because your change isn't live yet.
Frequently asked questions
- What is the difference between Execute step and Execute workflow in n8n?
- Execute step runs the one node you have open, using the data from the node before it. Execute workflow runs every node from the trigger onward.
- Why does my n8n webhook work in the editor but not from my form?
- The Test URL only listens while you test in the editor. Publish the workflow and use the Production URL in your form.
- Do I need to publish again after editing a workflow?
- Yes. Edits are saved, but the live version stays the same until you click Publish again.
- Does the lesson touch my n8n account?
- No. It is a practice copy of the editor. Nothing runs, and no account or sheet is touched.
More in n8n Automation Toolkit
All 4 modules in n8n Automation Toolkit
More n8n tutorials
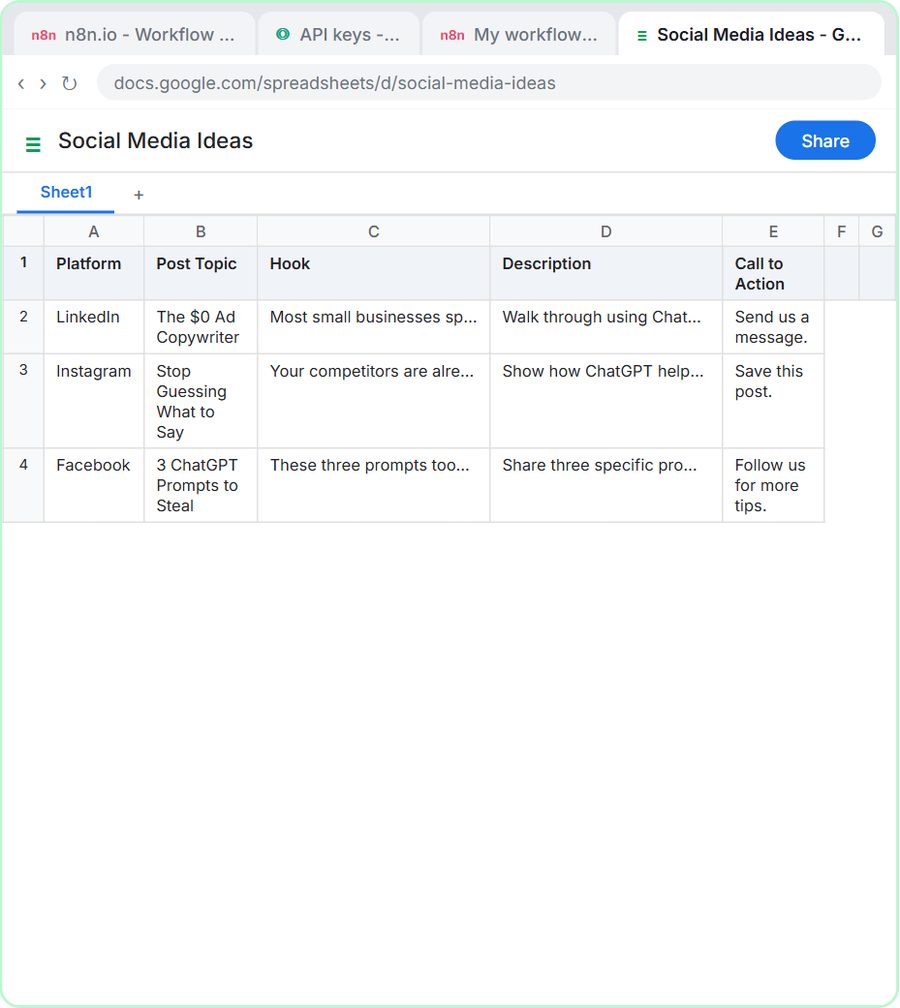 n8n AI Agent Tutorial: Save Social Media Ideas to Google Sheets
Build an AI agent for BrightPath Marketing that generates social media post ideas and saves them to Google Sheets — chat trigger, AI Agent, system prompt, model…
Free · Live ~12 min
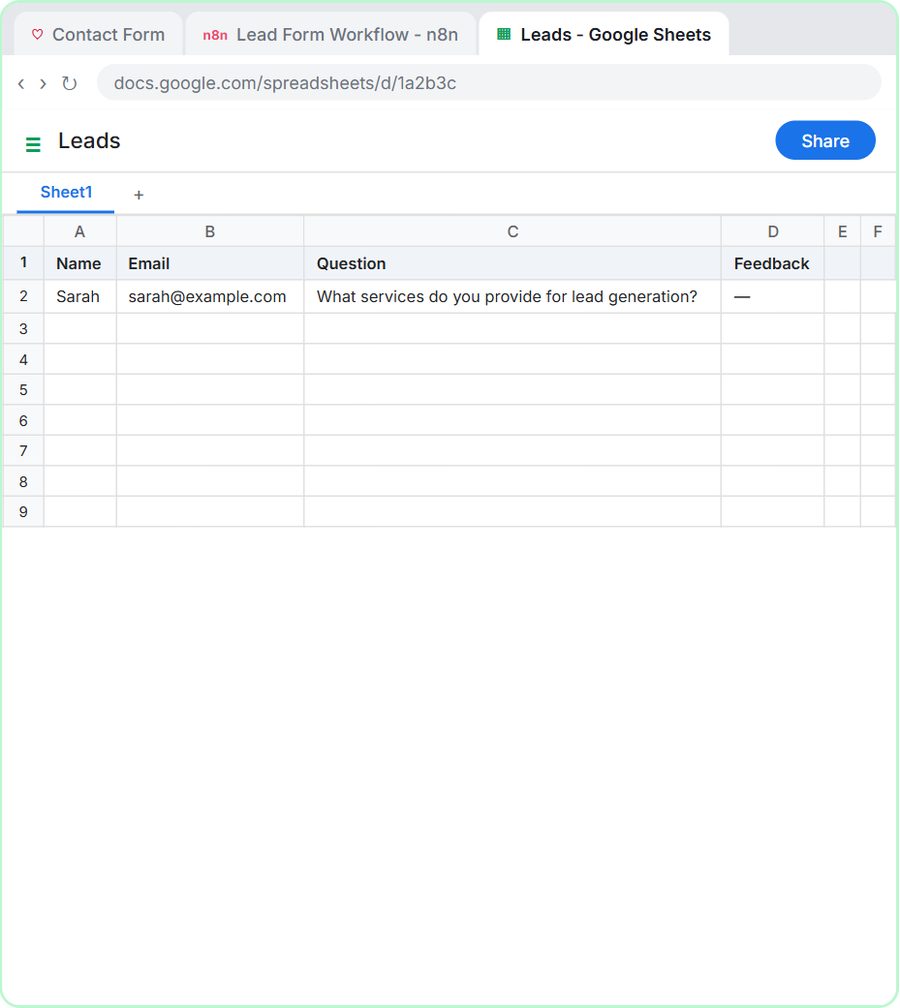 Lovable + n8n: Build a Web App with an AI Backend
Build a contact form in Lovable and connect it to an n8n workflow — webhook trigger, AI Agent, Google Sheets, Gmail, and a Respond node that ties it all together.
Free · Live ~15 min
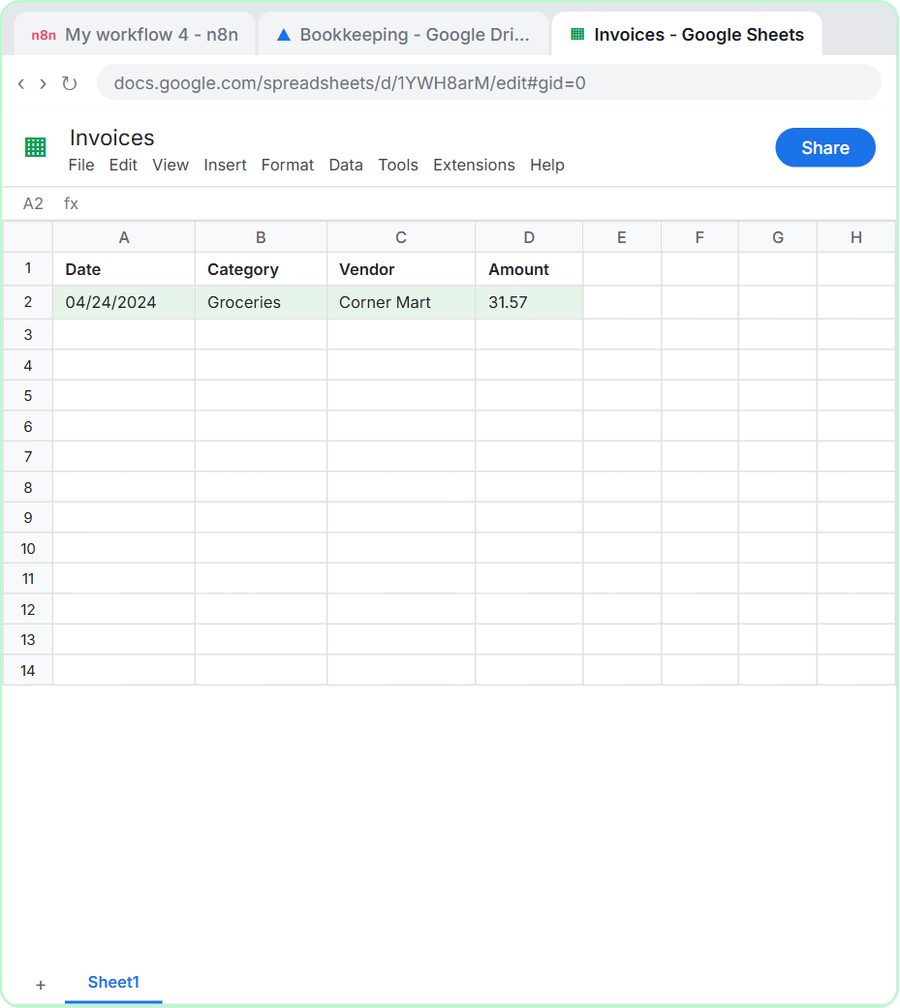 AI Receipt Extractor: Receipts to Google Sheets with n8n
Drop a photo of a receipt into an n8n chat. An AI agent reads it, pulls out the date, vendor and amount, picks a category, and adds a row to Google Sheets.
Free · Live ~12 min
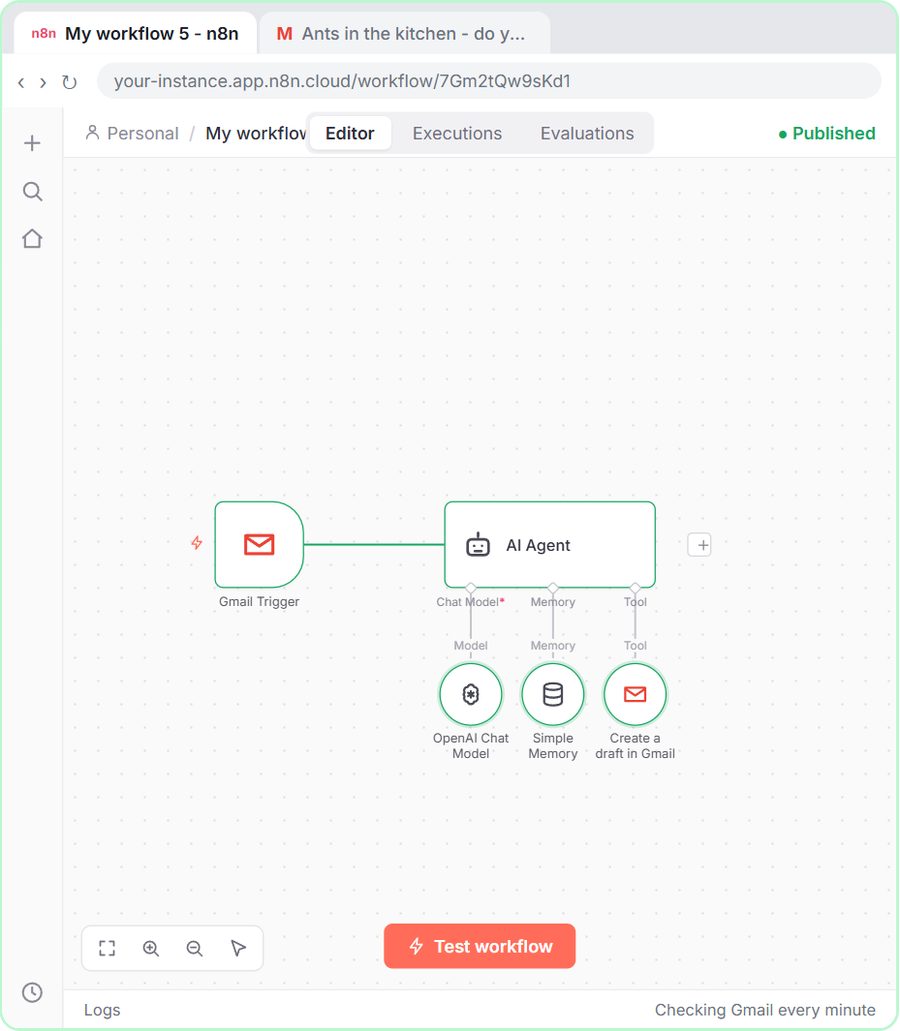 AI Email Responder: Draft Gmail Replies Automatically with n8n
Build an n8n agent that watches your Gmail, reads each new customer email, and writes a reply as a draft in the same thread, ready for you to check and send.
Free · Live ~12 min
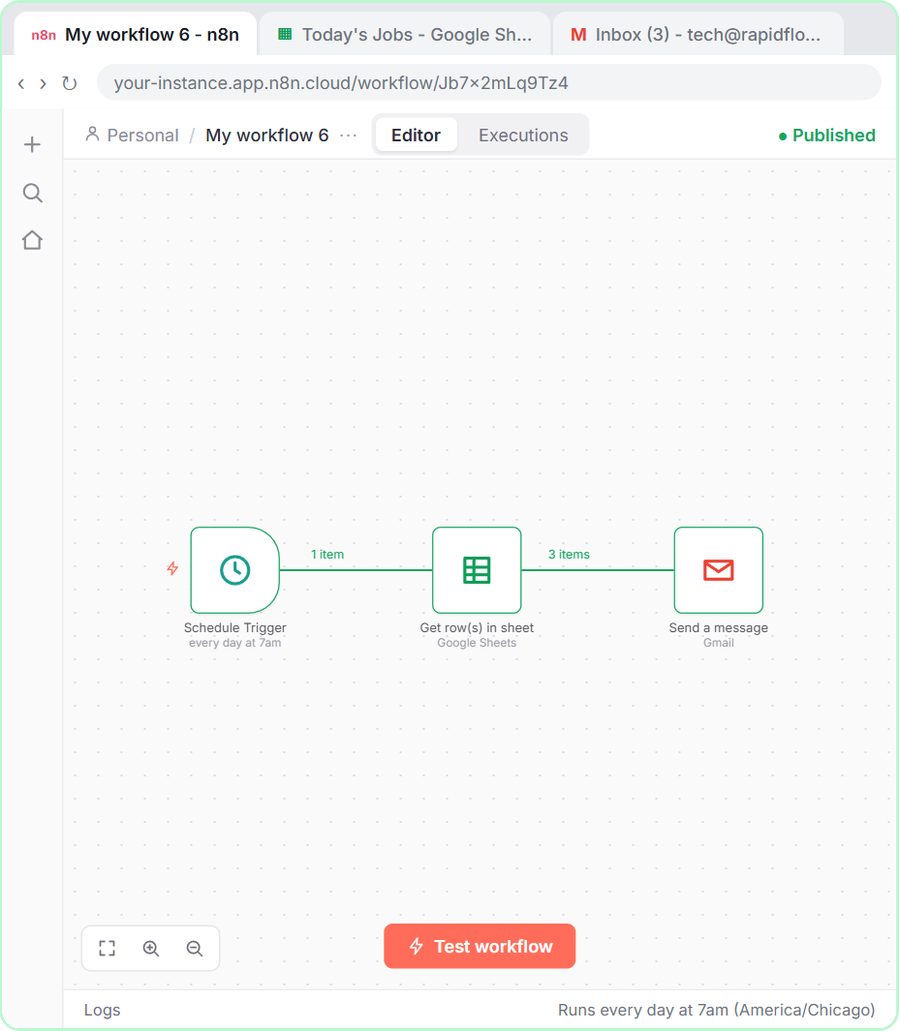 Daily Job Alerts: Email Each Tech Their Jobs from Google Sheets with n8n
Every morning at 7, n8n reads a plumbing company's jobs sheet, skips anything not assigned yet, and emails each job to the tech it's assigned to — customer, address…
Free · Live ~10 min
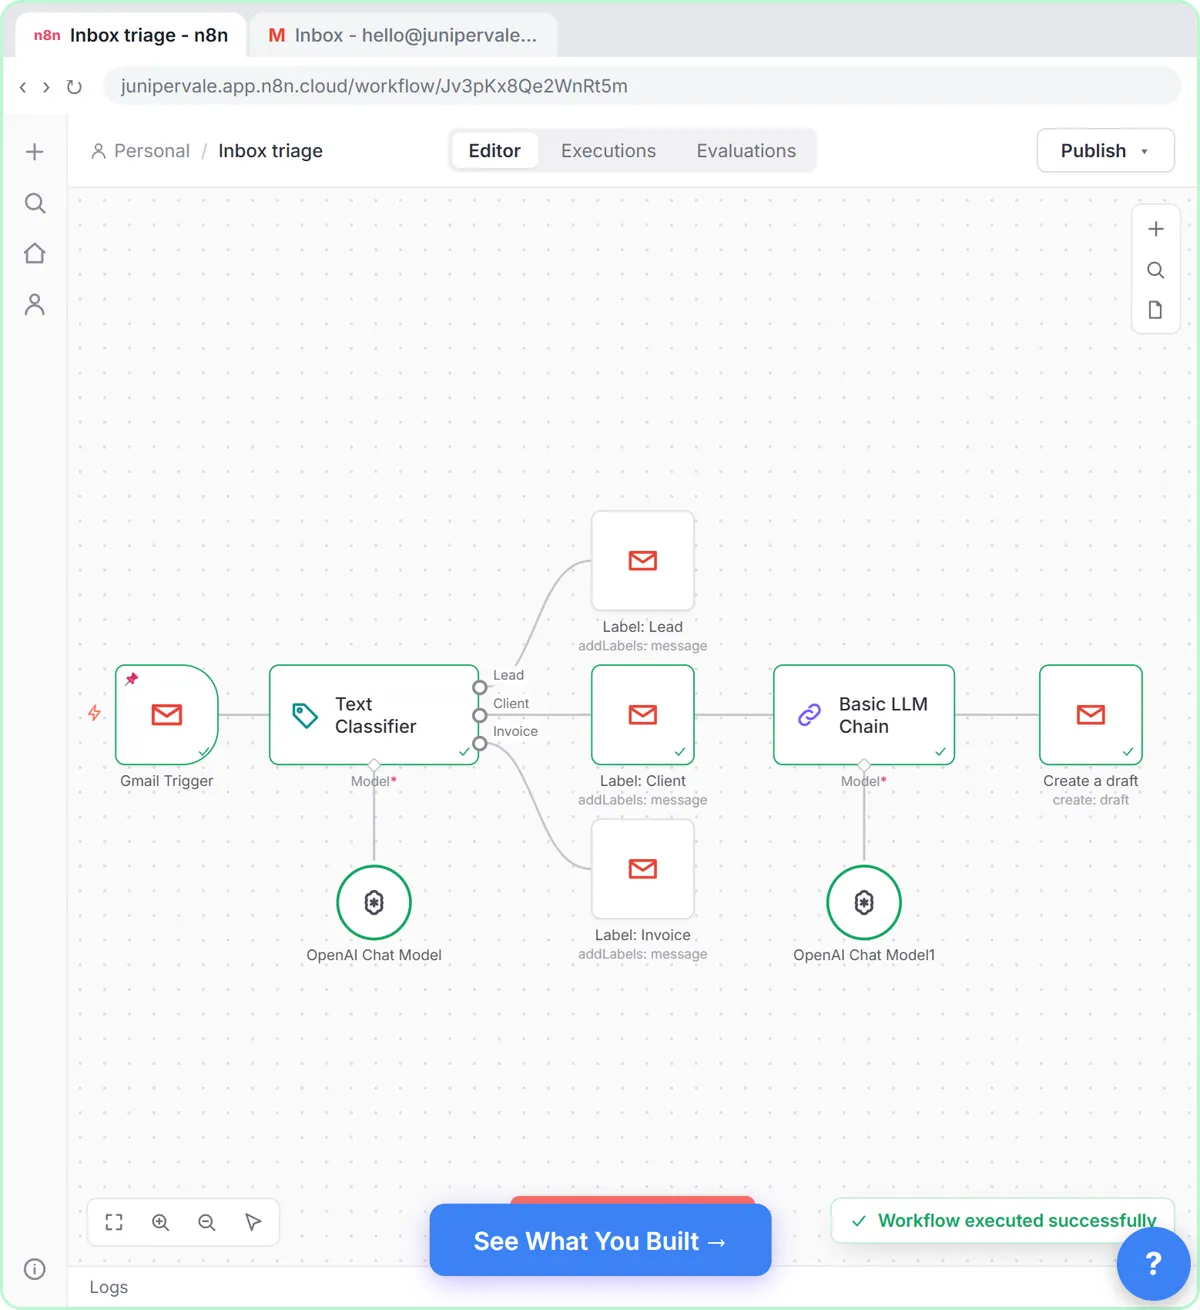 Gmail AI Triage: Auto-Label Every Email and Draft Replies
Build an n8n workflow that reads each new email, sorts it as a lead, a client or an invoice with a Text Classifier, adds the matching Gmail label, and drafts a reply to…
Free · Live ~14 min
Terms in this lesson
Plain-English definitions, each with an example from a free lesson.