Updated . Built against the tool’s current screens and checked step by step. How we check this lesson
Real work needs rules: big jobs go to the owner, small ones go in a log, emergencies skip the line. In n8n, two nodes handle that. The If node asks one yes or no question and sends each item down a true or false branch. The Switch node gives you as many outputs as you need, one per rule, plus a fallback for anything that matches none of them. In this free n8n IF and Switch node tutorial you build both on a real-looking workflow, check the data on every branch and publish.
At a glance
| Question | Answer |
|---|---|
| What you build | Send each request where it belongs. Use an If node to split big jobs from small ones, then a Switch with named outputs and a fallback to route by service. |
| Tools | n8n |
| Time | About 10 minutes, 40 steps in 5 parts |
| Level | Beginner, no coding needed |
| Cost | Free |
| Ways to learn it | Practice it step by step |
The 5 parts, in short
- Send a test request: Run the workflow, Fill in the test form, Pick a service, Enter a budget, and 2 more steps.
- Add an If: Add the next step, Search for If, Pick If, Drag in the budget, and 6 more steps.
- Connect true and false: Connect true, Connect false.
- Add a Switch: Add a step before If, Search for Switch, Pick Switch, First rule: the service, and 14 more steps.
- Wire it up and publish: Connect Emergency, Connect Fallback, Publish, Publish it.
Start here first: Find and Use n8n Templates (module 1 of n8n Automation Toolkit)
In the course: Part 9 · n8n Automation Toolkit (Module 48 of the full course)
Part of: n8n Jump Start (step 3 of 7). Next up: n8n: Talk to Your Google Sheets with ChatGPT, from Zero (Free Credits or API Key, Google, Sheet, Chat)
What you will build
You will finish a workflow for Harbor Point Handyman, a small handyman business that takes service requests through an n8n form. The form asks for a name, a service (Repair, Installation or Emergency) and a budget. Two actions are already set up in the workflow: a Gmail step called Send a message that emails the owner, and a Google Sheets step called Append row in sheet that adds the request to a log. What is missing is the part that decides which action each request should reach.
First you add an If node that checks whether the budget is greater than 1,000. Requests over that go down the true branch to the owner, and everything else goes down the false branch to the log. Then the owner asks for more, so you put a Switch in front of the If. Repairs keep the budget check, emergencies go straight to the owner whatever the budget, and anything else, such as installations, lands in a Fallback output that feeds the log.
Who this n8n If node tutorial is for
This module is for small business owners, office managers and anyone who has built a simple n8n workflow and now wants it to make decisions. You do not need to code, write expressions by hand or have an n8n account to practice. The form and the two actions are ready when you start.
If vs Switch in n8n: when to use which
Use the If node when the question has two answers. It has exactly two outputs, true and false, and every item takes one or the other, never both. You can add more conditions with Add condition and combine them with AND or OR.
Use the Switch node when you need three or more routes. In Rules mode each routing rule gets its own output, numbered 0, 1, 2 until you switch on Rename Output and give it a name. The Switch checks the rules in order and sends an item to the first one that matches, unless you turn on the Send data to all matching outputs option. Without a fallback, items that match no rule are simply dropped. Setting Fallback Output to Extra Output gives them their own output, called Fallback, so nothing disappears without you noticing.
Numbers, text and Convert types where required
Every condition compares value1 with value2 using a comparison from one of six groups: String, Number, Date & Time, Boolean, Array and Object. Pick the group that matches your data. A budget is a number, so it uses Number, is greater than. A service name is text, so it uses String, is equal to.
An n8n form sends a Number field as a real number, so the rule works as it is. Data from other places, such as a webhook, sometimes sends numbers as text. If a condition complains about the type, switch on Convert types where required and n8n will convert the value before it compares.
How to use this in your business
Send high-value leads to a salesperson and the rest to a newsletter list. Flag invoices over a set amount for approval. Route support messages by topic to the right person, with a fallback inbox for anything unexpected. Start with an If, reach for a Switch when the routes grow, and always add a fallback.
How the interactive lesson works
Every step is shown first on the left, in the Watch panel, with a short voice-over. Then you do it yourself on the right, in Your turn, on a practice copy of n8n and its test form. If you get stuck, press Do it for me and the step is done for you. No email is sent and nothing goes online, so you can make mistakes freely, then build it for real.
Try it yourself, free
Reading the steps is a start. Doing them is how it sticks. The interactive module walks you through every click in a practice copy of n8n, checks each step, and never touches your real accounts.
Start “IF and Switch in n8n: Route Work by Rules”Step by step: IF and Switch in n8n: Route Work by Rules
All 40 steps of the interactive module, in order. In the module you watch each one, then do it yourself in a practice copy that checks your work.
1. Send a test request
- Run the workflow. This workflow has a form trigger and two actions that aren't connected yet. To get some real data to route, click Execute workflow.
Harbor Point Handyman's service form is ready, and so are two actions: an email to the owner, and a new row in the request log. Nothing decides which one runs yet. First, get a real request to work with.
- Fill in the test form. n8n opened the test form. Fill it in like a customer: type a name, for example Nora Castillo.
The test version of the form just opened. Fill it in like a customer would.
- Pick a service. Under Service, choose Installation.
For the service, choose Installation.
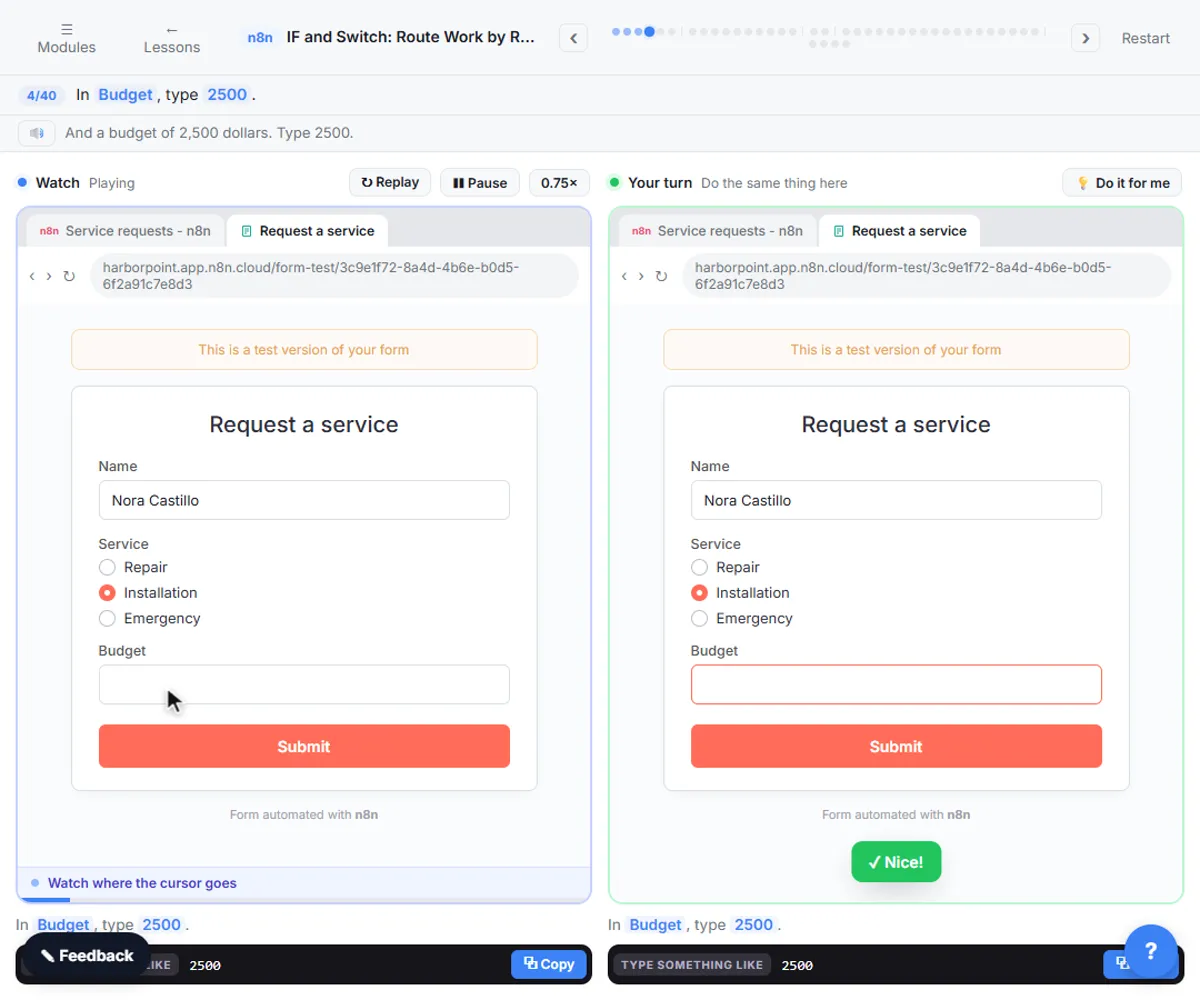
- Enter a budget. In Budget, type 2500.
And a budget of 2,500 dollars.
- Submit. Click Submit.
- Back to n8n. Go back to the n8n tab.
Now go back to n8n. The form step has a green check: the request came in.
2. Add an If
- Add the next step. Click the + on the right of On form submission.
Big jobs should go to the owner, and everything else into the log. That is a yes or no question, which is what the If node is for.
- Search for If. In Search nodes..., type if.
Search for if.
- Pick If. Choose If: *Route items to different branches (true/false)*.
It sends each item down one of two branches: true, or false.
- Drag in the budget. Under Conditions, the first box is value1. Drag Budget from the input on the left into it. (Here, click Budget.)
The condition reads like a sentence: value 1, a comparison, value 2. n8n sees that it's a number and switches the comparison to Number.
- Open the comparison. Open the comparison drop-down, which now says is equal to.
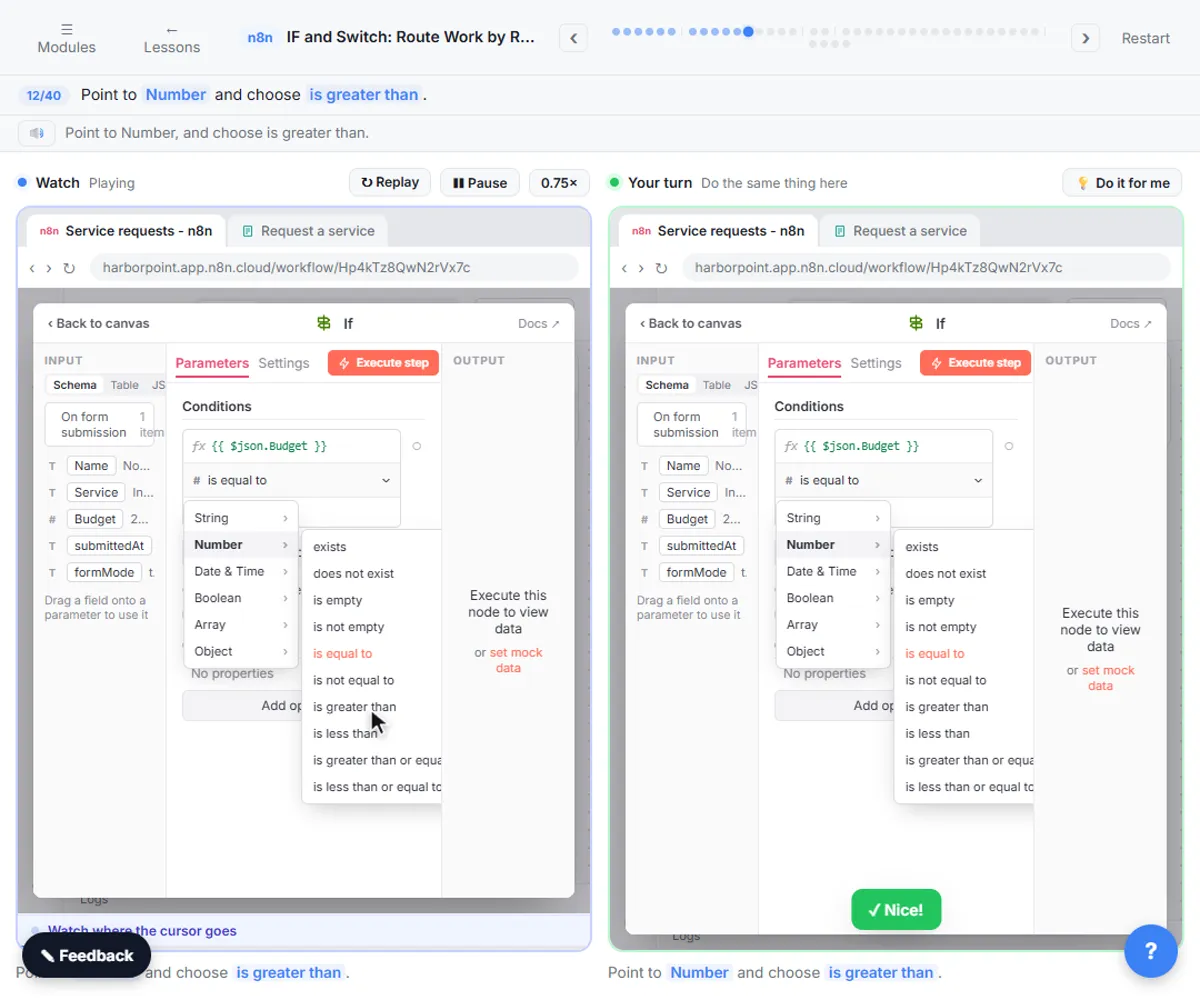
- Is greater than. Point to Number and choose is greater than.
- Set the limit. In value2 (n8n fills in 0 for numbers), replace it with 1000.
In value 2, type 1000. So the rule is: budget is greater than 1,000.
- Execute step. Click Execute step to try the rule on the test request.
Try it on the test request.
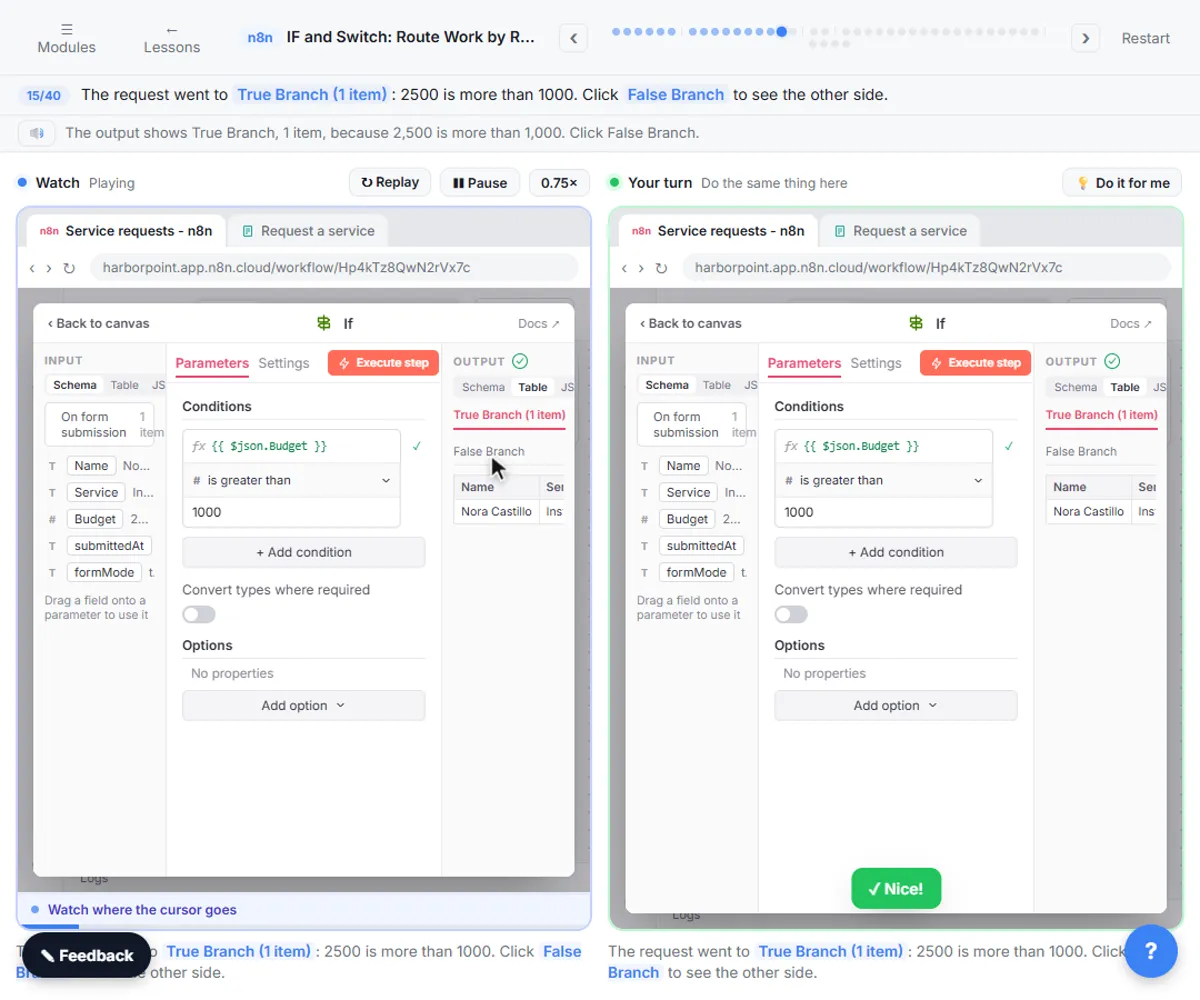
- Check the false branch. The request went to True Branch (1 item): 2500 is more than 1000. Click False Branch to see the other side.
The output shows True Branch, 1 item, because 2,500 is more than 1,000.
- Close the node. Nothing went down the false branch this time. Close the node with the × at the top right.
Nothing went this way this time. Each item takes one branch or the other, never both. Close the node.
3. Connect true and false
- Connect true. The If node has two outputs, true and false. Drag from the true dot to Send a message. (Here, click the dot.)
The If node has two outputs, true and false.
- Connect false. Drag from the false dot to Append row in sheet.
Big jobs now email the owner. Everything else goes in the log.
4. Add a Switch
- Add a step before If. Now the owner wants emergencies sent straight to them, whatever the budget. Point to the line between the form and If, and click its + (Add node).
Now the owner wants more: emergencies should reach them right away, whatever the budget. Two roads aren't enough anymore, so add a Switch in front of the If. Point to the line between the form and If, and click the plus.
- Search for Switch. Type switch.
Search for switch.
- Pick Switch. Choose Switch: *Route items depending on defined expression or rules*.
It lands on that line, so the form now feeds the Switch, and the Switch feeds the If.
- First rule: the service. Mode is Rules: one rule per output. In the first rule, drag Service into value1. (Here, click Service.)
Mode is set to Rules: each rule gets its own output. In the first rule, drag Service into value 1. It is text, so is equal to is right.
- Repair. In value2, type Repair.
In value 2, type Repair.
- Rename Output. Outputs are numbered 0, 1, 2 until you name them. Switch on Rename Output.
Outputs are just numbered 0, 1, 2 until you name them. Switch on Rename Output.
- Name it. In Output Name, type Repair.
Name it Repair.
- Add Routing Rule. Click Add Routing Rule.
- Second rule. Drag Service into the new rule's value1. (Here, click Service.)
- Emergency. In value2, type Emergency.
This time, type Emergency.
- Rename Output. Switch on Rename Output.
- Name it. In Output Name, type Emergency.
And name it Emergency.
- Add option. What about installations and anything else? Under Options, click Add option.
What about installations, or anything else? By default, items that match no rule are dropped. Under Options, click Add option.
- Fallback Output. Choose Fallback Output.
- Open Fallback Output. It starts at None (default): items that match no rule are ignored. Open the drop-down.
It starts at None, which means those items are ignored.
- Extra Output. Choose Extra Output: *Items will be sent to the extra, separate, output*.
Now anything that matches no rule gets its own output, called Fallback.
- Execute step. Click Execute step to route the test request.
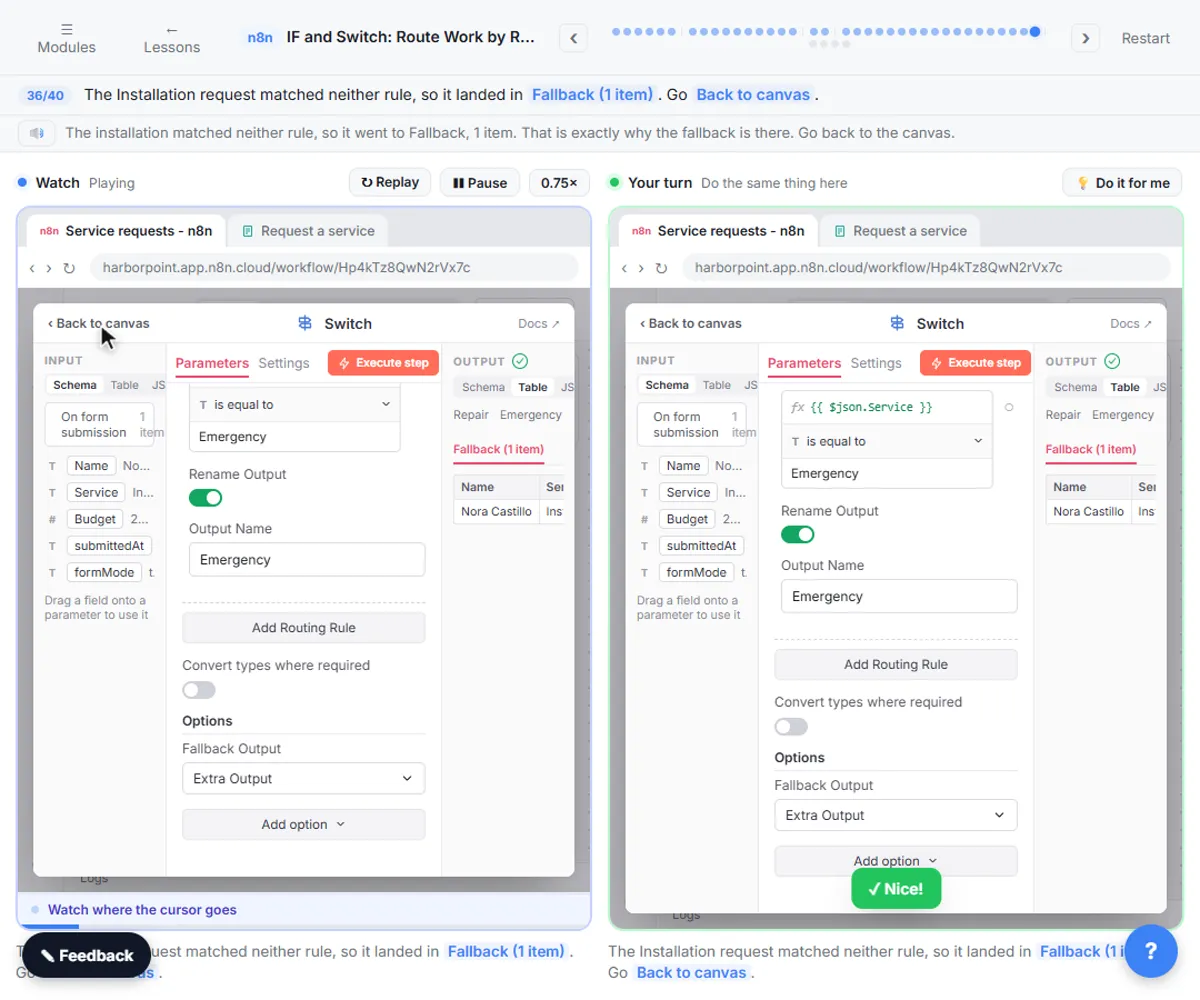
- Close the node. The Installation request matched neither rule, so it landed in Fallback (1 item). Close the node with the ×.
The installation matched neither rule, so it went to Fallback, 1 item. That is exactly why the fallback is there. Close the node.
5. Wire it up and publish
- Connect Emergency. Repair is already connected to If, so repairs still get the budget check. Drag from Emergency to Send a message. (Here, click the dot.)
Repair is already connected to the If, so repairs still get the budget check.
- Connect Fallback. Drag from Fallback to Append row in sheet.
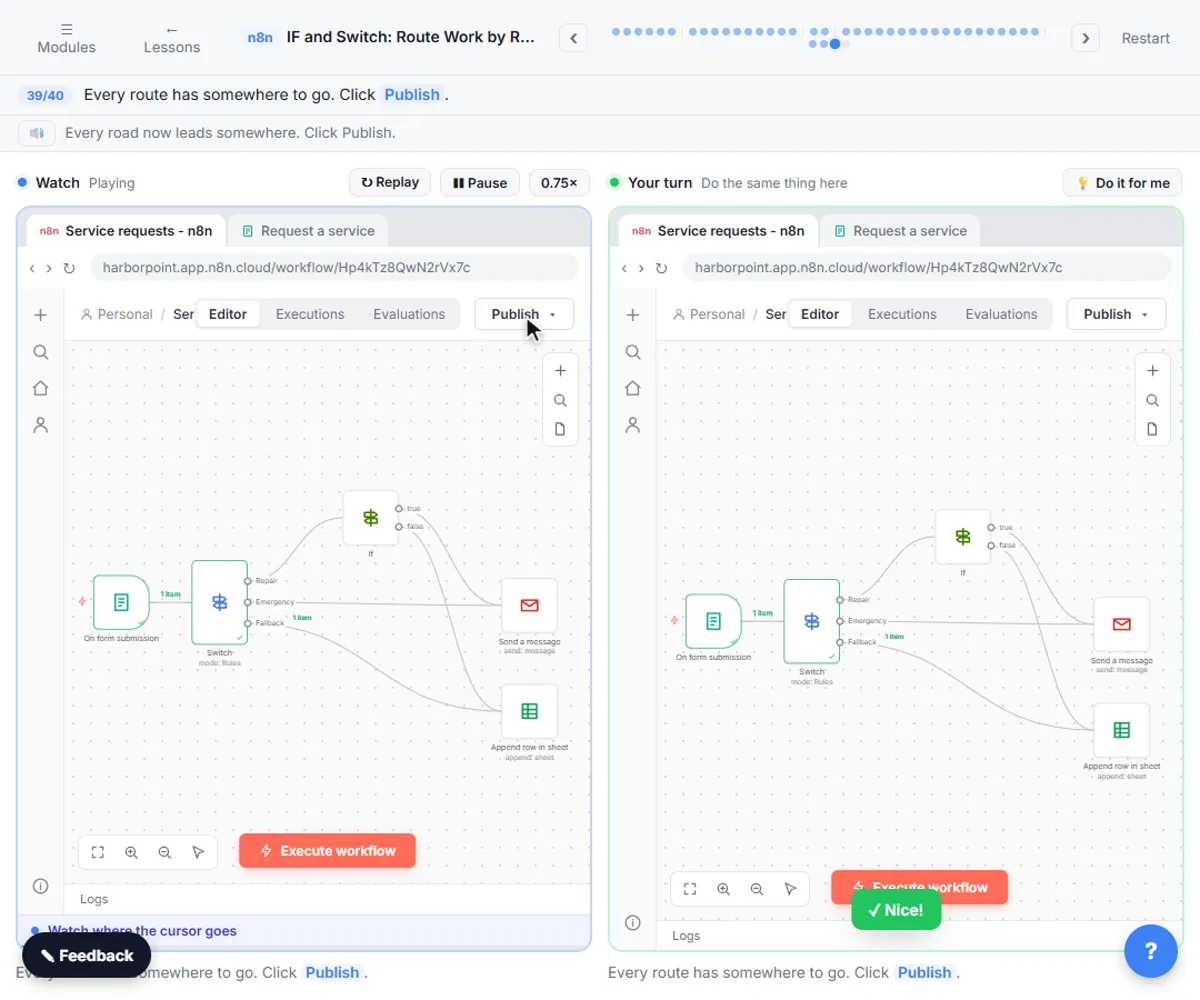
- Publish. Every route has somewhere to go. Click Publish.
Every road now leads somewhere.
- Publish it. Keep the Version name n8n suggests and click Publish.
Keep the version name n8n suggests, and click Publish. From now on, every request from the form is routed on its own.
Screenshots
Frequently asked questions
- What does the If node do in n8n?
- It checks one or more conditions for each item and sends the item to its true output when they pass and to its false output when they do not. Each output can lead to different steps.
- What is the difference between the If node and the Switch node?
- The If node has two outputs, true and false. The Switch node can have as many outputs as you need, one per routing rule, plus an optional fallback output for items that match no rule.
- What happens to items that match no rule in a Switch node?
- By default they are ignored. Add the Fallback Output option and set it to Extra Output to send them to a separate Fallback output, or to one of your existing outputs.
- Is this course really free?
- Yes. Stepthrough is completely free, and the practice copy needs no accounts. To build it for real you need your own n8n and Google accounts, and some of those cost money once you use them for real work.
More in n8n Automation Toolkit
 Find and Use n8n Templates
Skip the blank canvas. Find a ready-made workflow in the n8n template gallery, import it into your workspace, connect Google Sheets and Gmail, test it with a real form…
Free · Live ~9 min
 Litescrape in n8n: Swap SerpApi for a Cheaper Search API
Switch a weekly n8n competitor-price workflow from SerpApi to Litescrape's Google Shopping API: change the HTTP Request URL, move the key into a Bearer Auth credential…
Free · Live ~7 min
◷n8n: Weekly Client Status Emails from a Google Sheet, Written by AIBuild an n8n workflow that wakes up every Monday, reads your client tracker in Google Sheets, has AI write a friendly update for each client and saves it as a Gmail…
Free · Live ~14 min
◷n8n: Turn Meeting Notes into Action Items in a Google SheetBuild an n8n workflow that reads your meeting notes from a sheet, has AI pull out who agreed to do what by when, and adds one row per task to an Action Items sheet.
Free · Live ~15 min
All 7 modules in n8n Automation Toolkit
More n8n tutorials
 n8n AI Agent Tutorial: Save Social Media Ideas to Google Sheets
Build an AI agent for BrightPath Marketing that generates social media post ideas and saves them to Google Sheets — chat trigger, AI Agent, system prompt, model…
Free · Live ~12 min
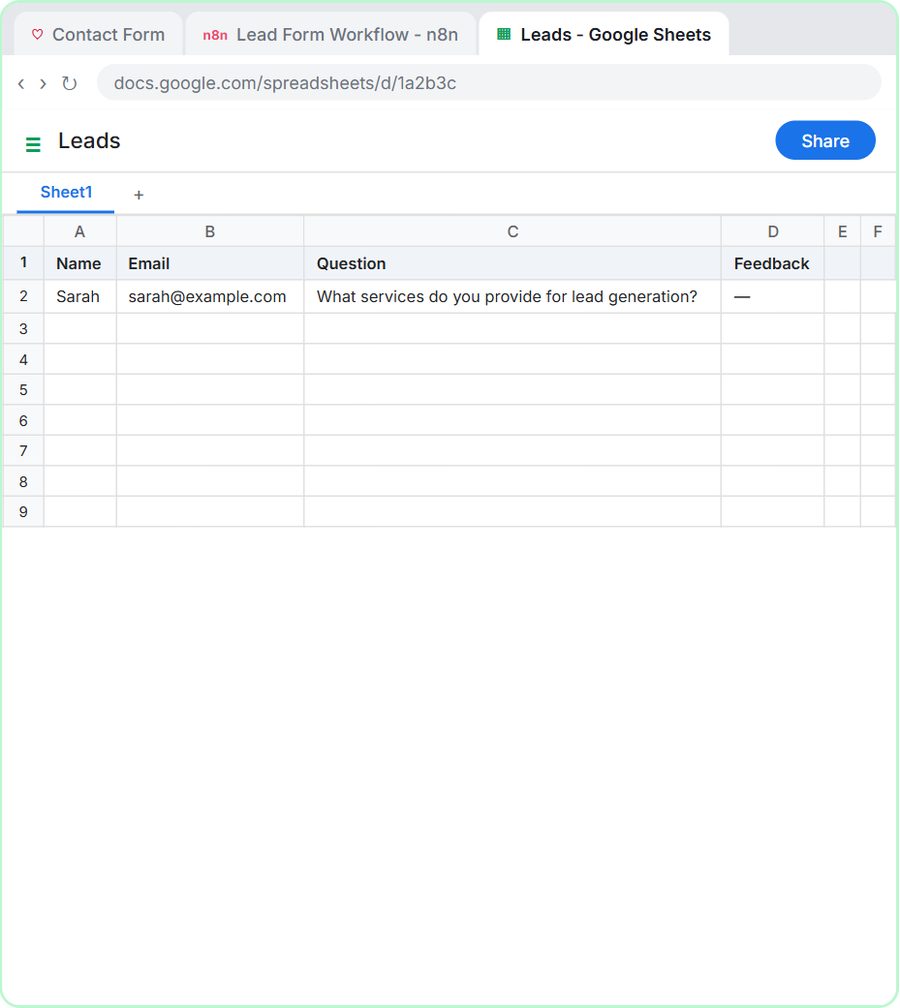 Lovable + n8n: Build a Web App with an AI Backend
Build a contact form in Lovable and connect it to an n8n workflow — webhook trigger, AI Agent, Google Sheets, Gmail, and a Respond node that ties it all together.
Free · Live ~15 min
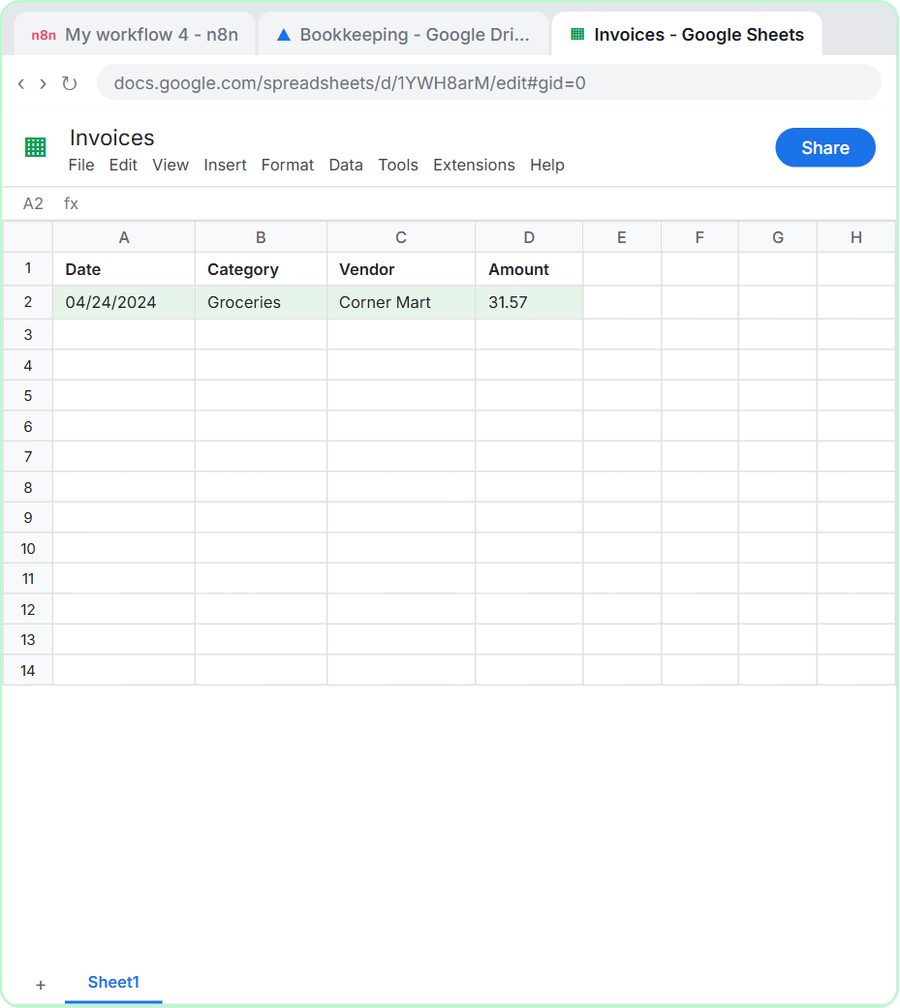 AI Receipt Extractor: Receipts to Google Sheets with n8n
Drop a photo of a receipt into an n8n chat. An AI agent reads it, pulls out the date, vendor and amount, picks a category, and adds a row to Google Sheets.
Free · Live ~12 min
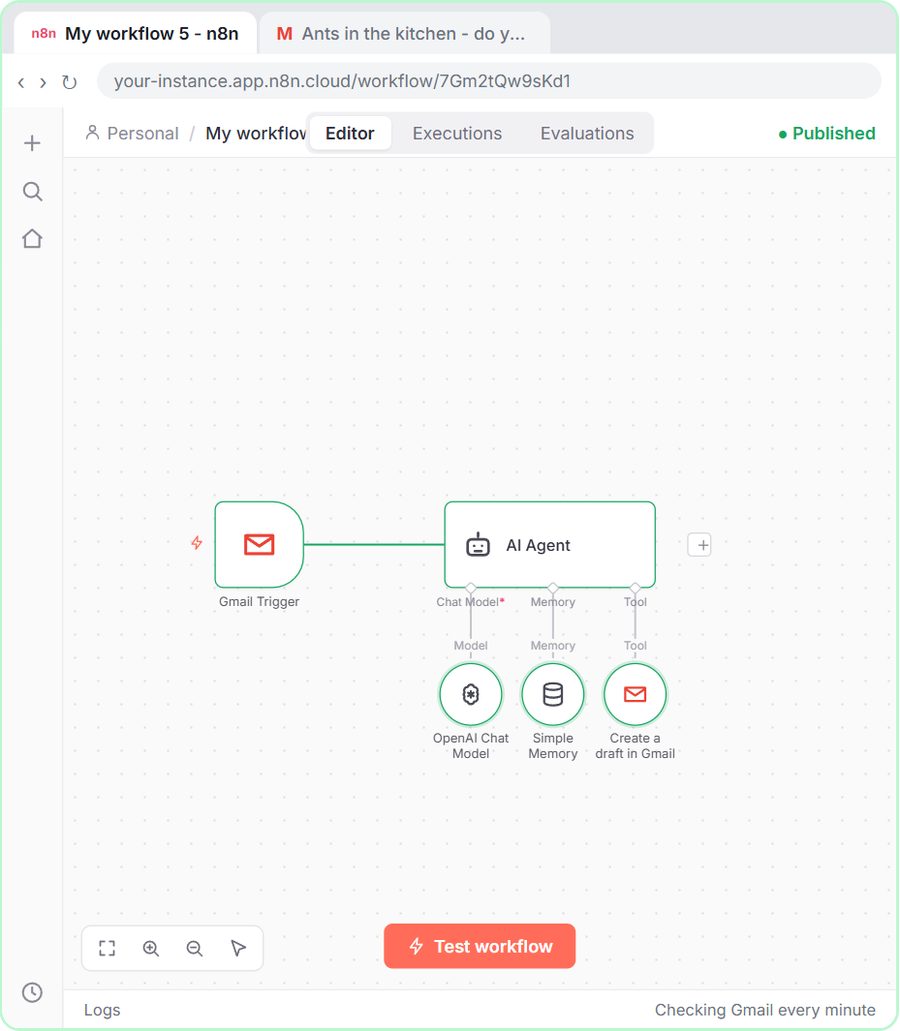 n8n AI Email Responder: Draft Gmail Replies Automatically
Build an n8n agent that watches your Gmail, reads each new customer email, and writes a reply as a draft in the same thread, ready for you to check and send.
Free · Live ~12 min
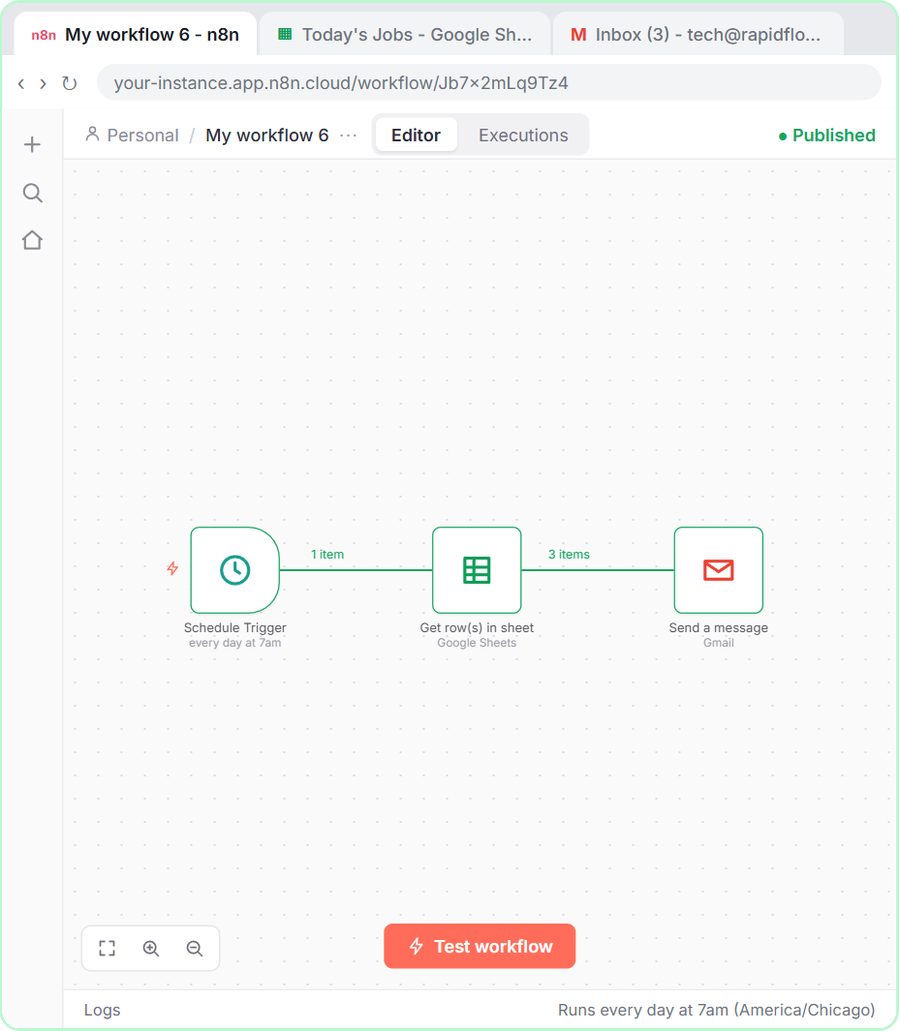 Daily Job Alerts: Email Each Tech Their Jobs from Google Sheets with n8n
Every morning at 7, n8n reads a plumbing company's jobs sheet, skips anything not assigned yet, and emails each job to the tech it's assigned to — customer, address…
Free · Live ~10 min
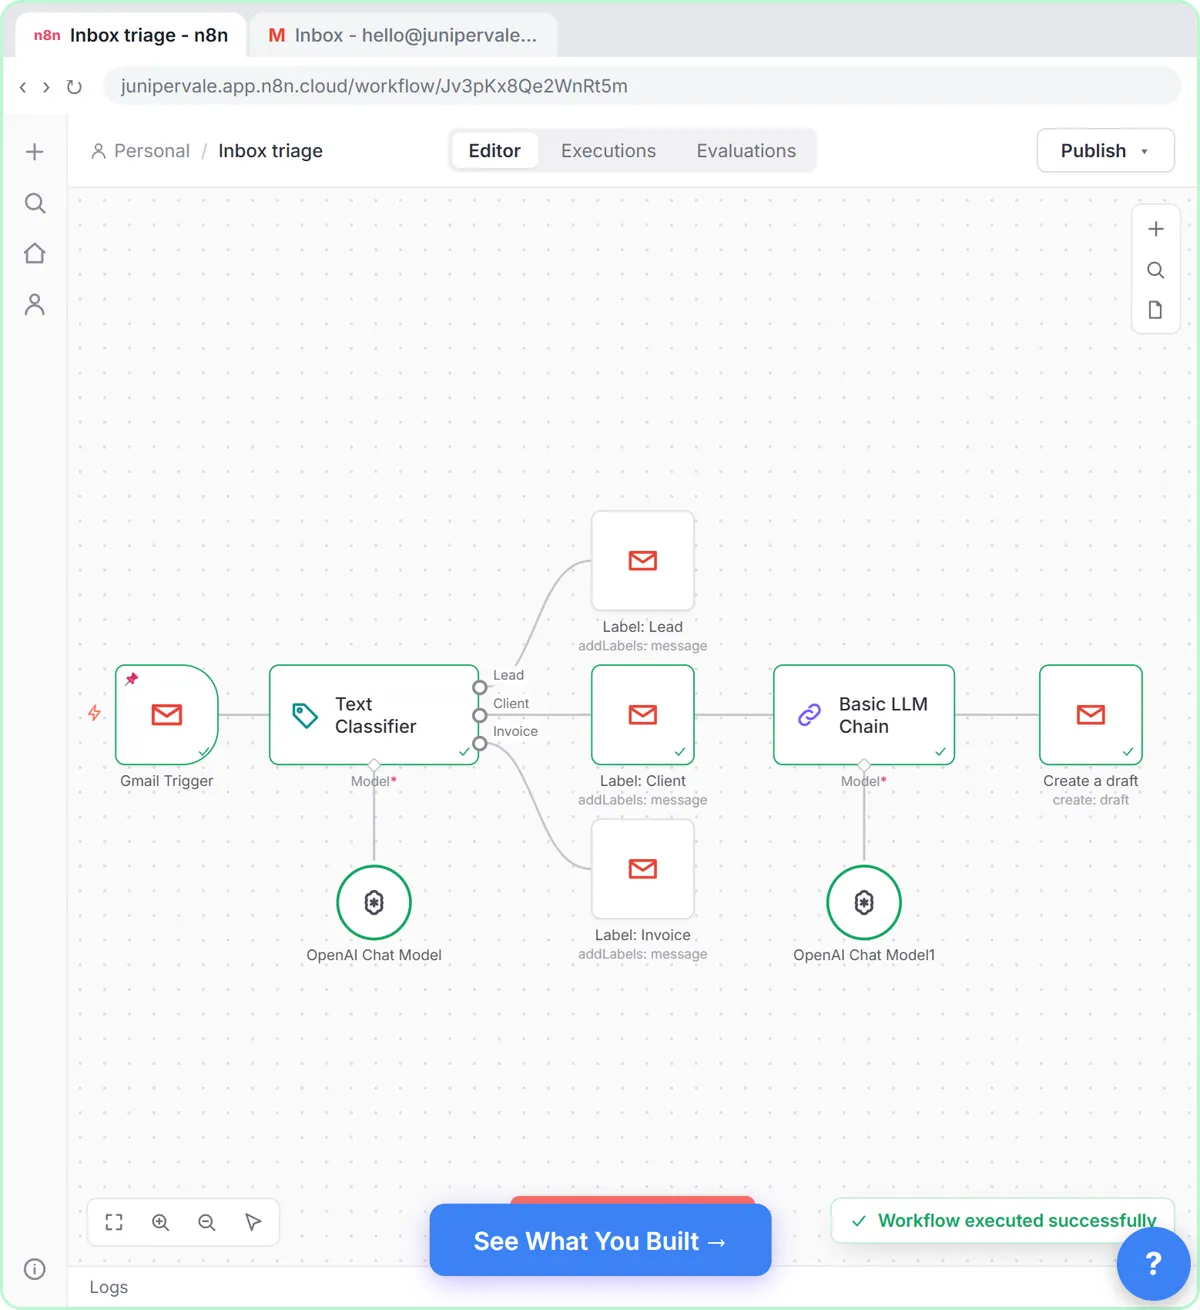 Gmail AI Triage: Auto-Label Every Email and Draft Replies
Build an n8n workflow that reads each new email, sorts it as a lead, a client or an invoice with a Text Classifier, adds the matching Gmail label, and drafts a reply to…
Free · Live ~14 min
From the blog
Visual guide
This lesson’s key ideas as quick visual guides: swipe through the slides, or read the same guide as text.
Terms in this lesson
Plain-English definitions, each with an example from a free lesson.
Related prompts
- Request routing rules prompt: Write down who should get which request before you build it in n8n: the condition for each route, the exit names and a fallback…