Updated . Built against the tool’s current screens and checked step by step. How we check this lesson
Lovable builds a real, working website from a plain-English description. In this free, interactive Lovable tutorial you write one good prompt for a small hair salon, answer the question Lovable asks, and test the first version in the live preview. Then you change the page three different ways, undo a change you don't like from History, and publish the site to its own lovable.app web address.
At a glance
| Question | Answer |
|---|---|
| What you build | Describe a small business website in one prompt, let Lovable build it, then change it by chatting, by pointing at the page and by typing on it. Undo a change from History and publish it to a live lovable.app link. |
| Tools | Lovable |
| Time | About 9 minutes, 27 steps in 7 parts |
| Level | Beginner, no coding needed |
| Cost | Free |
| Ways to learn it | Practice it step by step |
The 7 parts, in short
- Describe your site: Click the prompt box, Describe the site, Open the mode picker, Keep Build mode, and 1 more step.
- First build: Answer Lovable's question, Submit your answer, Test the booking button, Go back to the top.
- Edit by chatting: Click the chat box, Ask for a change, Send it.
- Point and edit: Turn on Select elements, Select the booking button, Say what to change, Send it.
- Undo with History: Open History, Revert to the version before, Confirm the revert.
- Edit text in place: Turn on Edit text inline, Click the headline, Type the new headline, Send the text edit.
- Publish: Open Publish, Choose your web address, Publish, Open your live site.
In the course: Part 10 · Build Apps with Lovable (Module 46 of the full course)
What you will build
You will build a one-page website for Hazelbrook Hair Studio, a made-up salon on Orchard Lane. The page has a hero with a headline and a Book an appointment button, a services list with prices, a Meet our stylists section, three short reviews, and a Visit us section with the address, phone number and opening hours.
Once the first version is up, you add a new-client offer banner, try a gold booking button and change your mind, and rewrite the headline. By the end the site is live at hazelbrook-hair.lovable.app, and you know the loop every Lovable project follows: describe, check, refine, publish.
Who this Lovable tutorial is for
It is for small business owners, marketers and anyone who needs a simple website and has never written code. If you can describe your business in a few sentences, you can do this. Later modules in this course add a database, a chatbot and a dashboard in the same editor.
The steps, in order
The module has 27 steps across seven short chapters. Each one mirrors a real screen in Lovable.
- Describe your site: on the Lovable dashboard, click the prompt box under "Ready to build", paste a prompt that names the business, the sections, the colors and the fonts, and ends with "No login or database yet." Open the mode picker to see Build, Chat and Plan, keep Build, and send it.
- First build: Lovable asks what the Book an appointment button should do. Pick Scroll to Visit us and click Submit. When the first version is ready, test it: click the button in the live preview, check that it jumps to Visit us, and click Back to top.
- Edit by chatting: click Ask Lovable at the bottom of the chat and ask for a slim banner that says new clients get 20% off their first cut. Lovable edits the page and saves a new version.
- Point and edit: in the preview toolbar at the bottom of the preview, click Select elements, click the booking button, and ask for it in gold with fully rounded corners.
- Undo with History: open History with the clock icon, find the version before the gold button, click its Revert icon, and confirm with Revert. The green button comes back.
- Edit text in place: click Edit text inline (the T), click the headline, type "Great hair, right on Orchard Lane." and click Send.
- Publish: click Publish at the top right, shorten the suggested lovable.app address, check that anyone with the link can see it and the security scan passed, click Publish, and open your live site.
Why one good prompt matters
Lovable can build from a single line, but a vague prompt leaves it guessing, and every revision costs credits. A good first prompt names the business, lists the sections you want and describes the look. Naming exact colors and fonts also tells Lovable your visual direction up front. When a prompt leaves the look open, Lovable may first show you three design directions to choose from.
The last line, "No login or database yet," is advice straight from Lovable's own quick start: a first version without accounts or data has less that can go wrong, and you can add both later with one prompt. After that, ask for one change at a time and check the preview after each one.
Three ways to edit, and a safety net
Chatting is best for anything you can describe in a sentence, like adding a section or a banner. For small visual changes, pointing is faster: the preview toolbar's Select elements mode lets you click the exact element, and it is attached to your message so Lovable knows what you mean. It replaced the older Visual edits button in 2026. For wording, Edit text inline lets you type straight onto the page with no prompt, and a set number of those edits are free every day.
Every change is saved as a version automatically. If a change goes the wrong way, open History, pick an earlier version and revert to it. Reverting restores your project's code, and the later messages stay in the chat so you can bring them back.
Publishing, and the one surprise
Publish sits at the top right of the editor. Lovable suggests a lovable.app address you can edit, runs a quick security scan, and on the free plan makes the site visible to anyone with the link. Publishing is free, and a custom domain is an option on paid plans.
Your live site is a snapshot. Changes you make afterwards show up in the preview right away, but visitors only see them when you click Publish, then Publish changes. Before you share the link, switch the preview to Mobile view with the device toggle, because most people will open it on a phone.
How the interactive lesson works
Each step plays first in the Watch panel with a short voice-over, then you do it yourself in Your turn, on a practice copy of Lovable. Every click is checked, and Do it for me helps if you get stuck. Nothing is published for real and no credits are used.
Try it yourself, free
Reading the steps is a start. Doing them is how it sticks. The interactive module walks you through every click in a practice copy of Lovable, checks each step, and never touches your real accounts.
Start “Build a Landing Page with Lovable from One Prompt”Step by step: Build a Landing Page with Lovable from One Prompt
All 27 steps of the interactive module, in order. In the module you watch each one, then do it yourself in a practice copy that checks your work.
1. Describe your site
- Click the prompt box. This is the Lovable dashboard. Click the prompt box under Ready to build, Jess?
Lovable builds a real website from a plain-English description. Let's build one for Hazelbrook Hair Studio, a small hair salon. This is your Lovable dashboard.
- Describe the site. A good first prompt names the business, the sections, and the look (colors and fonts). Paste in the prompt.
A good first prompt names the business, the sections you want, and the look, down to the colors and fonts. It ends with: no login or database yet, so the first version stays simple.
Build a one-page website for Hazelbrook Hair Studio, a small hair salon at 27 Orchard Lane. Include: a hero with a headline, a short welcome line and a "Book an appointment" button; a services list with prices (women's cut $55, men's cut $35, color from $95, blowout $40); a "Meet our stylists" section with three stylists; three short customer reviews; and a "Visit us" section with the address, phone number (555) 014-2230 and opening hours (Tue–Fri 9–7, Sat 9–4, closed Sun–Mon). Warm, calm look: cream background #FAF6F0, deep green #2F5D50 buttons, Playfair Display for headings and Inter for body text. Use realistic sample content. Works well on mobile. No login or database yet.
- Open the mode picker. Next to the microphone it says Build. That is the mode picker. Click it.
Before you send it, look at the word Build next to the microphone. That's the mode picker.
- Keep Build mode. Build makes changes directly, Chat is for questions, Plan writes a detailed plan first. Click Build.
Build makes changes directly. Chat is for asking questions and exploring ideas, and Plan writes a detailed plan first, which helps on bigger projects. A landing page is simple, so click Build.
- Send it. Click the send arrow.
Lovable creates your project and opens it.
2. First build
- Answer Lovable's question. Lovable may ask a question first. Yours may differ, or it may go straight to building. Pick Scroll to Visit us.
Lovable sometimes asks a question or two before it builds. Yours may be different, or there may be none. Here it asks what the booking button should do. Pick Scroll to Visit us, so people can call the salon.
- Submit your answer. Click Submit. (If Lovable shows three design directions instead, click the one you like.)
Lovable reads your answer and builds the first version. On the real site that takes a few minutes, so don't worry if it isn't instant.
- Test the booking button. Your site is ready: chat on the left, live preview on the right. Click Book an appointment in the preview.
Here's your first version. The chat is on the left, and the live preview is on the right. The preview is a real, working page, so test it.
- Go back to the top. It jumped to Visit us, just as you asked. Click Back to top ↑ in the footer.
It jumped to Visit us, with the address, phone number and hours, just as you asked.
3. Edit by chatting
- Click the chat box. Change things by chatting, one change at a time. Click Ask Lovable... at the bottom left.
Now let's change something by chatting. Ask for one change at a time, then check the preview.
- Ask for a change. Ask for a new-client offer at the top of the page. Paste in the request.
Let's add a new client offer at the very top of the page.
- Send it. Click the send arrow.
Lovable edits the page and saves it as a new version.
4. Point and edit
- Turn on Select elements. The banner is in. For small visual changes, point instead of describing. In the preview toolbar at the bottom of the preview, click Select elements (the first icon).
There is the green banner at the top. For small visual changes, pointing beats describing. At the bottom of the preview is the preview toolbar, which replaced the old Visual edits button.
- Select the booking button. Click the Book an appointment button in the preview.
- Say what to change. The button is now attached to your message. Keep it short. Paste in the request.
The button is now attached to your message, so Lovable knows exactly which one you mean. Keep the request short.
- Send it. Click the send arrow.
5. Undo with History
- Open History. The button is gold. Say you liked green better. Click the History icon (the clock) at the top.
The button is gold now. But say you would rather have the green one back. Lovable saves every change as a version, so you can go back. That is History.
- Revert to the version before. Versions are listed newest first. On Added new client offer banner, click the Revert icon (Revert to this version).
History lists every version, newest first. Find Added new client offer banner, the version just before the gold button, and click its revert icon.
- Confirm the revert. Lovable asks you to confirm. The gold-button message stays in the chat in case you want it back. Click Revert.
Lovable asks you to confirm. Reverting takes your site back to that version, and the later change stays in the chat in case you want it again.
6. Edit text in place
- Turn on Edit text inline. Green is back. To change words without a prompt, click Edit text inline (the T) in the preview toolbar.
The green button is back. Now change the headline without writing a prompt at all. In the preview toolbar, click the T. That is Edit text inline.
- Click the headline. Click the big headline in the preview.
- Type the new headline. Type the new headline right on the page, or Paste in the headline.
- Send the text edit. Click Send. Inline text edits are free up to a daily limit.
Small text edits like this are free, up to a daily limit.
7. Publish
- Open Publish. Time to go live. Click Publish at the top right.
Your site is ready to go live.
- Choose your web address. Lovable suggests a free lovable.app address you can edit. Make it shorter: Paste in the address.
Lovable suggests a web address ending in lovable dot app. It's free on every plan, and you can change it before you publish. Let's make it shorter.
- Publish. On the free plan anyone with the link can see it, and the quick security scan found nothing. Click Publish.
On the free plan, anyone with the link can see your site, and Lovable runs a quick security scan while you decide.
- Open your live site. Your website is live. Click the link to open it.
Your website is live.
Frequently asked questions
- Can Lovable build a website from one prompt?
- Yes. Describe the business, the sections you want and the look, and Lovable builds a working first version, usually in a few minutes. It may ask a question or two first, or show three design directions if your prompt leaves the look open.
- What happened to Visual edits in Lovable?
- The preview toolbar replaced Visual edits in June 2026. It has four modes: Select elements, Edit text inline, Draw annotation and Add a comment. It sits at the bottom of the preview.
- How do I undo a change in Lovable?
- Click Undo latest edit under Lovable's latest reply, or open History (the clock icon at the top of the editor), find an earlier version and click Revert, then confirm. Reverting restores the code, not your database data.
- Is this course really free?
- Yes. Stepthrough is completely free, and the practice copy needs no accounts. To build it for real you need your own Lovable account. Lovable's free plan includes a few build credits every day, and publishing to a lovable.app address is free on every plan.
More in Build Apps with Lovable
Ask Lovable for a chat assistant that answers visitors' questions from your own services, prices and hours, using Lovable's built-in AI with no API key. Test it in the…
Free · Live ~8 min
◷Build a Private Dashboard from Your Data in LovableTurn the booking requests in your Lovable Cloud database into a private dashboard with counts, a chart and a status table. Add a sign-in only you can use, test it in…
Free · Live ~9 min
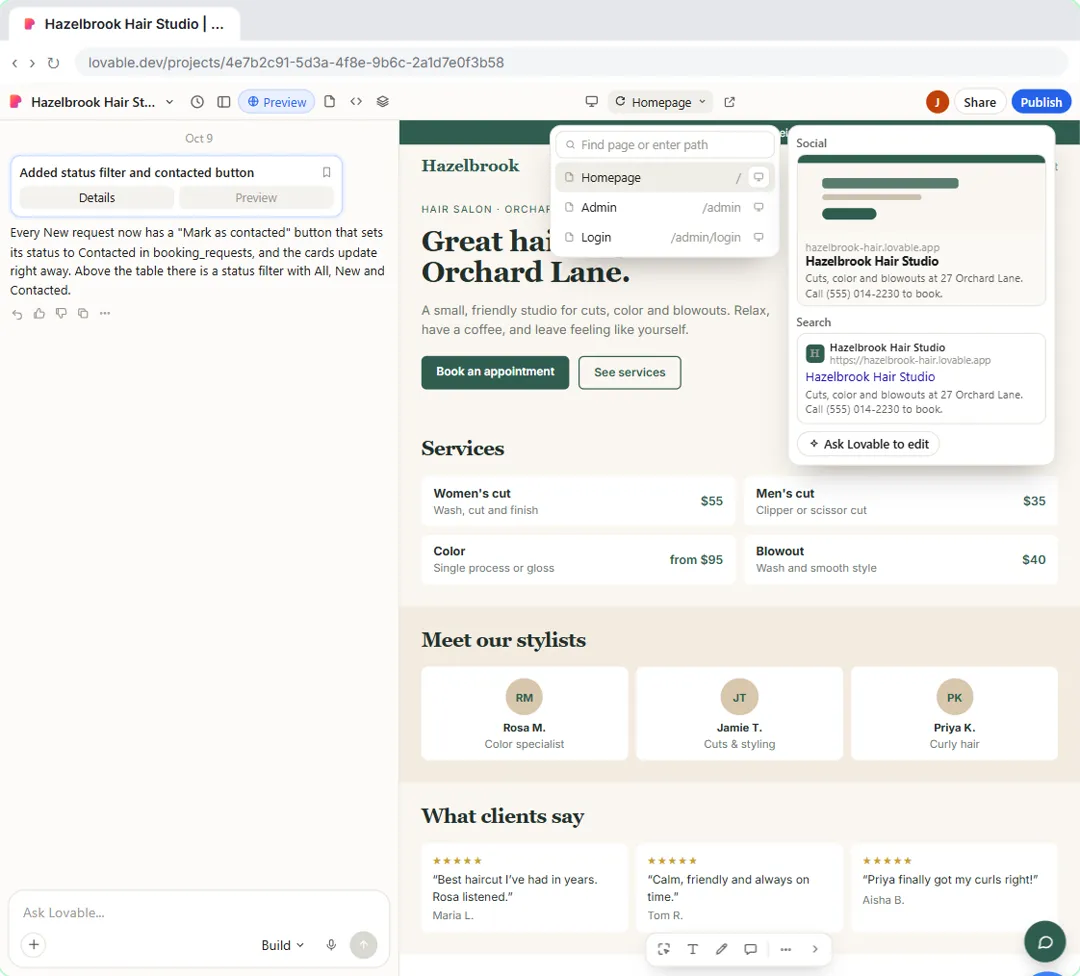 Publish Your Lovable Site and Connect Your Own Domain
Give your Lovable site a proper title, description and sharing image, publish the update, then connect a domain you already own: add the A and TXT records at your…
Free · Live ~9 min
All 5 modules in Build Apps with Lovable
More Lovable tutorials
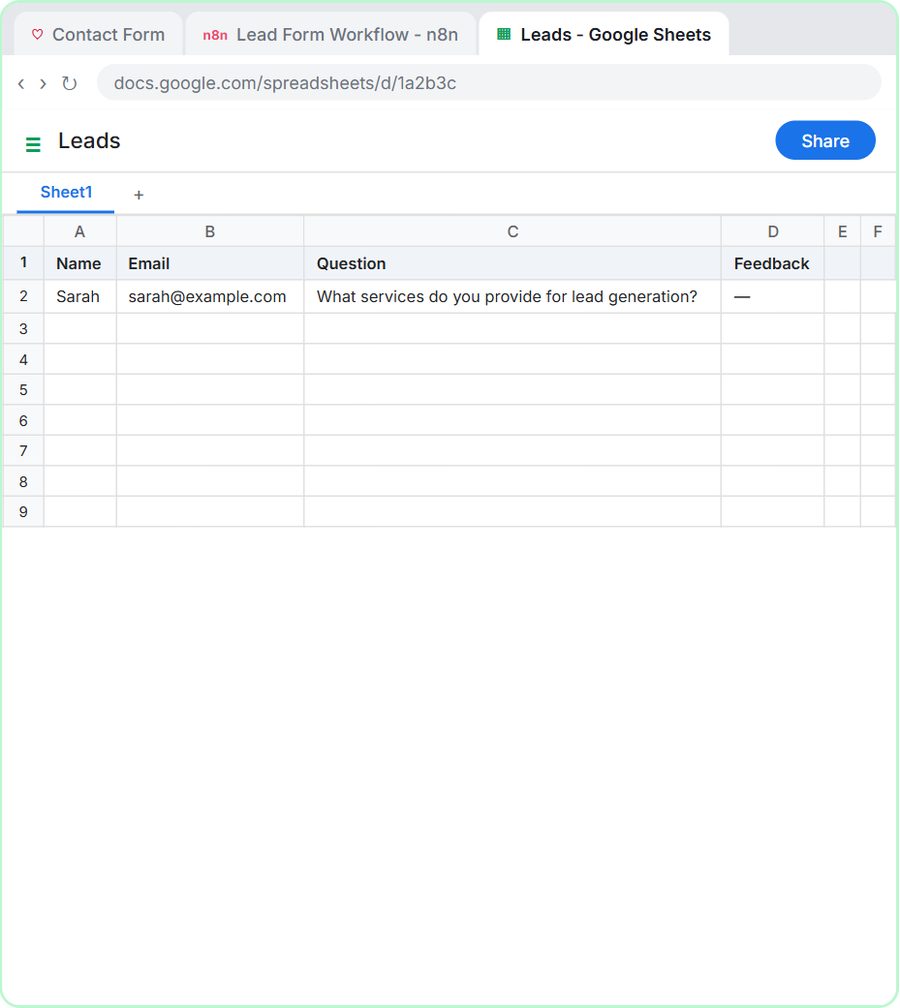 Lovable + n8n: Build a Web App with an AI Backend
Build a contact form in Lovable and connect it to an n8n workflow — webhook trigger, AI Agent, Google Sheets, Gmail, and a Respond node that ties it all together.
Free · Live ~15 min
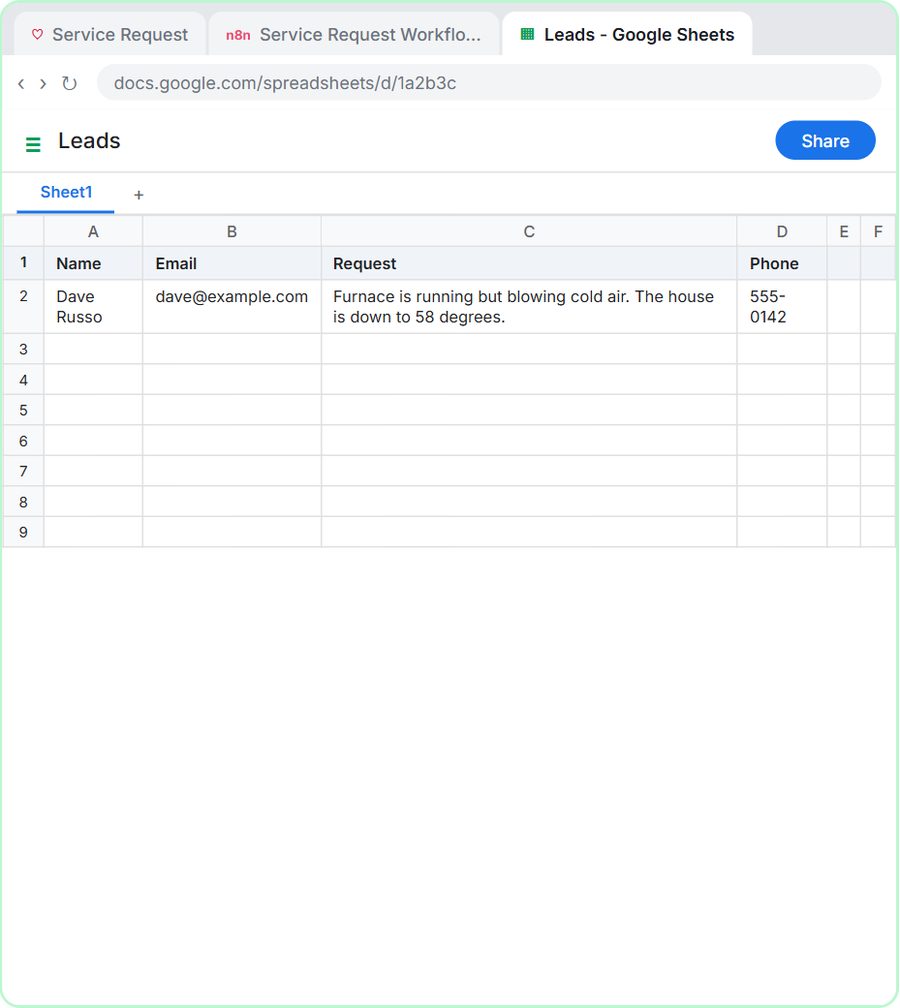 Build an AI Service Request Form for Your HVAC Company
Build a service request form in Lovable for Cedar Ridge Heating & Air and connect it to n8n — the AI agent sorts each job into repair, maintenance, install or…
Free · Live ~15 min
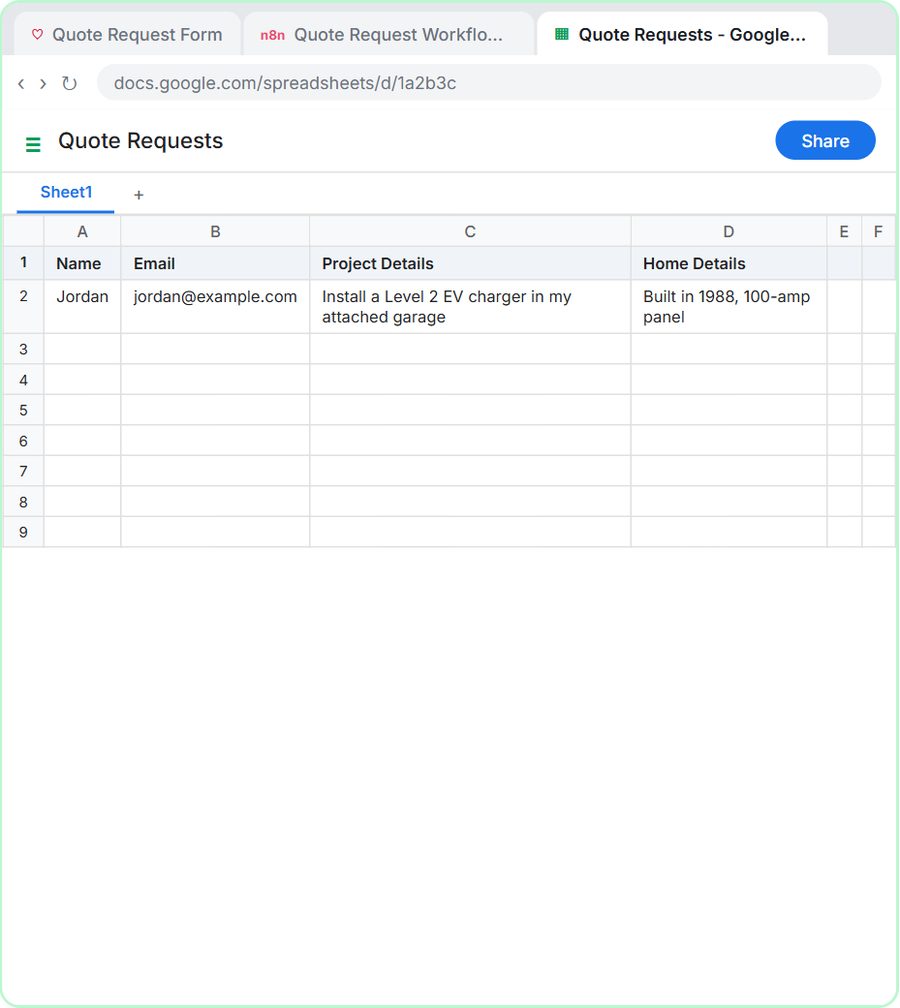 Build an AI Quote Request Form for Electrical Contractors
Build a quote request form in Lovable and connect it to an n8n workflow — webhook trigger, an AI Agent that drafts an initial estimate note, Google Sheets, Gmail, and a…
Free · Live ~15 min
 Build an AI Emergency Request Form for Your Plumbing Company
Build an emergency service-request form in Lovable and connect it to an n8n workflow — webhook trigger, AI Agent that prioritizes the job, Google Sheets, Gmail, and a…
Free · Live ~15 min
 Build an AI Demo Request Form That Qualifies Leads
Build a "Book a demo" form in Lovable for Northwind Scheduling Software and connect it to n8n — the AI agent rates each lead hot, warm or nurture, saves it to Google…
Free · Live ~15 min
 Build a Lead Magnet Signup Form with an AI Welcome Email
Build a "Get the free guide" signup form in Lovable for Harbor & Pine Coffee Roasters and connect it to n8n — the AI agent tags each lead by interest, saves it to…
Free · Live ~15 min
Terms in this lesson
Plain-English definitions, each with an example from a free lesson.