Updated . Built against the tool’s current screens and checked step by step. How we check this lesson
A website gets far more useful when it can save what visitors send you. In this free, interactive Lovable tutorial you add a booking request form to a small salon's site just by chatting. Lovable turns on Lovable Cloud, its built-in backend, and saves every request in a database table. You test the form like a customer, find your test entry in the database, check the rules that keep that data private, and publish the update.
At a glance
| Question | Answer |
|---|---|
| What you build | Add a booking request form to a small business site by chatting, turn on Lovable Cloud (Lovable's built-in backend, built on Supabase), send a test request and find it in the database. Then check who can see the data, and publish the update. |
| Tools | Lovable |
| Time | About 8 minutes, 25 steps in 6 parts |
| Level | Beginner, no coding needed |
| Cost | Free |
| Ways to learn it | Practice it step by step |
The 6 parts, in short
- Ask for the form: Click the chat box, Describe the form, Send it.
- Turn on Lovable Cloud: Check the region, Keep Americas, Allow Lovable Cloud.
- Test the form: Test the booking button, Try sending it empty, Enter a test name, Enter a test phone number, and 4 more steps.
- Find the request: Open More, Open Cloud, Open the table.
- Keep the data safe: Open RLS policies, Click the chat box, Ask for a security check, Send it.
- Publish the update: Close More, Open Publish, Publish changes, Open your live site.
Start here first: Build a Landing Page with Lovable from One Prompt (module 1 of Build Apps with Lovable)
In the course: Part 10 · Build Apps with Lovable (Module 47 of the full course)
Part of: Webhooks & Website Forms (step 1 of 2). Next up: Webhooks: Connect a Website Form to Make.com
What you will build
You continue the Hazelbrook Hair Studio site from the first module of this course. Hazelbrook is a made-up salon on Orchard Lane, and right now the only way to book is to call. By the end of this module the site has a Request an appointment section with a form for name, phone, email, service, preferred day and time, and a message.
Each request is saved in a database table called booking_requests. The Book an appointment button scrolls to the form, visitors see a thank-you message after they send it, and you can read every request inside Lovable. No code, no separate database account and no server to set up.
The steps, in order
The module has 25 steps across six short chapters. Each one mirrors a real screen in Lovable.
- Ask for the form: click Ask Lovable in the project chat and describe the form. Name the fields, say which ones are required, name the table to save to (booking_requests), and say what happens after sending. Then send it.
- Turn on Lovable Cloud: saving data needs a backend, so Lovable asks to enable Cloud. Check the region under Where your project is hosted (it can't be changed later), keep Americas, and click Allow.
- Test the form: click Book an appointment in the preview, then click Send request with every field empty to check the required fields. Fill in obviously fake details (Test Client, a 555 phone number, [email protected]), pick a service and send it.
- Find the request: open the More tab in the project toolbar, click Cloud, and in the Overview's Database card click the booking_requests table. Your test request is there, with the name, phone, email and service.
- Keep the data safe: click RLS policies to see the access rules Lovable set up. Visitors may add a request, but no rule lets them read one. Then ask Lovable in the chat to check the form's security and fix anything that isn't right.
- Publish the update: close More, click Publish (the dot means you have unpublished changes), let the quick security scan run, and click Publish changes. Open the live site to see the form.
Lovable Cloud or Supabase?
Lovable Cloud is Lovable's built-in backend: a database, user accounts, file storage and server functions, built on Supabase's open-source foundation. It's enabled by default for your workspace, it needs no separate account, and you manage it from More, then Cloud, inside the editor. The Free plan includes a monthly Cloud allowance, and heavier use is paid with Lovable credits. Lovable's docs call it the default choice for most projects.
If you already run your own Supabase project, you can connect it instead: open More, then Cloud, and click Already have a Supabase project? Connect it here. Then you own the account and billing and manage the data in the Supabase dashboard. Decide before you turn Cloud on, because switching between the two later is not automatic.
How to find your form entries
Open the More tab (the stacked icon after Code in the project toolbar) and click Cloud. The Overview lists your tables with their row counts under Database. Click a table to see its records. From there you can filter, add or edit a row, export a CSV, or click Refresh, because the view does not update by itself when new entries arrive. You can also go straight to More, then Cloud, then Database.
The published site and the editor preview use the same database, so real visitors' requests land in the same table as your test entry. Delete test rows before you go live if you don't want them mixed in.
Keeping the data safe, plainly
Row level security (RLS) policies are rules that decide who can read, add, change or delete each row in a table. Lovable sets up basic rules automatically when it builds something that stores data. For a public contact form, the safe pattern is simple: anyone can add a request, and nobody can read requests from the website. You can review every rule under More, then Cloud, then Database, then RLS policies. The list is read-only, and you change rules by asking Lovable in the chat.
Lovable also runs a quick security scan every time you publish, and you can ask it to review your form's security at any time. These checks catch common mistakes, but they are not a full security audit. Keep sensitive information out of a simple form, test with fake details, and look at the RLS policies again whenever you change what your app stores.
How the interactive lesson works
Each step plays first in the Watch panel with a short voice-over, then you do it yourself in Your turn, on a practice copy of Lovable. Every click is checked, and Do it for me helps if you get stuck. No database is created, nothing is published and no credits are used.
Try it yourself, free
Reading the steps is a start. Doing them is how it sticks. The interactive module walks you through every click in a practice copy of Lovable, checks each step, and never touches your real accounts.
Start “Add a Contact Form That Saves to a Database in Lovable”Step by step: Add a Contact Form That Saves to a Database in Lovable
All 25 steps of the interactive module, in order. In the module you watch each one, then do it yourself in a practice copy that checks your work.
1. Ask for the form
- Click the chat box. This is the Hazelbrook Hair Studio site from module 1. Click Ask Lovable... at the bottom left.
Here's the Hazelbrook Hair Studio site you built in module 1. Right now, booking means picking up the phone. Let's add a form that saves every request to a database.
- Describe the form. Name the fields, which ones are required, the table to save to, and what happens after sending. Paste in the request.
A good request names the fields, says which ones are required, names the table to save them in, and says what happens after someone sends it.
Add a "Request an appointment" section just above Visit us, with a form: name, phone and email (all required), service (dropdown: Women's cut, Men's cut, Color, Blowout), preferred day and time, and a message (both optional). Validate the required fields. Save every request in a database table named booking_requests, then show a short thank-you message. Make the "Book an appointment" button scroll to the form. No logins yet.
- Send it. Click the send arrow.
2. Turn on Lovable Cloud
- Check the region. Saving data needs a backend, so Lovable asks to turn on Lovable Cloud. Under Where your project is hosted, click the region.
Saving data needs a backend, so Lovable asks to turn on Lovable Cloud, its built-in backend, with a database included. Depending on your settings, it may turn Cloud on without asking.
- Keep Americas. Lovable preselects the region closest to you, and it can't be changed later. The salon's customers are local, so click Americas.
Lovable picks the region closest to you, and you can't change it later, so choose where your customers are. The salon is local, so click Americas.
- Allow Lovable Cloud. Cloud is built on Supabase and needs no extra account. (Already use Supabase? You could connect your own project instead, from More → Cloud. Decide first: switching later is not automatic.) Click Allow.
Cloud runs on Supabase's open-source foundation, and you don't need a separate account. If you already have your own Supabase project, you could connect that instead, from More, then Cloud. Decide before you allow, because switching later isn't automatic. For a new project, Cloud is the simplest path.
3. Test the form
- Test the booking button. The form is built. Test it like a visitor: click Book an appointment in the preview.
Lovable turned on Cloud, created a table for booking requests, and added the form. The preview is a working copy of your site, so test it like a customer would.
- Try sending it empty. It scrolled to the new form. First, check the required fields: click Send request without filling anything in.
It scrolls straight to the new form. Before you fill it in, try to break it.
- Enter a test name. Good, it asks for the missing details. Use obviously fake test details, never a real customer. Type Test Client.
Good. It won't send, and it asks for the missing details. Now fill it in with obviously fake test details, never real customer details. In Name, type Test Client.
- Enter a test phone number. Type (555) 010-4477.
In Phone, type this made-up number.
- Enter a test email. Type [email protected].
In Email, type test at example dot com. That address is reserved for examples, so it never reaches a real person.
- Open the service list. Click Choose a service.
- Pick a service. Click Blowout. The other fields are optional.
Pick Blowout. The day and message are optional, so leave them empty.
- Send the test request. Click Send request.
4. Find the request
- Open More. The thank-you message shows. Now check the request was really saved. In the toolbar at the top, click More (the stacked icon right after Code).
There's the thank-you message. But did the request really get saved? Let's check. In the toolbar at the top, click the stacked icon right after the code brackets. That's More.
- Open Cloud. More holds your project tools. Click Cloud in the list on the left.
More holds the tools for running your app, starting with Analytics. Your backend lives under Cloud.
- Open the table. Under Database there is one table, booking_requests, with 1 row. Click it.
Cloud opens on the Overview. Under Database you can see one table, booking requests, with one row.
5. Keep the data safe
- Open RLS policies. Your test request is saved. The view does not update live: click Refresh to see new ones. Now click RLS policies at the top right.
There's your test request, with the name, phone, email and service. This view doesn't update by itself, so click Refresh when you expect new ones. Now, who can see these requests?
- Click the chat box. RLS policies are rules for who can read or change each row. Here visitors may only INSERT (add) a request. Click Ask Lovable...
Row level security policies are rules for who can read or change each row. Lovable set one up: anyone can add a request. There's no rule that lets visitors read them, so they can't see other people's details. Yours may be worded differently. Let's have Lovable double-check.
- Ask for a security check. Say plainly who may do what. Paste in the request.
Say plainly who should be able to do what.
Check that my booking form is secure. Visitors should only be able to send a request. Nobody should be able to read, change or delete requests from the website. Fix anything that isn't right.
- Send it. Click the send arrow. Checks like this catch common mistakes, but they are not a full security audit.
Lovable reviews the rules and fixes what it finds. These checks catch common mistakes, but they're not a full security audit, so keep sensitive information out of a simple form like this.
6. Publish the update
- Close More. Lovable confirmed the rules. Click the × at the top right to go back to the preview.
Lovable confirmed the rules and tightened them a little. Close More with the X at the top right.
- Open Publish. The dot on Publish means you have changes that are not live yet. Click Publish.
The dot on Publish means you have changes that visitors can't see yet. Your live site is still the old version, without the form.
- Publish changes. Lovable runs its quick security scan when you publish. Click Publish changes.
Lovable runs a quick security scan every time you publish. If it finds anything, fix that first. Here it found nothing, so click Publish changes.
- Open your live site. Your update is live. Click the link.
Your update is live. The published site uses the same database, so real requests will land in the same table.
Frequently asked questions
- Does Lovable have a built-in database?
- Yes. Lovable Cloud, the built-in backend, includes a managed Postgres database, user accounts, storage and server functions. It's built on Supabase's open-source foundation and needs no separate account. When you ask for something that stores data, Lovable turns Cloud on for you or asks first, depending on your settings.
- Where do I see my Lovable form submissions?
- Open the More tab in the project toolbar, click Cloud, then open your table from the Database card (or go to More, then Cloud, then Database). Click Refresh to load new entries, because the view doesn't update live.
- Is my Lovable form data secure?
- Lovable sets up row level security rules for tables it creates, and scans for common problems when you publish. Review the rules under RLS policies: for a contact form, visitors should be able to add a request but not read any. The built-in checks help, but they don't replace a full security review for sensitive data.
- Is this course really free?
- Yes. Stepthrough is completely free, and the practice copy needs no accounts. To build it for real you need your own Lovable account. The Free plan includes daily build credits and a monthly Lovable Cloud allowance.
More in Build Apps with Lovable
Turn the booking requests in your Lovable Cloud database into a private dashboard with counts, a chart and a status table. Add a sign-in only you can use, test it in…
Free · Live ~9 min
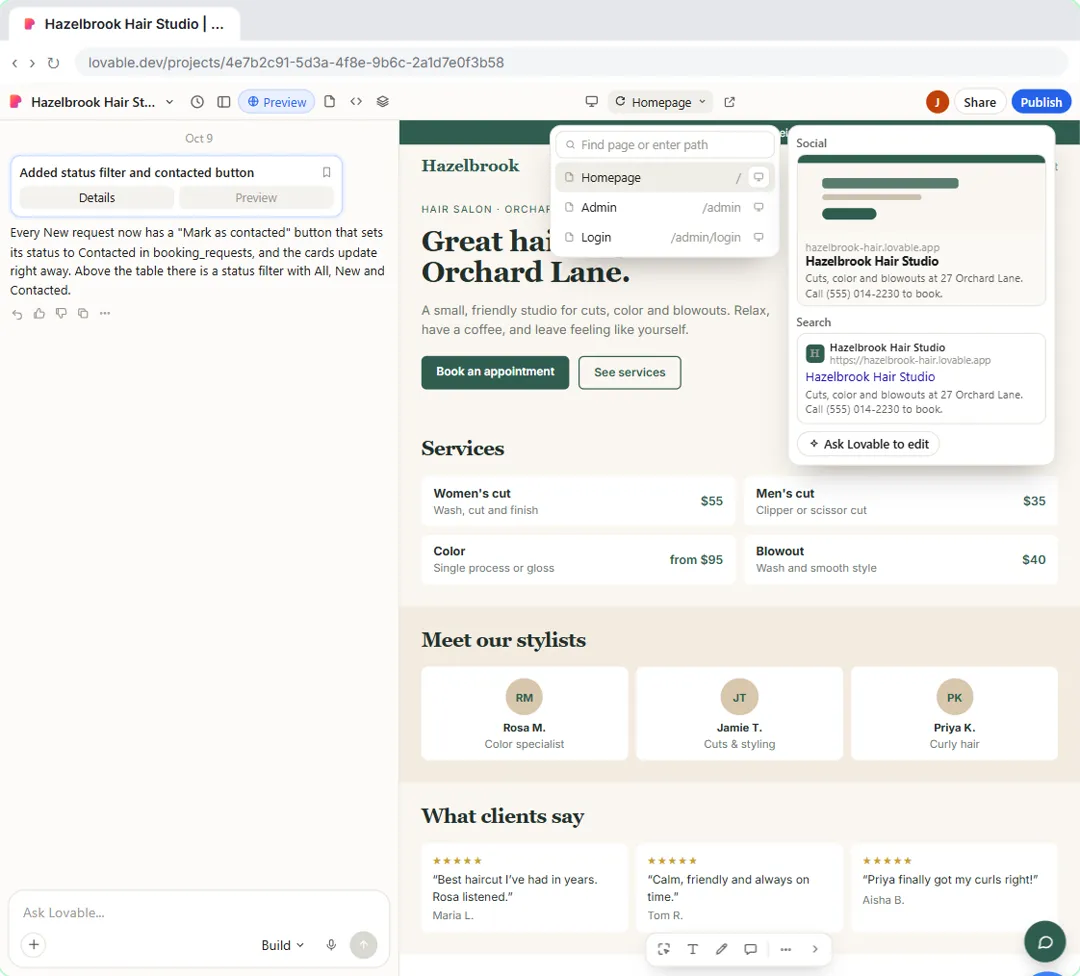 Publish Your Lovable Site and Connect Your Own Domain
Give your Lovable site a proper title, description and sharing image, publish the update, then connect a domain you already own: add the A and TXT records at your…
Free · Live ~9 min
All 5 modules in Build Apps with Lovable
More Lovable tutorials
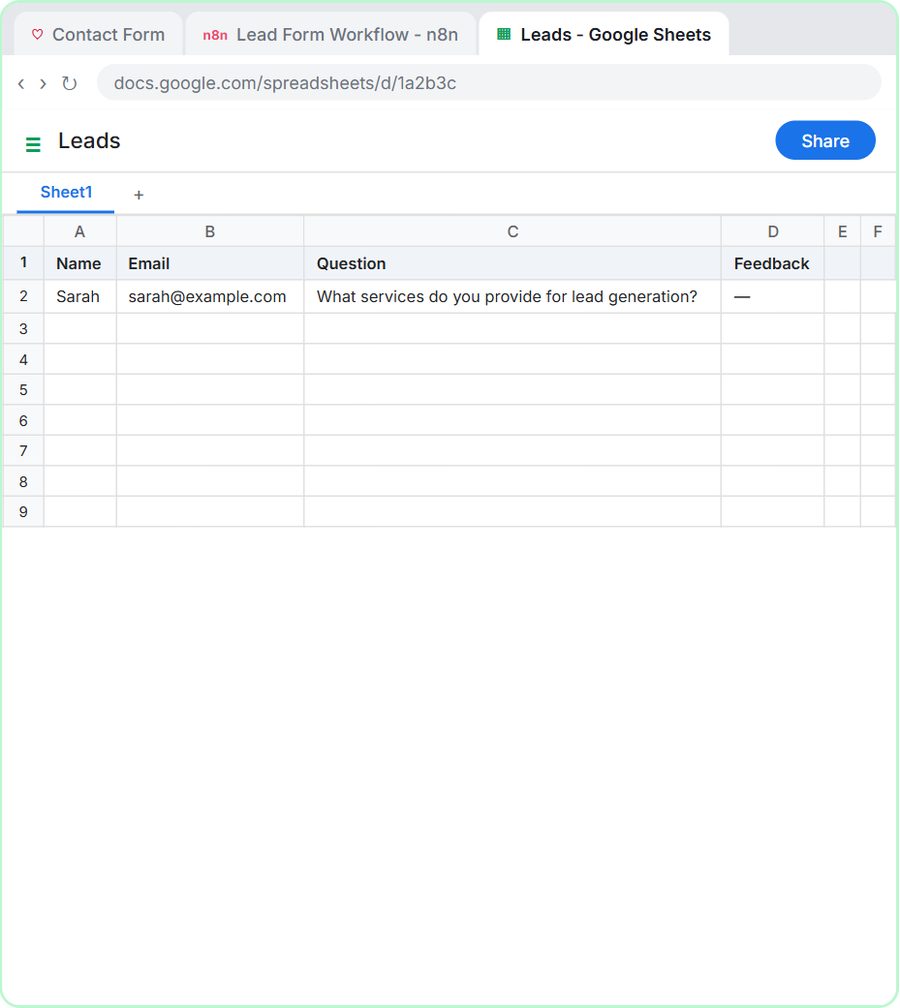 Lovable + n8n: Build a Web App with an AI Backend
Build a contact form in Lovable and connect it to an n8n workflow — webhook trigger, AI Agent, Google Sheets, Gmail, and a Respond node that ties it all together.
Free · Live ~15 min
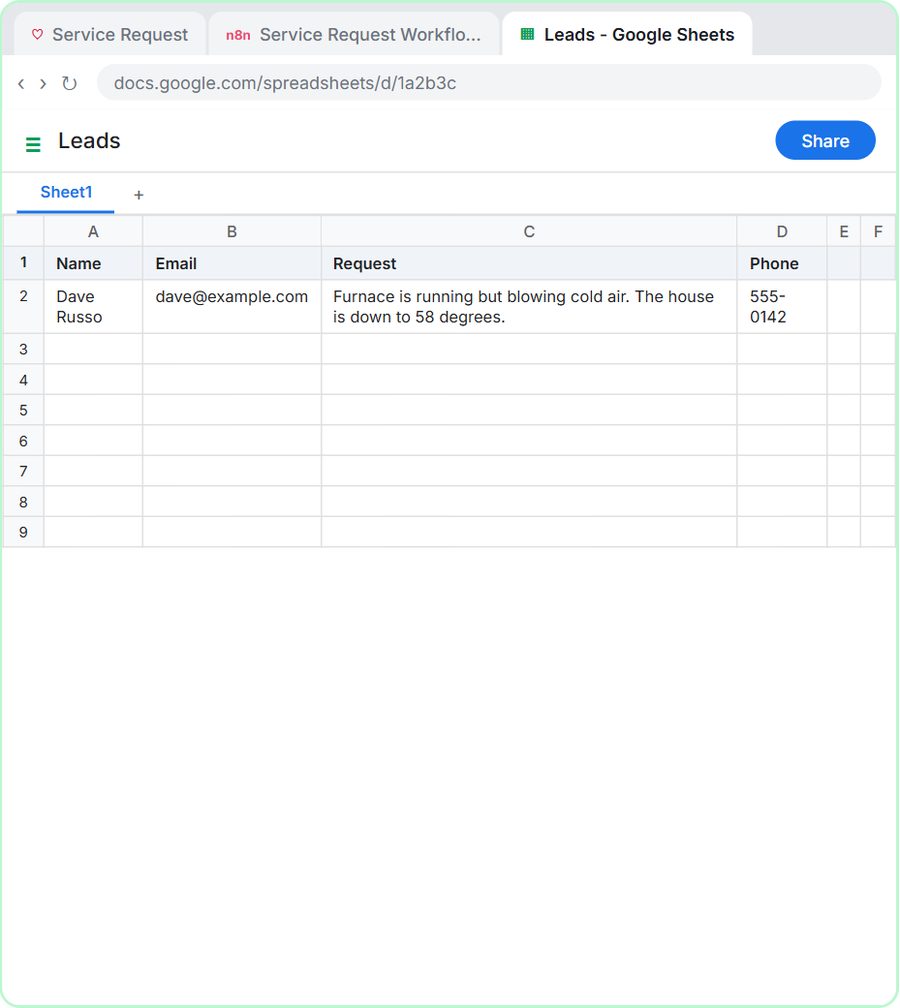 Build an AI Service Request Form for Your HVAC Company
Build a service request form in Lovable for Cedar Ridge Heating & Air and connect it to n8n — the AI agent sorts each job into repair, maintenance, install or…
Free · Live ~15 min
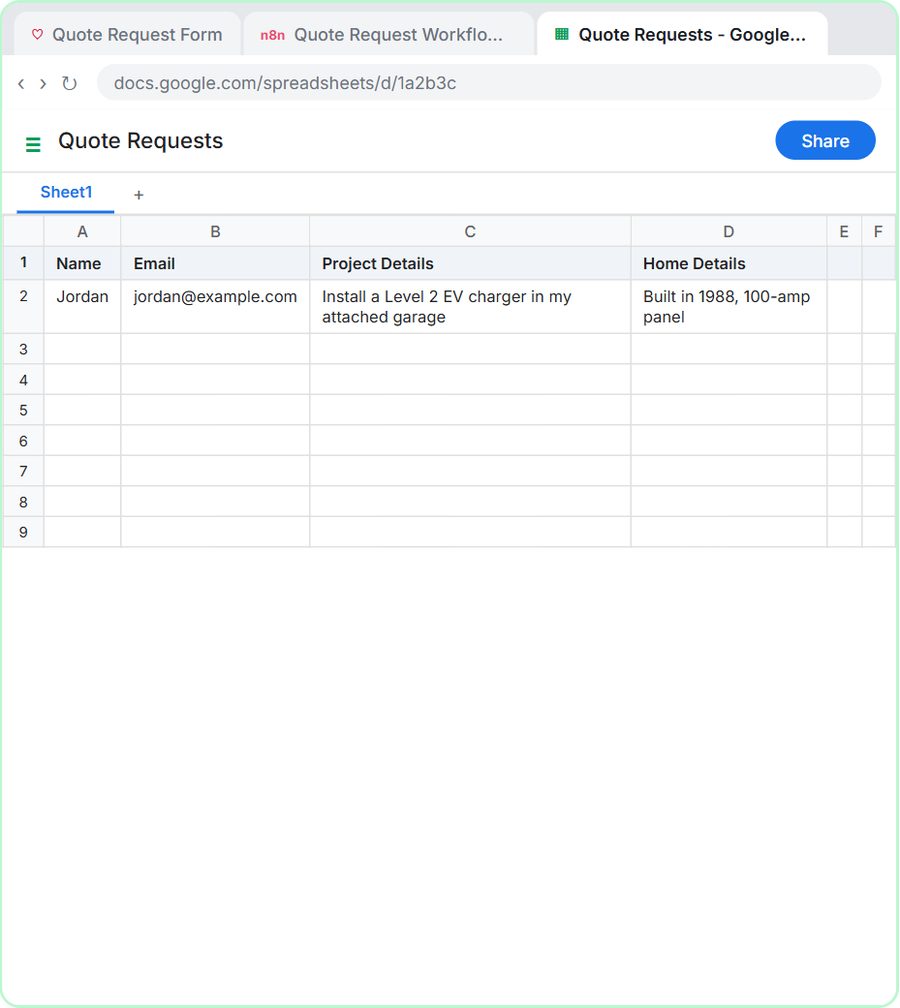 Build an AI Quote Request Form for Electrical Contractors
Build a quote request form in Lovable and connect it to an n8n workflow — webhook trigger, an AI Agent that drafts an initial estimate note, Google Sheets, Gmail, and a…
Free · Live ~15 min
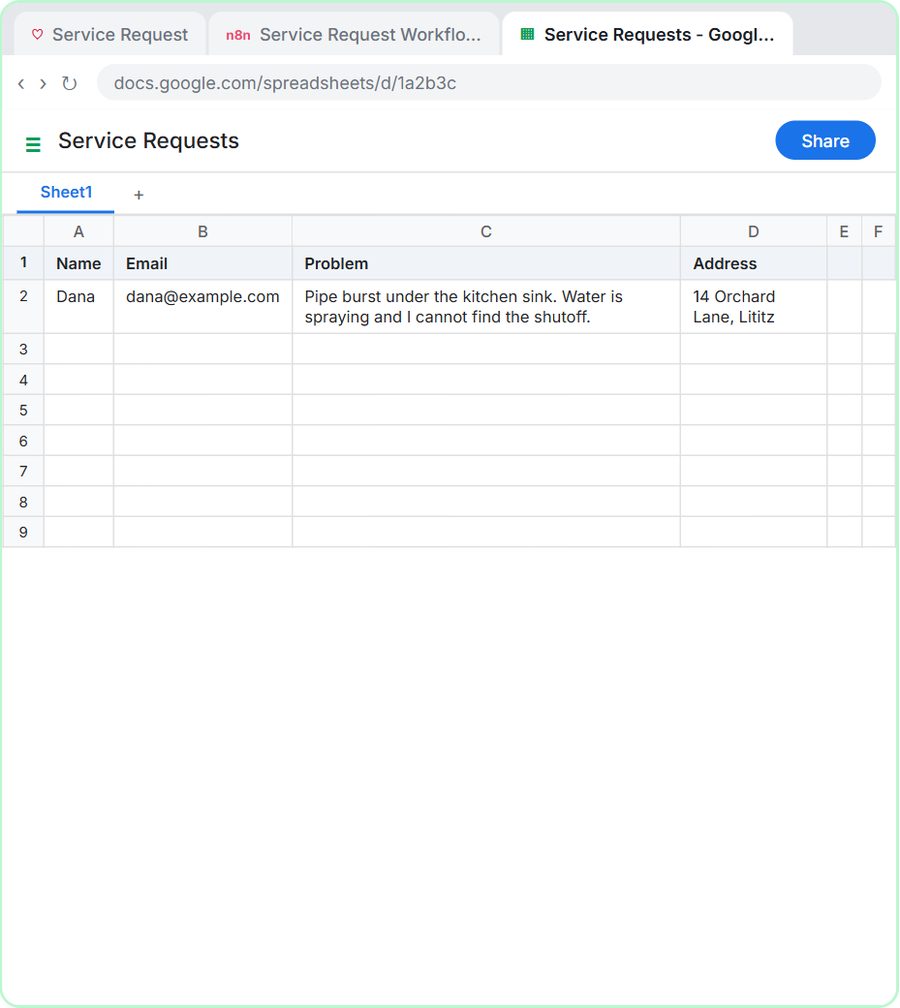 Build an AI Emergency Request Form for Your Plumbing Company
Build an emergency service-request form in Lovable and connect it to an n8n workflow — webhook trigger, AI Agent that prioritizes the job, Google Sheets, Gmail, and a…
Free · Live ~15 min
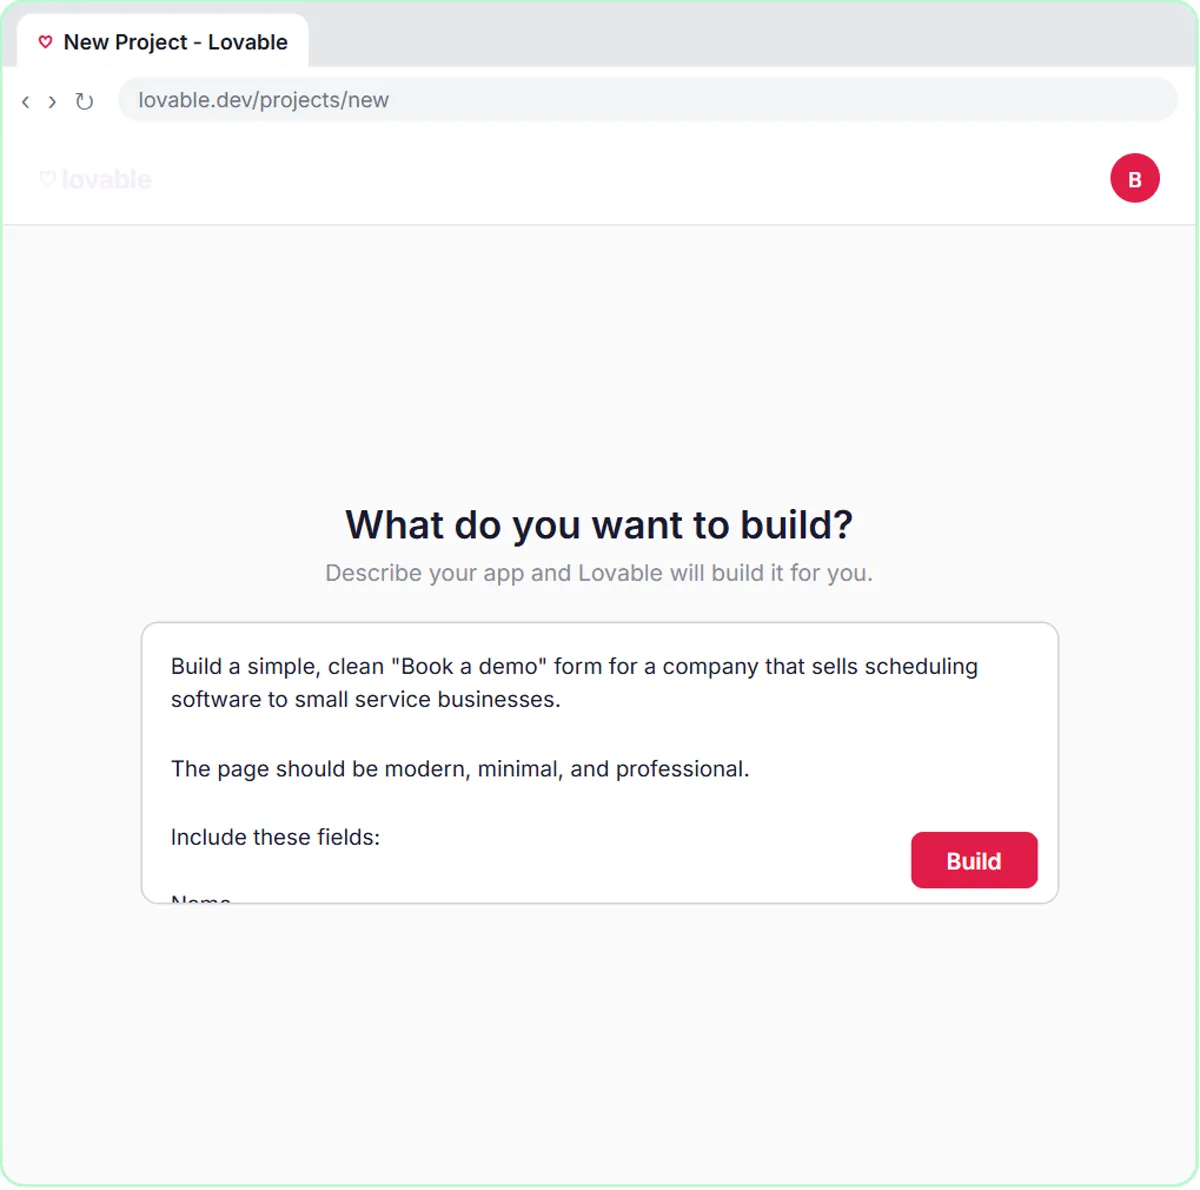 Build an AI Demo Request Form That Qualifies Leads
Build a "Book a demo" form in Lovable for Northwind Scheduling Software and connect it to n8n — the AI agent rates each lead hot, warm or nurture, saves it to Google…
Free · Live ~15 min
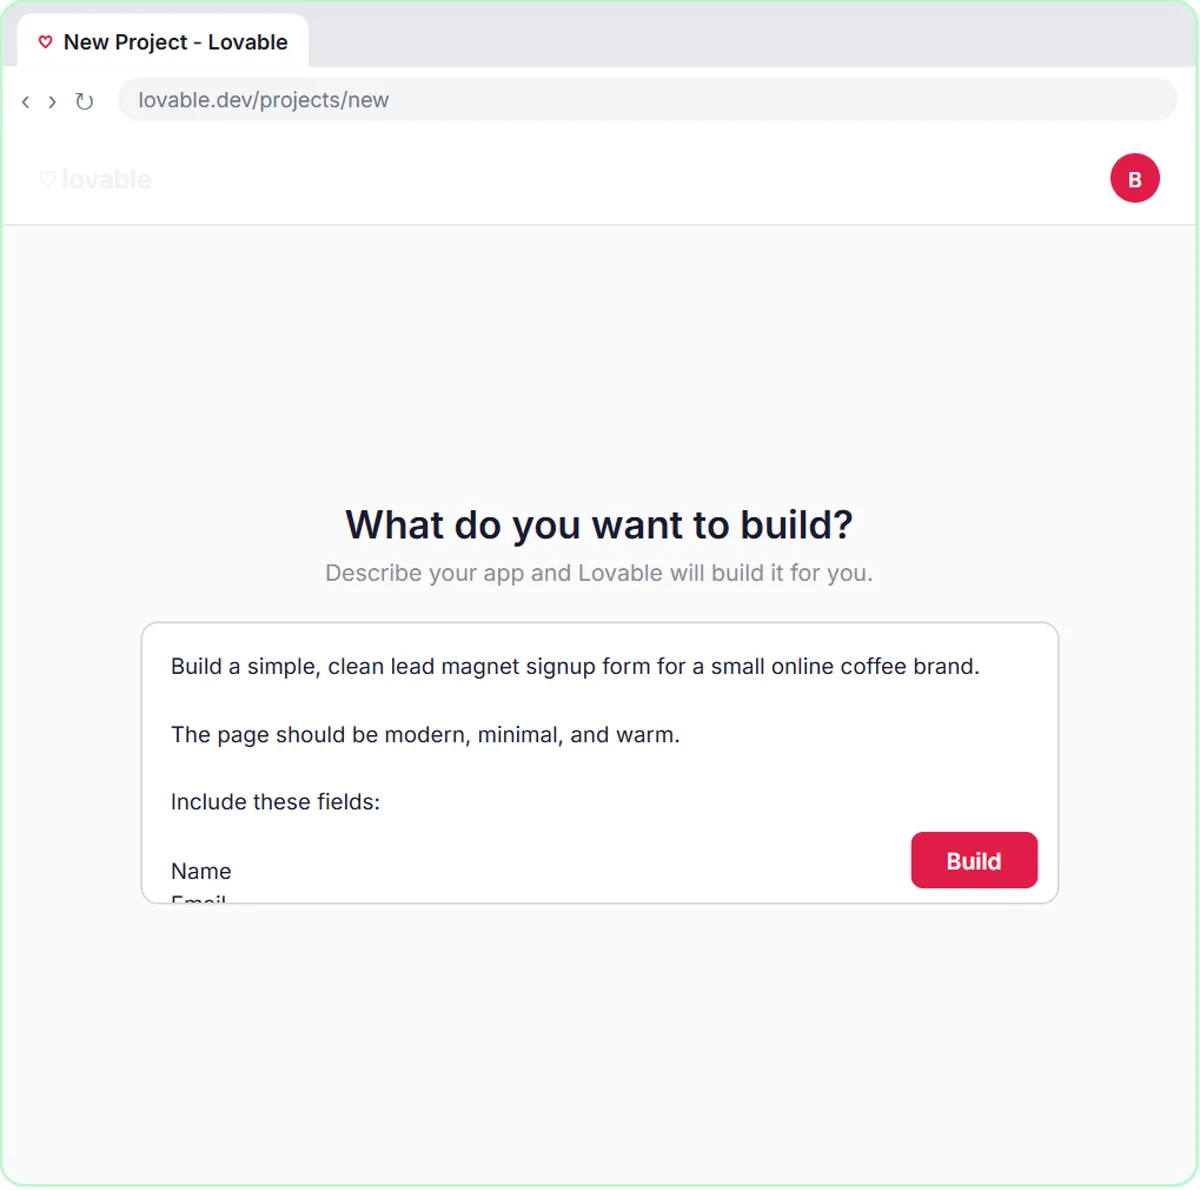 Build a Lead Magnet Signup Form with an AI Welcome Email
Build a "Get the free guide" signup form in Lovable for Harbor & Pine Coffee Roasters and connect it to n8n — the AI agent tags each lead by interest, saves it to…
Free · Live ~15 min
Terms in this lesson
Plain-English definitions, each with an example from a free lesson.