Quick answer
To reply to a webhook in n8n, set the Webhook node's Respond setting to Using 'Respond to Webhook' Node, then add a Respond to Webhook node where the answer is ready. It sends back the item that reaches it, with a response code such as 200. Without that pair, n8n answers at once, before your steps run.
Last updated · Last checked
Updated . Built against the tool’s current screens and checked step by step. How we check this lesson
A website form that shows nothing after Send gets sent twice, or gets a phone call to the office. In this free n8n Respond to Webhook tutorial you build the fix for a made-up architecture studio: a Webhook catches the consultation request, Edit Fields writes a short confirmation with the visitor's name in it, and a Respond to Webhook node sends it back to the form in the same second. You also learn the setting that trips most people up, and why the Test URL and the Production URL behave differently.
At a glance
| Question | Answer |
|---|---|
| What you build | Use the n8n Respond to Webhook node to answer a website form in the same second: catch the request, build a confirmation with Edit Fields, and send it back with a 200. |
| Tools | n8n |
| Time | About 8 minutes, 31 steps in 5 parts |
| Level | Intermediate |
| Cost | Free |
| Ways to learn it | Practice it step by step |
The 5 parts, in short
- Catch the request: Add the first step, On webhook call, Open HTTP Method, POST, and 1 more step.
- Make it wait for your reply: Open Respond, Using 'Respond to Webhook' Node, Listen for a test, Read what arrived.
- Build the reply: Add a step, Search for Edit, Pick Edit Fields, Add a field, and 8 more steps.
- Send it back: Add a step, Search for Respond, Pick Respond to Webhook, Add an option, and 3 more steps.
- Test URL and Production URL: Open the Webhook again, Production URL, Close the node.
Start here first: n8n: What Is n8n? Build Your First Workflow (module 1 of n8n Automation Toolkit)
In the course: Part 9 · n8n Automation Toolkit (Module 100 of the full course)
Part of: Webhooks & Website Forms (step 6 of 9). Next up: How to Build in Lovable: A Web App with an n8n AI Backend
Part of: n8n Jump Start (step 10 of 26). Next up: n8n: Turn Meeting Notes into Action Items in a Google Sheet
Part of: n8n Intermediate: Real Business Workflows (step 12 of 20). Next up: How to Do OCR in n8n: Read Receipt Photos into Google Sheets with AI
The n8n workflow
The three-node workflow from this lesson, with setup notes on the canvas. It needs no credentials: import it, click Listen for test event and send it a request.
Download the n8n workflow (JSON)
The request and the reply
This is the made-up request the lesson uses and what the finished workflow sent back when it was run in real n8n. Only two fields leave n8n; the email and the budget stay inside the workflow.
| Direction | Field | Value |
|---|---|---|
| In (body) | name | Jordan Ellis |
| In (body) | jordan.ellis@example.com | |
| In (body) | project_type | kitchen extension |
| In (body) | budget | 80000 |
| Out | message | Jordan Ellis, we got your request. We will call you within one business day. |
| Out | status | received |
What you will build
Three nodes in a row for Larkfield Architecture Studio: a Webhook that listens for the consultation form, an Edit Fields node that builds the reply, and a Respond to Webhook node that sends it back. When a homeowner presses Send, the page can show "Jordan Ellis, we got your request. We will call you within one business day." instead of nothing.
The workflow needs no credentials at all, so you can repeat every step in your own n8n in a few minutes.
The setting most people miss
A Respond to Webhook node does nothing by itself. The Webhook node has a Respond setting with four choices: Immediately, When Last Node Finishes, Using 'Respond to Webhook' Node, and Streaming. The default is Immediately, which answers the caller before any of your steps have run.
Change it to Using 'Respond to Webhook' Node. n8n then shows a note under the field: insert a Respond to Webhook node to control when and how you respond. The Respond to Webhook node carries the matching reminder at the top of its own panel. The two only work as a pair.
What Respond With can send
First Incoming Item sends back the fields of the first item that reaches the node, which is what you want when the step before it built the reply. All Incoming Items sends a list. JSON lets you write the reply by hand, with expressions in it. Text sends plain text or HTML. Redirect sends the visitor to another page, such as a thank-you page. No Data sends only the response code. There are also choices for a binary file and a signed JWT token.
The Response Code tells the caller how it went: 200 for OK, 201 when something was created, 400 when the request was wrong. A form's own code can read it and show a green tick or an error.
Test URL and Production URL
Every Webhook node has two addresses. The Test URL contains /webhook-test/ and works once each time you click Listen for test event, showing the data in the editor. The Production URL contains /webhook/ and works all the time, but only after the workflow is published. Pasting the Test URL into a live website is the most common webhook mistake: it works while you watch and stops when you close the tab. To see a Production URL saved as a secret in a real web form, see How to Build in Lovable: A Web App with an n8n AI Backend.
New to webhooks in general? Start with what a webhook is, then catch every quote request with n8n webhooks. To send only some requests a reply, put a Filter or an If node before the response.
How the practice works
Each step is shown on the left under Watch, with a short voice-over, then you do it on the right under Your turn in a practice copy of the n8n editor. Press Do it for me if you get stuck. No real request is received and nothing is published.
Links
- n8n (affiliate link): the workflow tool this lesson teaches. n8n Cloud has a free trial.
- n8n docs: Respond to Webhook node: every Respond With choice and option.
- n8n docs: Webhook node: the Respond setting, Test URL and Production URL.
Disclosure: links marked "affiliate link" are partner links. If you sign up through one, Stepthrough may earn a commission at no extra cost to you. The lesson is free either way and does not depend on it.
Try it yourself, free
Reading the steps is a start. Doing them is how it sticks. The interactive module walks you through every click in a practice copy of n8n, checks each step, and never touches your real accounts.
Start “n8n: Reply to a Web Form Instantly with Respond to Webhook”Step by step: n8n: Reply to a Web Form Instantly with Respond to Webhook
All 31 steps of the interactive module, in order. In the module you watch each one, then do it yourself in a practice copy that checks your work.
1. Catch the request
- Add the first step. A homeowner sends the consultation form on the Larkfield Architecture Studio website and sees nothing back. You will make the form answer. Click Add first step....
A homeowner fills in the consultation form at Larkfield Architecture Studio, and sees nothing back. So they send it twice, or they call the office. You'll make the form answer by itself.
- On webhook call. Click On webhook call: *Runs the flow on receiving an HTTP request*.
It runs the flow when another app sends it a request.
- Open HTTP Method. A website form sends its answers with POST. Open HTTP Method (it says GET).
A website form sends its answers with a method called post. It says get.
- POST. Choose POST.
- Name the path. The Path is the end of the web address. Replace the long random one: type consultation-request.
The path is the end of the web address. Give it a name people can read.
2. Make it wait for your reply
- Open Respond. Respond says Immediately: n8n answers "Workflow was started" before your steps run. Open it.
Look at Respond. It says Immediately. That means n8n answers before your steps have run, with nothing useful in it.
- Using 'Respond to Webhook' Node. Choose Using 'Respond to Webhook' Node. Now the form waits until a Respond to Webhook node sends the answer.
Now the form waits, until a Respond to Webhook node sends the answer.
- Listen for a test. Click Listen for test event. In real n8n you would now send the form to the Test URL. Here the practice copy sends Jordan Ellis's request for you.
In real n8n, you'd now send the form to the test U R L. Here, the practice copy sends one for you.
- Read what arrived. One item arrived. The form answers sit under body: name, email, project_type and budget. Close the node.
3. Build the reply
- Add a step. Click the + after Webhook.
- Search for Edit. Type Edit.
- Pick Edit Fields. Click Edit Fields (Set).
- Add a field. Click Add Field.
- Name it. Type message.
Name it message.
- Drag in the name. Drag name from the INPUT onto value (here, click it). n8n writes the expression for you.
Here, click it. n8n writes the expression for you.
- Finish the message. Paste the rest of the sentence after the expression.
- Add a second field. Click Add Field again.
- Name it. Type status.
Name it status.
- Give it a value. Type received. The website can check this word to show a green tick.
The website can check for this word, and show a green tick.
- Run it. Click Execute step.
- Close the node. The output has only your two fields: message and status. The email and budget stay inside n8n. Close the node.
The output has only your two fields. Message and status. The email and the budget stay inside n8n. Close the node.
4. Send it back
- Add a step. Click the + after Edit Fields.
- Search for Respond. Type Respond.
- Pick Respond to Webhook. Click Respond to Webhook.
- Add an option. The note reminds you about the Webhook's Respond setting: you did that. Respond With is First Incoming Item, which is your message and status. Click Add option.
The note reminds you about the Respond setting on the webhook. You did that. Respond With says First Incoming Item. That's your message and status.
- Response Code. Choose Response Code. It shows 200, the code for "OK". Leave it.
It shows two hundred. That's the code for O K. Leave it.
- Run it. Click Execute step.
- Close the node. That output is exactly what the website gets back: the message for Jordan and status: received. Close the node.
5. Test URL and Production URL
- Open the Webhook again. One last check. Click the Webhook node.
One last check.
- Production URL. You tested with the Test URL. Click Production URL.
You tested with the test U R L.
- Close the node. This address has /webhook/ instead of /webhook-test/. It is the one your website form should use, and it only answers after you Publish. Close the node.
This address says webhook, not webhook test. It's the one your website form should use. And it only answers after you publish. Close the node.
Frequently asked questions
- Why does my n8n webhook answer "Workflow was started" instead of my data?
- The Webhook node's Respond setting is still on Immediately. Change it to Using 'Respond to Webhook' Node and add a Respond to Webhook node after the step that builds your reply.
- Where do I put the Respond to Webhook node?
- At the point where the answer is ready. Steps after it still run, so you can reply to the visitor first and then do slow work such as sending emails or updating a sheet.
- Can one workflow have two Respond to Webhook nodes?
- Yes, for example one on each side of an If node: a 200 with a confirmation on one branch and a 400 with an error message on the other. Only the first one reached in a run sends the reply.
- Why does the Production URL return an error?
- The workflow is not published yet. The Production URL only answers once you publish. Until then use the Test URL with Listen for test event.
- Is this lesson really free?
- Yes. Stepthrough is free, and the practice copy needs no account. To build it for real you need n8n: n8n Cloud has a free trial, and self-hosted n8n is free. This workflow uses no paid apps and no API keys.
More in n8n Automation Toolkit
 n8n: What Is n8n? Build Your First Workflow
What n8n is and how it thinks, then your first workflow: a client inquiry form that catches every request and writes a one-line summary. No code, no accounts to connect.
Free · Live ~8 min Beginner
 How to Do n8n Automation for Beginners: Sort Inquiries and Draft Replies with AI
AI workflow automation for beginners: a form catches each client inquiry, an AI step sorts it and drafts the reply, and an If rule flags the urgent ones. Real n8n, free…
Free · Live ~12 min Beginner
 n8n: Items, JSON and Expressions, Explained by Doing
See how n8n holds data: pin five fake invoices, read them as items, Table and JSON, then write one reminder per invoice and a late fee with drag-and-drop expressions.
Free · Live ~9 min Beginner
 n8n: Run a Workflow on a Schedule (Every Monday at 8am)
Use the n8n Schedule Trigger to run a workflow by itself: every Monday at 8am, a timesheet reminder. Set the interval, test it now, and check the time zone.
Free · Live ~6 min Beginner
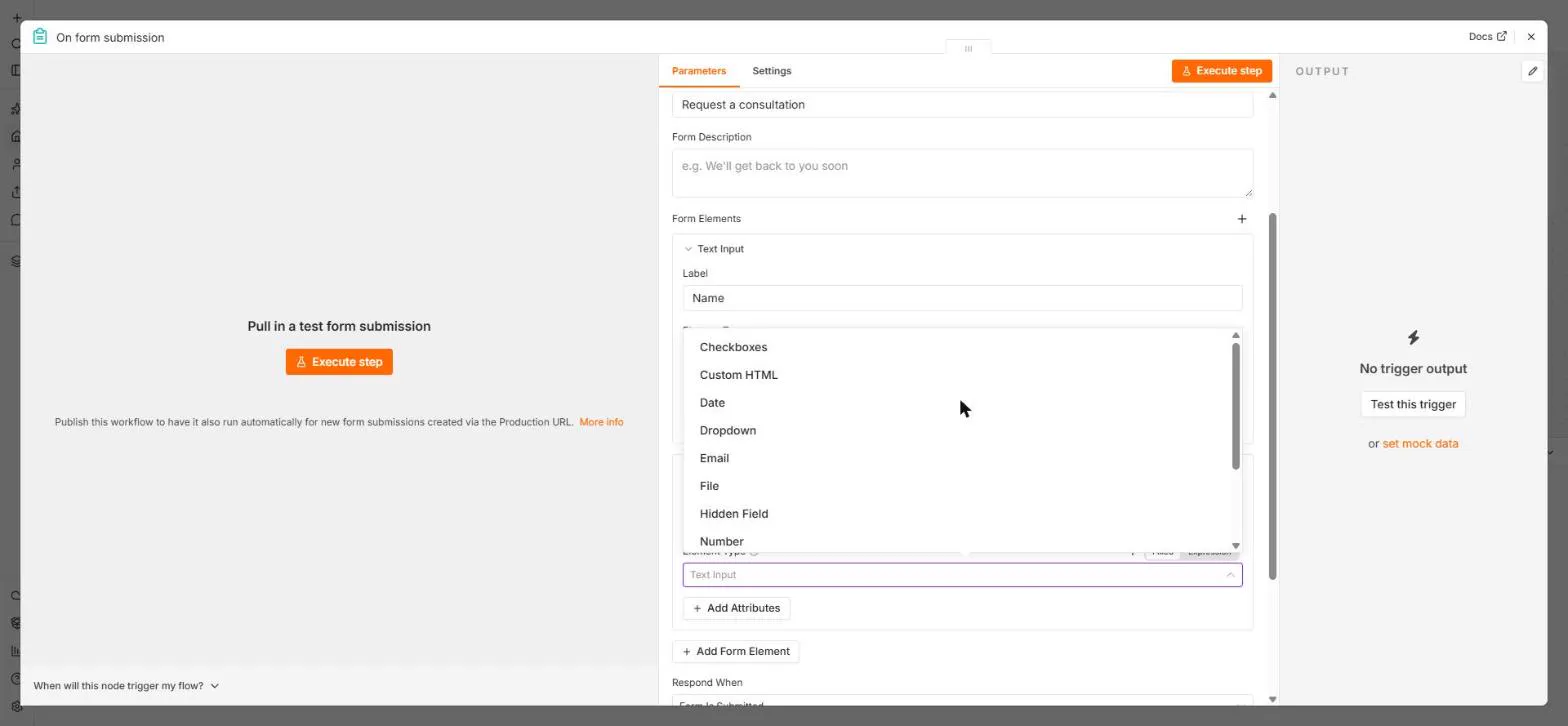 n8n: Send Form Answers Straight to Google Sheets
Build a consultation request form in n8n (required fields, email, dropdown), test it, and add every answer as a new row in Google Sheets. No webhook, no form tool to…
Free · Live ~10 min Beginner
◷n8n: Run JavaScript or Python in the Code Node (Total Hours by Client)Use the n8n Code node to do what no ready-made node does: total timesheet hours per client in eight lines of JavaScript, then run the same job in Python.
Free · Live ~6 min Intermediate
All 28 modules in n8n Automation Toolkit
More n8n tutorials
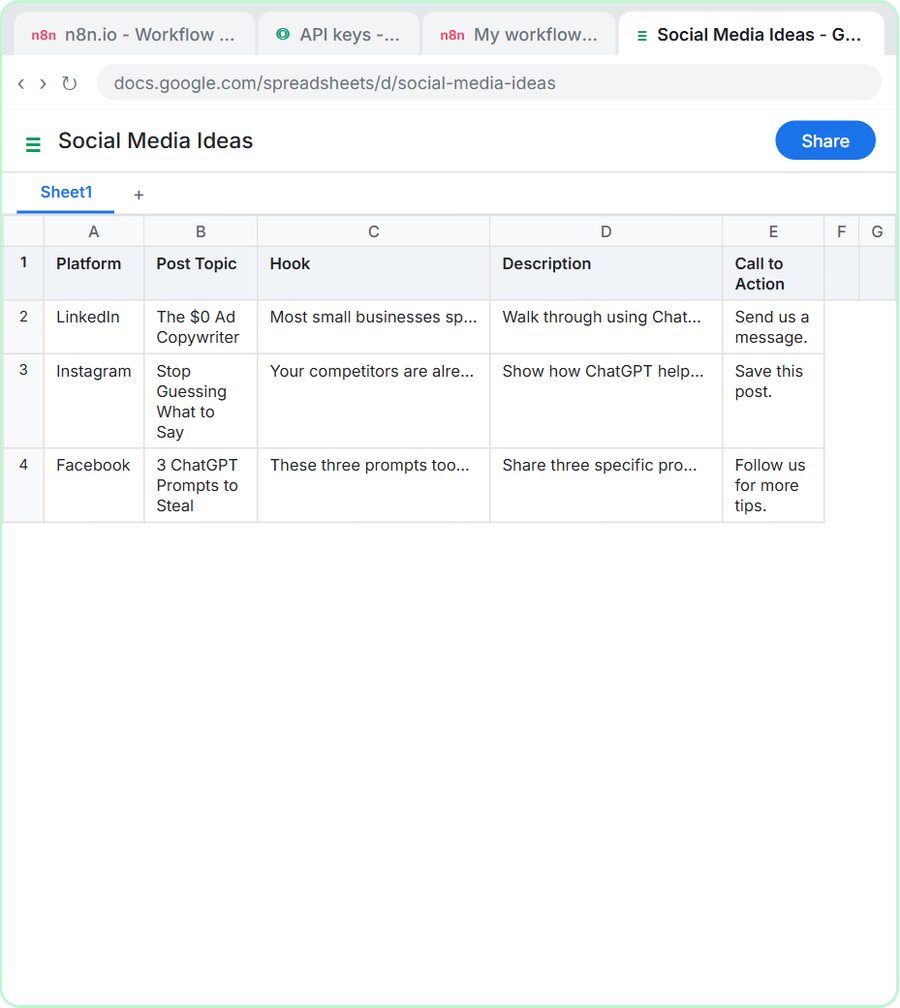 How to Create an AI Agent in n8n That Saves Ideas to Google Sheets
Build an AI agent for BrightPath Marketing that generates social media post ideas and saves them to Google Sheets — chat trigger, AI Agent, system prompt, model…
Free · Live ~12 min Intermediate
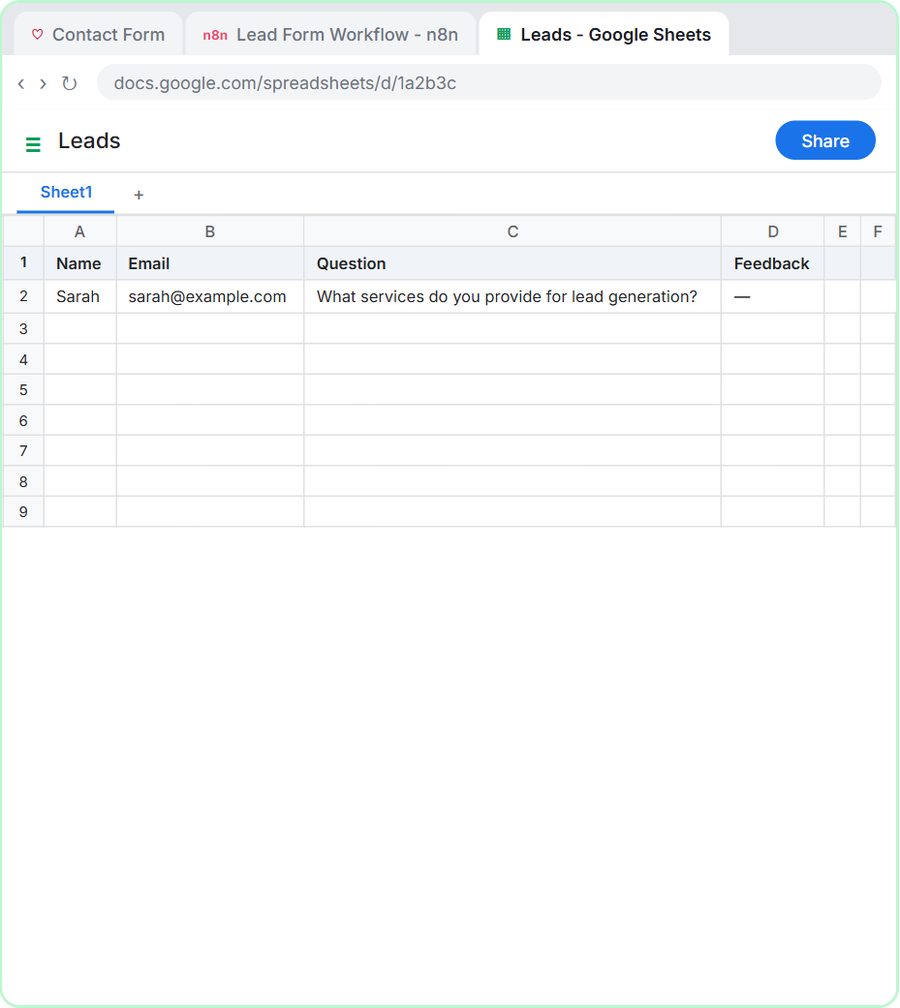 How to Build in Lovable: A Web App with an n8n AI Backend
Build a contact form in Lovable and connect it to an n8n workflow — webhook trigger, AI Agent, Google Sheets, Gmail, and a Respond node that ties it all together.
Free · Live ~15 min Advanced
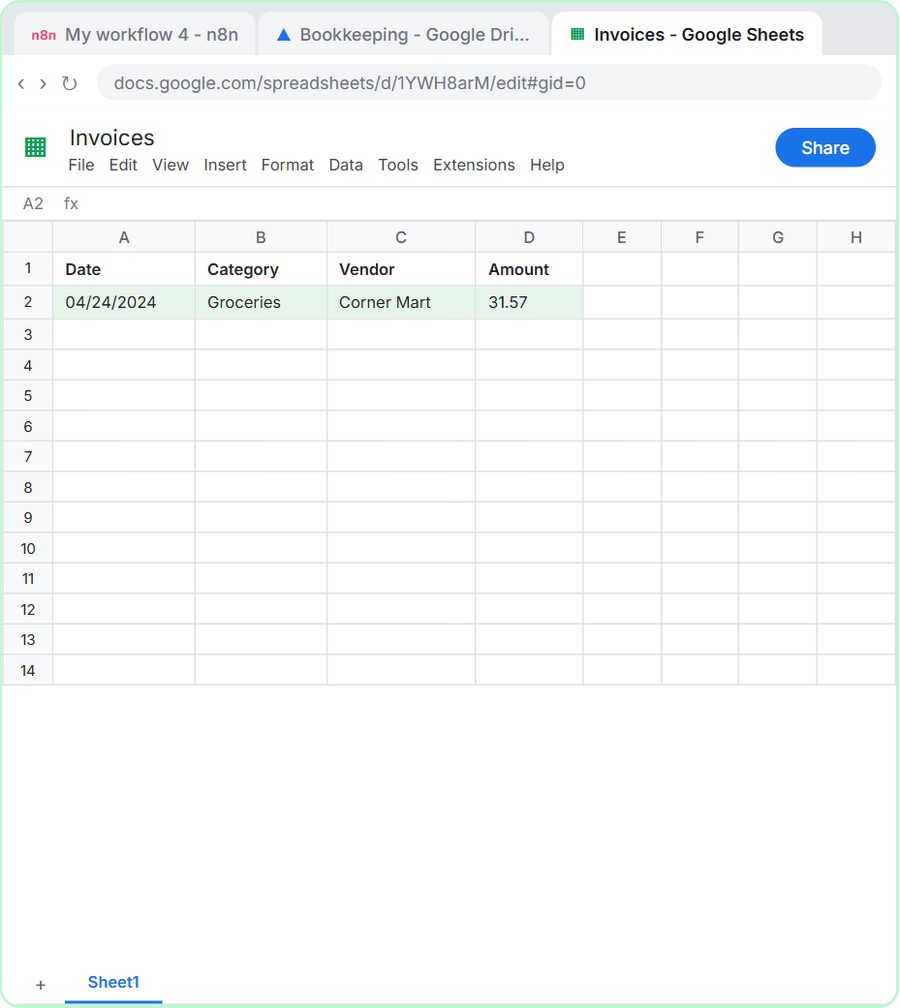 How to Do OCR in n8n: Read Receipt Photos into Google Sheets with AI
Drop a photo of a receipt into an n8n chat. An AI agent reads it, pulls out the date, vendor and amount, picks a category, and adds a row to Google Sheets.
Free · Live ~12 min Intermediate
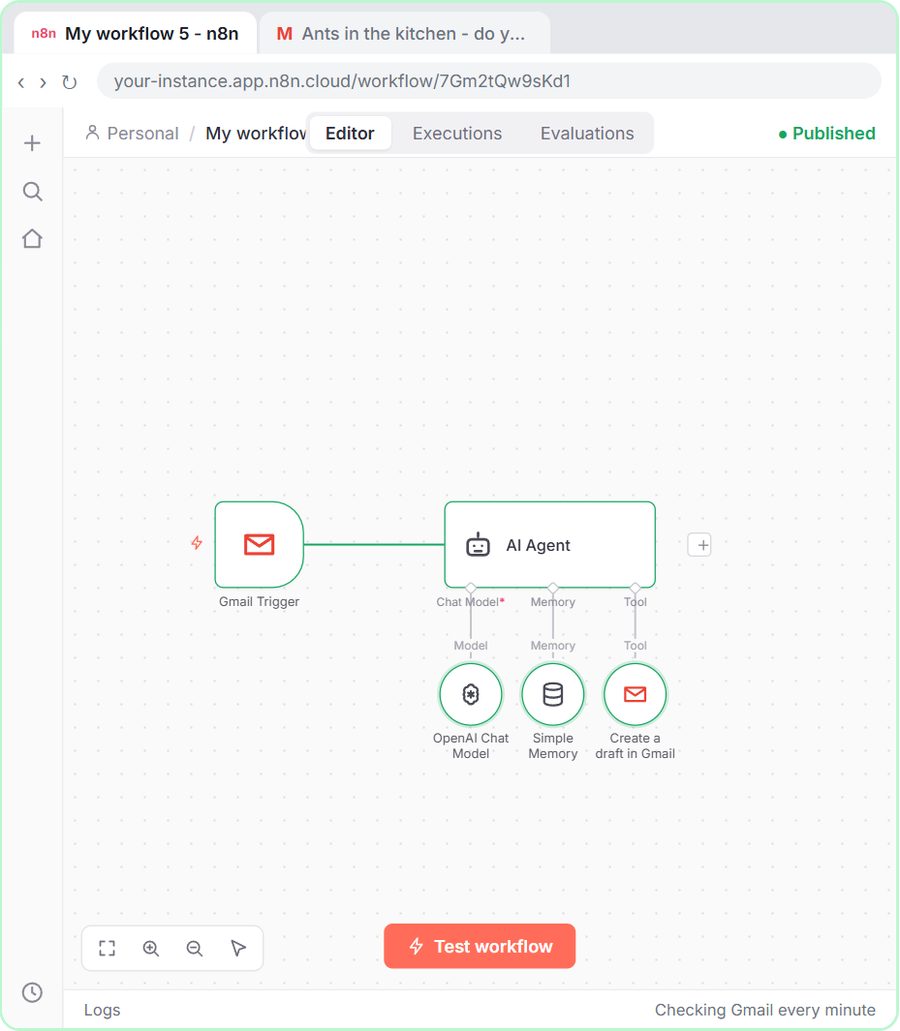 n8n AI Email Responder: Draft Gmail Replies Automatically
Build an n8n agent that watches your Gmail, reads each new customer email, and writes a reply as a draft in the same thread, ready for you to check and send.
Free · Live ~12 min Intermediate
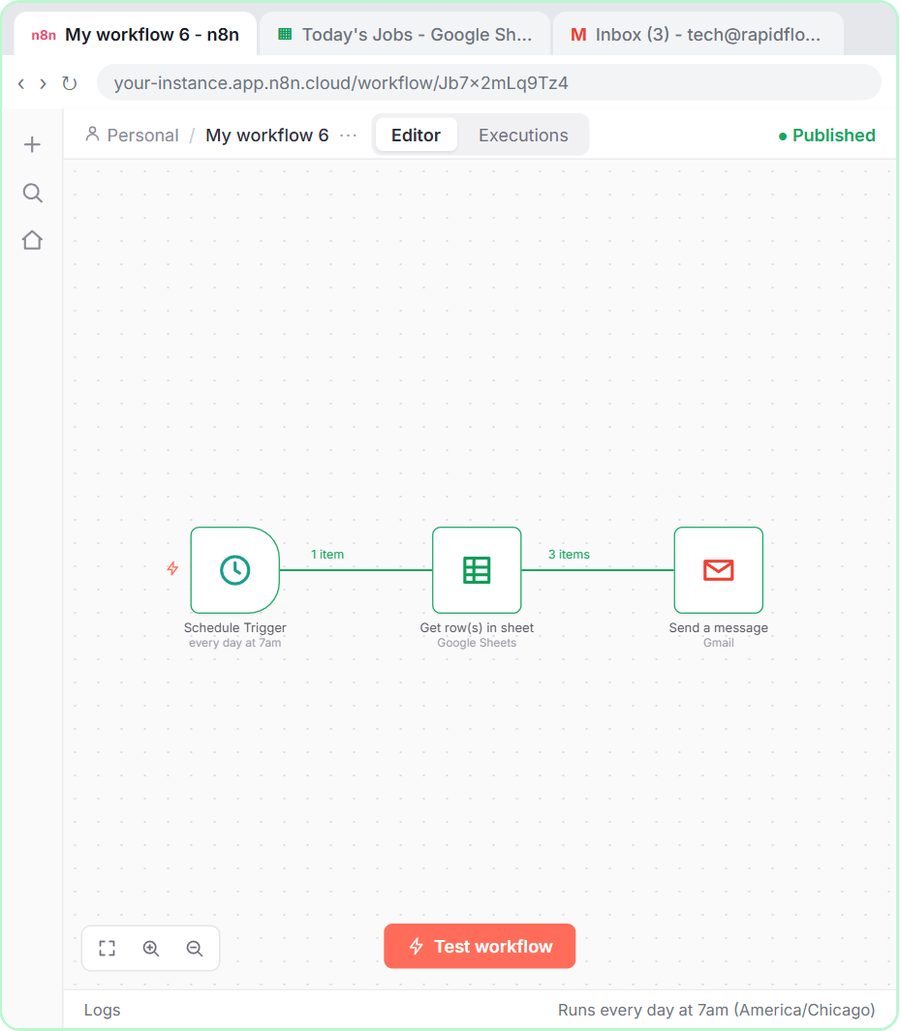 How to Make an n8n Workflow That Emails Each Tech Their Jobs from Sheets
Every morning at 7, n8n reads a plumbing company's jobs sheet, skips anything not assigned yet, and emails each job to the tech it's assigned to — customer, address…
Free · Live ~10 min Intermediate
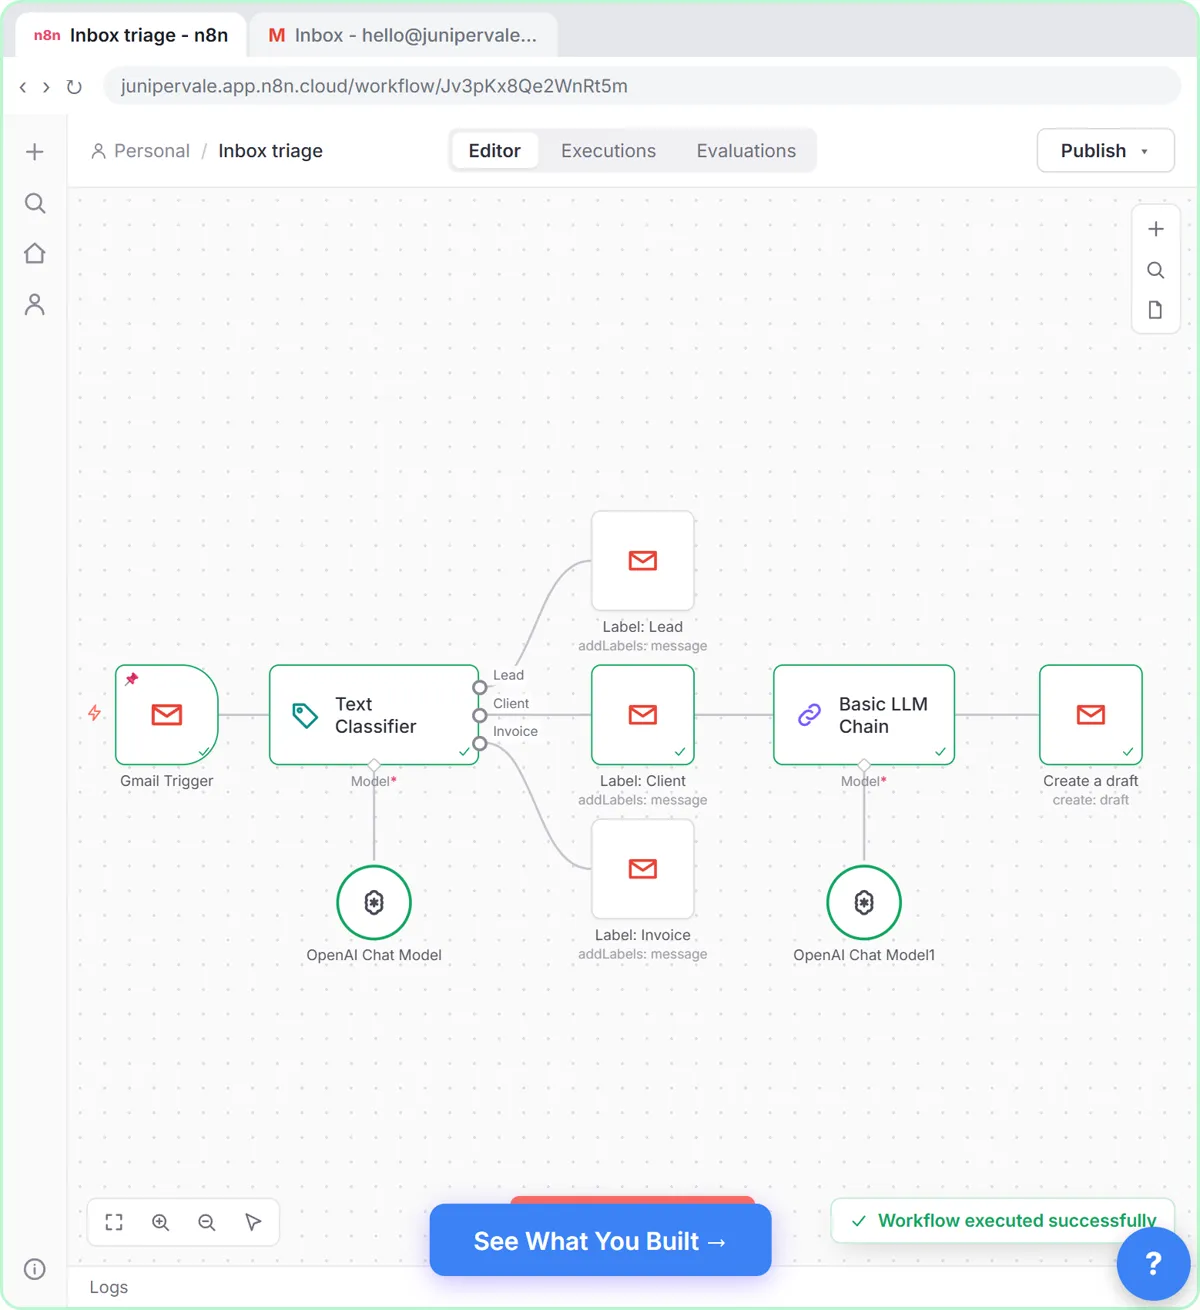 Gmail AI Triage: Auto-Label Every Email and Draft Replies
Build an n8n workflow that reads each new email, sorts it as a lead, a client or an invoice with a Text Classifier, adds the matching Gmail label, and drafts a reply to…
Free · Live ~18 min Advanced
Terms in this lesson
Plain-English definitions, each with an example from a free lesson.