Updated . Built against the tool’s current screens and checked step by step. How we check this lesson
Write a month of weekly posts in BulkPublish's Bulk Compose, let the AI assistant draft one and fix what it gets wrong, give each post its own Tuesday, and send them to LinkedIn and Google Business from one place.
At a glance
| Question | Answer |
|---|---|
| What you build | Write a month of weekly posts in BulkPublish's Bulk Compose, let the AI assistant draft one and fix what it gets wrong, give each post its own Tuesday, and send them to LinkedIn and Google Business from one place. |
| Tools | BulkPublish |
| Time | About 8 minutes, 20 steps in 4 parts |
| Level | Beginner, no coding needed |
| Cost | Free |
| Ways to learn it | Practice it step by step |
The 4 parts, in short
- Open Bulk Compose: Open the bulk options, Choose Bulk Compose.
- Write week 1, and let the AI draft week 2: Write week 1, Add week 2, Open the AI assistant, Describe the post, and 4 more steps.
- Give each week its own Tuesday: Add weeks 3 and 4, Set the main date, Open week 2, Give each week its own Tuesday.
- Pick the channels and check the calendar: Pick where it posts, No channels yet, Where you would connect, Switch to the calendar, and 2 more steps.
Start here first: AI Receipt Extractor: Receipts to Google Sheets with n8n (module 1 of Business Automations)
In the course: Part 9 · n8n Automation Toolkit (Module 131 of the full course)
Part of: AI for Marketing Teams (step 40 of 51). Next up: Mixo: Launch a Landing Page and Collect Early Sign-ups
Part of: AI Apps Worth Knowing (step 129 of 157). Next up: HappyScribe: Turn a Spanish Customer Call into an English Summary and Action Items
What you'll build
You run the office at Cedar Point Realty, a made-up real estate office with 12 agents. Its LinkedIn page and Google Business Profile only get a post when someone remembers, and each means logging in to a different site. In this lesson you open BulkPublish's Bulk Compose, write week 1, let the AI assistant draft week 2 and fix the line that promises something the post never gives, add weeks 3 and 4, and give each post its own Tuesday in December. Then you see where LinkedIn and Google Business get connected, and where the month shows on the calendar. Nothing is connected or posted.
You wrote four weekly posts in one Bulk Compose session, let the AI assistant draft one for a single credit, caught the line that promised a breakdown the post never gave, and gave each post its own Tuesday at 9:00 AM. To finish for real, connect your LinkedIn company page and Google Business Profile under Channels, tick both in Select Channels, and schedule. The Free plan holds 3 scheduled posts at a time, so schedule weeks 1 to 3 now and add week 4 after week 1 goes out, or check the current plans.
- Tools: BulkPublish
- Time: about 8 minutes, 20 steps in 4 chapters
- Level: beginner, no coding needed
- Price: free
Practice first, then build it for real
Practice copy built from real BulkPublish screens (bulkpublish.com), captured 13 November 2026 on a Free account with no channels connected. Nothing here touches a BulkPublish account, and nothing was scheduled or posted. Cedar Point Realty is made up; the week 2 versions are what BulkPublish's AI assistant wrote, and yours will differ. To build it for real you need your own BulkPublish account, and some services charge once you use them for real work, so check each tool's current pricing.
Try it yourself, free
Reading the steps is a start. Doing them is how it sticks. The interactive module walks you through every click in a practice copy of BulkPublish, checks each step, and never touches your real accounts.
Start “BulkPublish: Plan a Month of LinkedIn and Google Business Posts in One Sitting”Step by step: BulkPublish: Plan a Month of LinkedIn and Google Business Posts in One Sitting
All 20 steps of the interactive module, in order. In the module you watch each one, then do it yourself in a practice copy that checks your work.
1. Open Bulk Compose
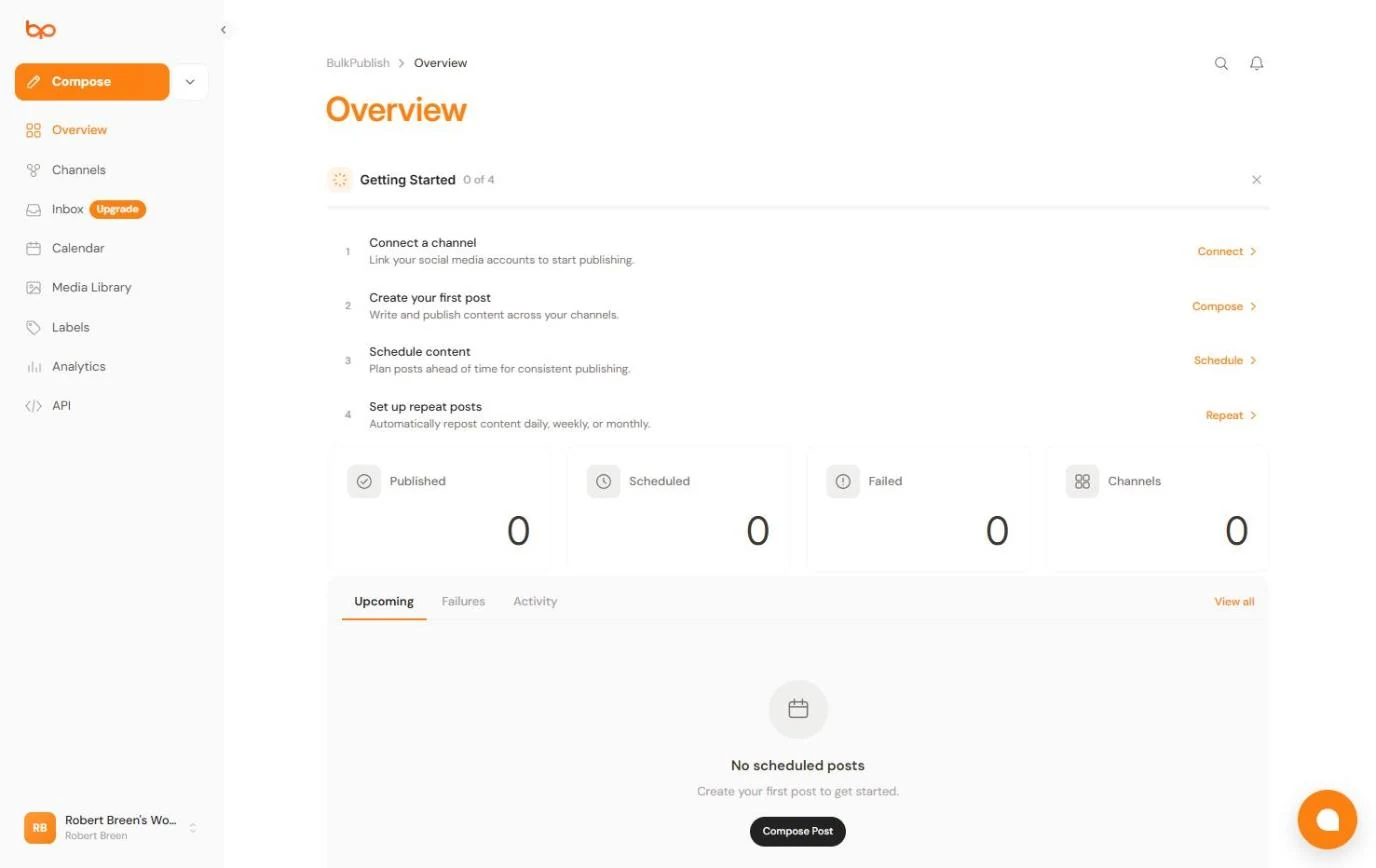
- Open the bulk options. You run the office at Cedar Point Realty, a made-up real estate office with 12 agents. The LinkedIn page and the Google Business Profile only get a post when someone remembers, and each one means logging in to a different site. Today you plan all of December in one sitting, one post every Tuesday. This is your BulkPublish Overview, on the Free plan with 0 channels connected. Click the arrow next to Compose.
You run the office at a twelve-agent real estate firm. LinkedIn and Google Business only get a post when someone remembers. Today you plan all of December in one sitting.
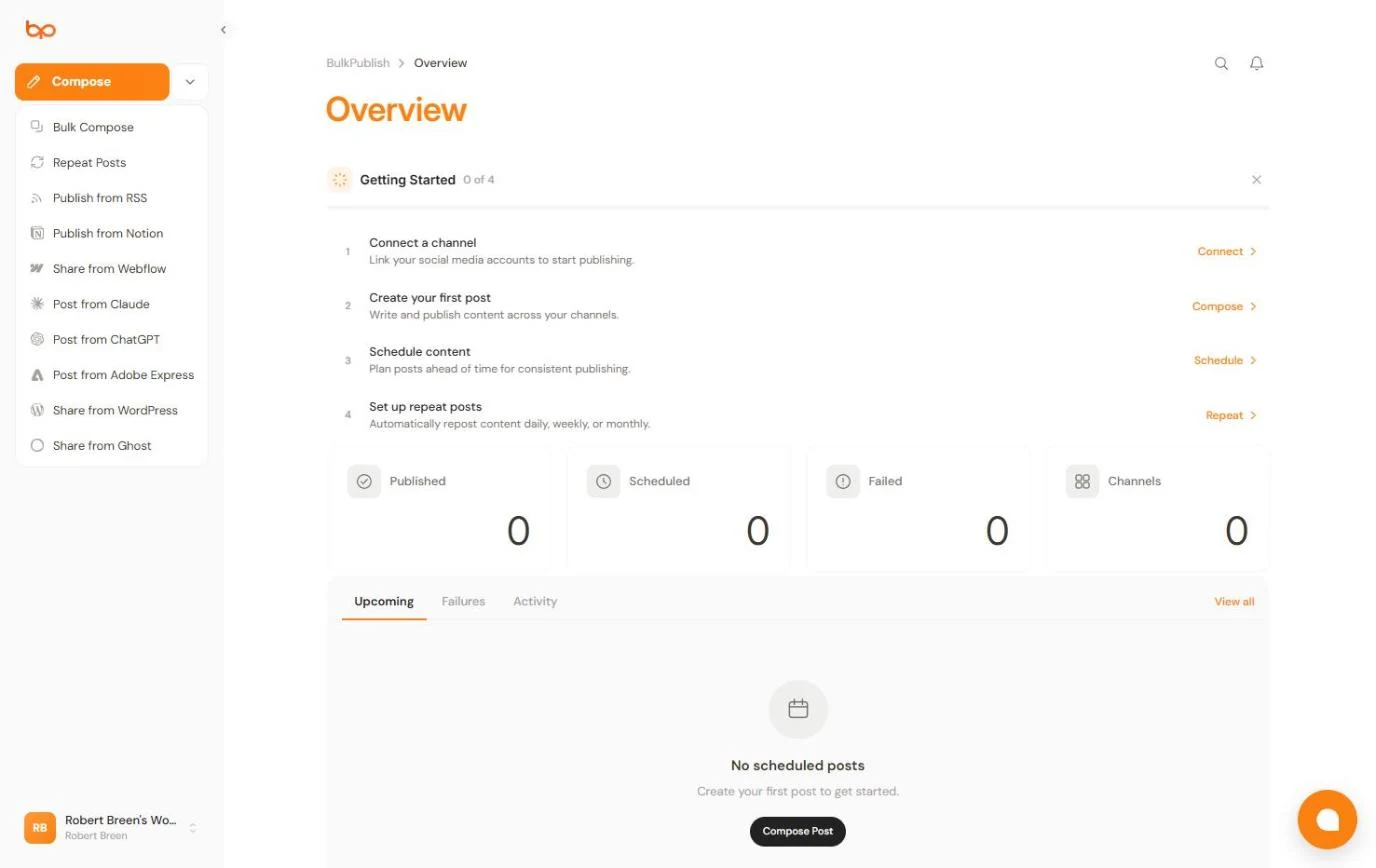
- Choose Bulk Compose. The menu lists Bulk Compose, Repeat Posts, and ways to post from RSS, Notion, Webflow, Claude, ChatGPT, Adobe Express, WordPress and Ghost. Click Bulk Compose.
The menu has Bulk Compose, repeat posts, and ways to post from other apps.
2. Write week 1, and let the AI draft week 2
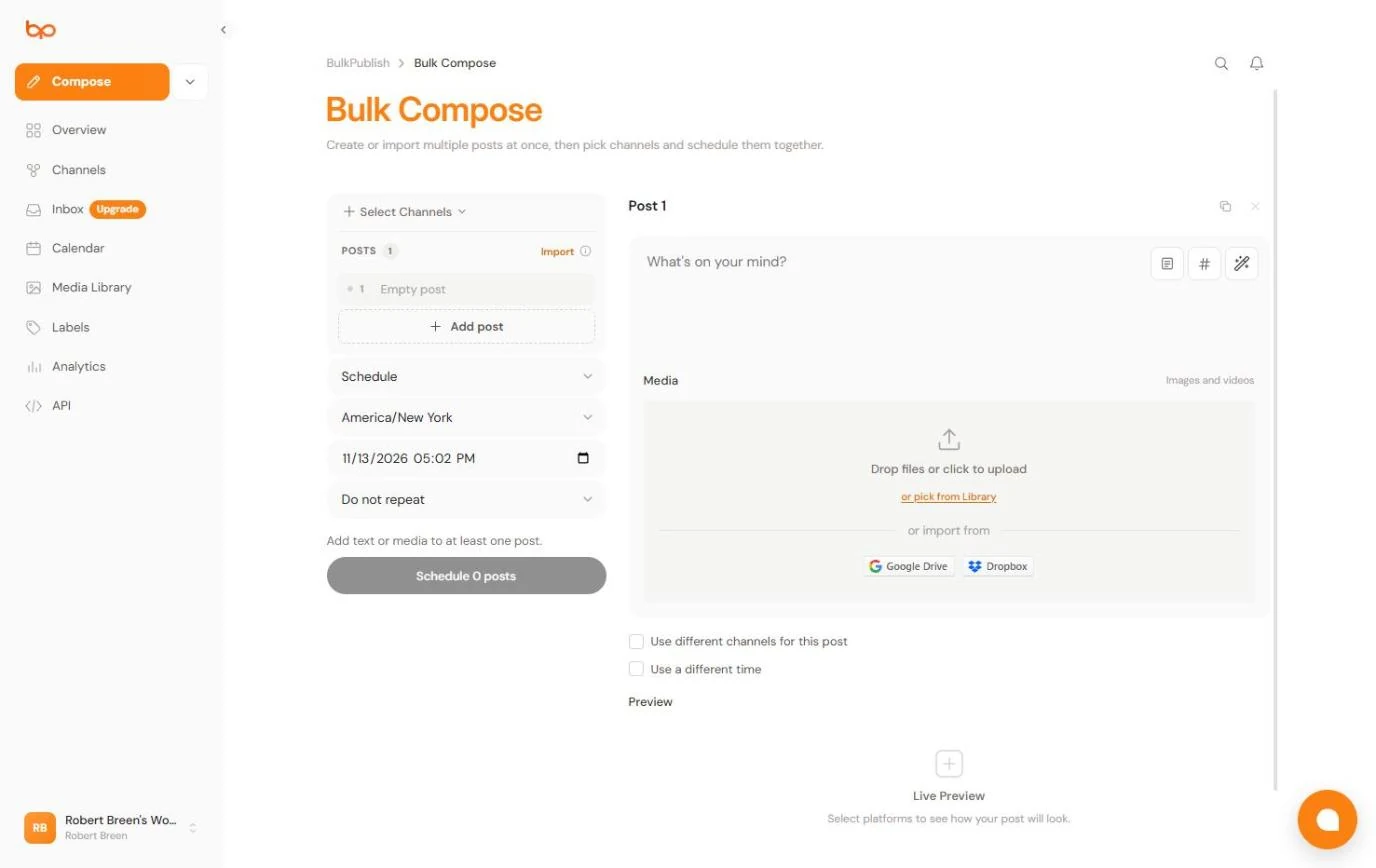
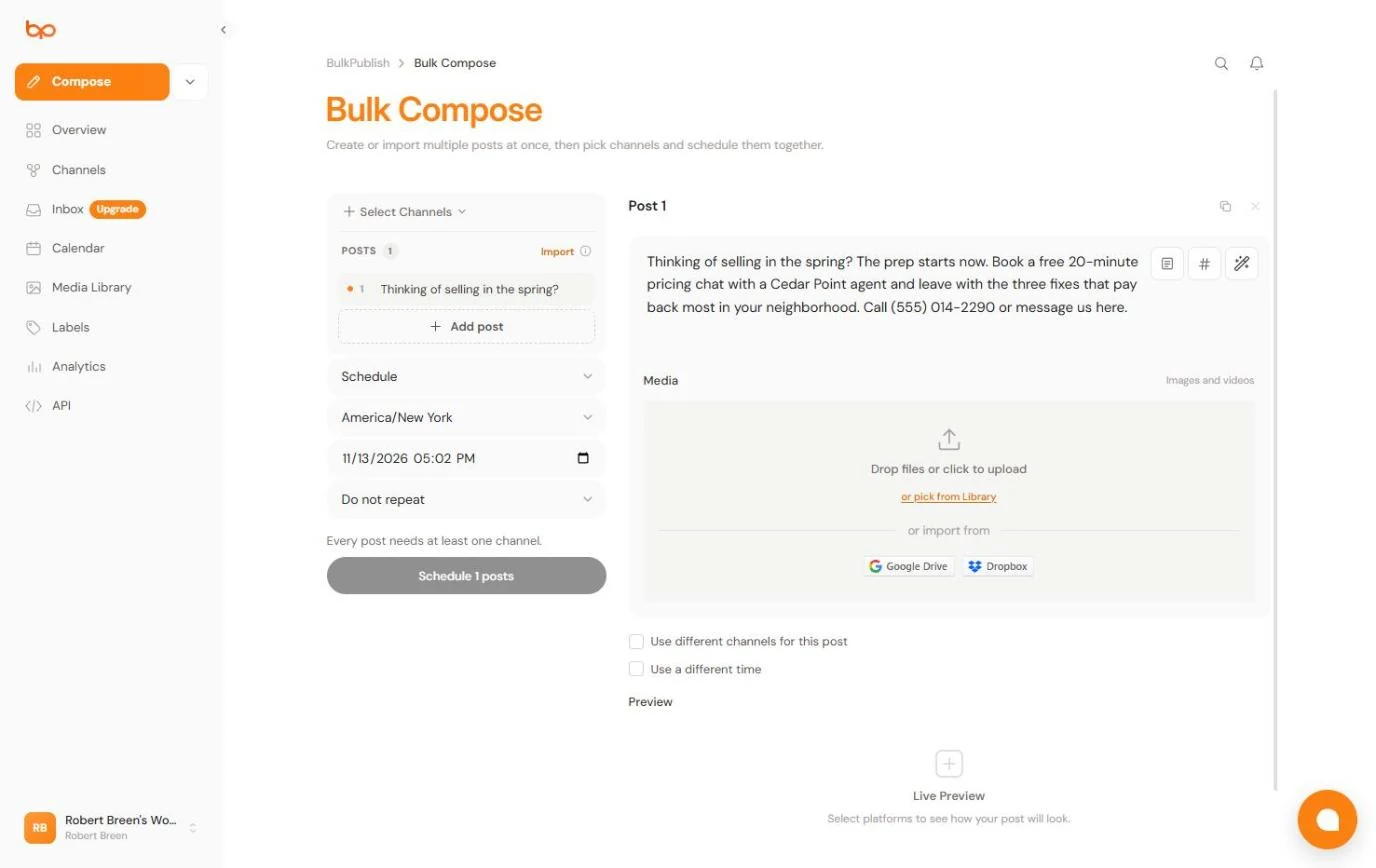
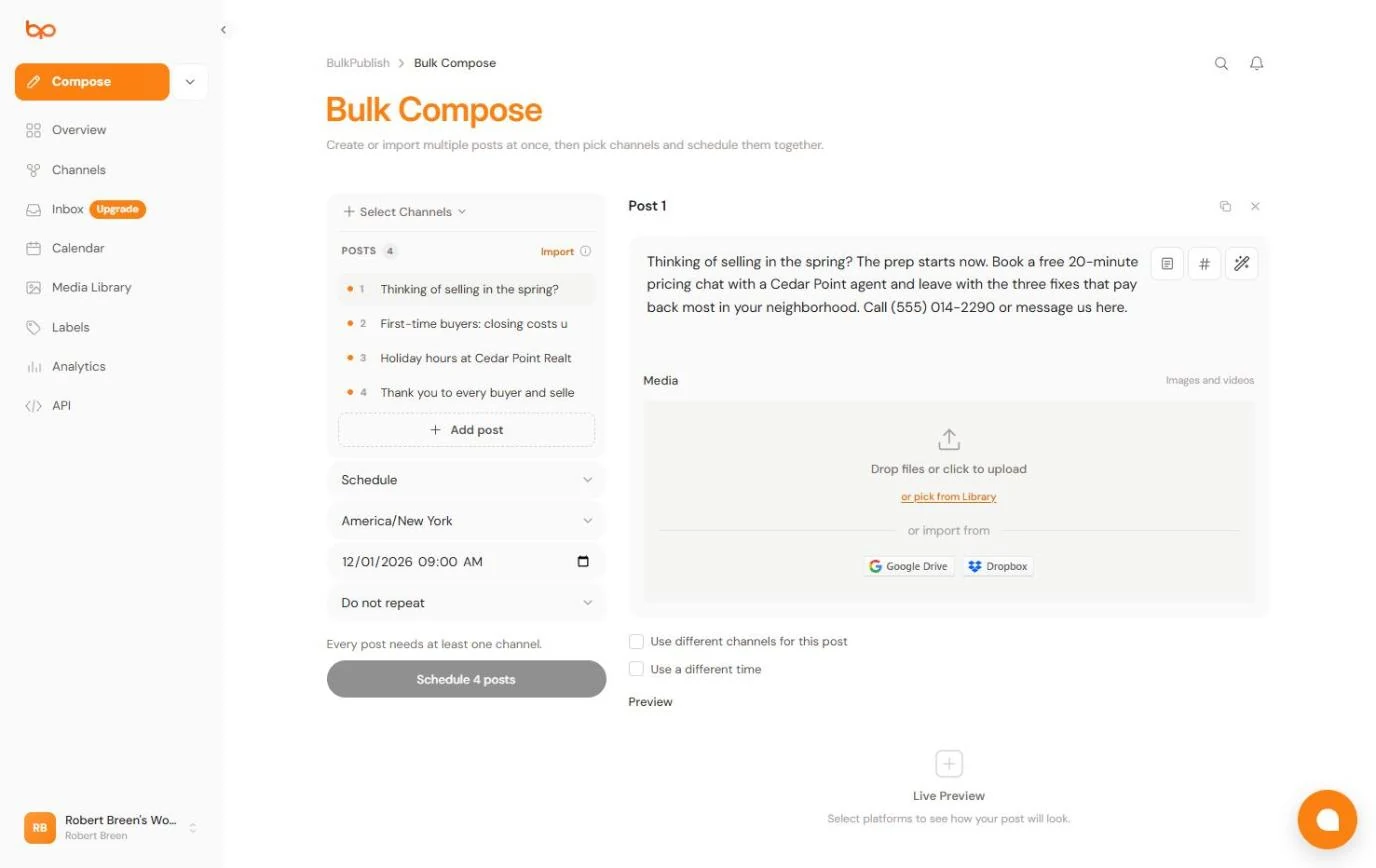
- Write week 1. Bulk Compose holds several posts at once, then you pick channels and schedule them together. On the left are the posts, the mode (Schedule), the time zone (America/New York) and the date. Week 1 is for sellers. In Post 1, type: Thinking of selling in the spring? The prep starts now. Book a free 20-minute pricing chat with a Cedar Point agent and leave with the three fixes that pay back most in your neighborhood. Call (555) 014-2290 or message us here.
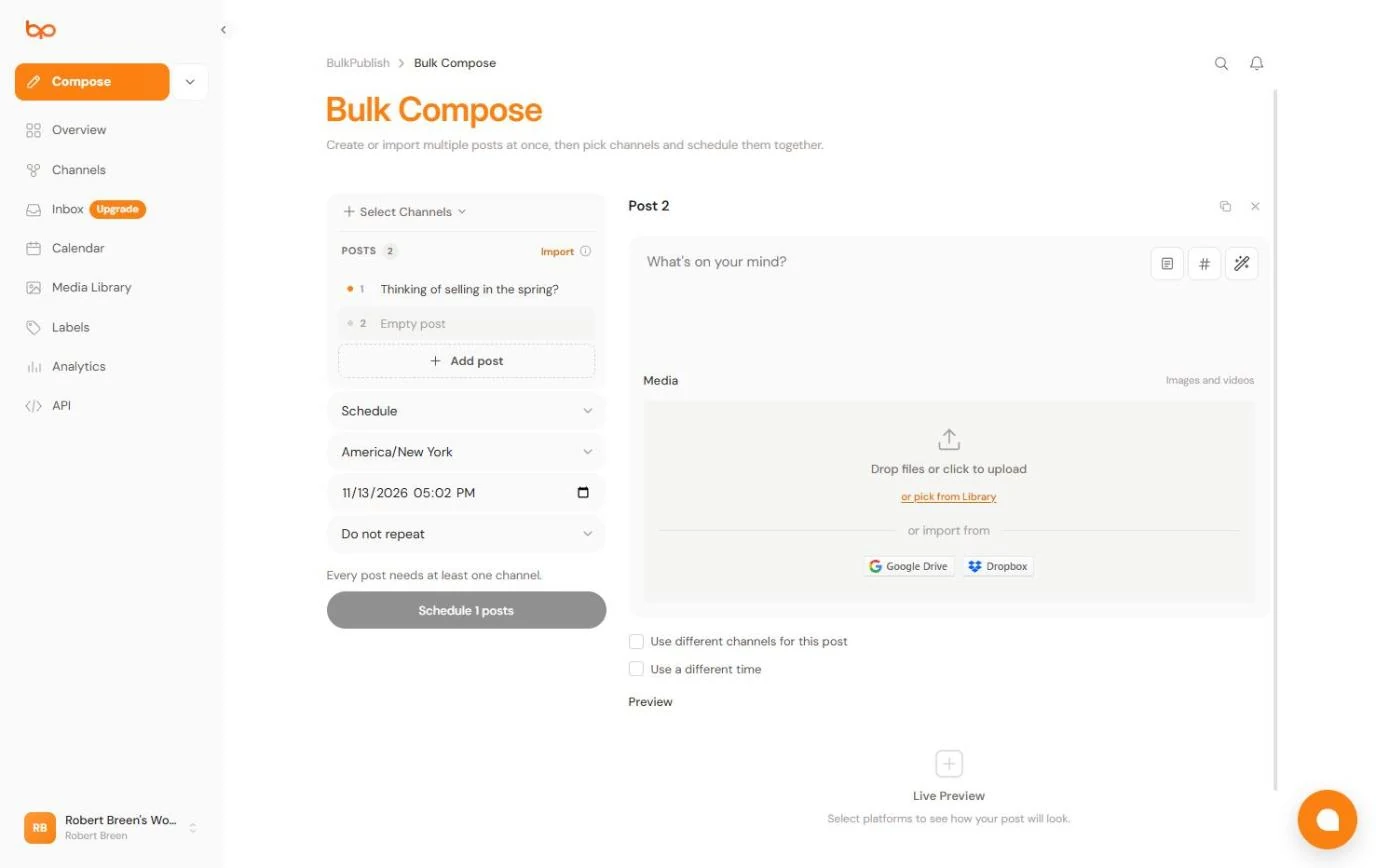
Bulk Compose holds several posts at once. Week one is for sellers.
- Add week 2. Post 1 now shows in the list. The note under the date says Every post needs at least one channel: we will get to that. Click Add post.
Post one is in the list.
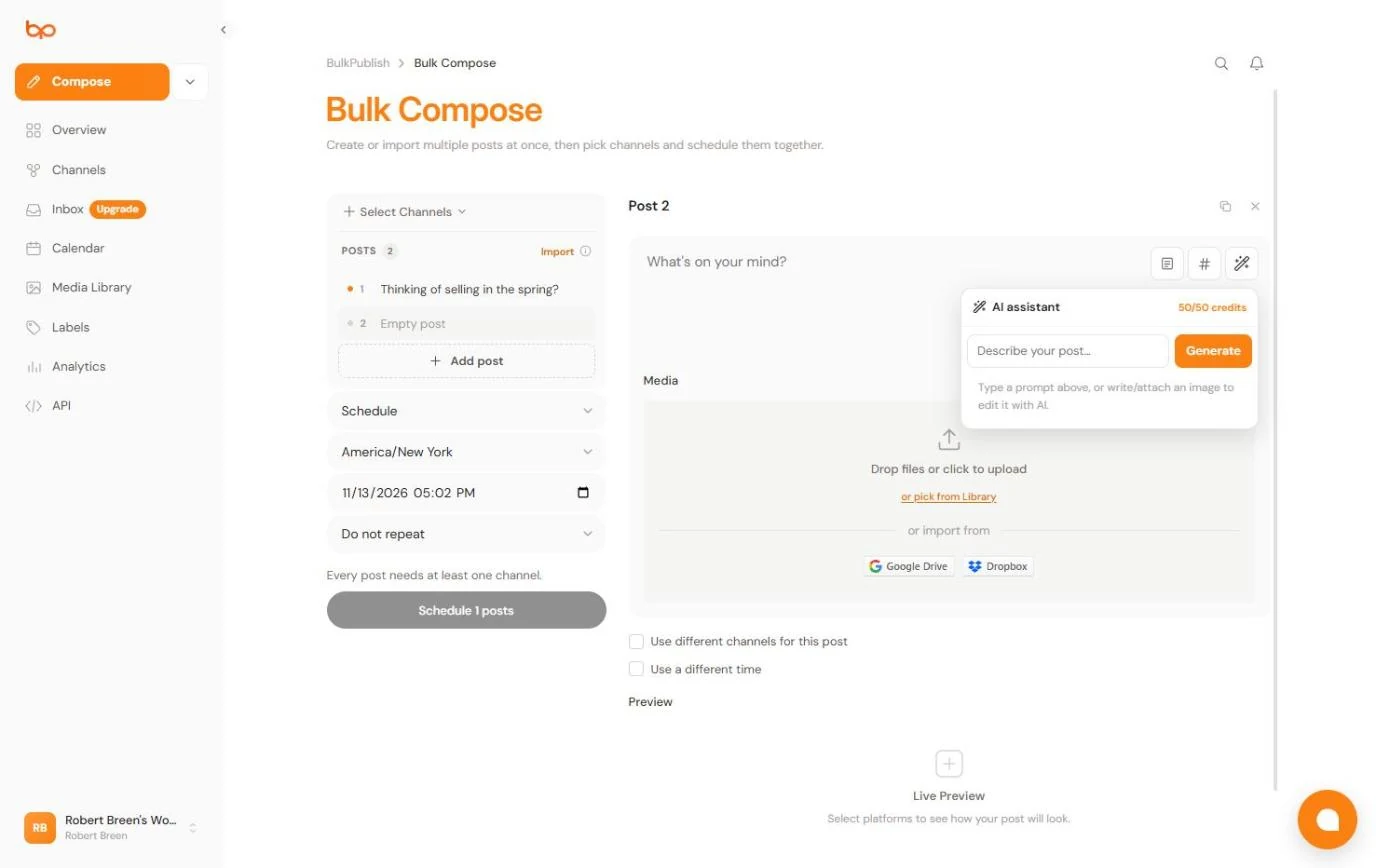
- Open the AI assistant. Week 2 is for first-time buyers. Instead of writing it yourself, let BulkPublish draft it. Click the wand icon at the top right of the text box.
Week two is for first-time buyers. Let BulkPublish draft it.
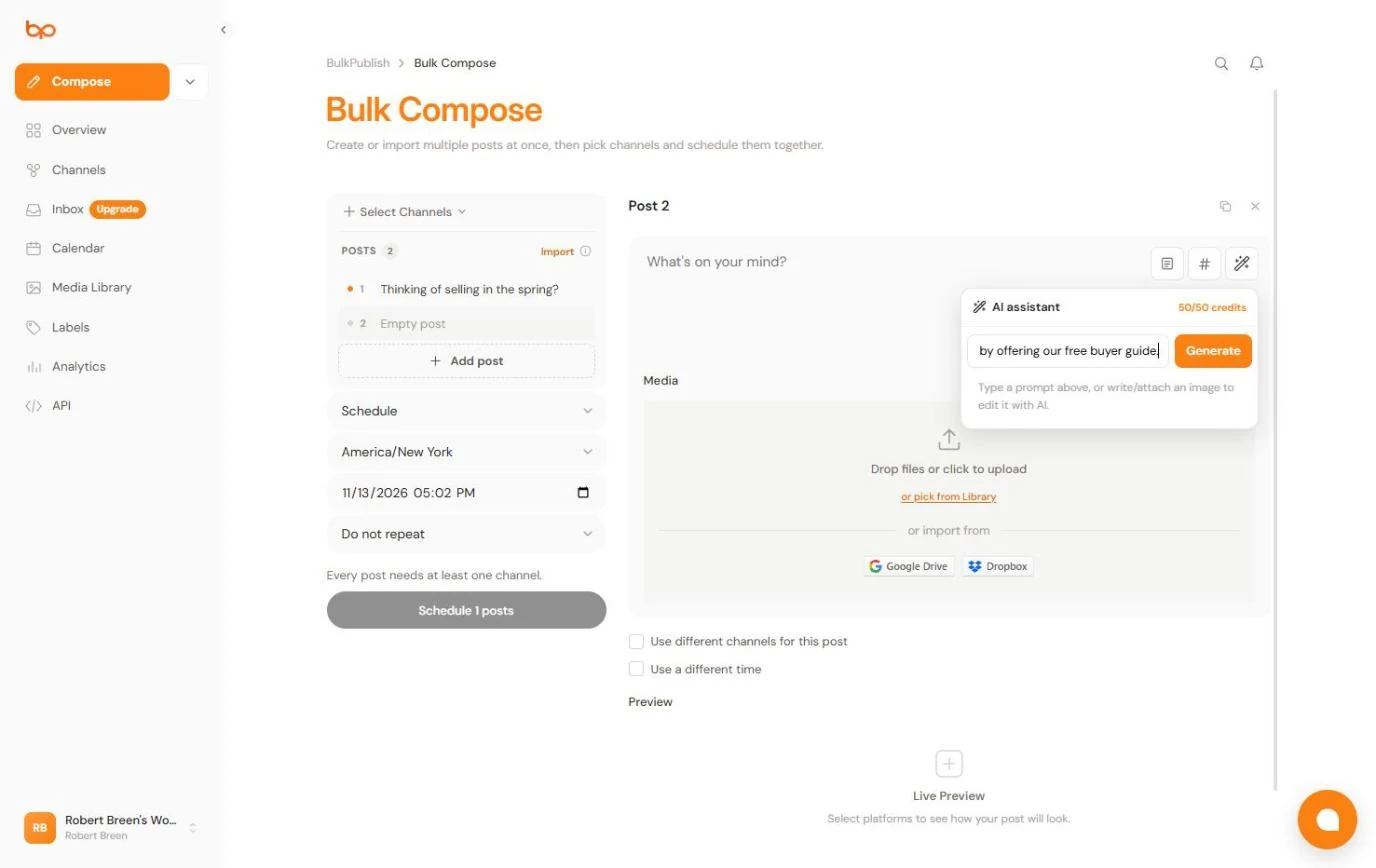
- Describe the post. The AI assistant shows 50/50 credits: the Free plan includes 50 AI captions a month. Say who it is for, which networks, the topic, a length limit and the ending. In Describe your post..., type: Post for Cedar Point Realty, a 12-agent real estate office, for LinkedIn and Google Business: what first-time buyers should budget for closing costs. Under 600 characters, no hashtags. End by offering our free buyer guide.
Free includes fifty AI captions a month. Describe the post: who it is for, the networks, the topic, a length limit and the ending.
- Generate. Click Generate.
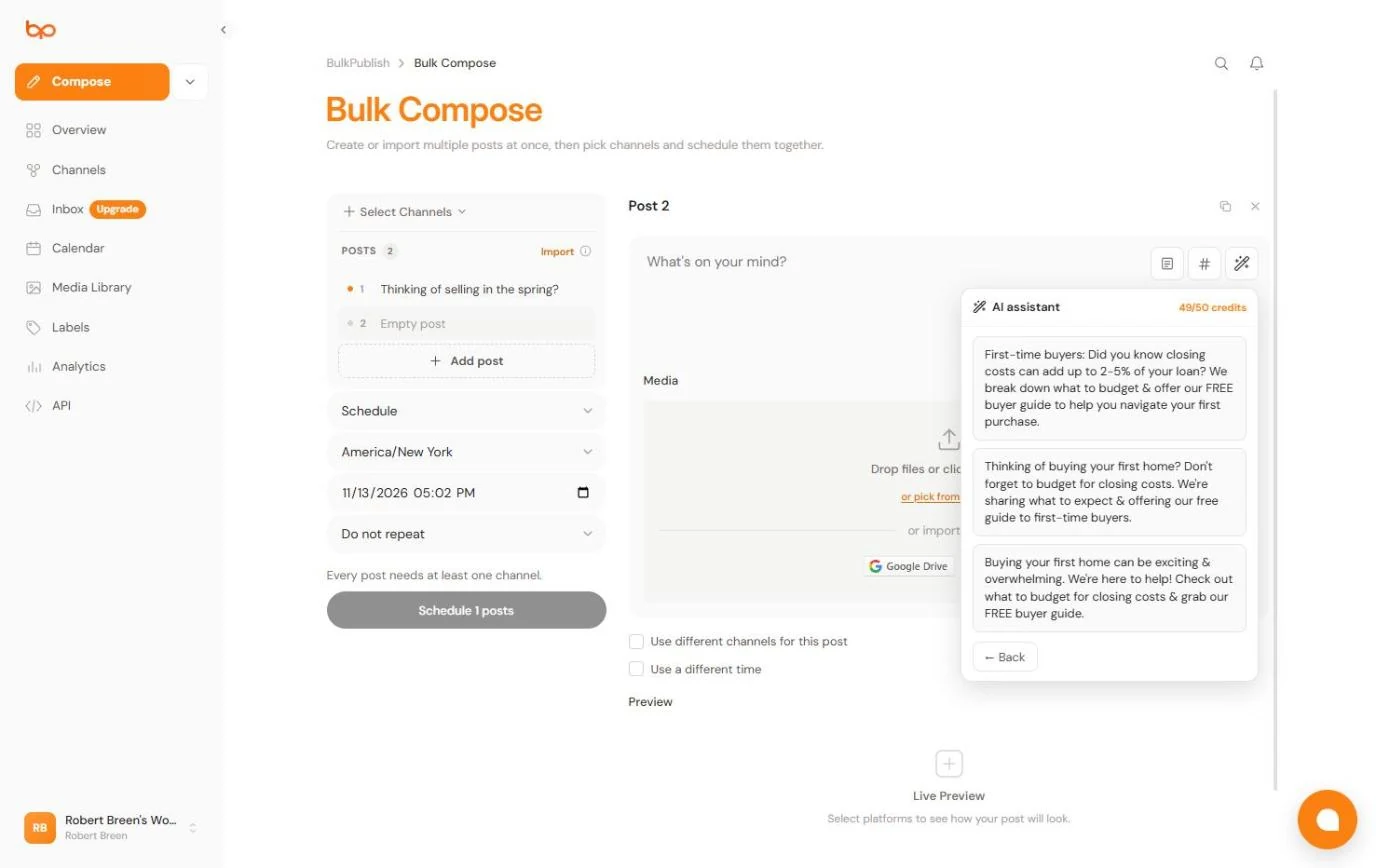
- Pick a version. You get three versions, and the counter drops to 49/50. The first one has the most useful fact in it. Click the first version.
You get three versions, for one credit.
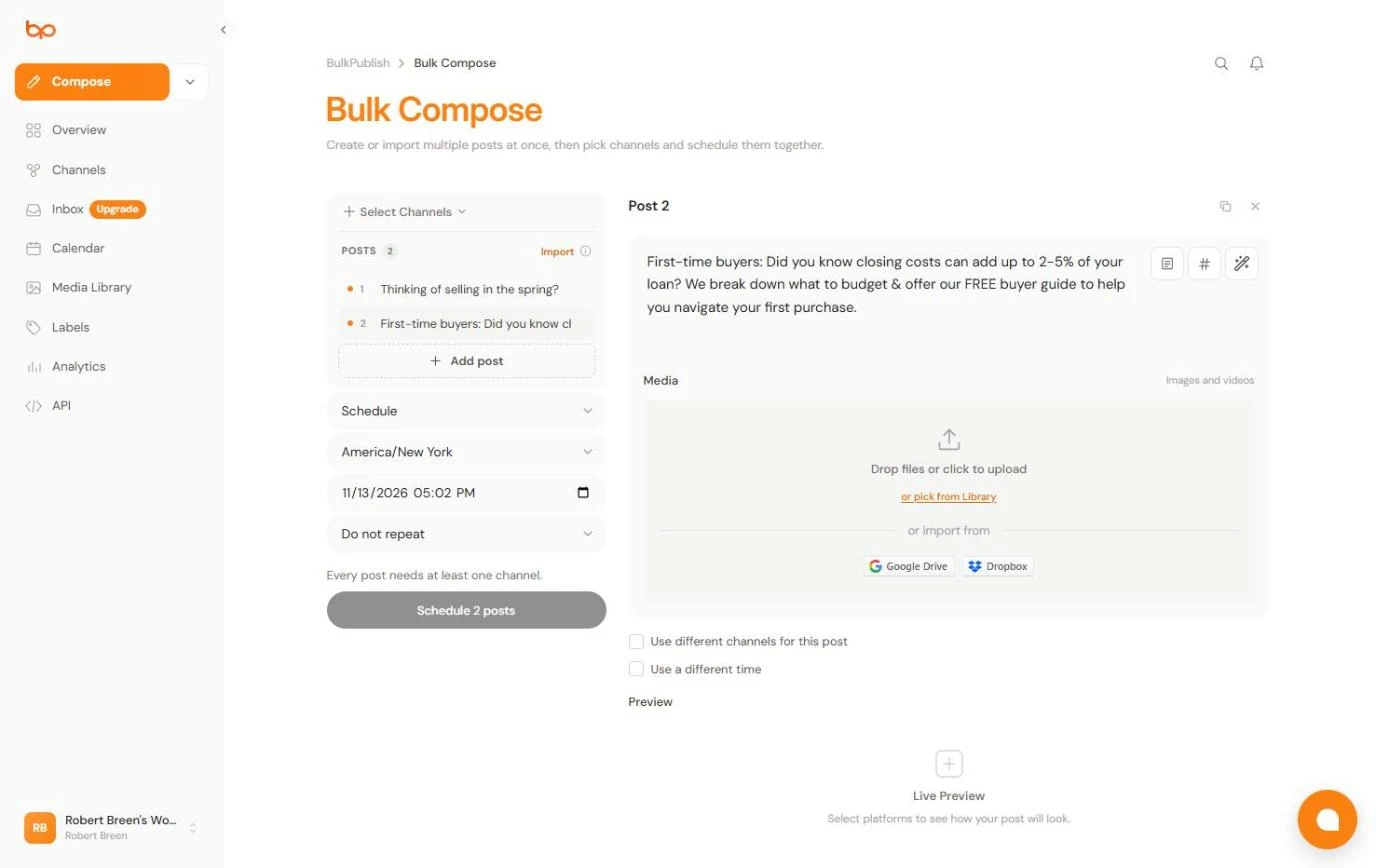
- Catch the empty promise. Read it as a buyer would. "We break down what to budget", but the post never does. And "up to 2-5%" reads oddly. Ask an agent to confirm the range for your area before you use any number the AI gives you. Click that line.
Read it as a buyer would. It promises a breakdown and never gives one. Check any number the AI gives you.
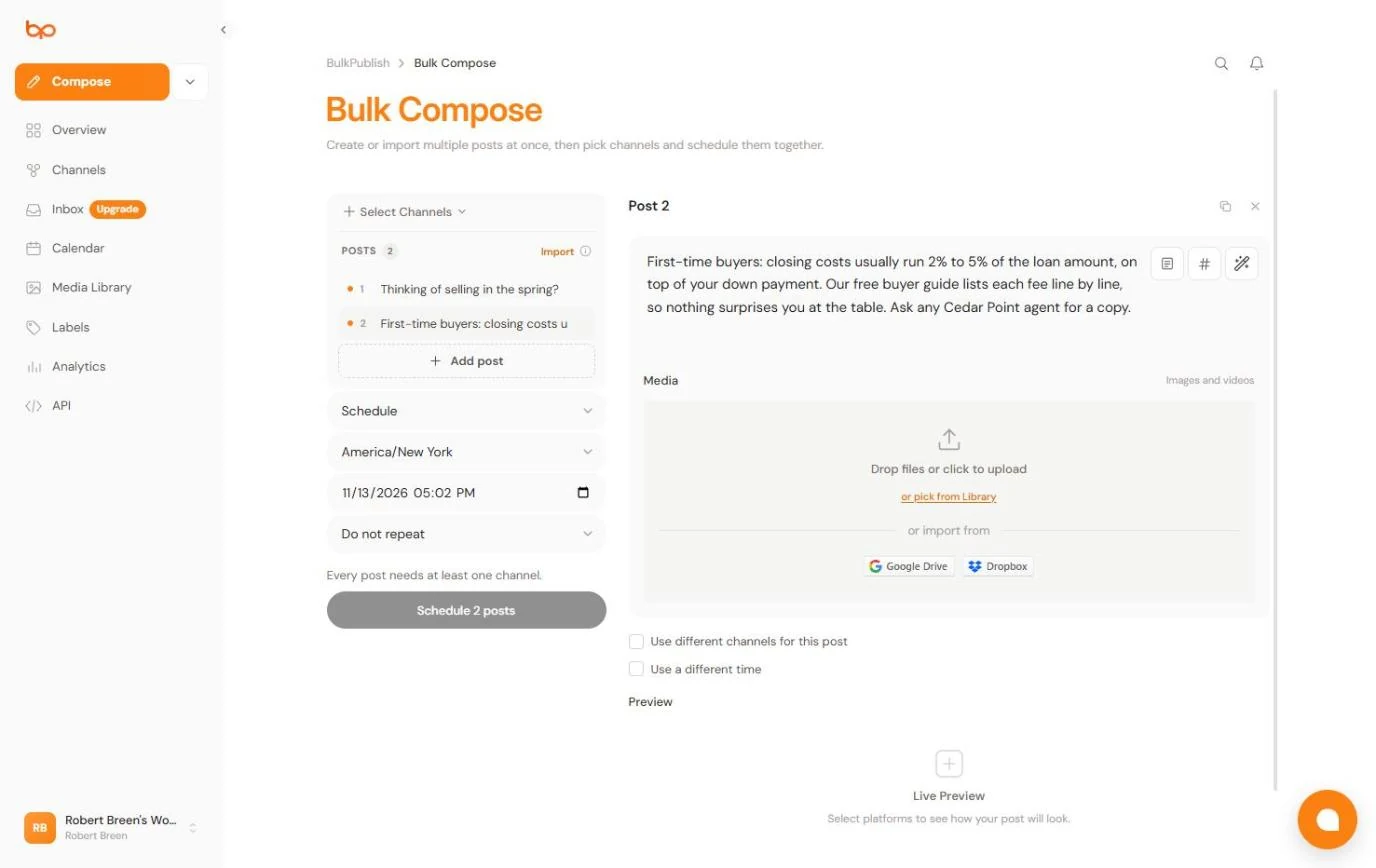
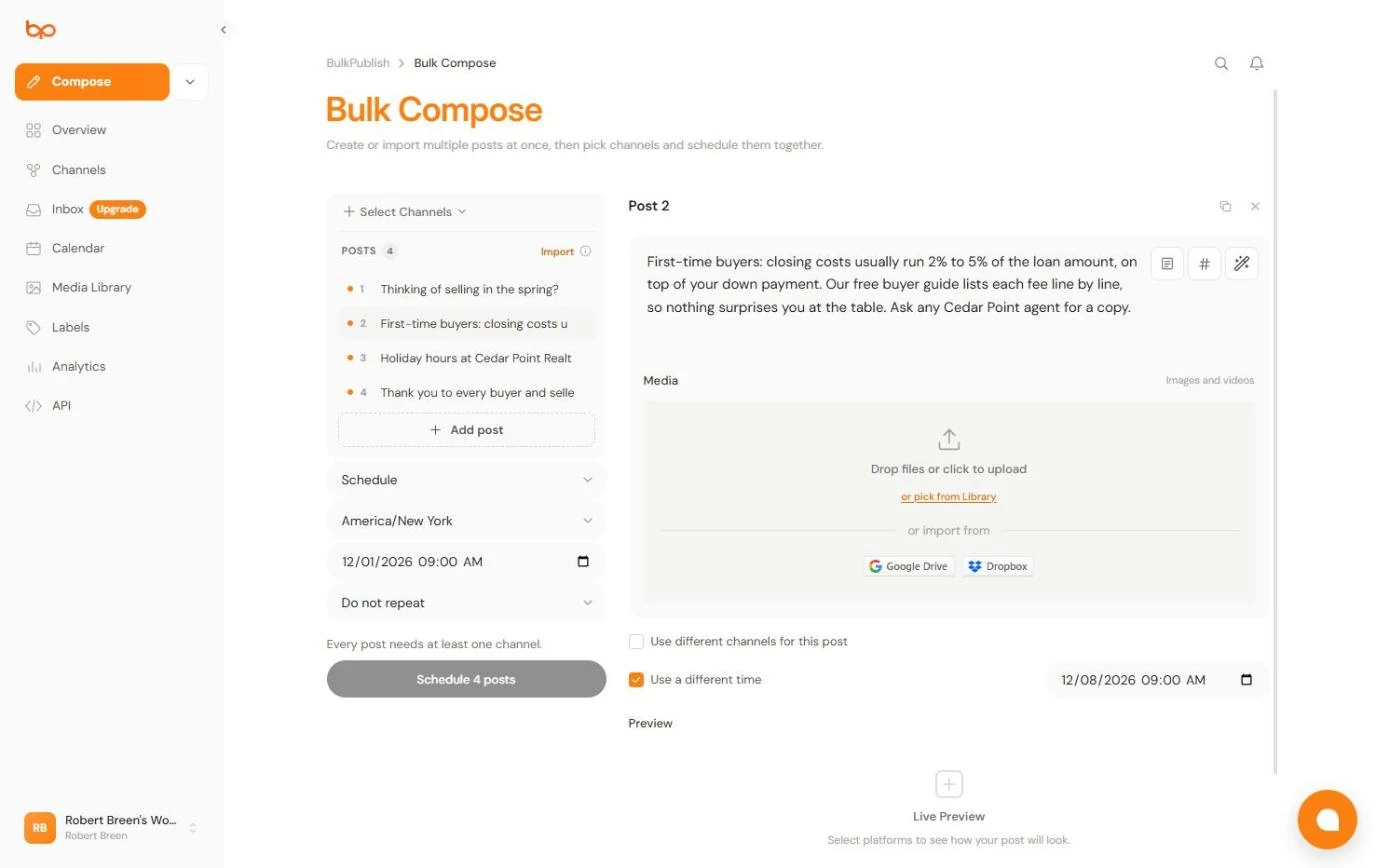
- Fix it in your words. Keep the useful part and make the promise true: the guide is what breaks it down. Select all the text in the box and type: First-time buyers: closing costs usually run 2% to 5% of the loan amount, on top of your down payment. Our free buyer guide lists each fee line by line, so nothing surprises you at the table. Ask any Cedar Point agent for a copy.
Keep the useful part, and make the promise true.
3. Give each week its own Tuesday
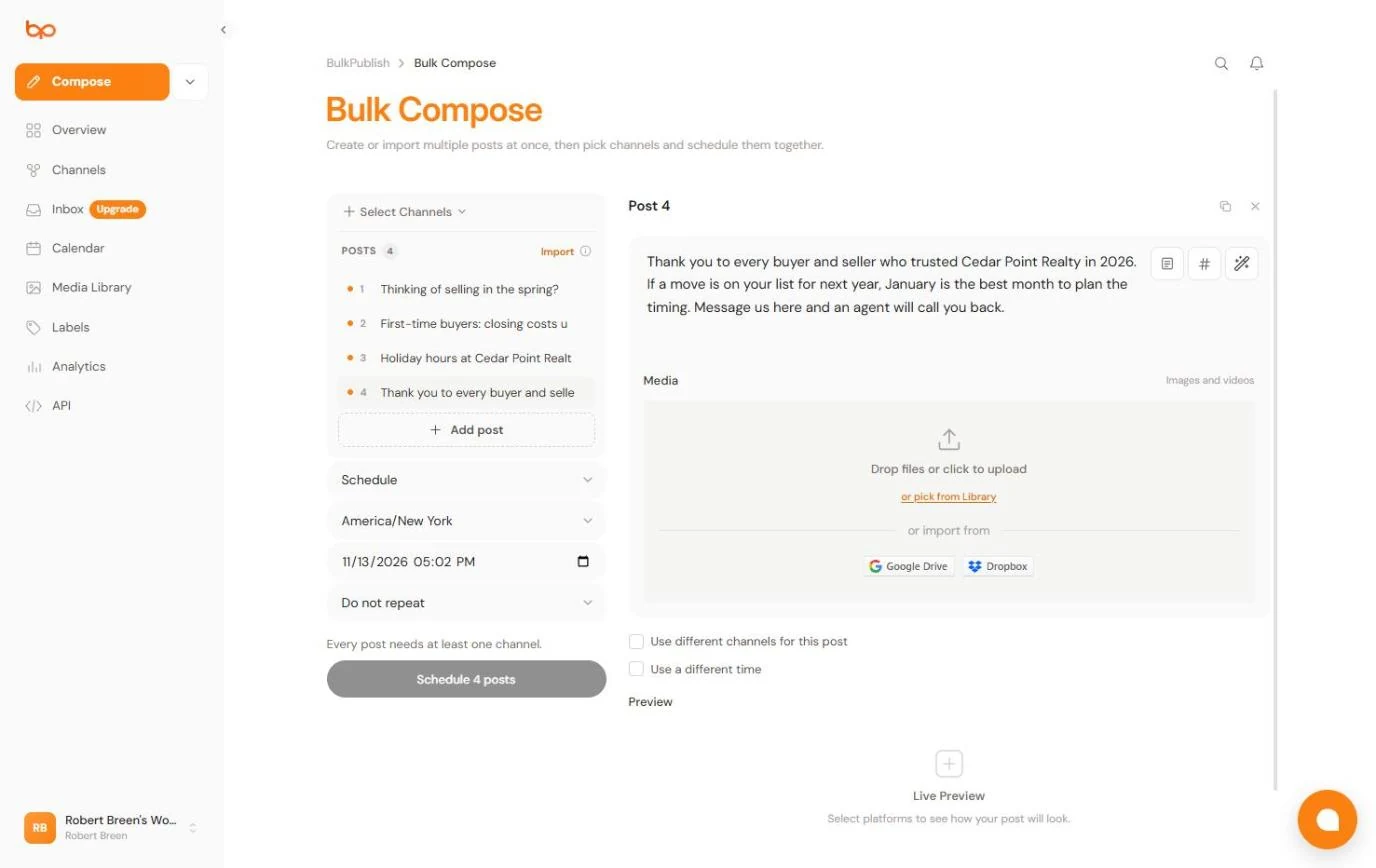
- Add weeks 3 and 4. Add the last two weeks the same way, typed or drafted with the wand. We typed two short ones: week 3, holiday office hours (closed December 24, 25 and 31 and January 1, agents still taking calls) and week 4, a year-end thank-you that invites next year's movers to message the office. Click Add post.
Add weeks three and four the same way. We typed holiday hours, and a year-end thank-you.
- Set the main date. Four posts in the list, and the button says Schedule 4 posts. The date box is the time for every post that does not get its own. Click the date box and pick Tuesday, December 1, 2026, 9:00 AM.
Four posts. The date box is the time for every post that does not get its own. m.
- Open week 2. The date box now reads 12/01/2026 09:00 AM, in America/New York time. Left alone, all four posts would go out at that same minute. Click post 2 in the list.
Left alone, all four posts would go out at that same minute.
- Give each week its own Tuesday. Under the post, tick Use a different time, and a date box appears on the right. Set it to 12/08/2026 09:00 AM, as shown. Do the same for post 3: December 15. Then click post 4 in the list.
Tick Use a different time, and set week two to December eighth. Do the same for week three, December fifteenth.
4. Pick the channels and check the calendar
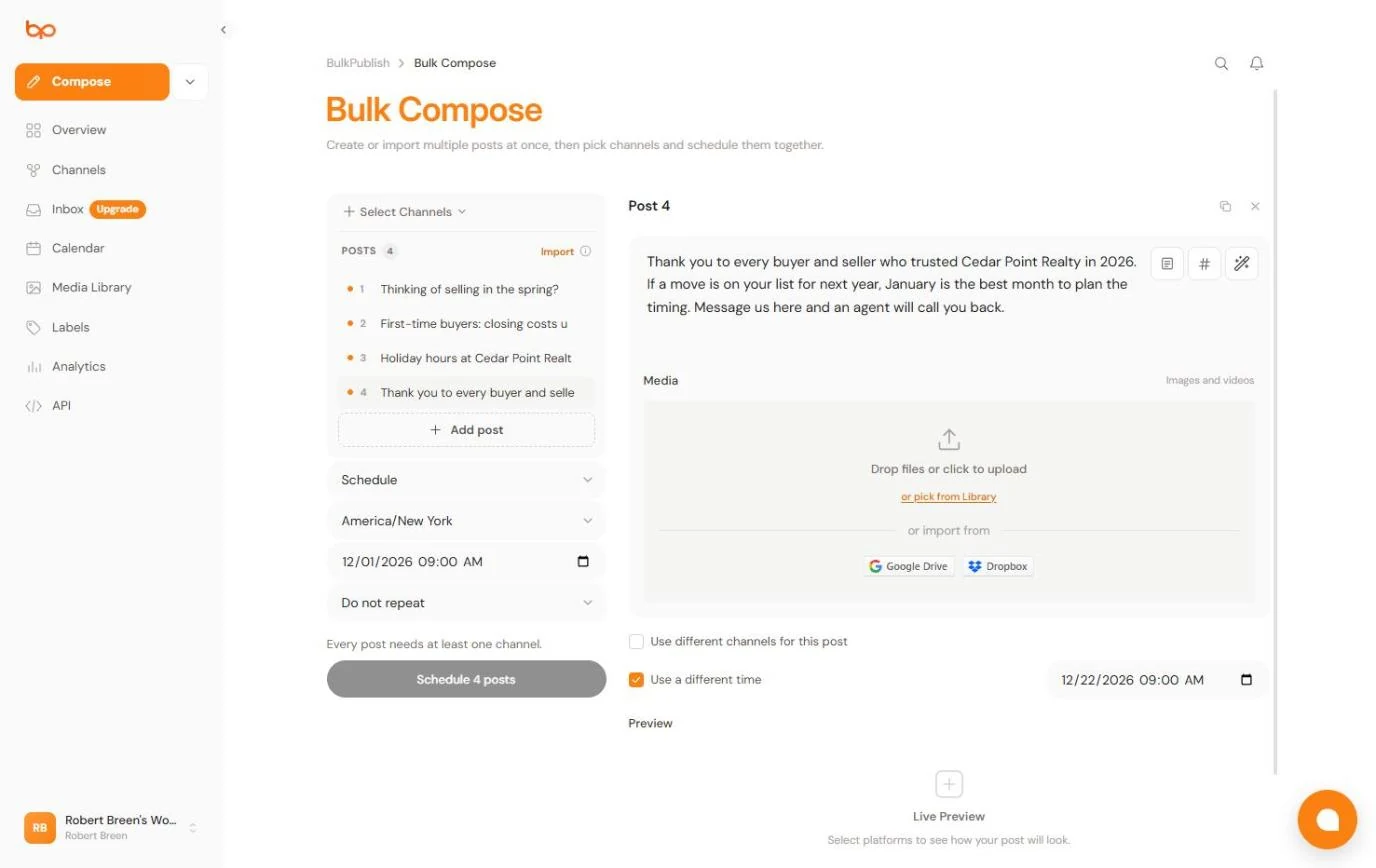
- Pick where it posts. Post 4 is set to 12/22/2026 09:00 AM. That is the month: December 1, 8, 15 and 22. Leave the mode on Schedule; the other choices are Publish now, Save as drafts and Add to queue. Now choose where the posts go. Click Select Channels.
Week four is December twenty-second. That is the month.
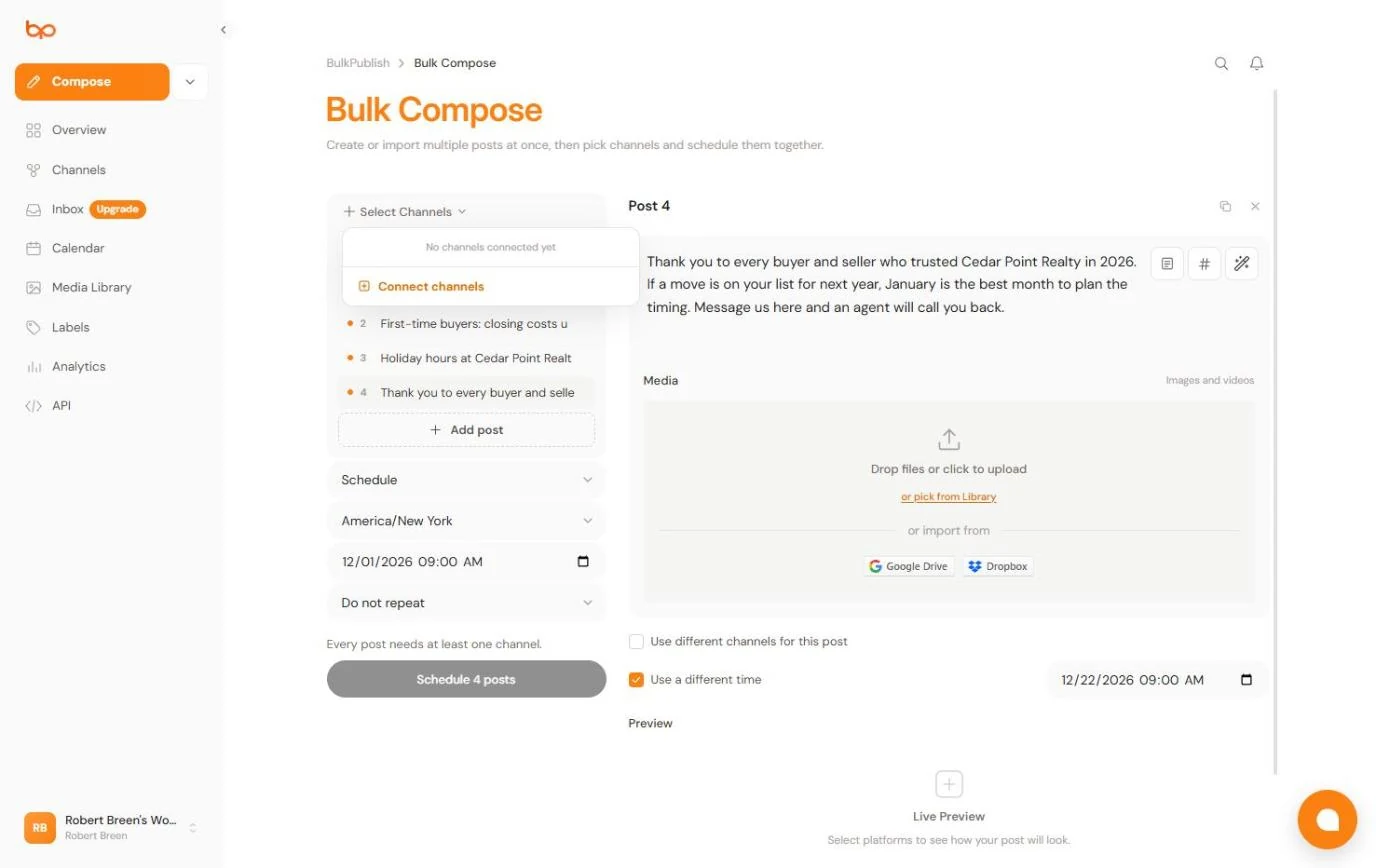
- No channels yet. It says No channels connected yet. Every post needs at least one channel, and so does Save as drafts: we tried it and got the same note. Click Connect channels.
No channels connected yet. Every post needs one, even a draft.
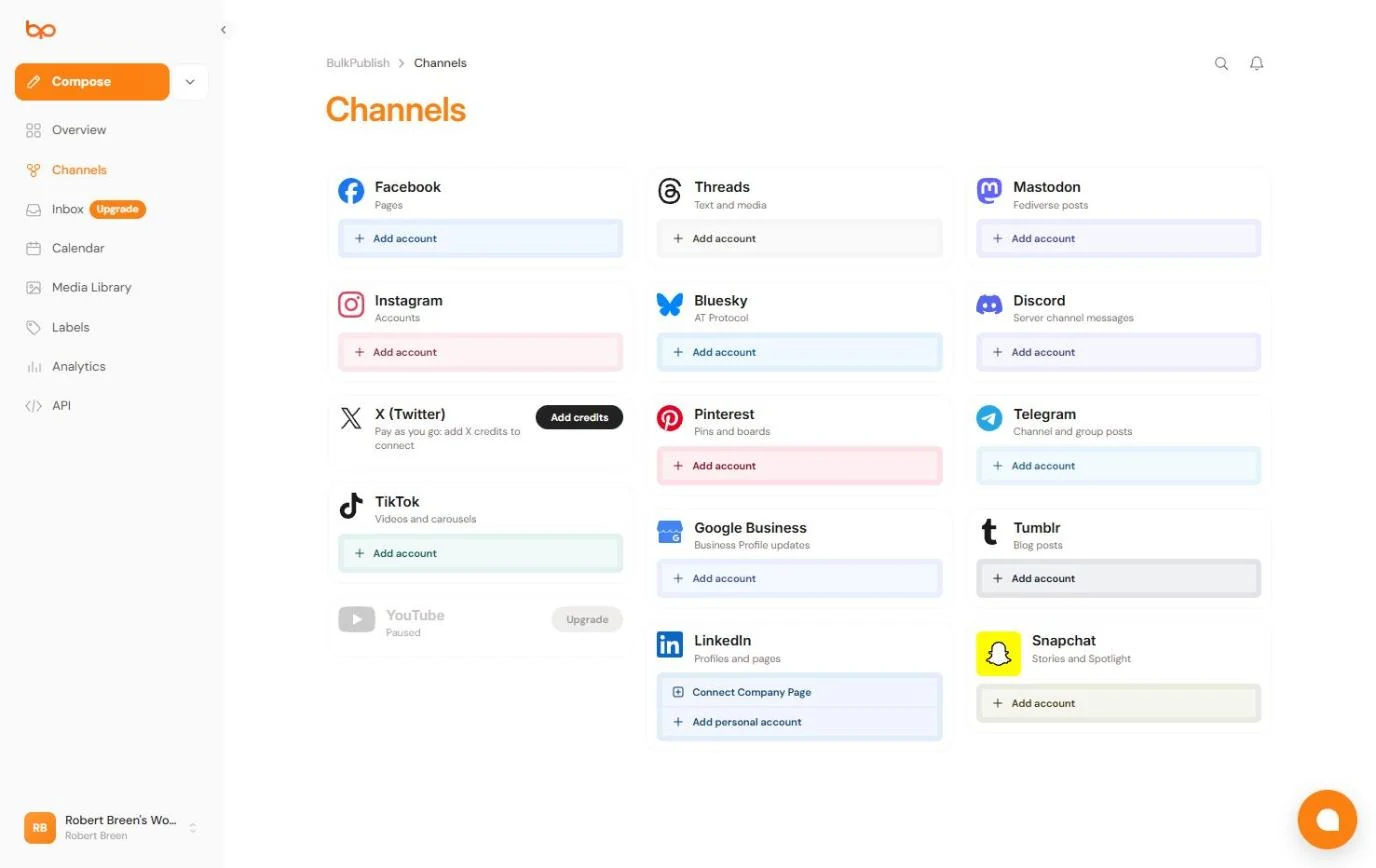
- Where you would connect. This lists the networks BulkPublish publishes to, including LinkedIn (Connect Company Page or Add personal account) and Google Business (Add account). Each one opens that network's own sign-in. We stopped here and connected nothing. In your account, connect your LinkedIn company page and your Google Business Profile, go back to Bulk Compose, tick both in Select Channels, and click Schedule 4 posts. Then click Calendar in the left menu.
Here you would connect your LinkedIn company page and Google Business. We stopped here. In your account, connect both, tick them in Select Channels, and schedule.
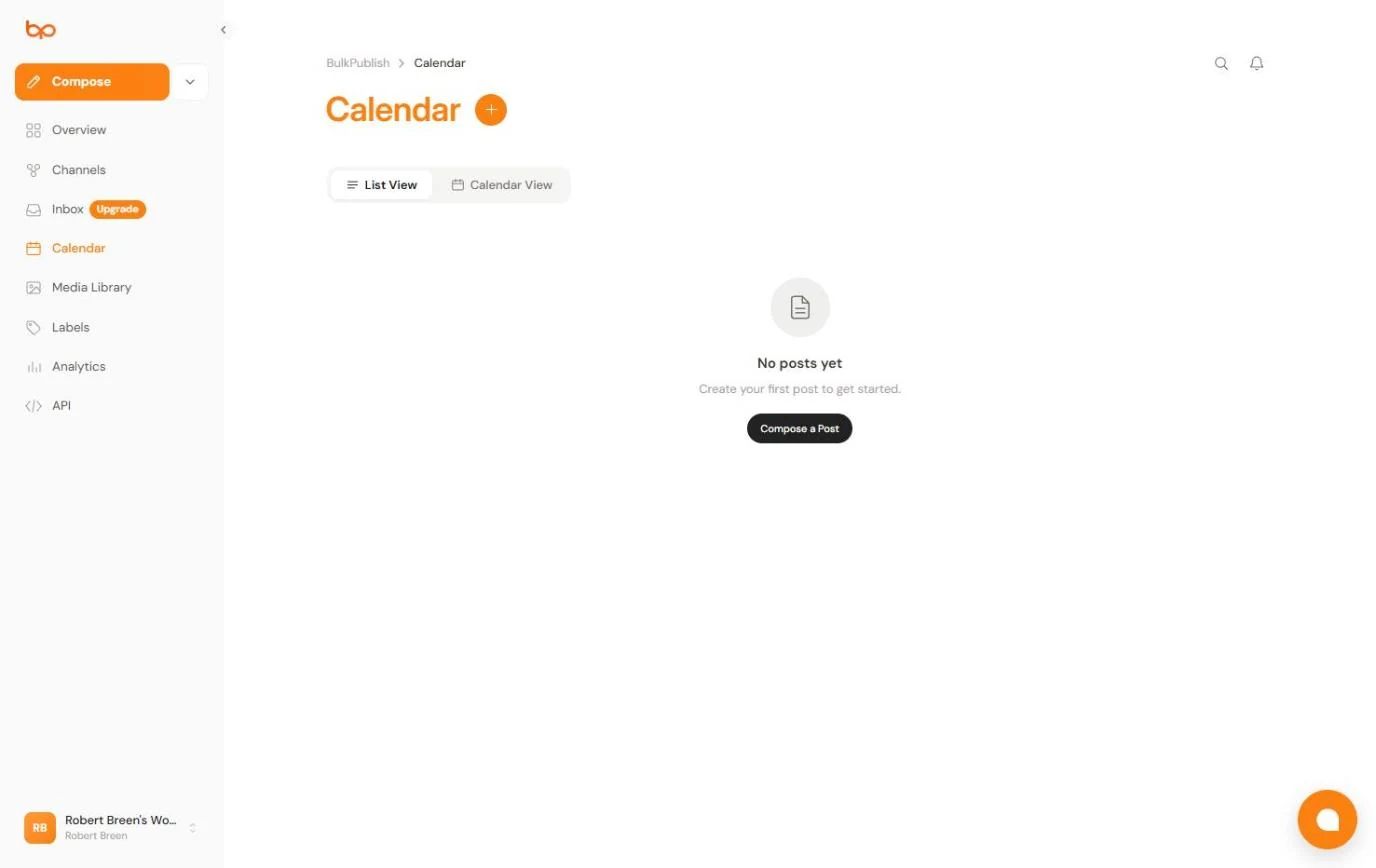
- Switch to the calendar. The Calendar opens on List View, which says No posts yet because we scheduled nothing. Click Calendar View.
List View is empty, because we scheduled nothing.
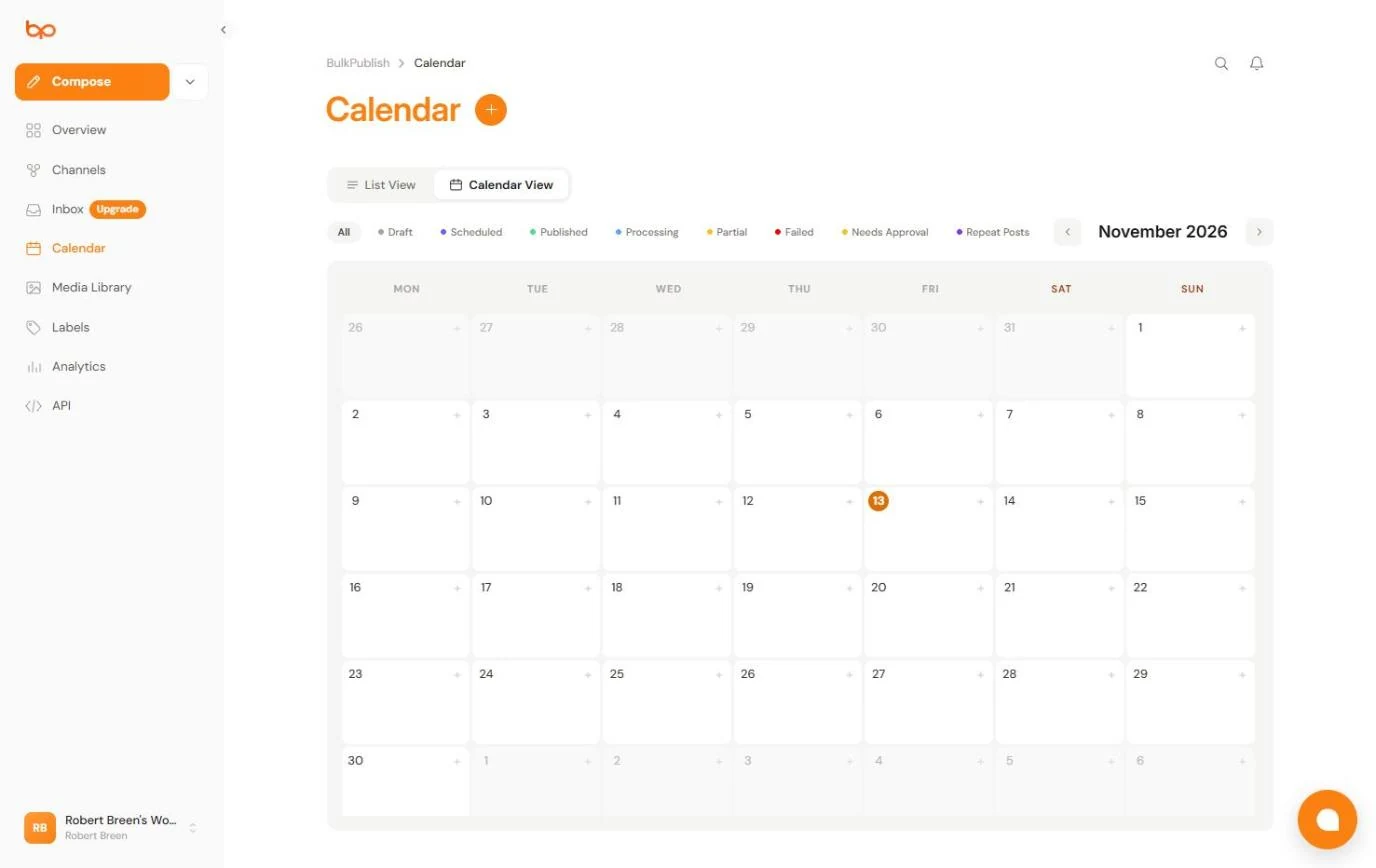
- Go to December. The colors along the top tell you each post's status: Draft, Scheduled, Published, Processing, Partial, Failed, Needs Approval and Repeat Posts. Click the next month arrow.
The colors show each post's status: draft, scheduled, published, failed and more.
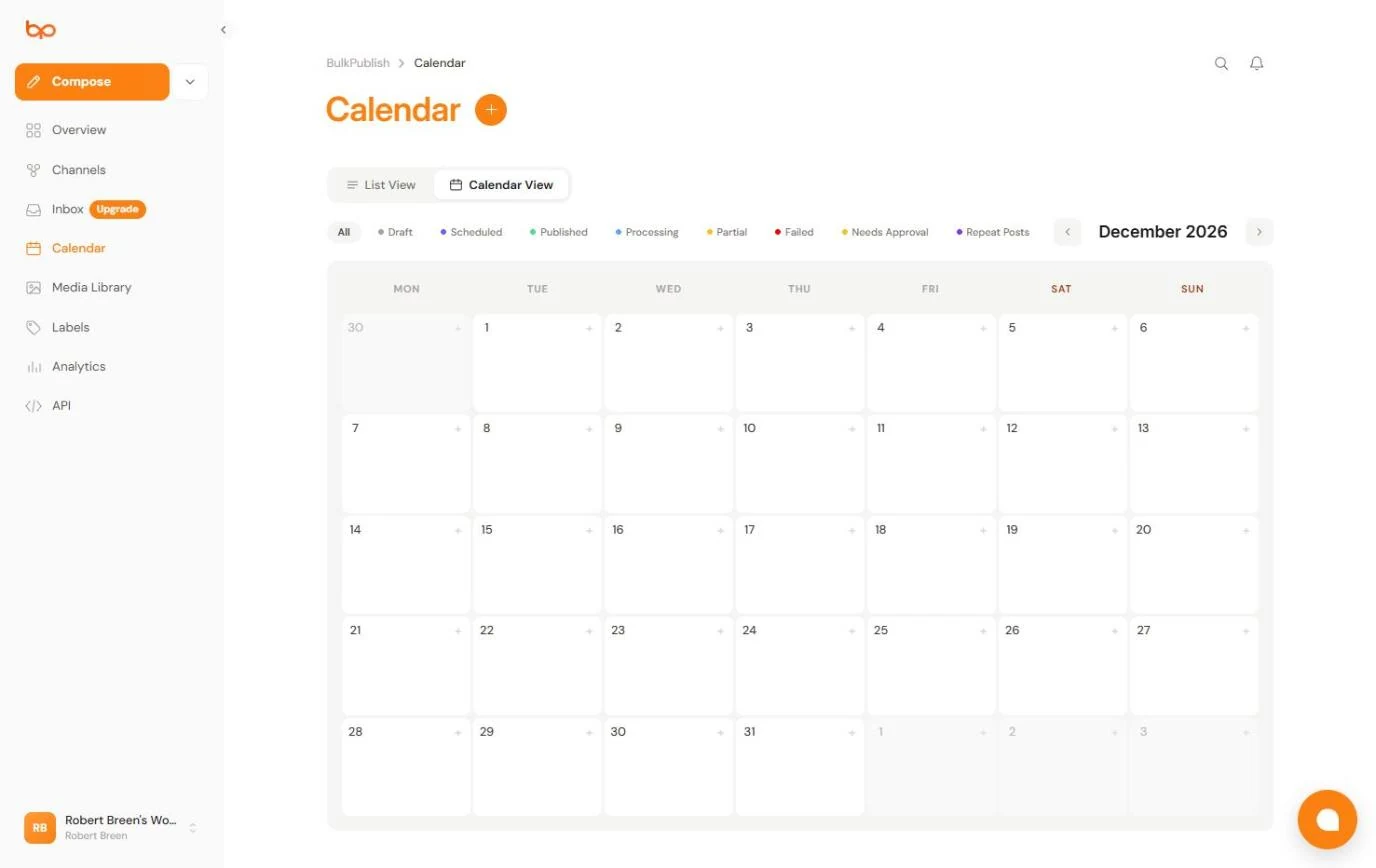
- Your month, at a glance. Once scheduled, your four posts sit here on Tuesdays December 1, 8, 15 and 22, and anyone can see what is going out and when. Check this view each Monday. Click December 1.
Once scheduled, the four posts sit here on four Tuesdays. Check this view each Monday.
Screenshots
More in Business Automations
 AI Receipt Extractor: Receipts to Google Sheets with n8n
Drop a photo of a receipt into an n8n chat. An AI agent reads it, pulls out the date, vendor and amount, picks a category, and adds a row to Google Sheets.
Free · Live ~12 min Intermediate
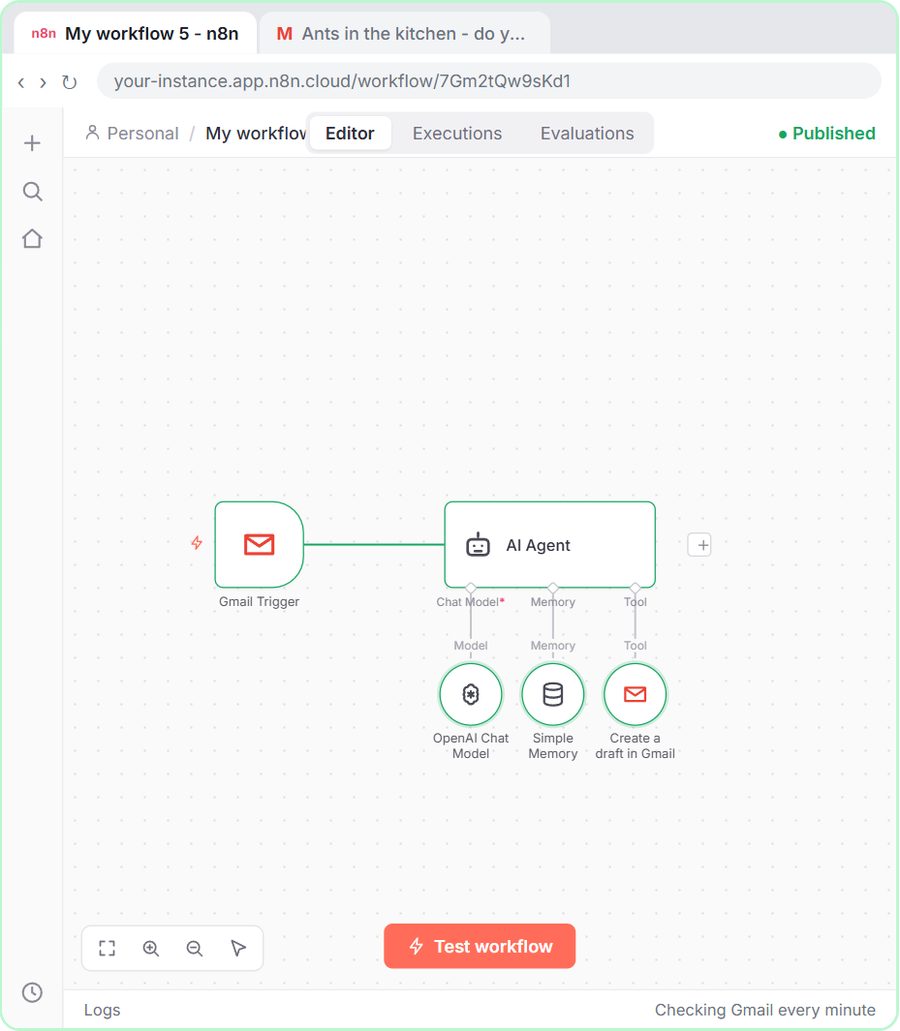 n8n AI Email Responder: Draft Gmail Replies Automatically
Build an n8n agent that watches your Gmail, reads each new customer email, and writes a reply as a draft in the same thread, ready for you to check and send.
Free · Live ~12 min Intermediate
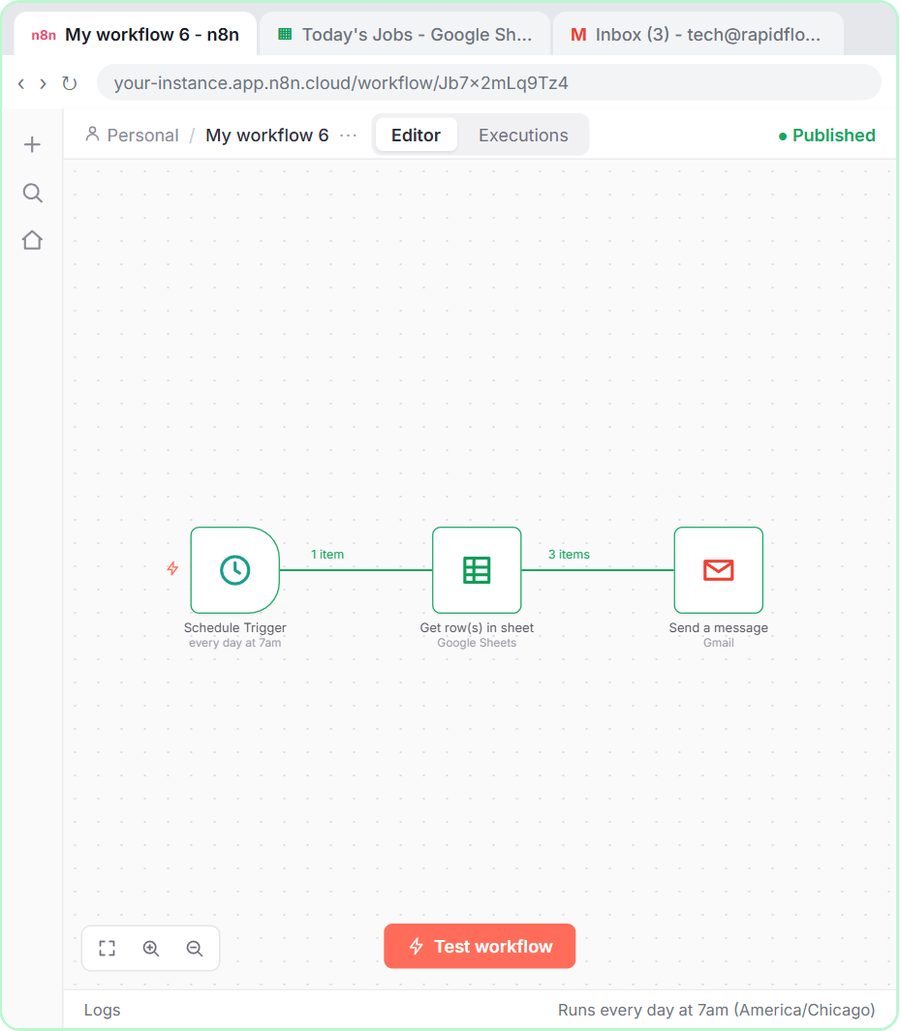 Daily Job Alerts: Email Each Tech Their Jobs from Google Sheets with n8n
Every morning at 7, n8n reads a plumbing company's jobs sheet, skips anything not assigned yet, and emails each job to the tech it's assigned to — customer, address…
Free · Live ~10 min Intermediate
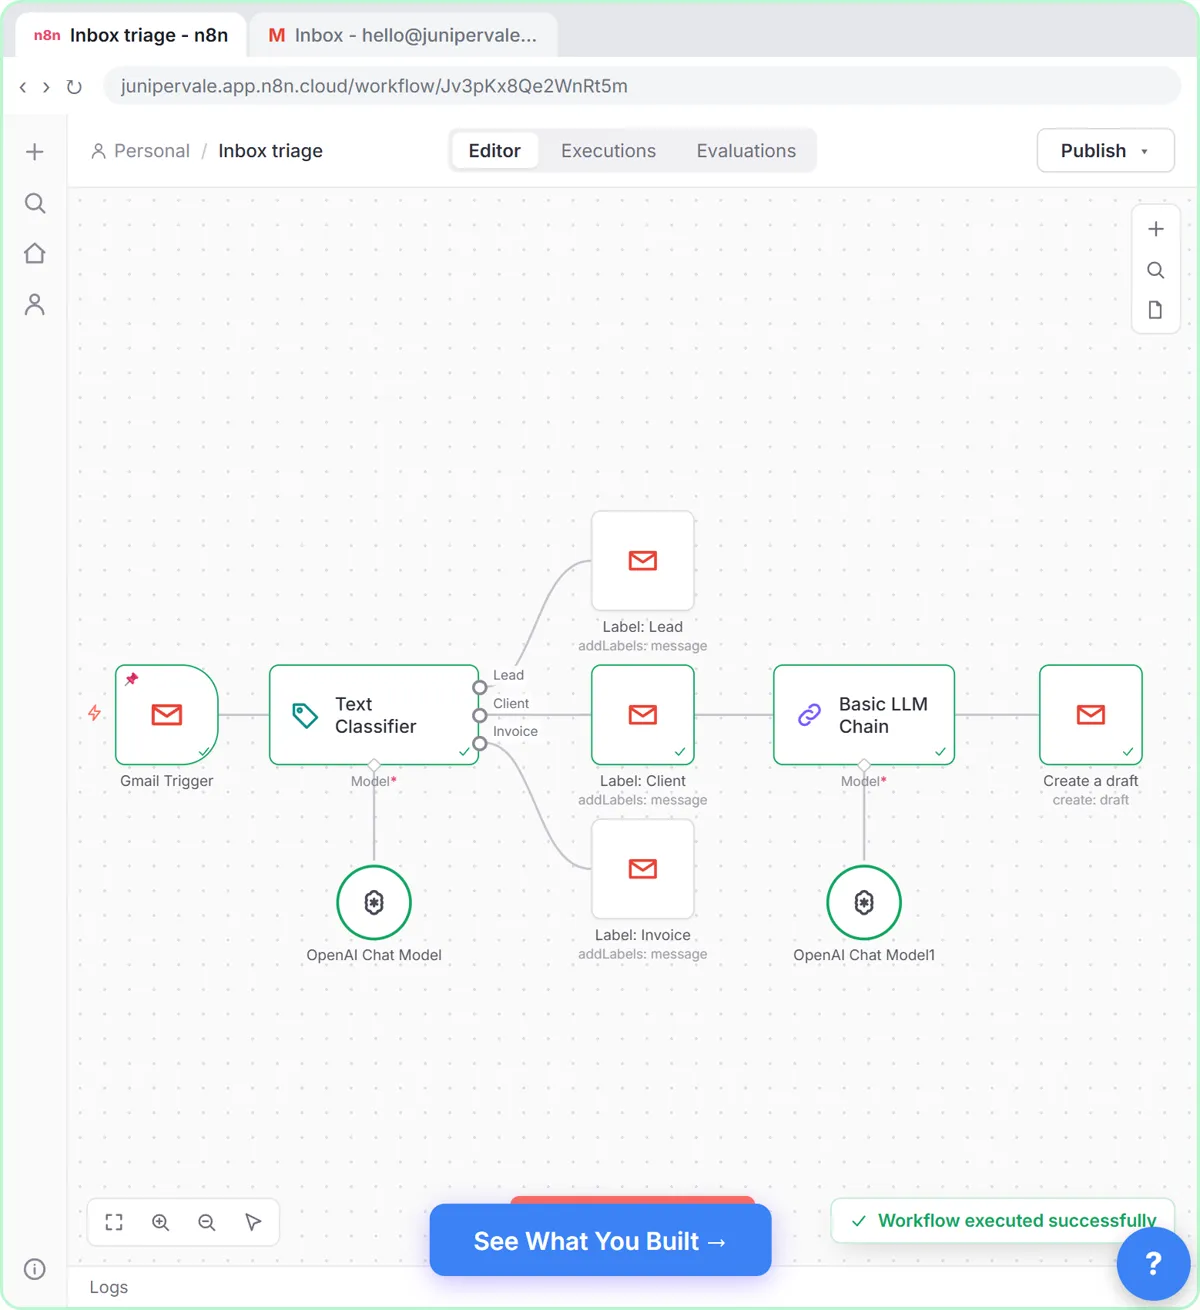 Gmail AI Triage: Auto-Label Every Email and Draft Replies
Build an n8n workflow that reads each new email, sorts it as a lead, a client or an invoice with a Text Classifier, adds the matching Gmail label, and drafts a reply to…
Free · Live ~18 min Advanced
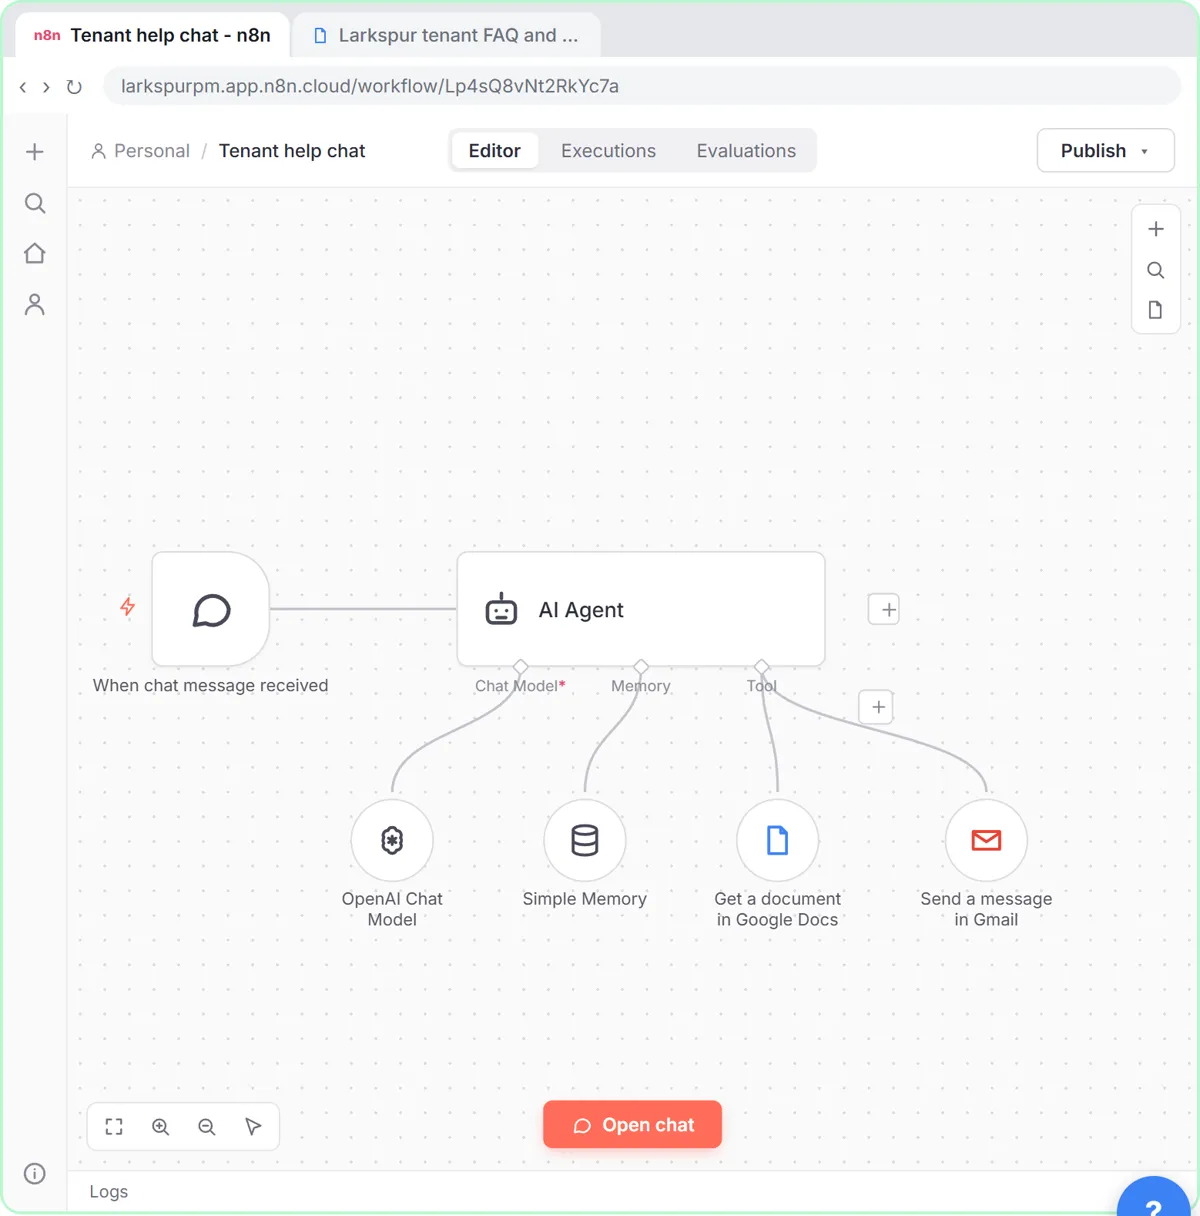 A Support Agent That Answers from Your Own Docs
Turn an n8n chat agent into a support agent that answers only from your policies in a Google Doc, refuses what it should, and hands off to a person by email.
Free · Live ~13 min Advanced
 Chatbase: Answer Customer FAQs with an AI Agent
A business case for a small firm that answers the same customer questions every week: build a Chatbase AI agent on your FAQ in the real app, make it say when it does…
Free · Live ~15 min Beginner
All 47 modules in Business Automations
Same business, other tools
Cedar Point Realty shows up in these modules too, built with different tools.
Terms in this lesson
Plain-English definitions, each with an example from a free lesson.