n8n Execute Step vs Execute Workflow vs Publish
A visual guide to the three n8n buttons: run one node with Execute step, pin test data, run everything with Execute workflow, then Publish for real.
Slide 1 of 7 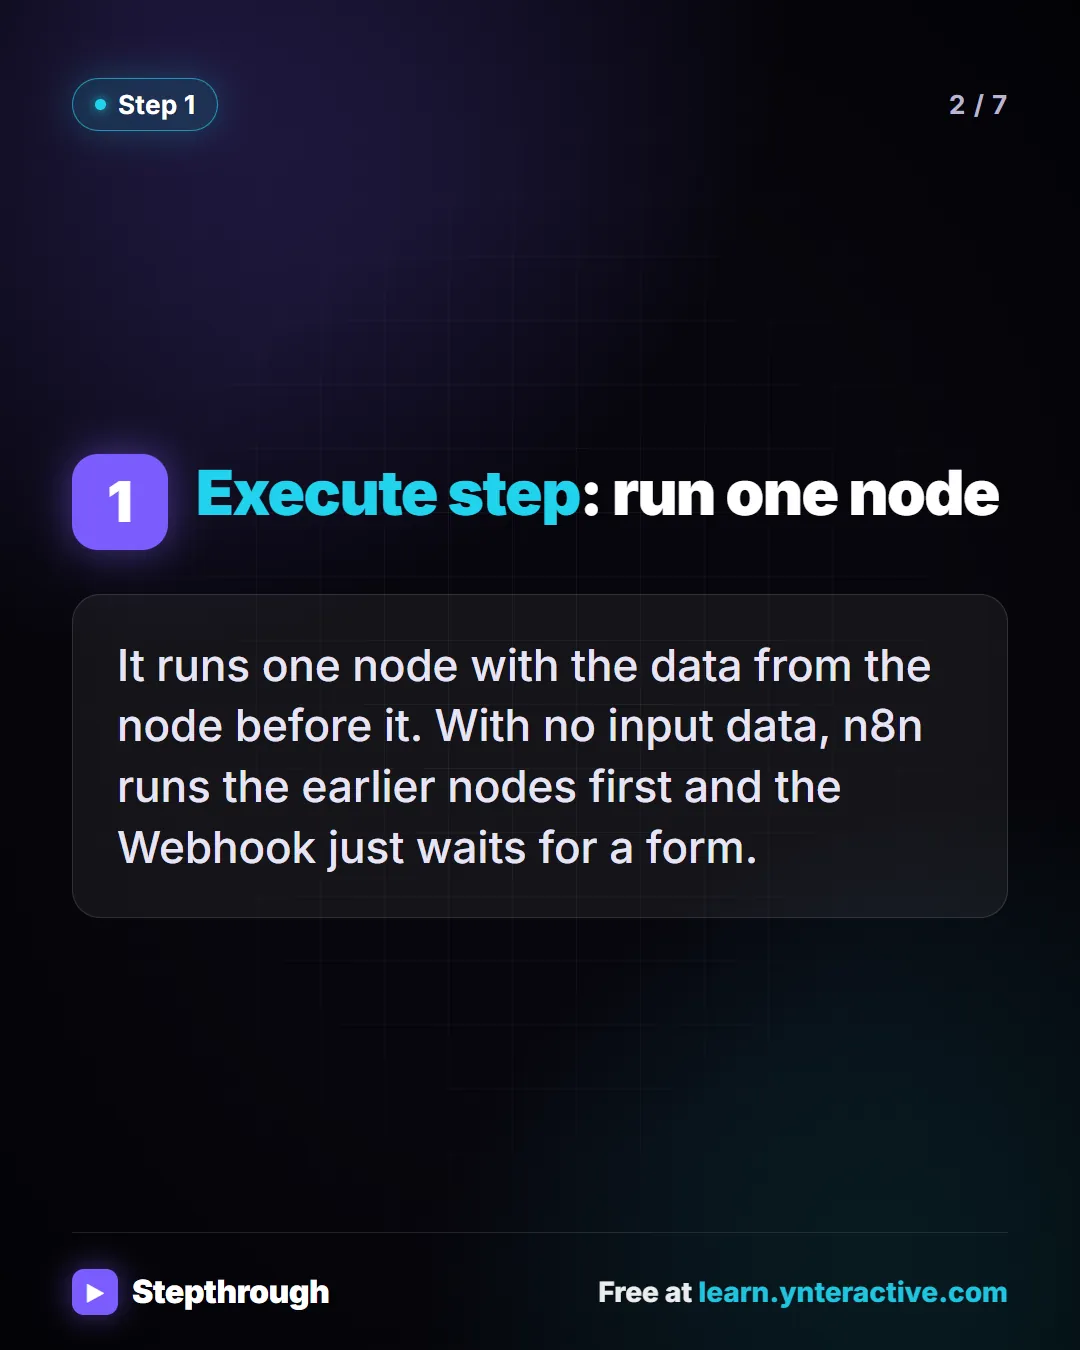
Slide 2 of 7 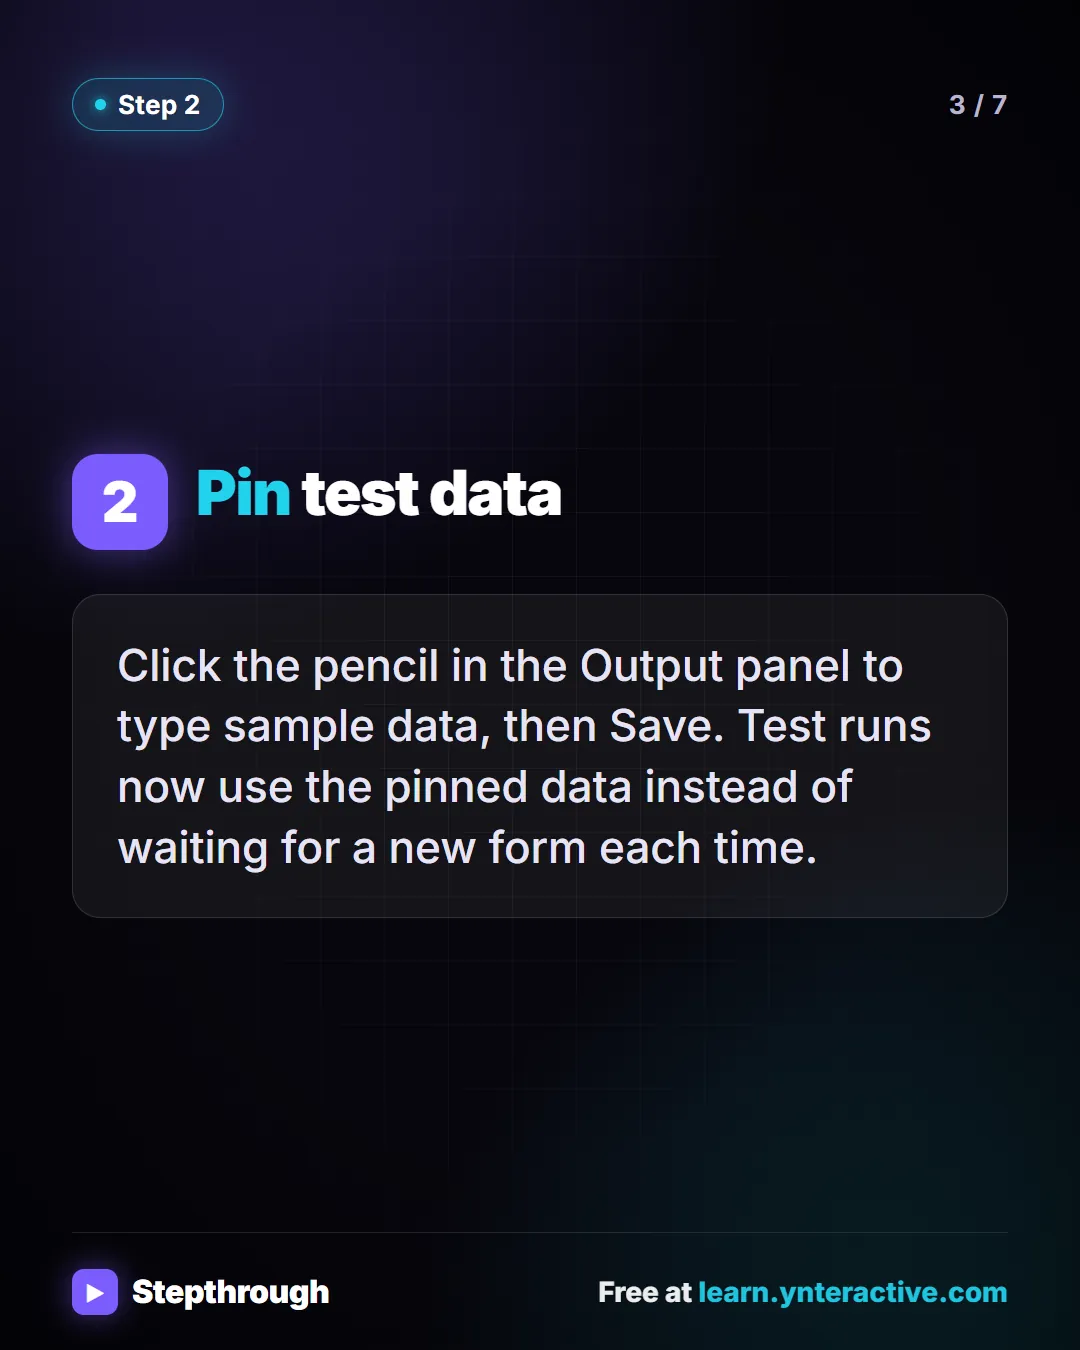
Slide 3 of 7 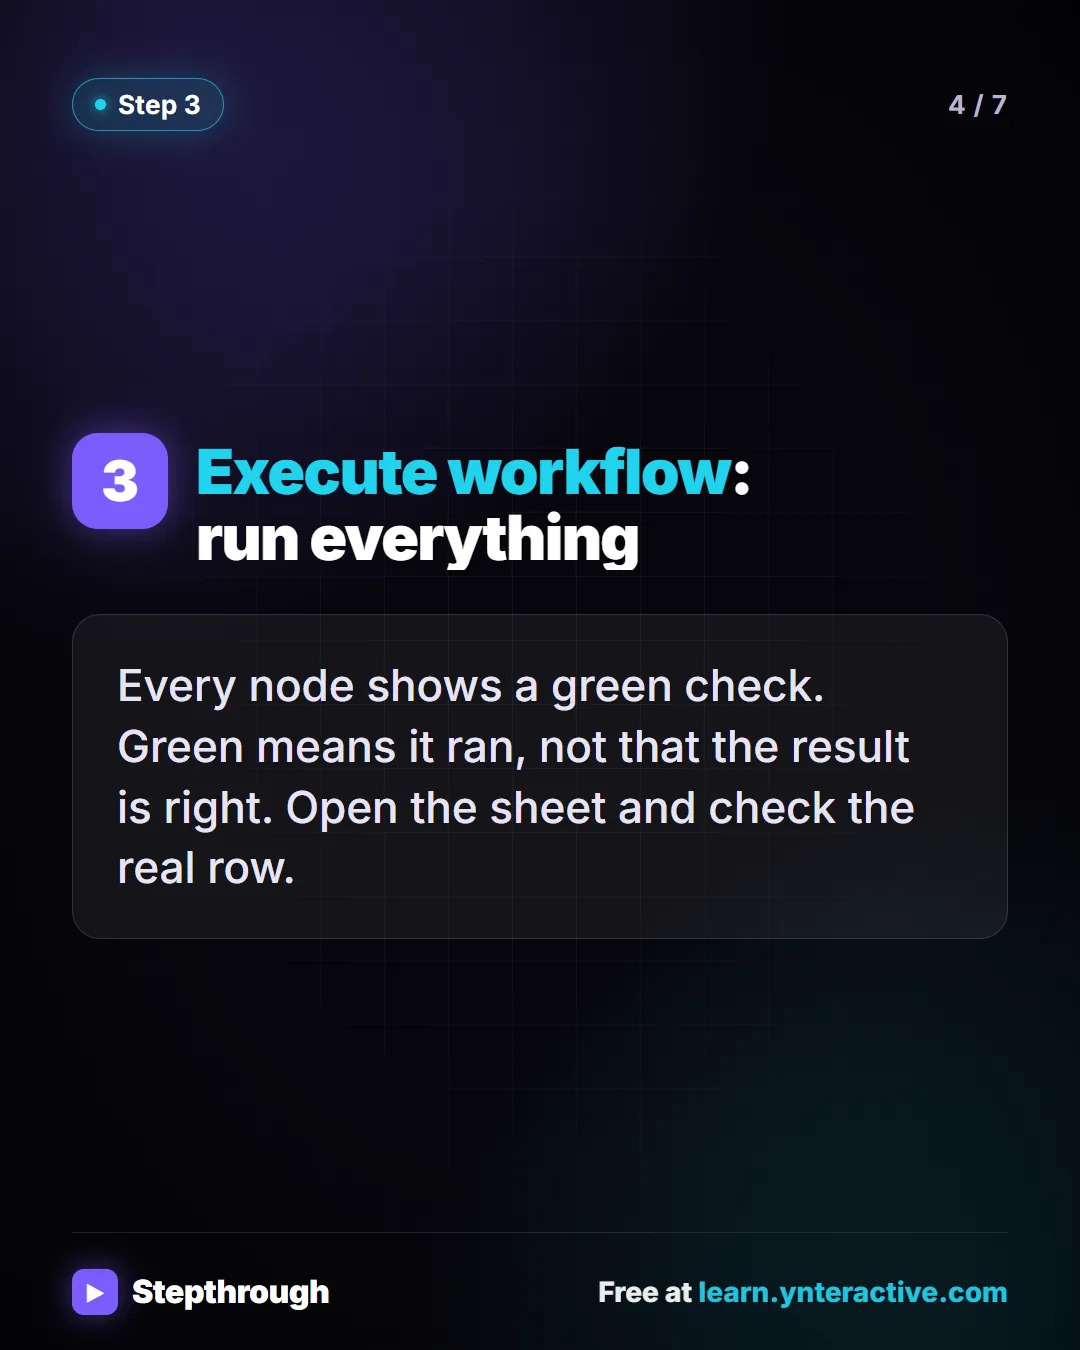
Slide 4 of 7 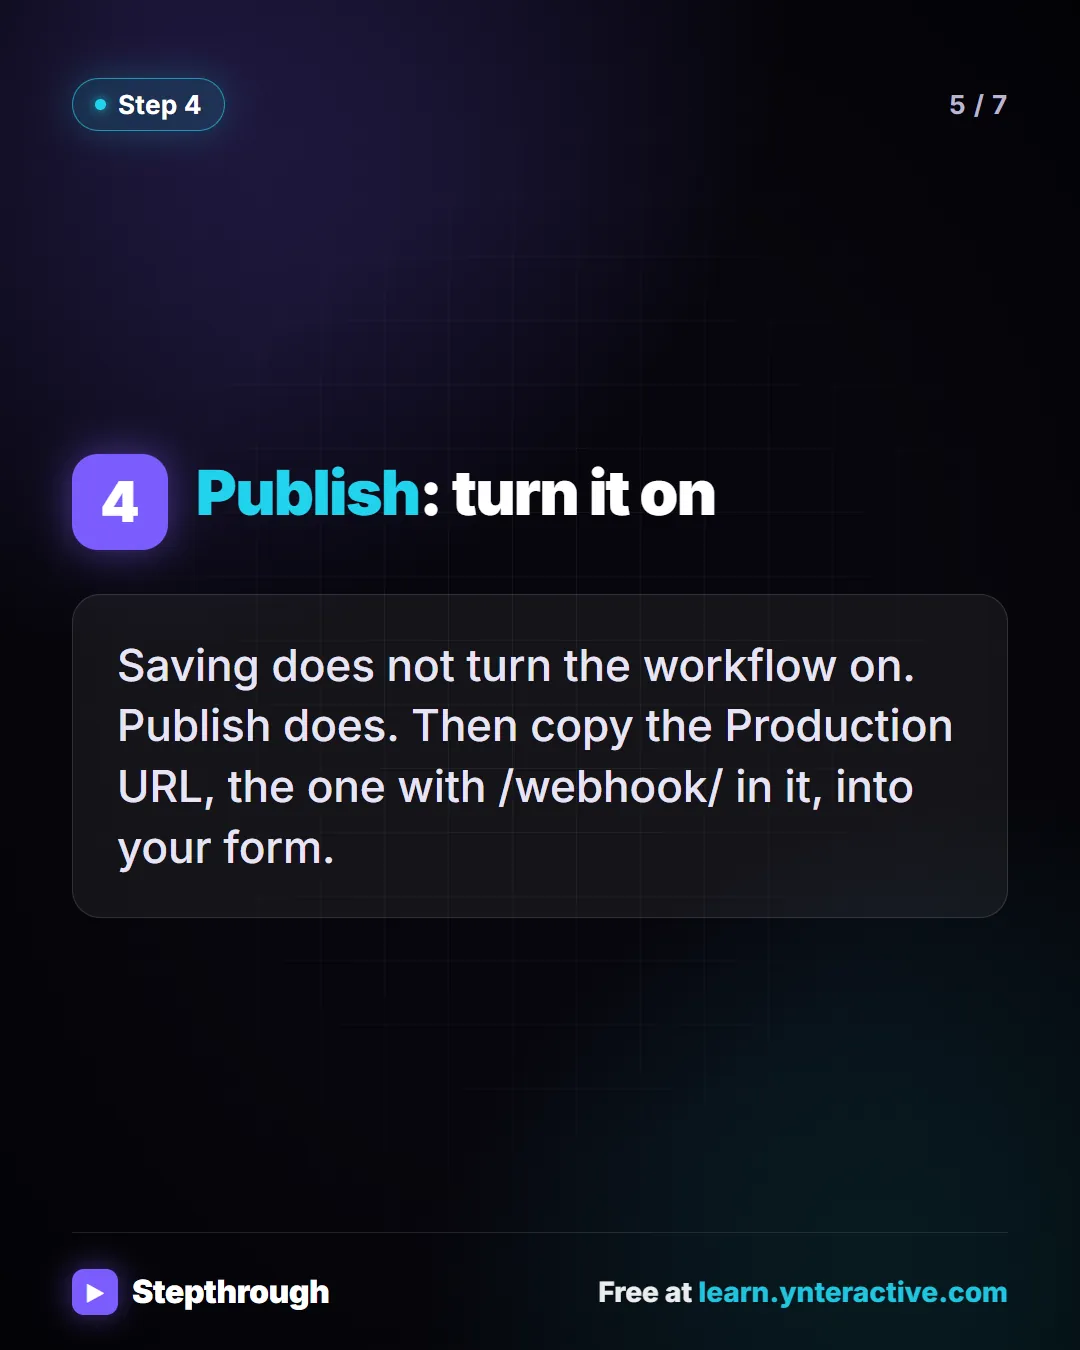
Slide 5 of 7 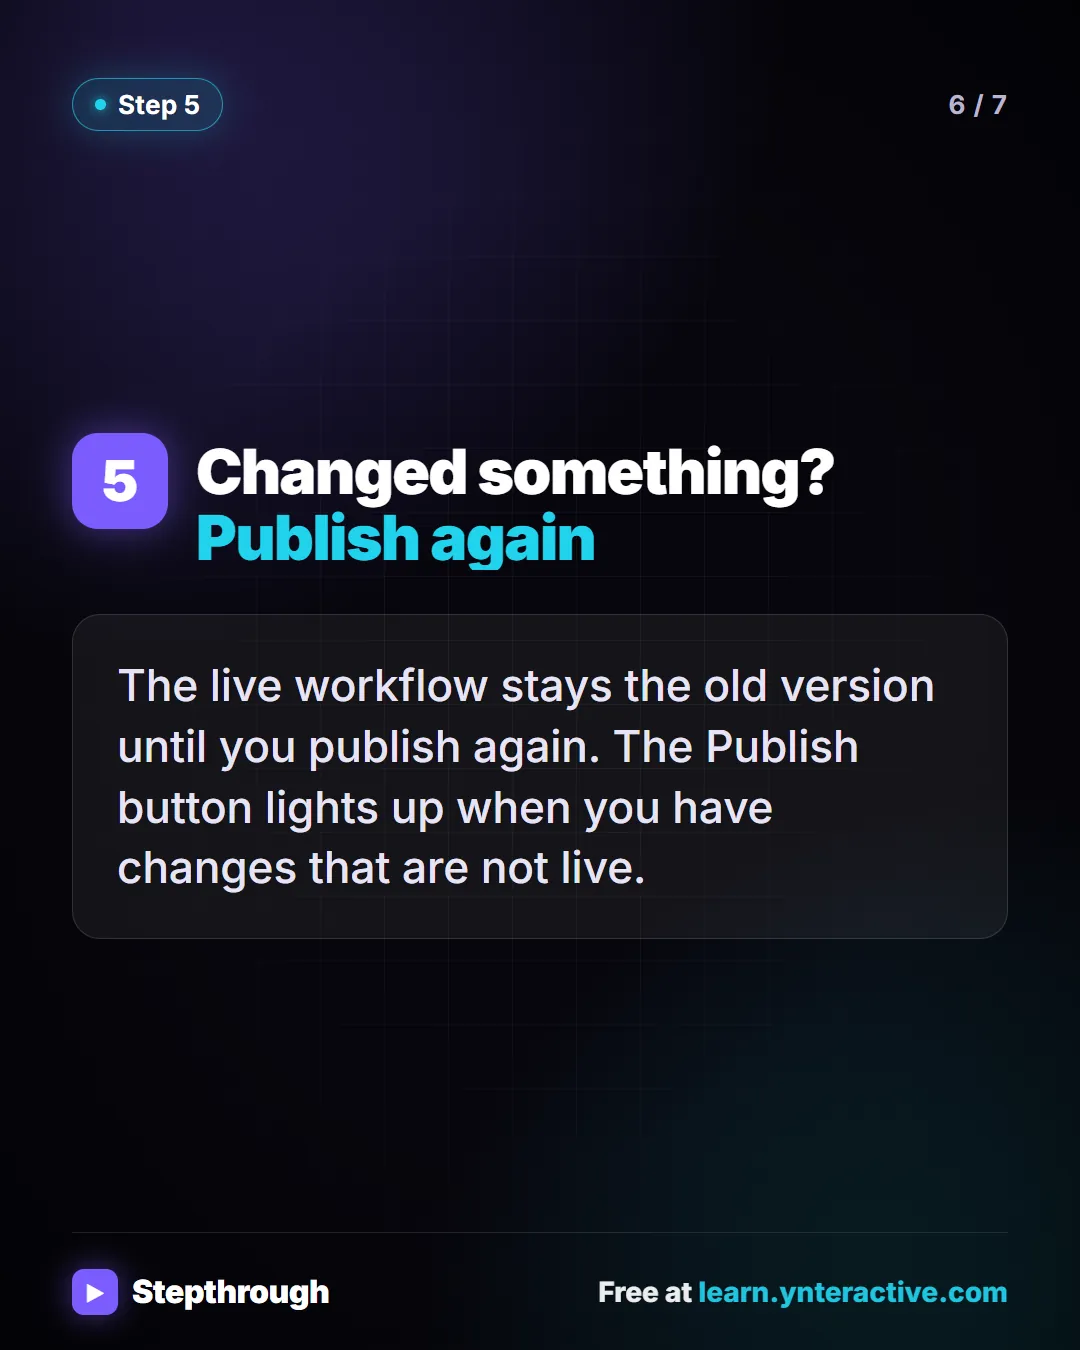
Slide 6 of 7 
Slide 7 of 7
The guide in text
Execute step, Execute workflow and Publish, on a new-client form workflow for a made-up bookkeeping office. 4 steps.
Step by step
Execute step: run one node
It runs one node with the data from the node before it. With no input data, n8n runs the earlier nodes first and the Webhook just waits for a form.
Pin test data
Click the pencil in the Output panel to type sample data, then Save. Test runs now use the pinned data instead of waiting for a new form each time.
Execute workflow: run everything
Every node shows a green check. Green means it ran, not that the result is right. Open the sheet and check the real row.
Publish: turn it on
Saving does not turn the workflow on. Publish does. Then copy the Production URL, the one with /webhook/ in it, into your form.
Changed something? Publish again
The live workflow stays the old version until you publish again. The Publish button lights up when you have changes that are not live.
Businesses and people in the examples are made up (Maple Street Bookkeeping is a made-up business). The steps, screens and wording come from the free lesson and the Stepthrough glossary and prompt library.
Do it yourself, free
n8n: Execute Step, Execute Workflow and Publish. Learn the buttons in today's n8n editor: run one node with Execute step, pin test data, run everything with Execute workflow, then Publish and copy the Production URL. You do every step yourself in a practice copy of n8n, it checks your work as you go, and “Do it for me” finishes any step you get stuck on. Free, and nothing touches your real accounts.
Start the free lessonRelated terms
Plain-English definitions, each with an example from a free lesson.
From the blog
More visual guides
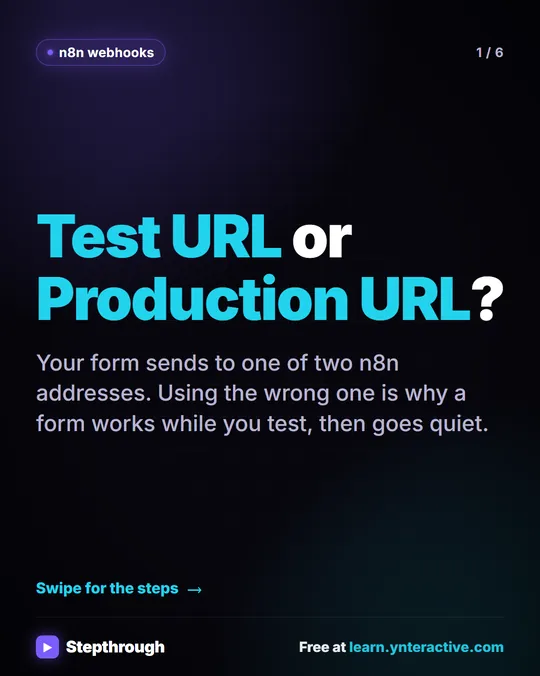 n8n Webhook: Test URL vs Production URL, Explained
A visual guide to the two n8n webhook addresses: the Test URL that listens only while you test, and the Production URL that works once you publish.
Step-by-step guide 6 slides
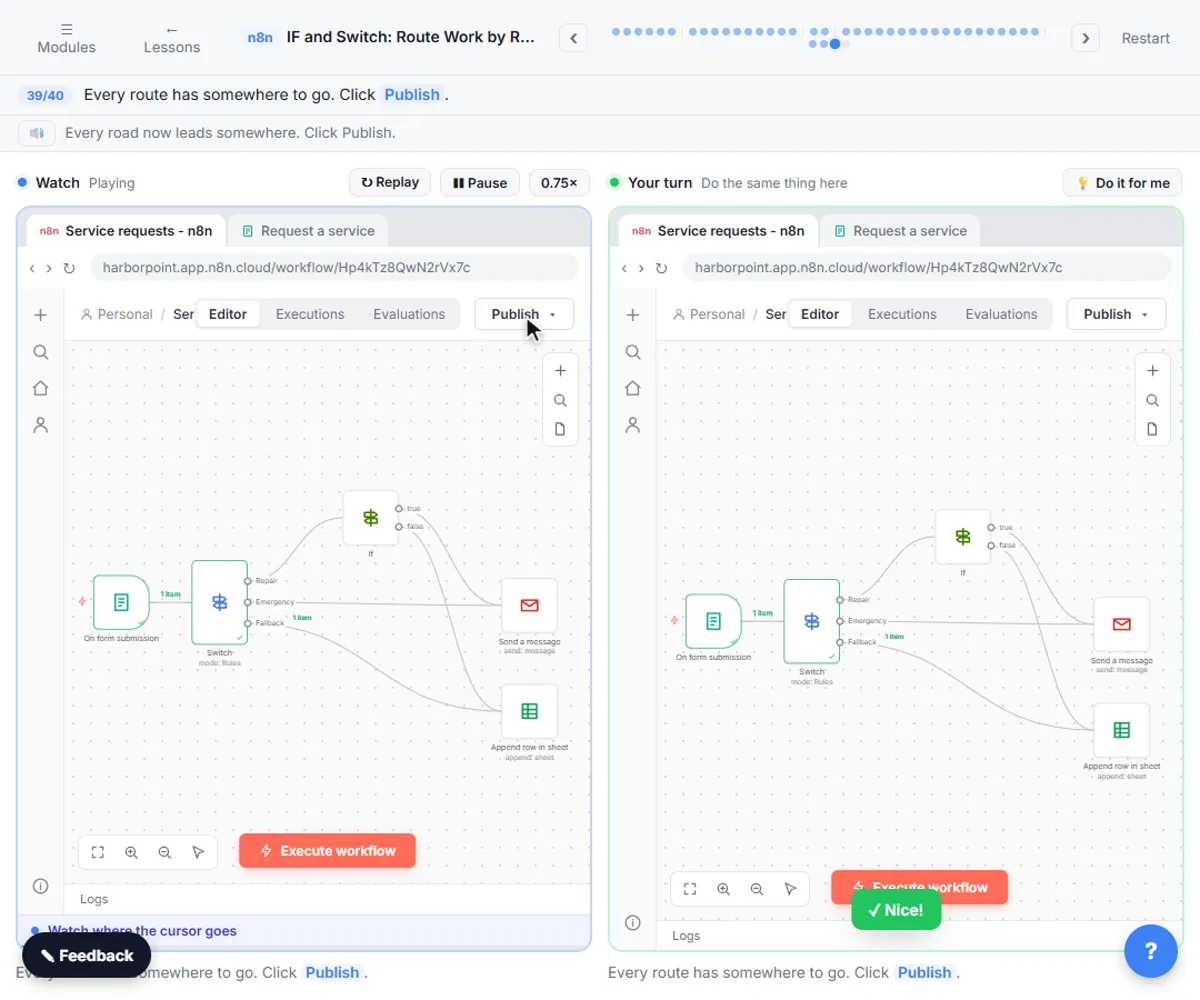
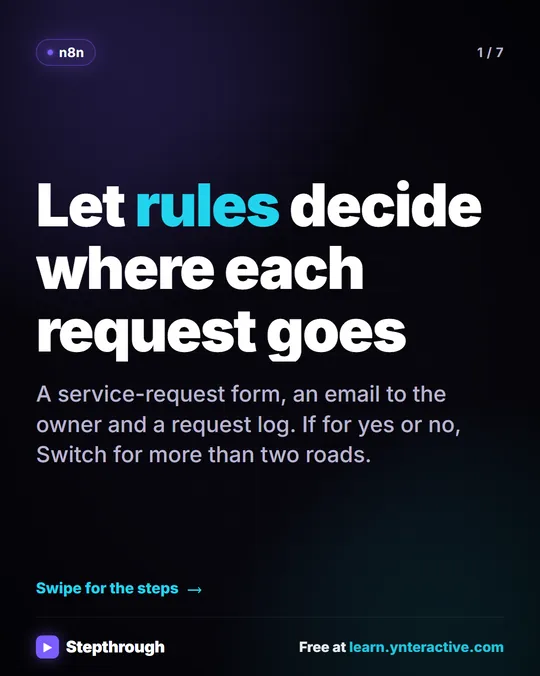 n8n If and Switch Nodes: Route Requests by Rules
A visual guide to n8n If and Switch nodes: split big jobs from small ones with one condition, then route by service with named outputs and a fallback.
Step-by-step guide 7 slides
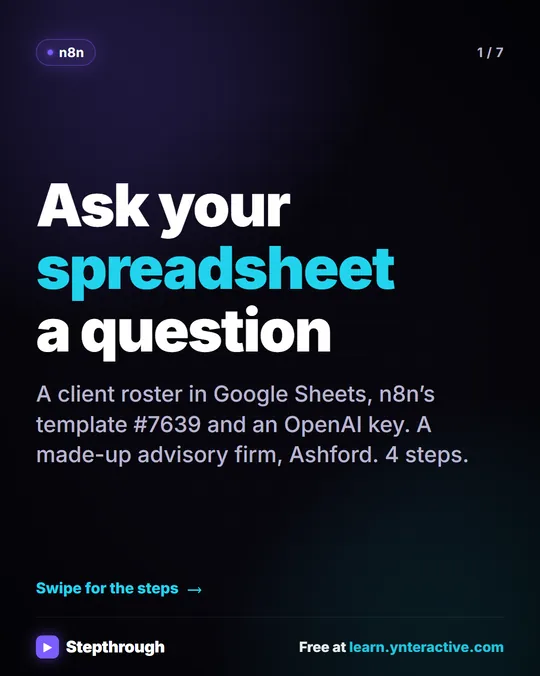 n8n Talk to Your Google Sheet: 4 Steps and One Check
A visual guide to n8n’s chat-with-your-sheet template: add your OpenAI credential, point it at your sheet, ask questions and check every total by hand.
Step-by-step guide 7 slides