Updated . Built against the tool’s current screens and checked step by step. How we check this lesson
Build a 10%-off exit-intent popup from a template, show a thank-you screen, limit it to new visitors on product pages, and see how the code goes on your store.
At a glance
| Question | Answer |
|---|---|
| What you build | Build a 10%-off exit-intent popup from a template, show a thank-you screen, limit it to new visitors on product pages, and see how the code goes on your store. |
| Tools | Poptin |
| Time | About 7 minutes, 20 steps in 4 parts |
| Level | Beginner, no coding needed |
| Cost | Free |
| Ways to learn it | Practice it step by step |
The 4 parts, in short
- Pick the offer: Visitors leave without a trace, Start from the goal, Pick a template that fits, Preview it first, and 3 more steps.
- Make it yours: Match your own terms, Say thank you, A thank-you screen.
- Show it at the right moment: Swap the timer for exit intent, Only when they leave, Only on product pages, Pick the pages, and 3 more steps.
- Put it on your store: One code for every popup, Connect your store, Switch it on when you are ready.
Start here first: AI Receipt Extractor: Receipts to Google Sheets with n8n (module 1 of Business Automations)
In the course: Part 9 · n8n Automation Toolkit (Module 138 of the full course)
Part of: AI for Marketing Teams (step 51 of 51)
Part of: AI Apps Worth Knowing (step 155 of 157). Next up: ChatData Sync: Follow Up on Every Trial Class at a Fitness Studio
What you'll build
You run a small online tea shop (made up). Most visitors look at a product page and leave without buying, and you never hear from them again. An exit-intent popup appears only when someone moves to close the tab, and offers 10% off in return for an email address, so you can follow up. In this lesson you build that popup in Poptin from a ready template, change the minimum order, add a thank-you screen, and set it to show only on product pages, only to new visitors, once a day. Then you see how the one-time code goes on a Shopify store and where you switch the popup on.
You built a 10%-off exit-intent popup from a template, set your own minimum order and a thank-you screen, and limited it to new visitors on product pages, once a day. Once the Poptin code is on your store, switch the popup ON and watch Leads fill up. Then send those new subscribers a welcome email with the code.
- Tools: Poptin
- Time: about 7 minutes, 20 steps in 4 chapters
- Level: beginner, no coding needed
- Price: free
Practice first, then build it for real
Practice copy built from real Poptin screens (app.popt.in), captured 13 November 2026 on the Free plan. Nothing here touches a Poptin account or a store. The tea shop is made up and example.com stands in for its domain. To build it for real you need your own Poptin account, and some services charge once you use them for real work, so check each tool's current pricing.
Try it yourself, free
Reading the steps is a start. Doing them is how it sticks. The interactive module walks you through every click in a practice copy of Poptin, checks each step, and never touches your real accounts.
Start “Poptin: Turn Leaving Shoppers into Email Subscribers with an Exit-Intent Popup”Step by step: Poptin: Turn Leaving Shoppers into Email Subscribers with an Exit-Intent Popup
All 20 steps of the interactive module, in order. In the module you watch each one, then do it yourself in a practice copy that checks your work.
1. Pick the offer
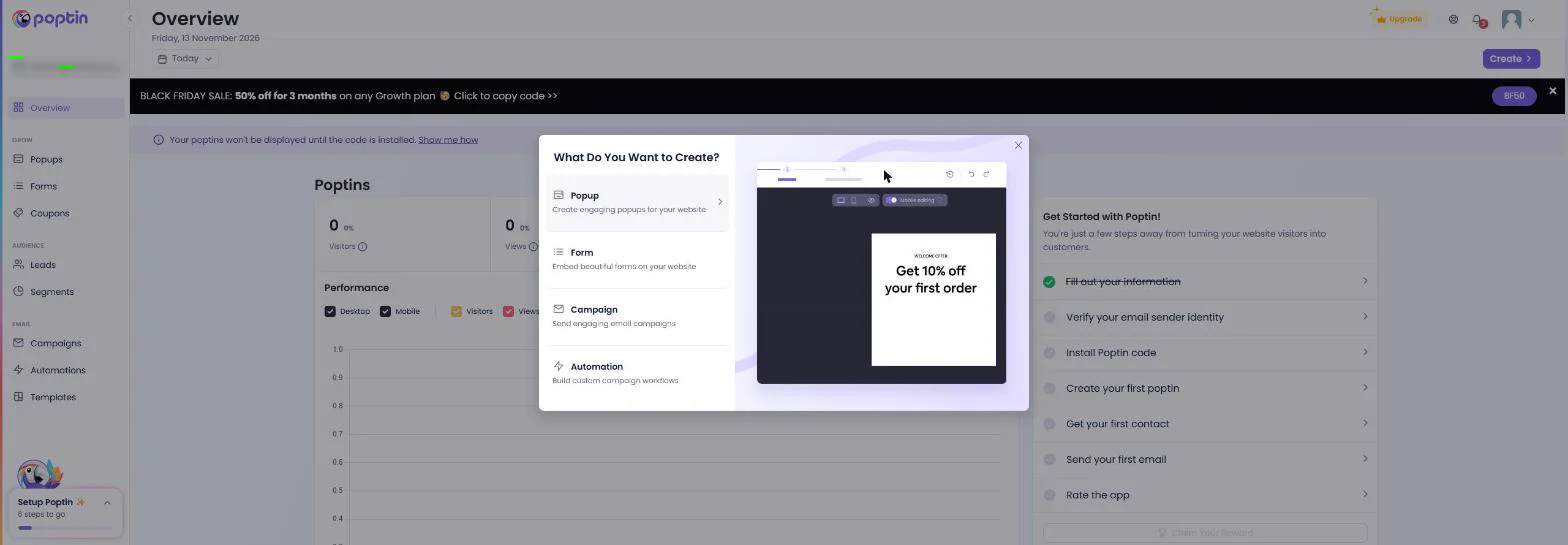
- Visitors leave without a trace. You run a small online tea shop (made up). Most people look at a product page and leave, and you never hear from them again. An exit-intent popup shows up only when someone moves to close the tab, and offers 10% off for their email. We clicked Create on Poptin's Overview. Click Popup.
Most shoppers look and leave, and you never hear from them again. An exit intent popup offers ten percent off for their email, just as they leave.
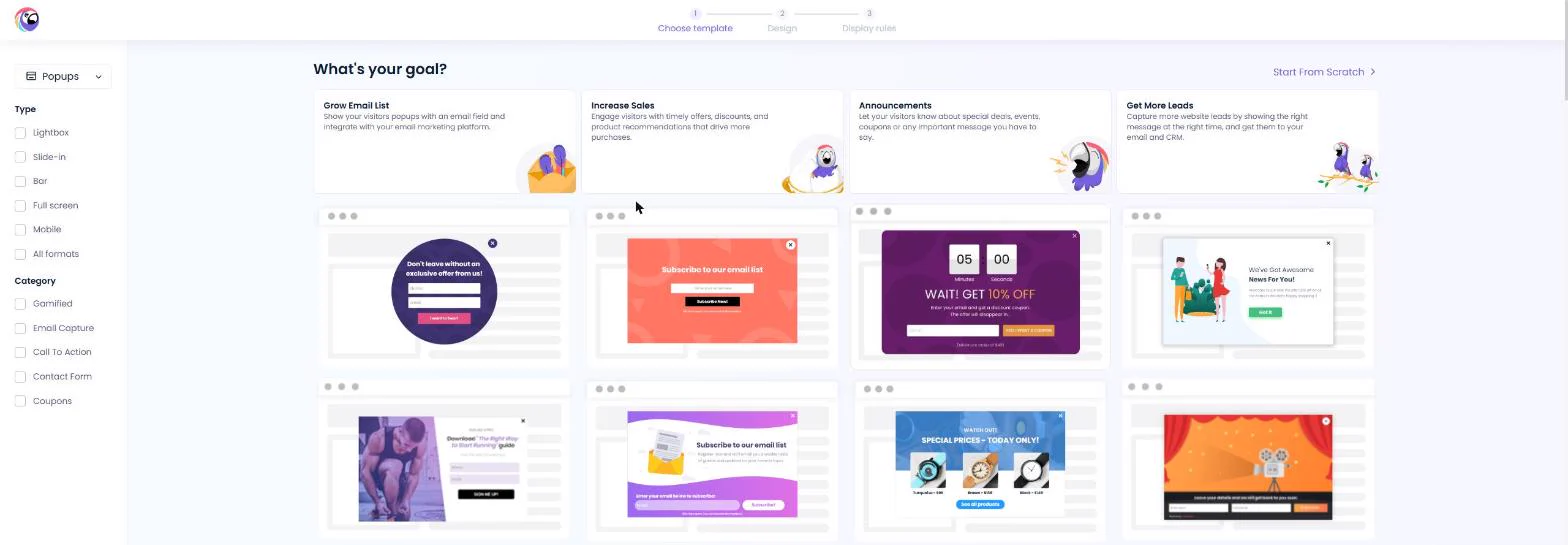
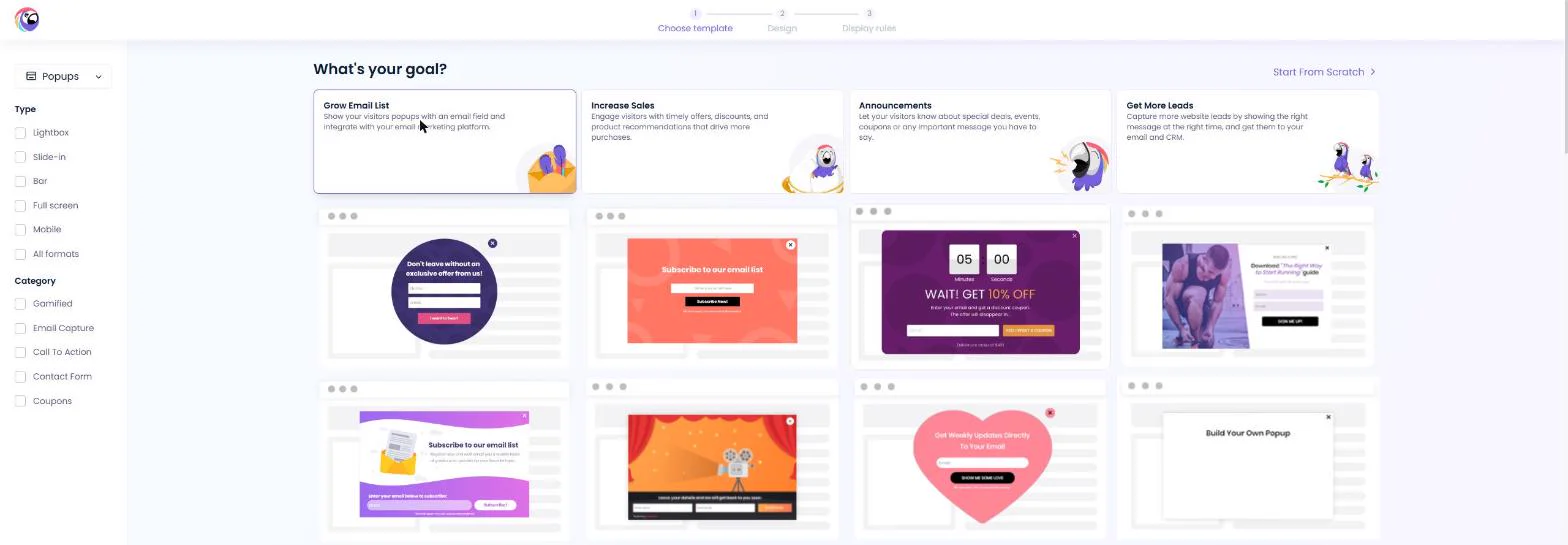
- Start from the goal. Poptin asks What's your goal? You want email addresses, so click Grow Email List. The templates below change to match.
You want email addresses.
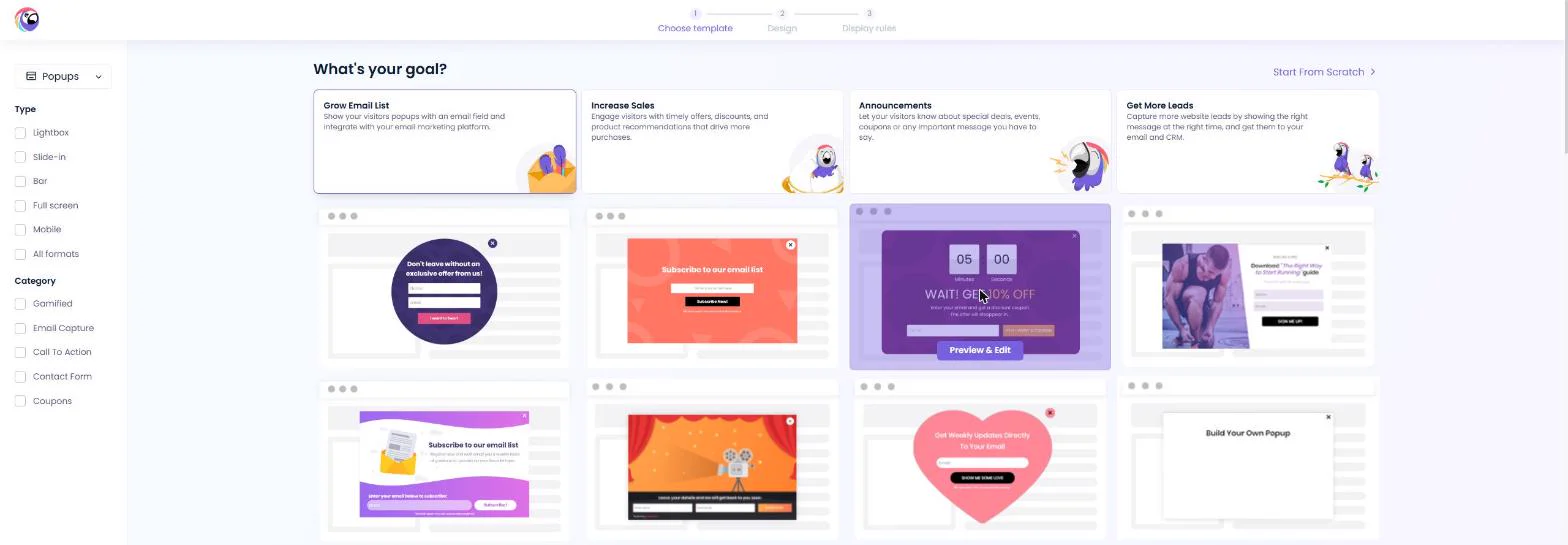
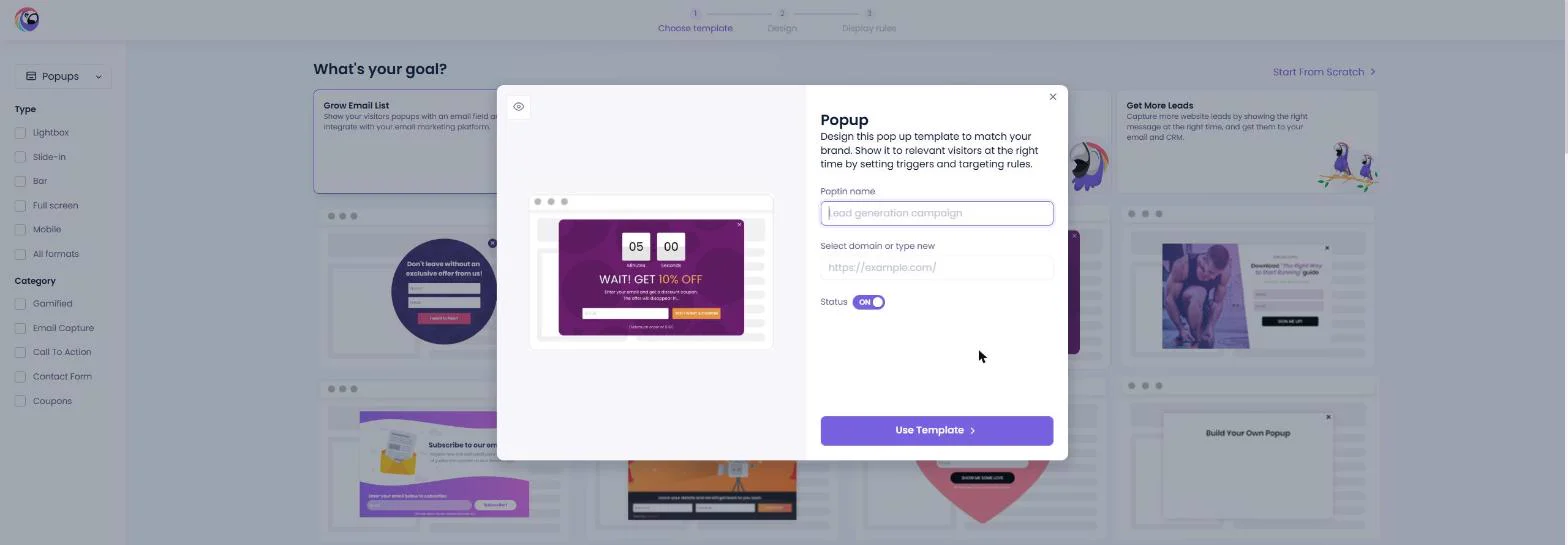
- Pick a template that fits. The purple WAIT! GET 10% OFF template already has an email field, a coupon button and a five-minute countdown. Click it.
Pick the Wait, get ten percent off template.
- Preview it first. Click Preview & Edit.
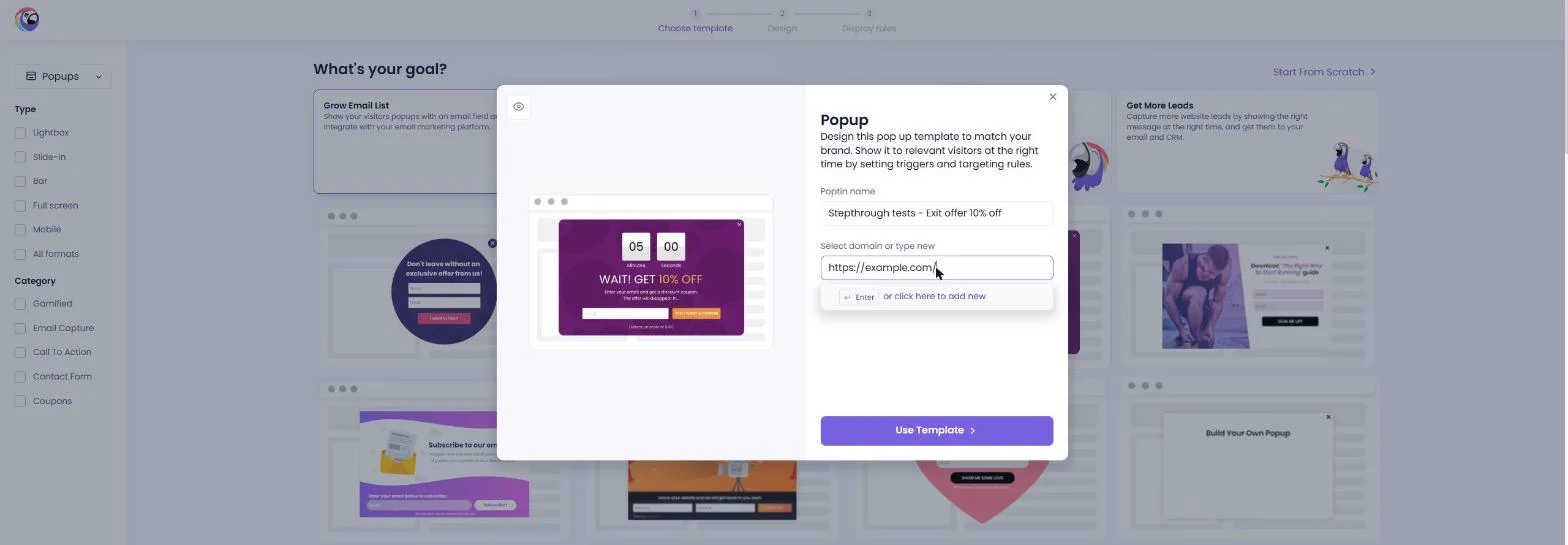
- Name the popup. Give it a name you will recognise in the list. Our test copy has a Stepthrough tests prefix.
Give the popup a name you will recognise.
- Add your shop's address. Type your shop's web address. We used https://example.com/ as a stand-in. The Free plan covers 1 domain. Press Enter, or click or click here to add new.
Add your shop's web address. The free plan covers one domain.
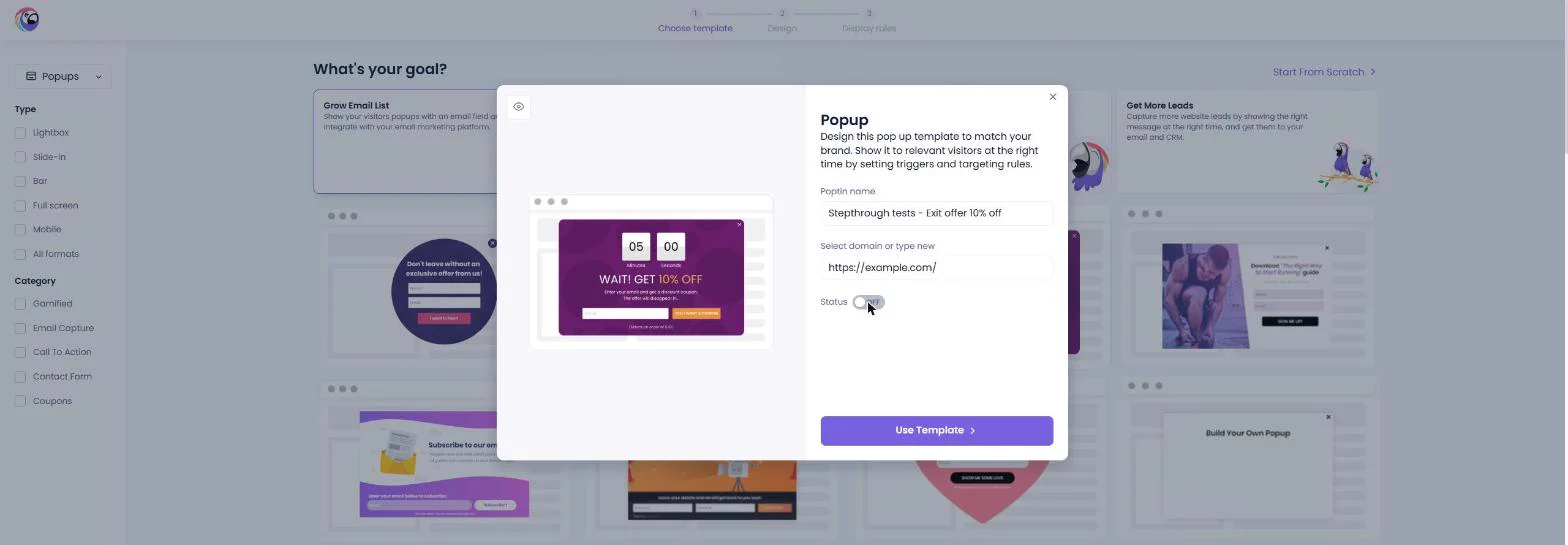
- Keep it off while you build. We switched Status to OFF, so nothing shows to shoppers while you work on it. Click Use Template.
Keep the status off while you build.
2. Make it yours
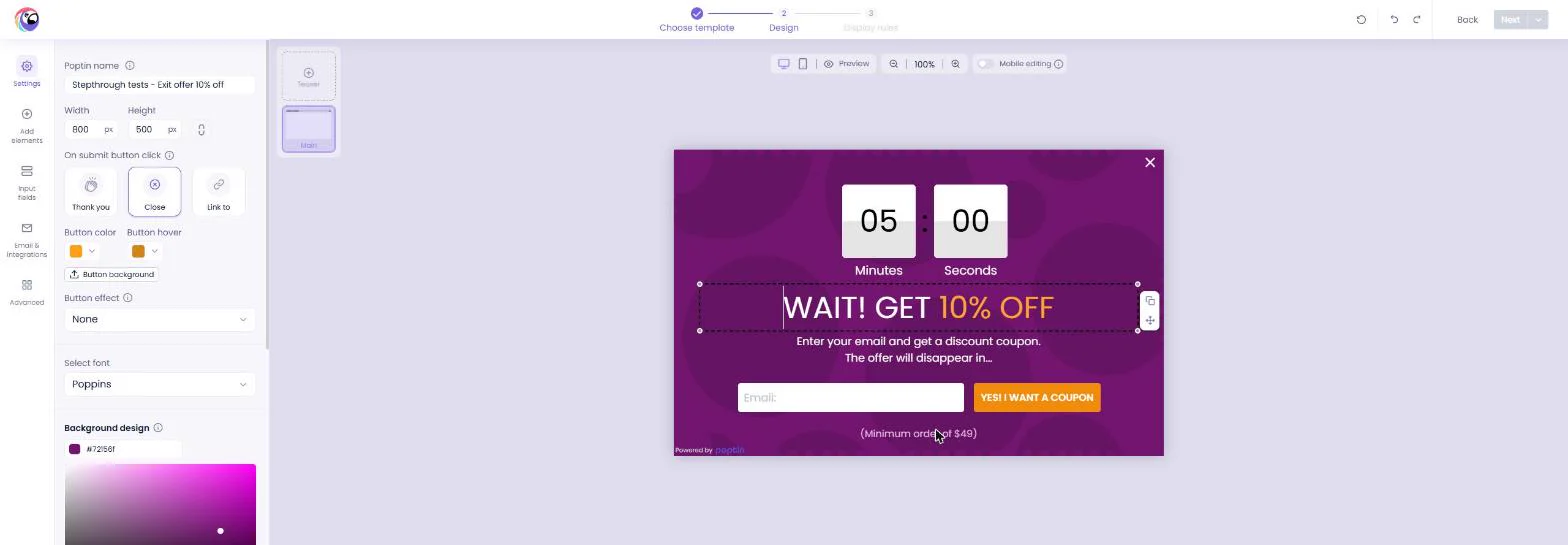
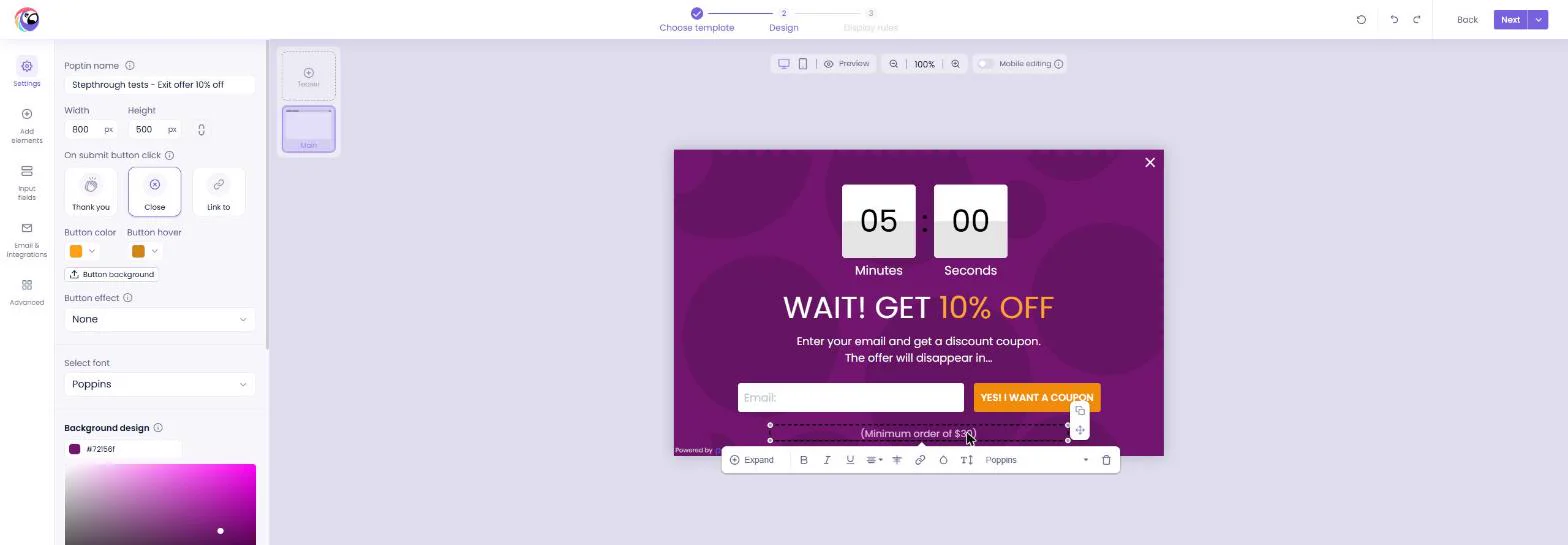
- Match your own terms. The designer opens with your popup in the middle. The small print says Minimum order of $49, but your shop's minimum is $30. Click the small print, double-click 49 and type 30.
Change the minimum order to match your shop. Double click forty nine, and type thirty.
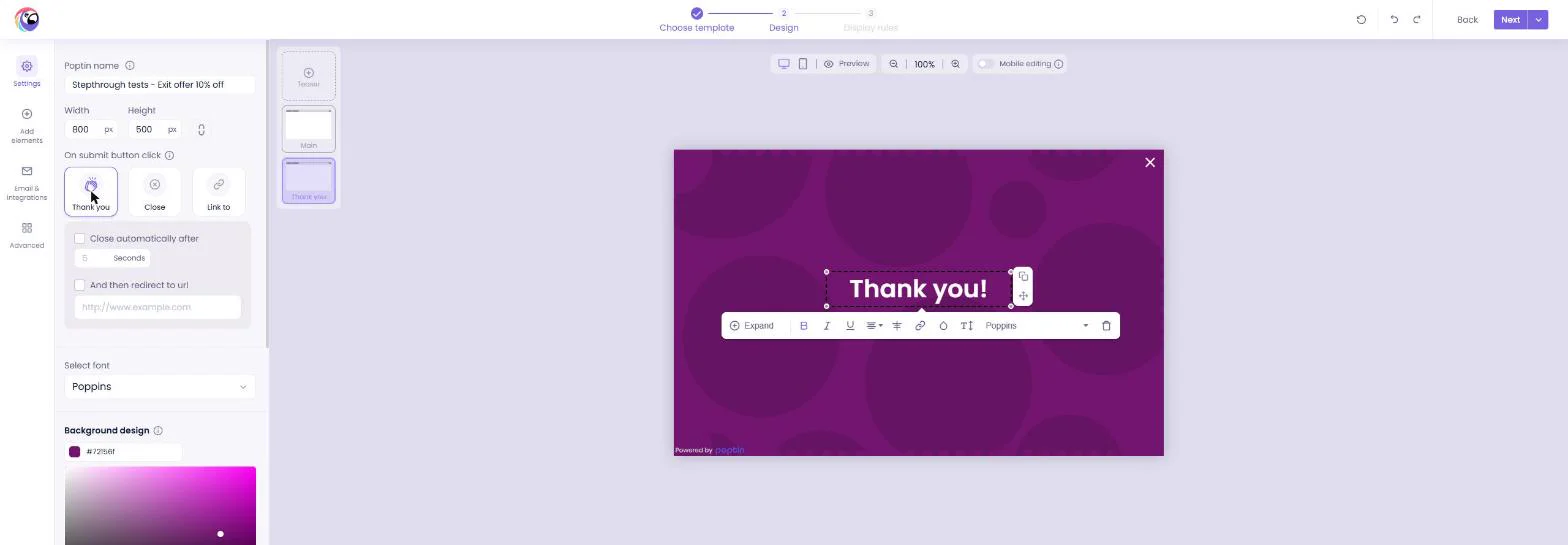
- Say thank you. Now it reads $30. Under On submit button click, the template just closes the popup. Shoppers should know it worked, so click Thank you.
When someone signs up, show a thank you.
- A thank-you screen. A second screen, Thank you!, appears after someone submits. You can add the coupon code here, or let your welcome email send it. Click Next.
A thank you screen appears after someone signs up.
3. Show it at the right moment
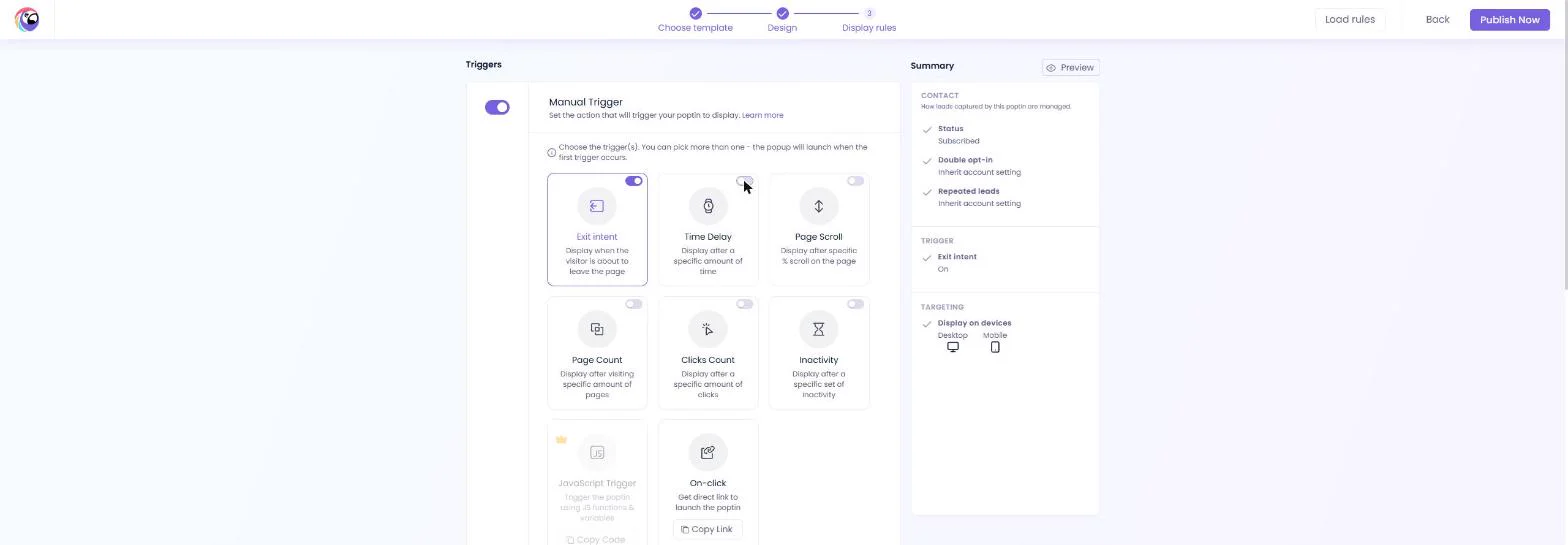
- Swap the timer for exit intent. The template shows the popup after a 5 sec Time Delay: it interrupts people who just arrived. Turn on Exit intent (the switch on its card) and turn Time Delay off.
A five second delay interrupts people who just arrived. Turn on Exit intent instead.
- Only when they leave. The Summary on the right now says Trigger: Exit intent, On. Next, decide where it shows. Click the Exit intent card, then scroll down to Targeting.
Now it only shows when someone leaves.
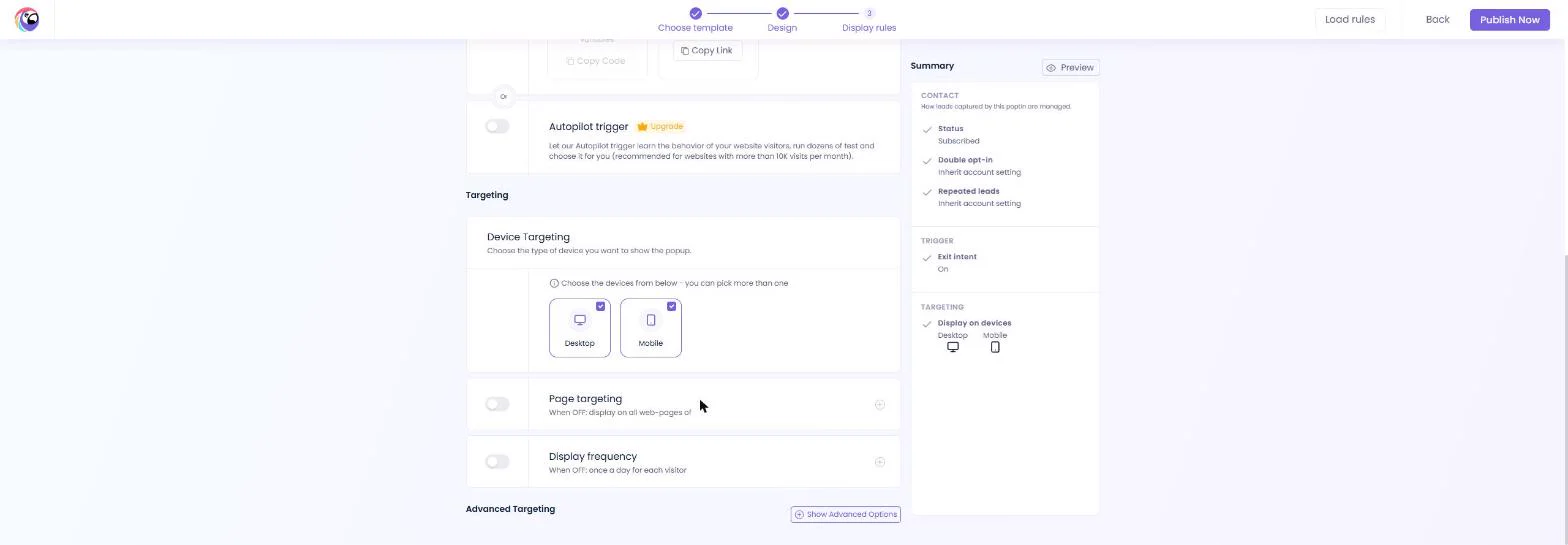
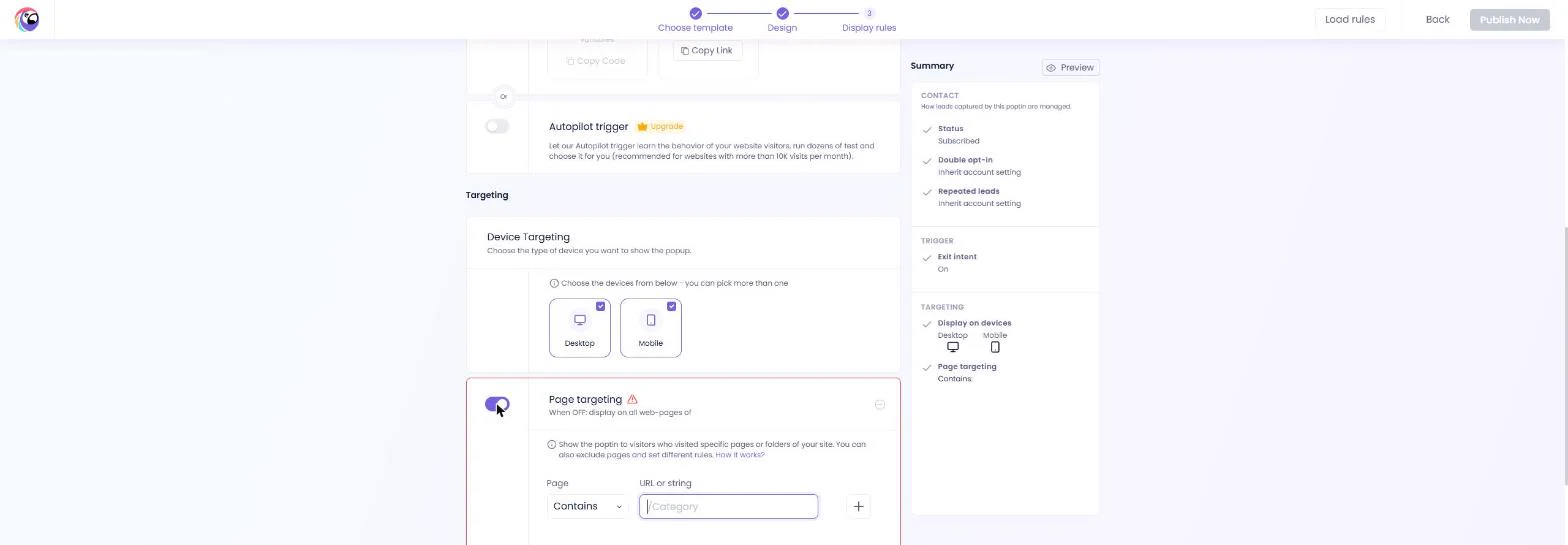
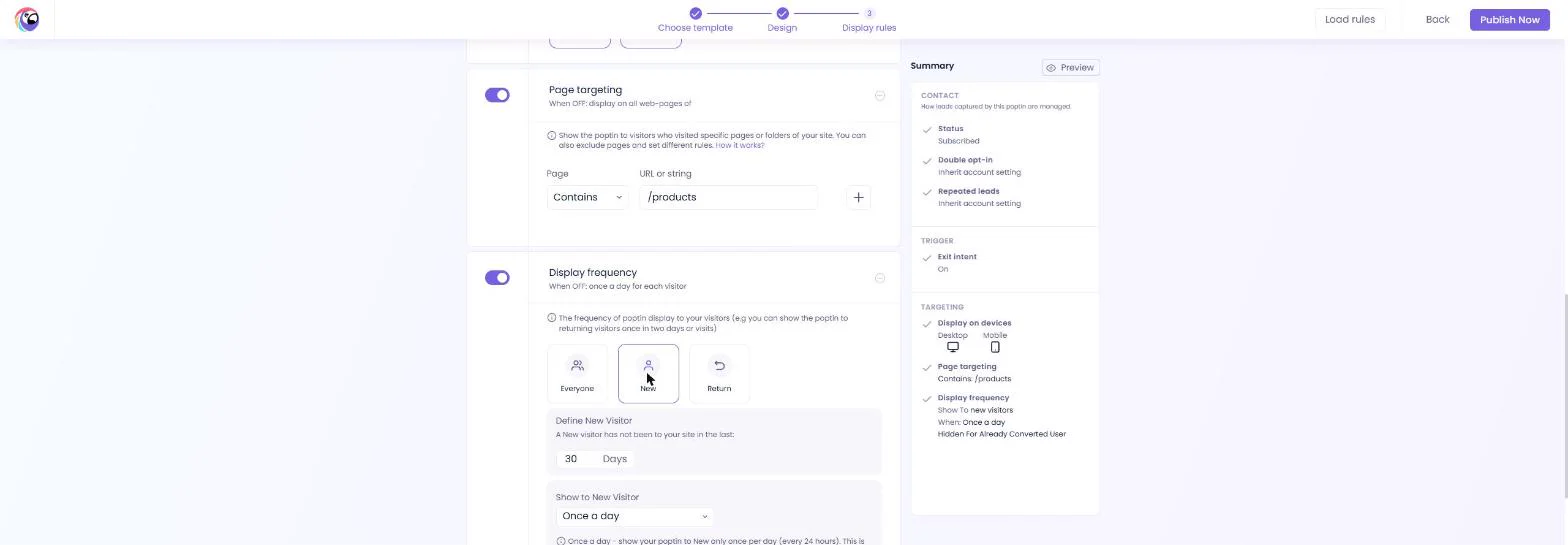
- Only on product pages. It shows on Desktop and Mobile. With Page targeting off, it would show on every page, including checkout. Turn Page targeting on.
Turn on Page targeting, so it does not show on every page.
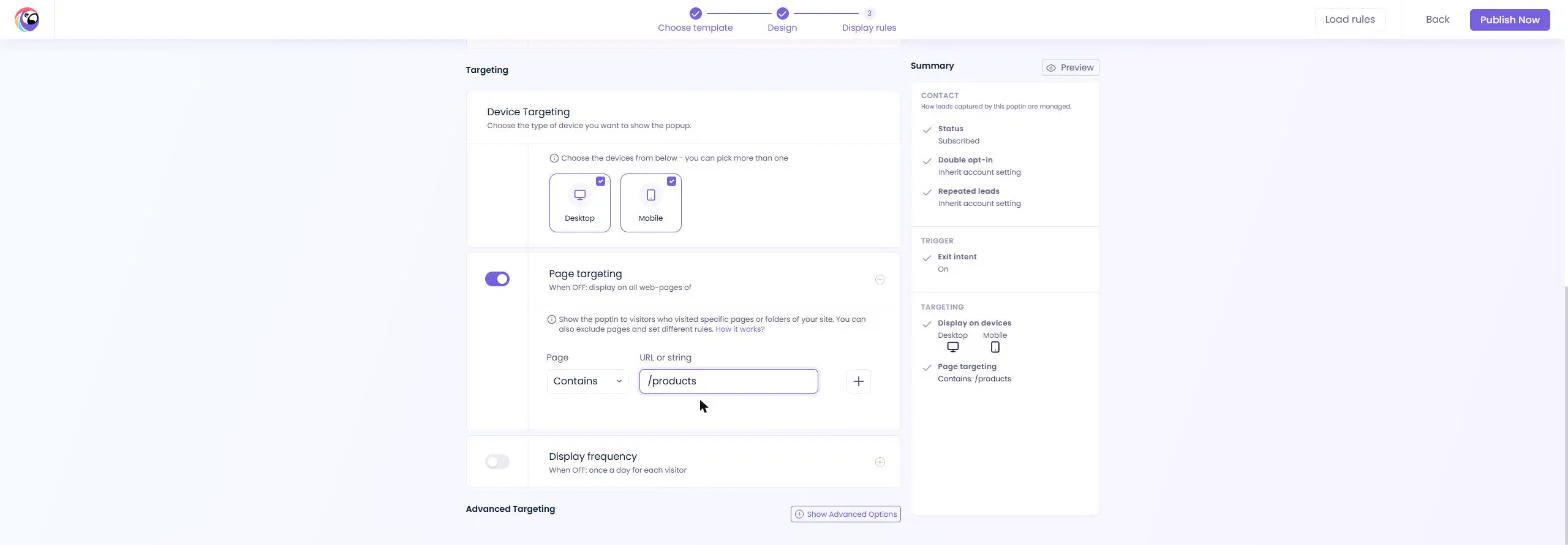
- Pick the pages. Keep Contains and type the part of the address your product pages share.
- Don't nag. The Summary says Page targeting: Contains /products. Now turn on Display frequency.
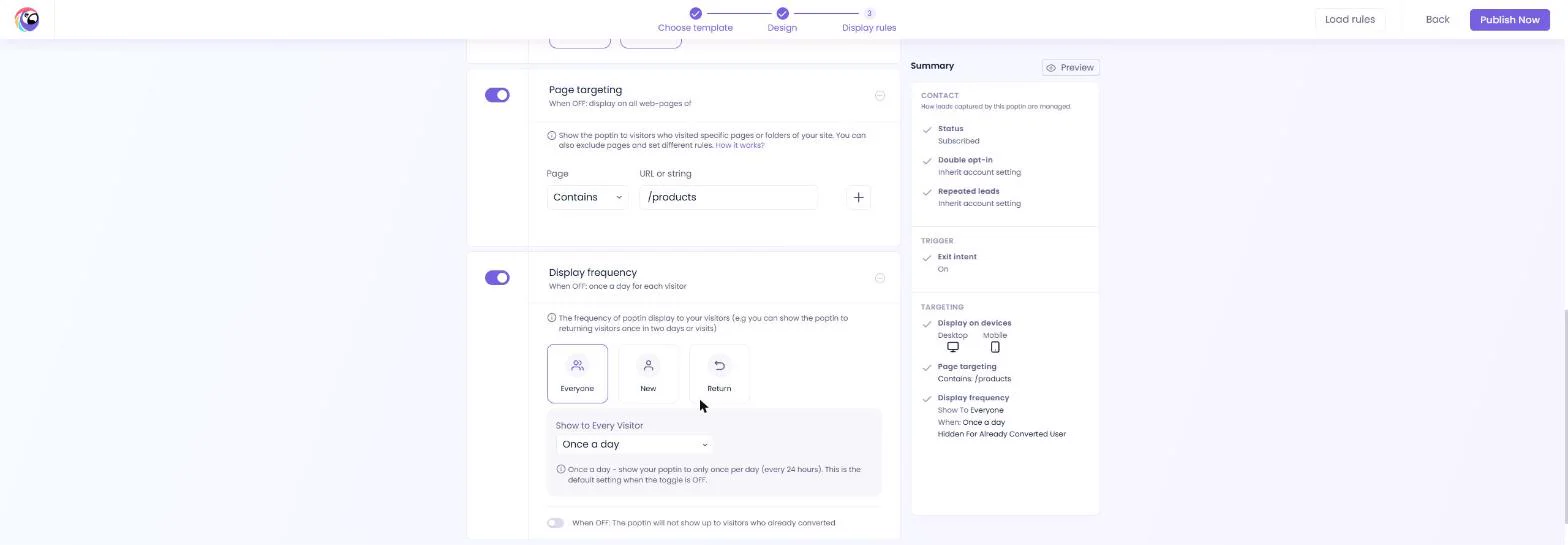
Turn on Display frequency.
- New shoppers only. By default it shows to Everyone, Once a day. Returning customers don't need a first-order discount. Click New.
Returning customers don't need a first order discount.
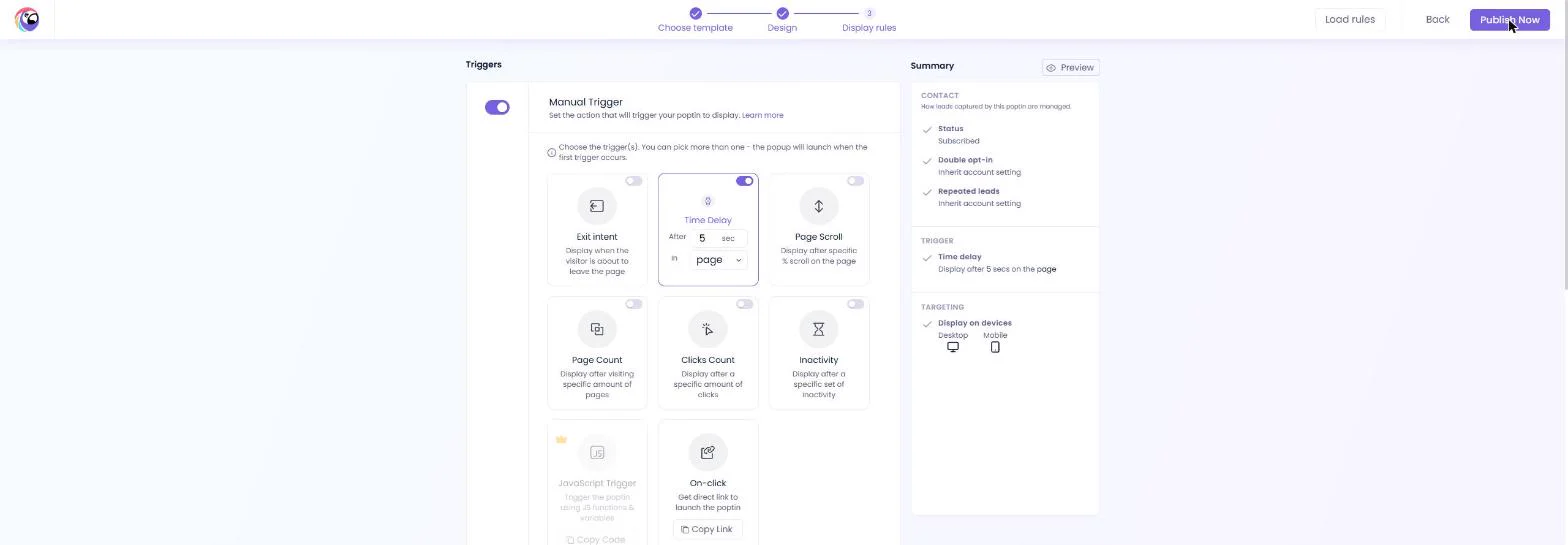
- Save it. A new visitor is someone who has not been on your site in the last 30 days, and it shows to them once a day. The Summary also says it hides from people who already signed up. Click Publish Now. The status is OFF, so nothing shows yet.
New means no visit in thirty days. The status is off, so nothing shows yet.
4. Put it on your store
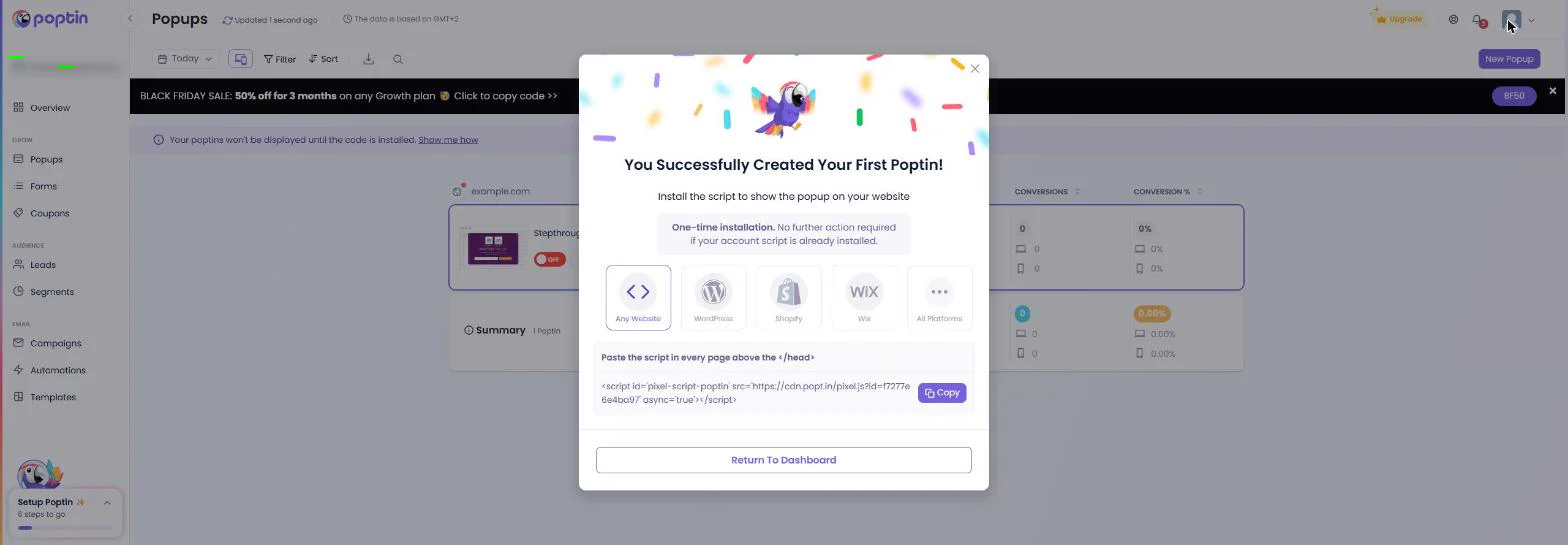
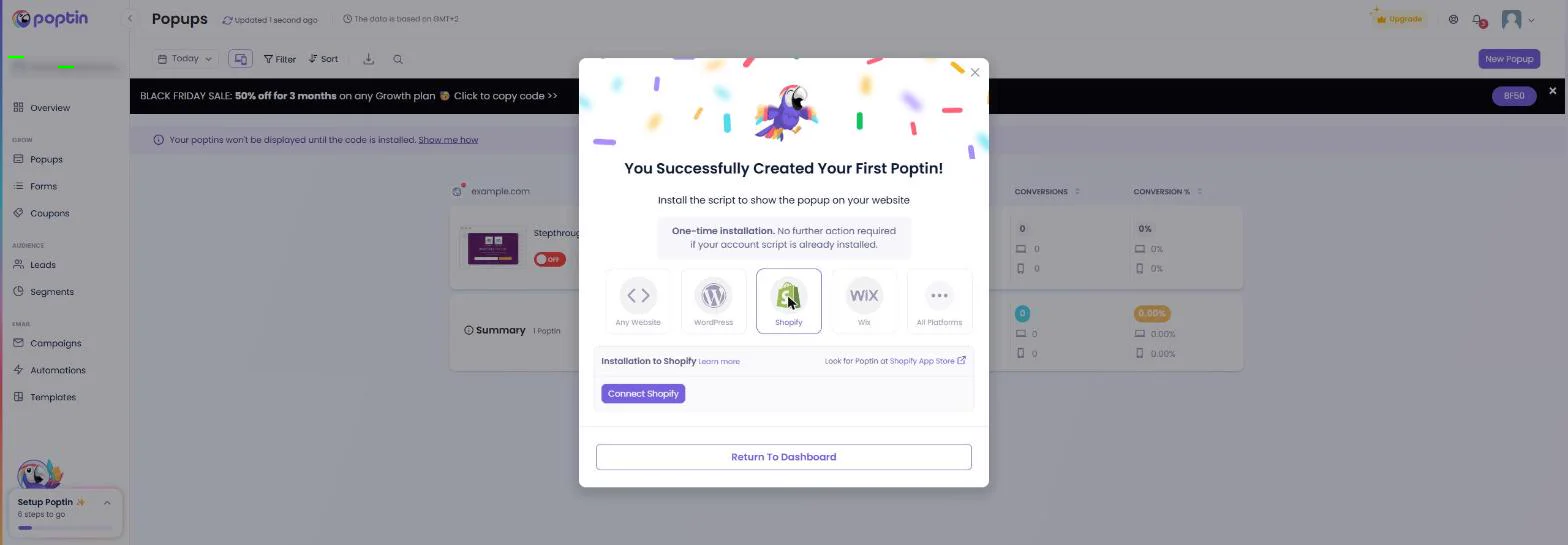
- One code for every popup. Poptin needs its code on your site once; every popup after that uses it. For Any Website you paste one script line above </head>. Your shop runs on Shopify, so click Shopify.
Poptin needs its code on your site once. Your shop runs on Shopify.
- Connect your store. On Shopify you click Connect Shopify, or install Poptin from the Shopify App Store. We did not connect a store in this test. Click Return To Dashboard.
On Shopify, you connect your store. We did not connect one.
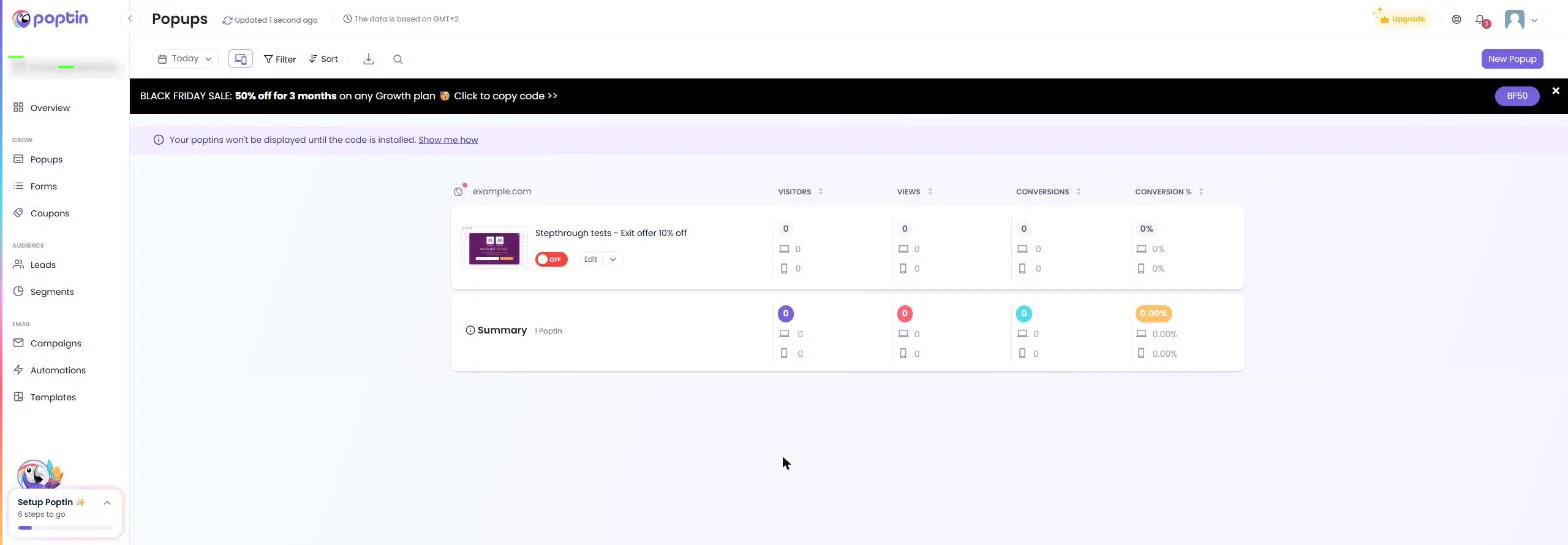
- Switch it on when you are ready. Your popup sits under the domain with Visitors, Views, Conversions and Conversion %. The banner says it won't show until the code is installed. Once it is, flip this switch to ON, and new emails land in Leads. We left it OFF.
When the code is on your store, switch it on. New emails land in Leads.
Screenshots
More in Business Automations
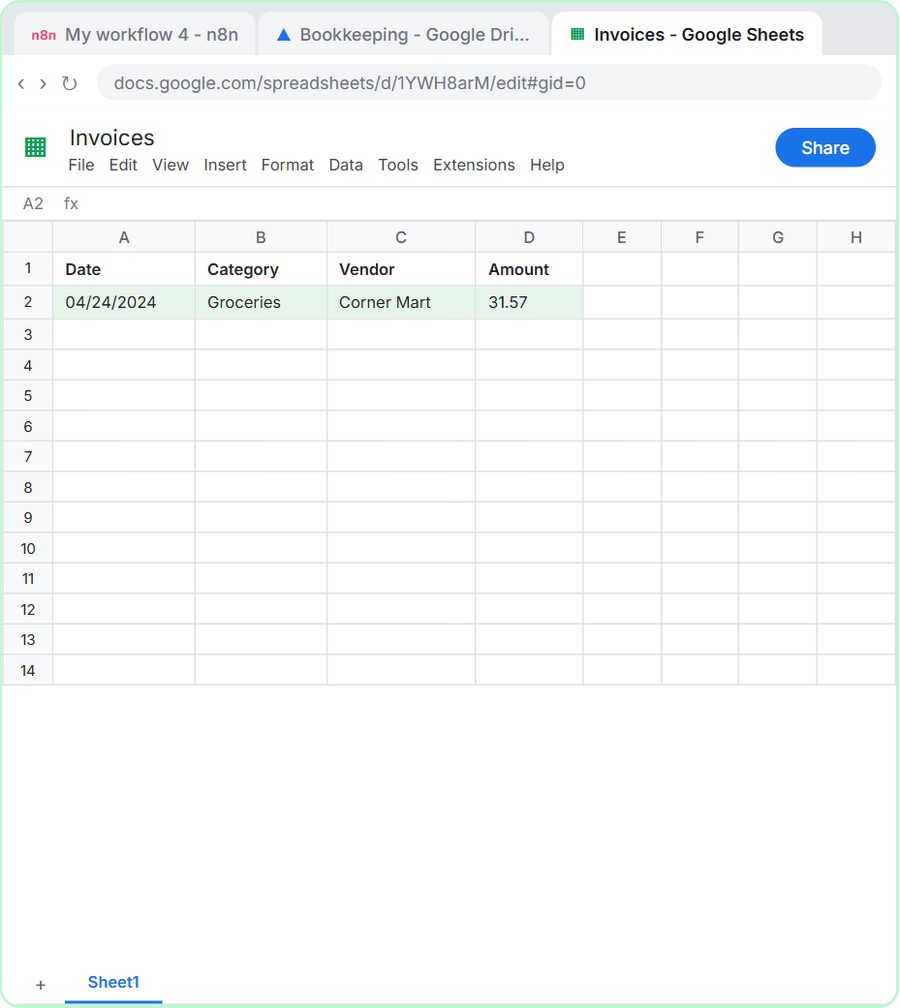 AI Receipt Extractor: Receipts to Google Sheets with n8n
Drop a photo of a receipt into an n8n chat. An AI agent reads it, pulls out the date, vendor and amount, picks a category, and adds a row to Google Sheets.
Free · Live ~12 min Intermediate
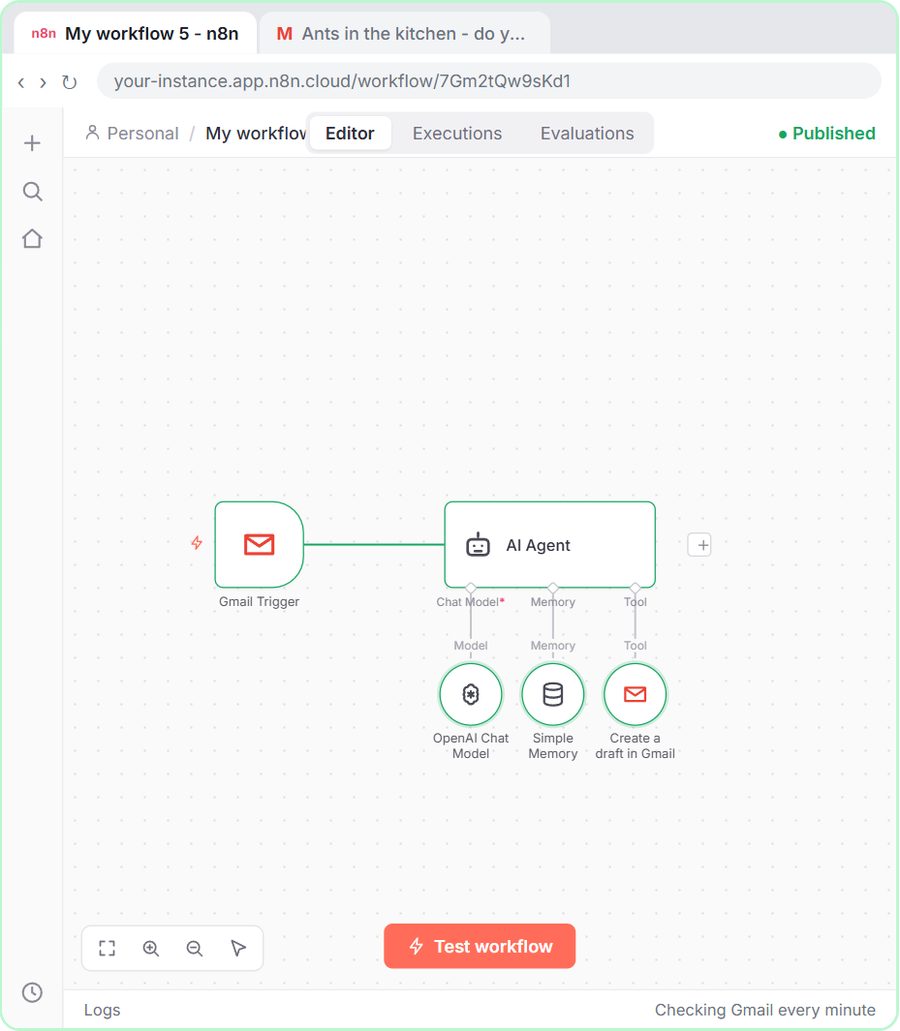 n8n AI Email Responder: Draft Gmail Replies Automatically
Build an n8n agent that watches your Gmail, reads each new customer email, and writes a reply as a draft in the same thread, ready for you to check and send.
Free · Live ~12 min Intermediate
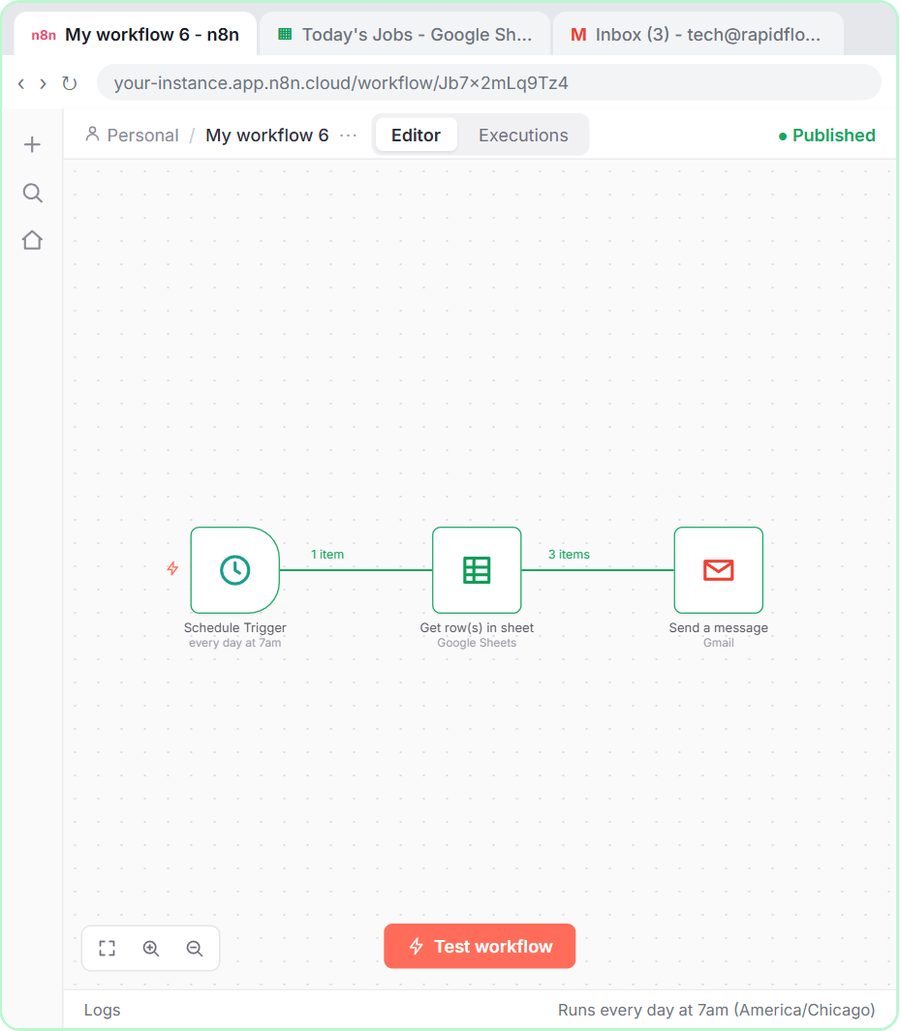 Daily Job Alerts: Email Each Tech Their Jobs from Google Sheets with n8n
Every morning at 7, n8n reads a plumbing company's jobs sheet, skips anything not assigned yet, and emails each job to the tech it's assigned to — customer, address…
Free · Live ~10 min Intermediate
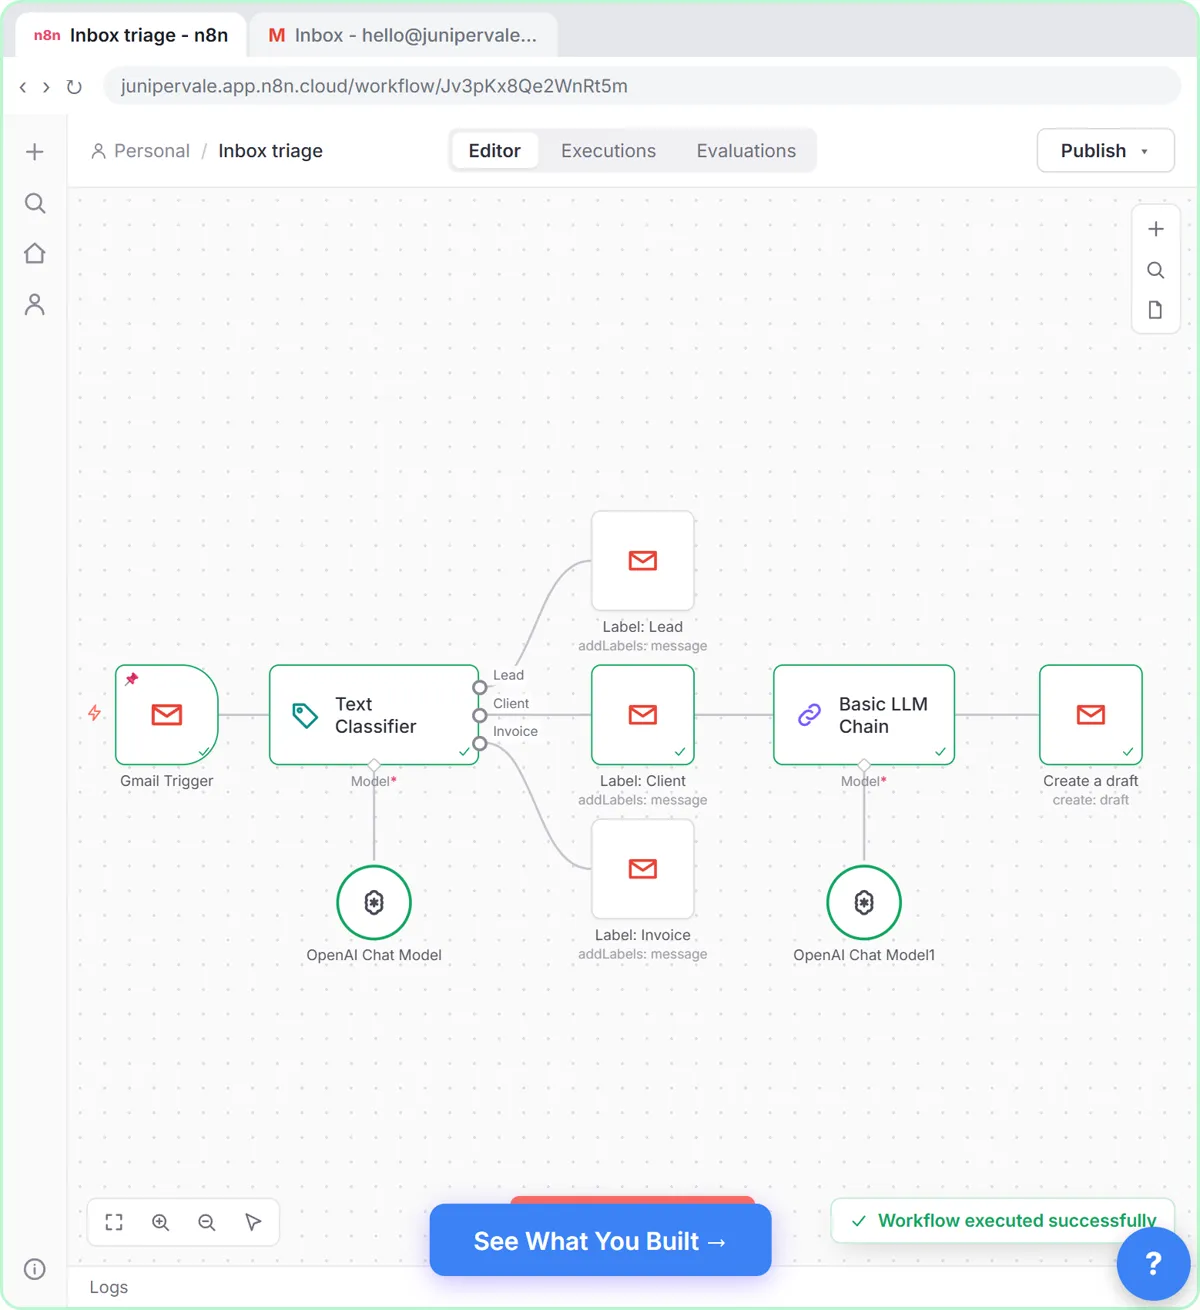 Gmail AI Triage: Auto-Label Every Email and Draft Replies
Build an n8n workflow that reads each new email, sorts it as a lead, a client or an invoice with a Text Classifier, adds the matching Gmail label, and drafts a reply to…
Free · Live ~18 min Advanced
 A Support Agent That Answers from Your Own Docs
Turn an n8n chat agent into a support agent that answers only from your policies in a Google Doc, refuses what it should, and hands off to a person by email.
Free · Live ~13 min Advanced
 Chatbase: Answer Customer FAQs with an AI Agent
A business case for a small firm that answers the same customer questions every week: build a Chatbase AI agent on your FAQ in the real app, make it say when it does…
Free · Live ~15 min Beginner
All 47 modules in Business Automations
Terms in this lesson
Plain-English definitions, each with an example from a free lesson.