How to build an AI Vendor Follow-Up Agent in n8n: step-by-step guide with screenshots
Updated
Build an AI agent for Ridgeline Supply Co. that writes follow-up messages for late or pending purchase orders and saves them to Google Sheets — chat trigger, AI Agent, system prompt, model, memory, and the Sheets tool.
About the screenshots. They come from Stepthrough’s simulated practice environment (a practice copy of n8n), not the live tool, so no real account appears. The buttons and labels match the real screens the lesson was built against. Practice it yourself free at learn.ynteractive.com.
- Tools: n8n
- Time: about 12 minutes, 69 steps in 12 parts
- Level: beginner, no coding needed
Part 1: Get n8n
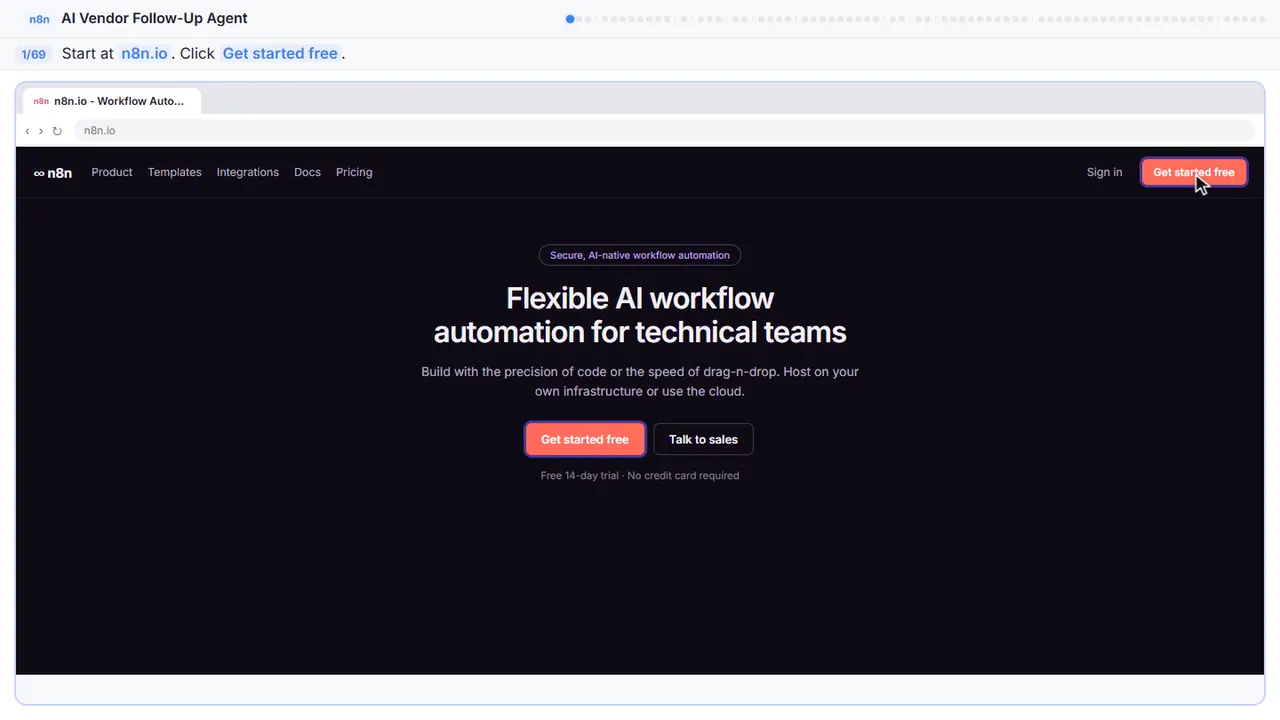
Step 1: Go to n8n.io
In the last lesson you built a Custom GPT that writes procedures. That is great for one person. But what if the AI wrote a follow-up for every late vendor order and logged it in a spreadsheet your team can track? That is what we are building now. First, you need an n8n account.
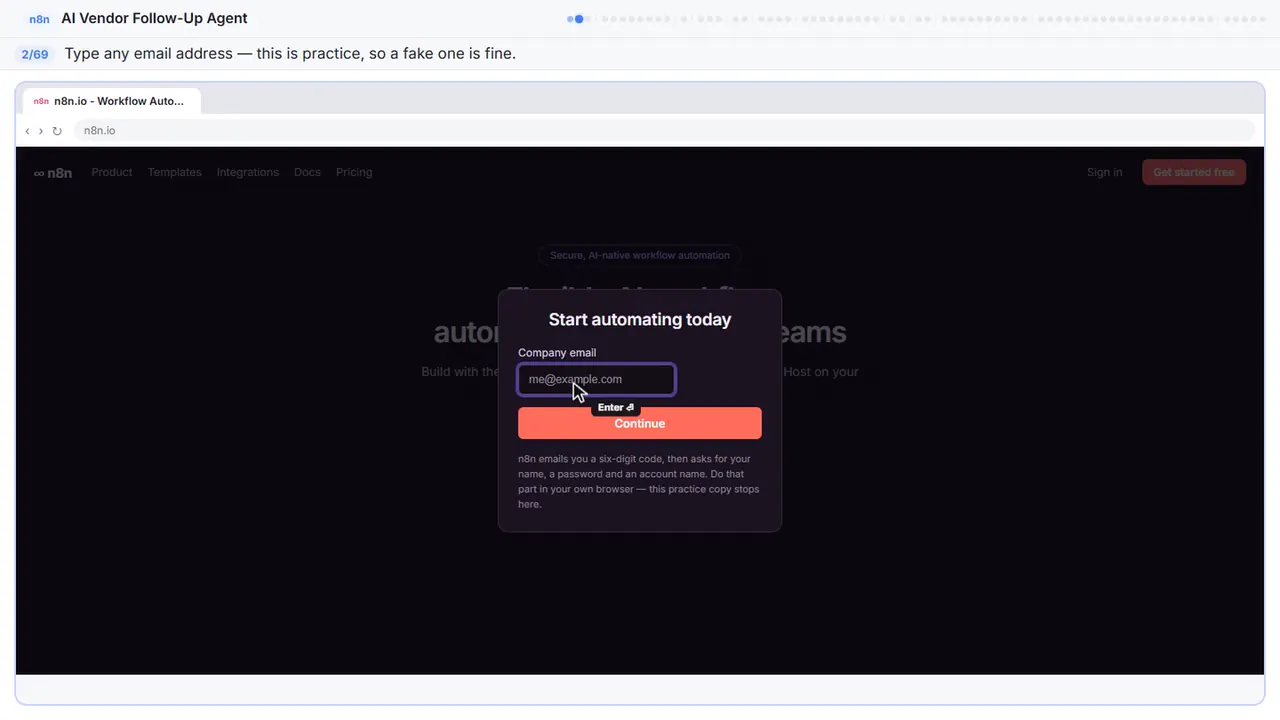
Step 2: Enter your email
This is just practice, so anything works — it won't actually send anything.
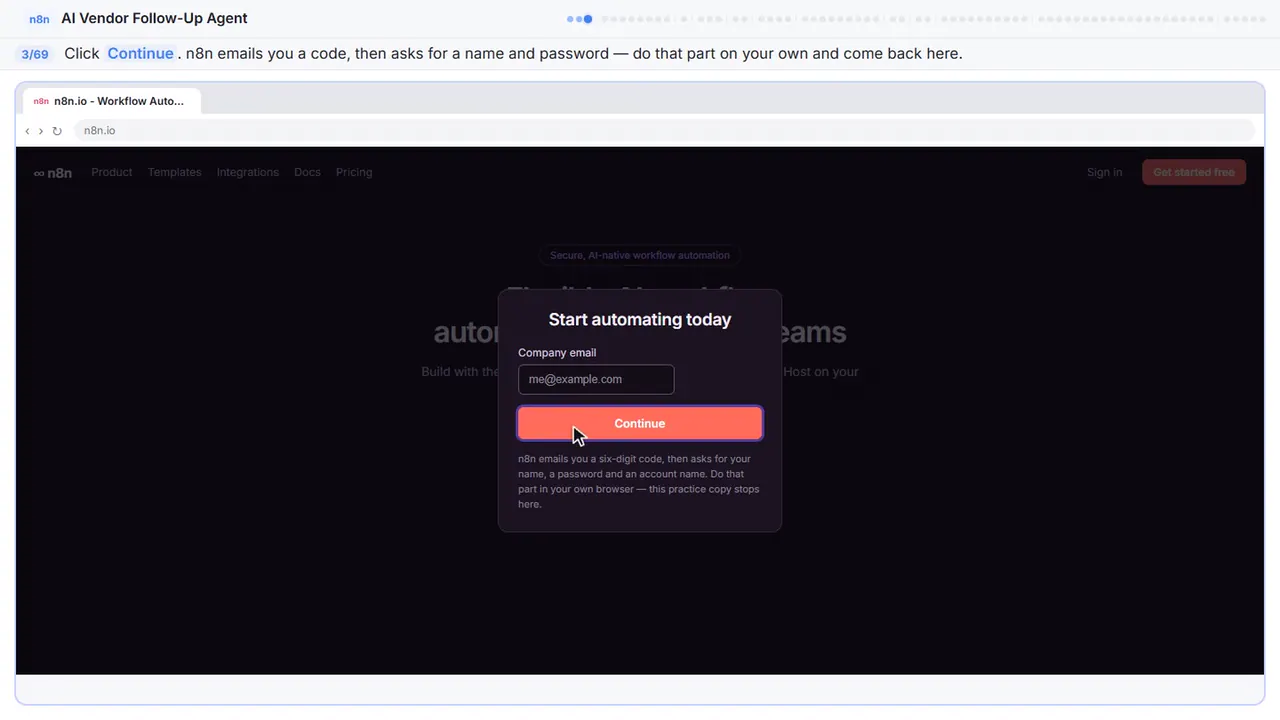
Step 3: Sign up
In the real n8n, it sends you a six digit code, then asks for a name, a password, and an account name. Go do that in your own browser later, then come back and we will build.
Part 2: API key
Step 4: Add credit first
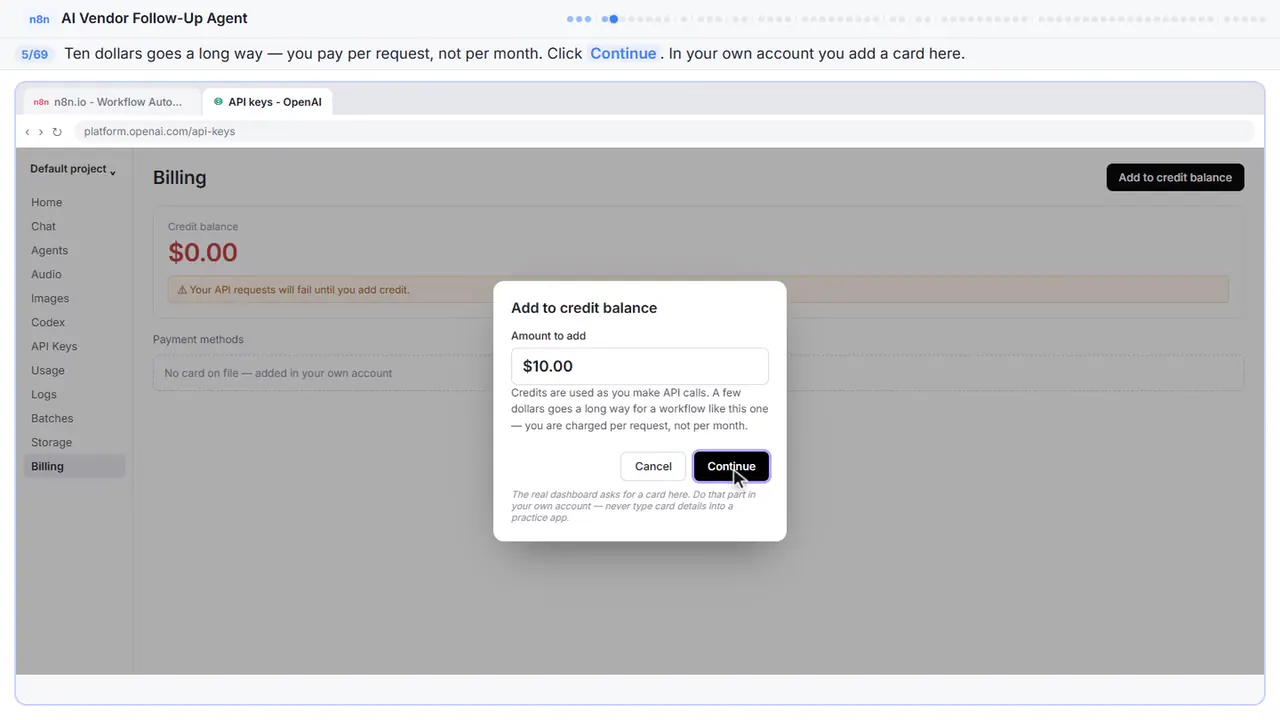
Your agent needs a brain, and that means an API key from OpenAI. Go to platform dot openai dot com — that is the developer side, not ChatGPT, and it bills completely separately. Before you make a key, put some money on the account. A brand new key with a zero balance just returns errors.
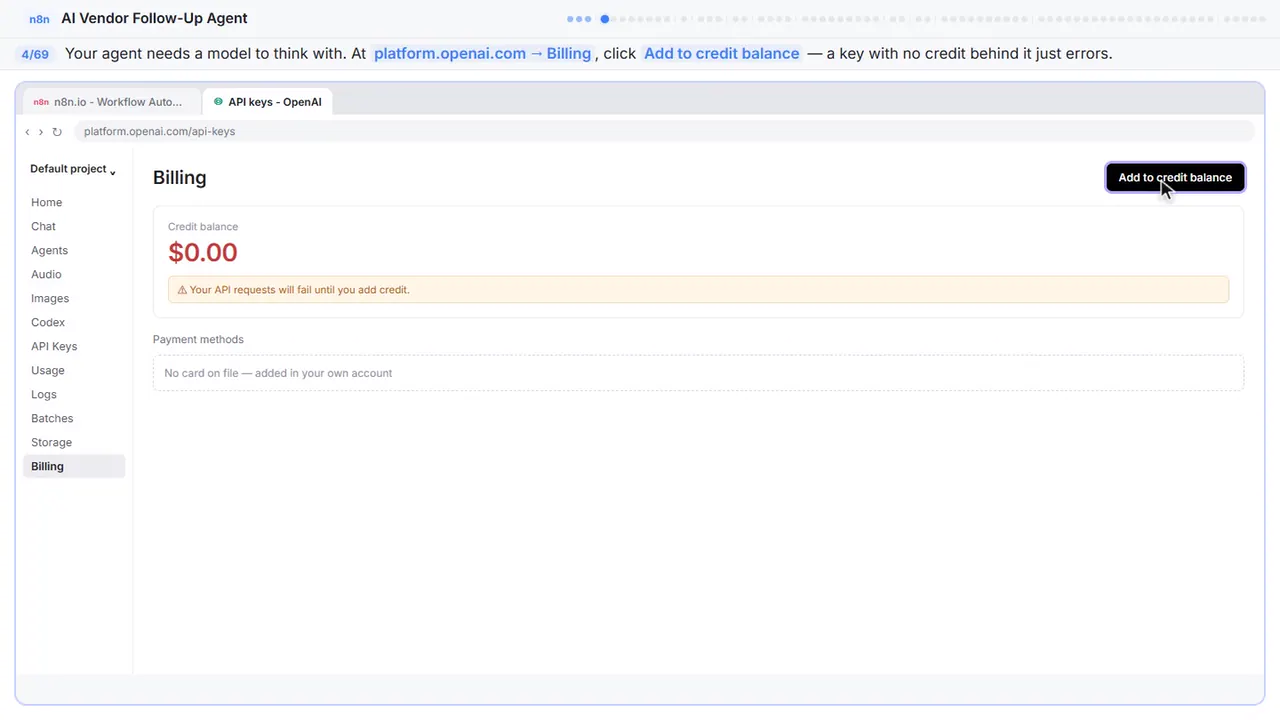
Step 5: Ten dollars is plenty
Ten dollars goes a very long way. You are charged per request, not per month, and each batch of follow-ups costs fractions of a cent.
Step 6: Now the key
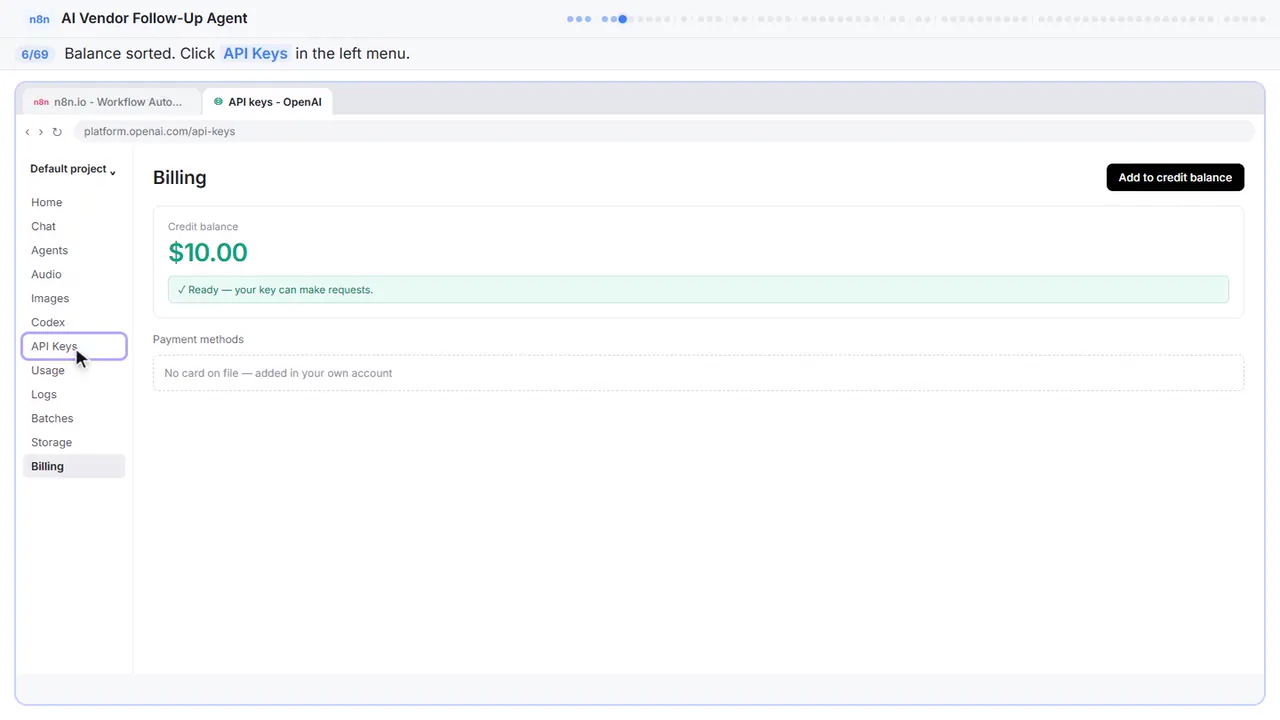
Balance sorted. Now go to API keys in the left menu.
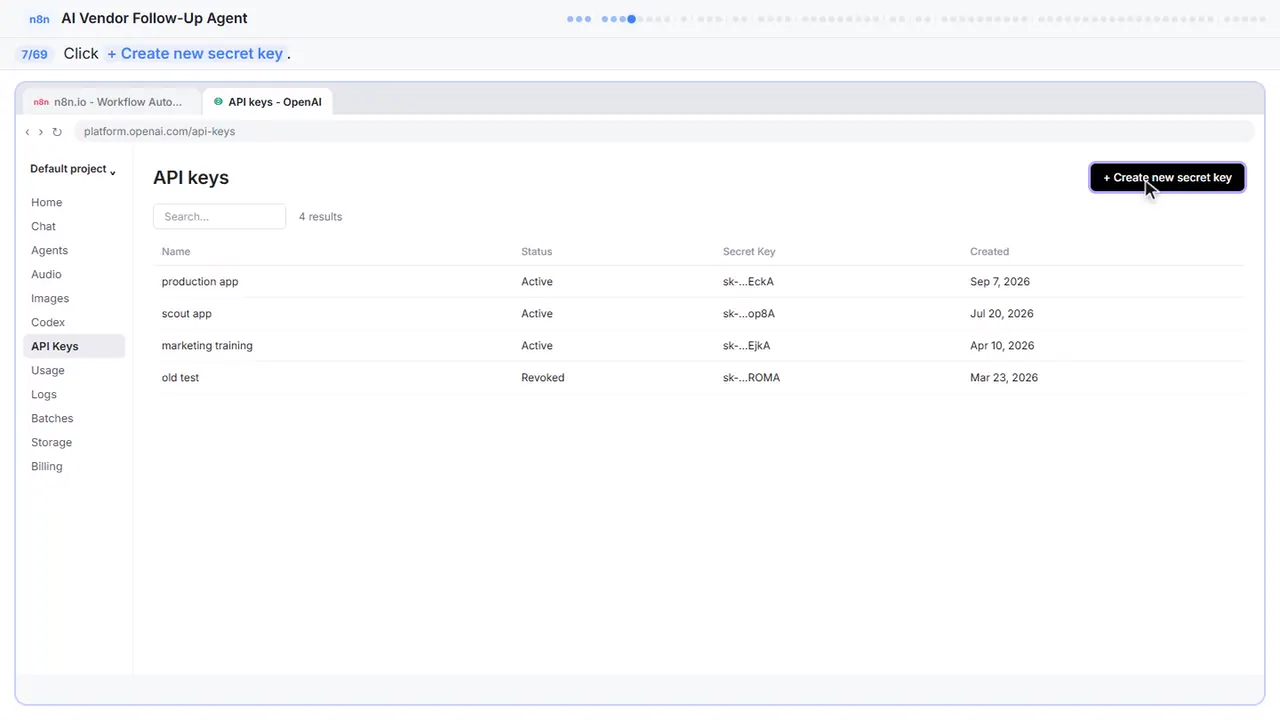
Step 7: Create a secret key
Step 8: Name the key
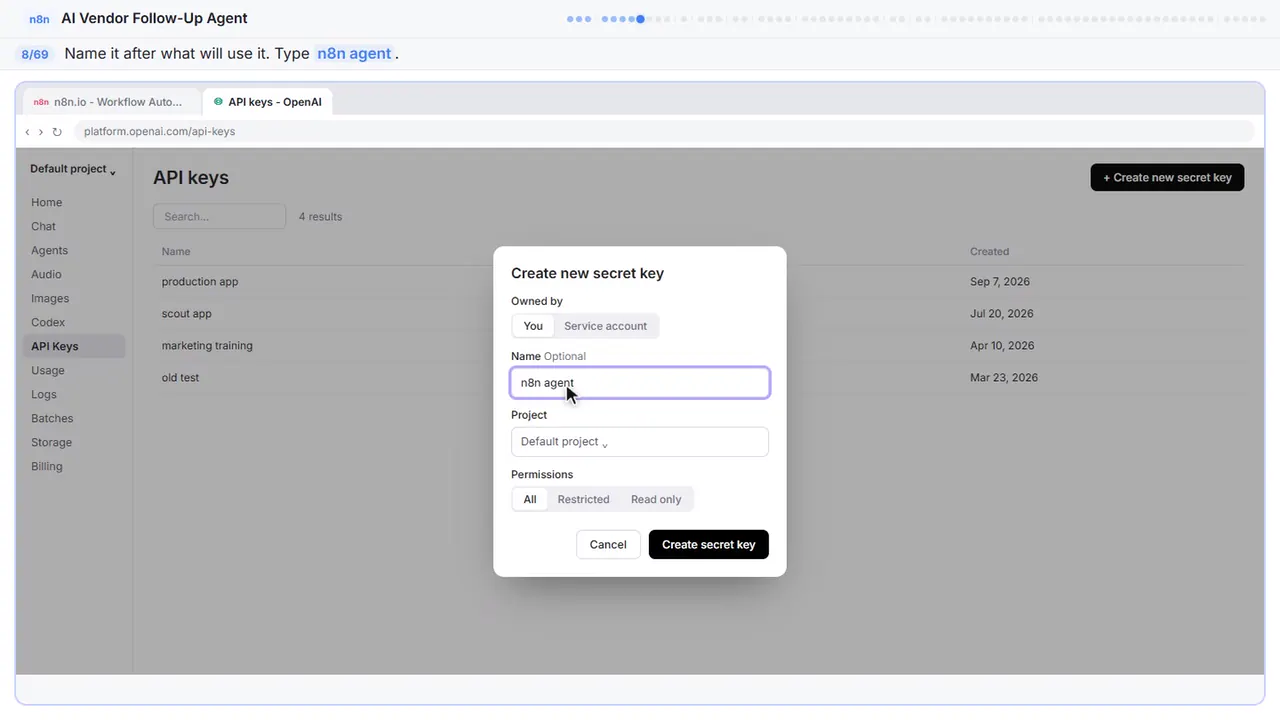
Name it after whatever is going to use it. Future you, staring at a list of forty keys, will thank you. I am calling this one n8n agent.
Step 9: Create it
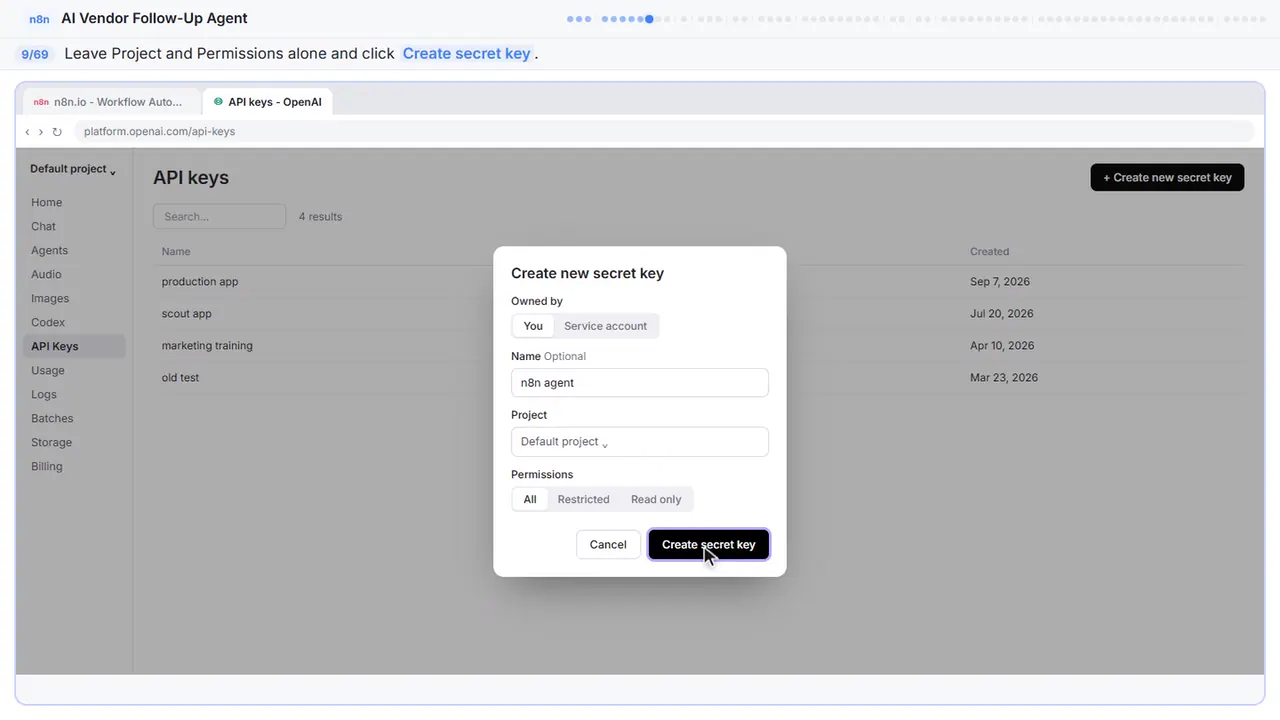
Default project, all permissions — that is fine for this. Create the key.
Step 10: Copy it now
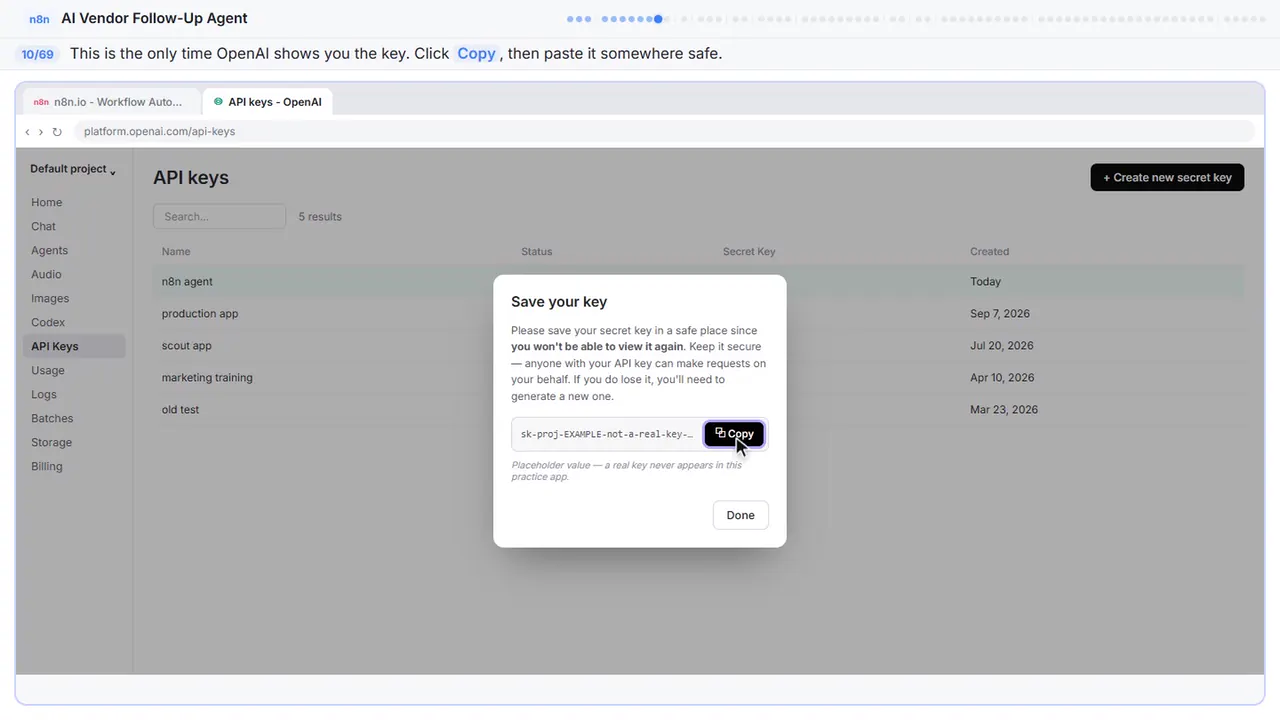
Now pay attention, because this is the only time you will ever see this key. Copy it and paste it into n8n, or into your password manager. If you lose it, you do not get it back — you delete it and make another.
Step 11: Back to n8n
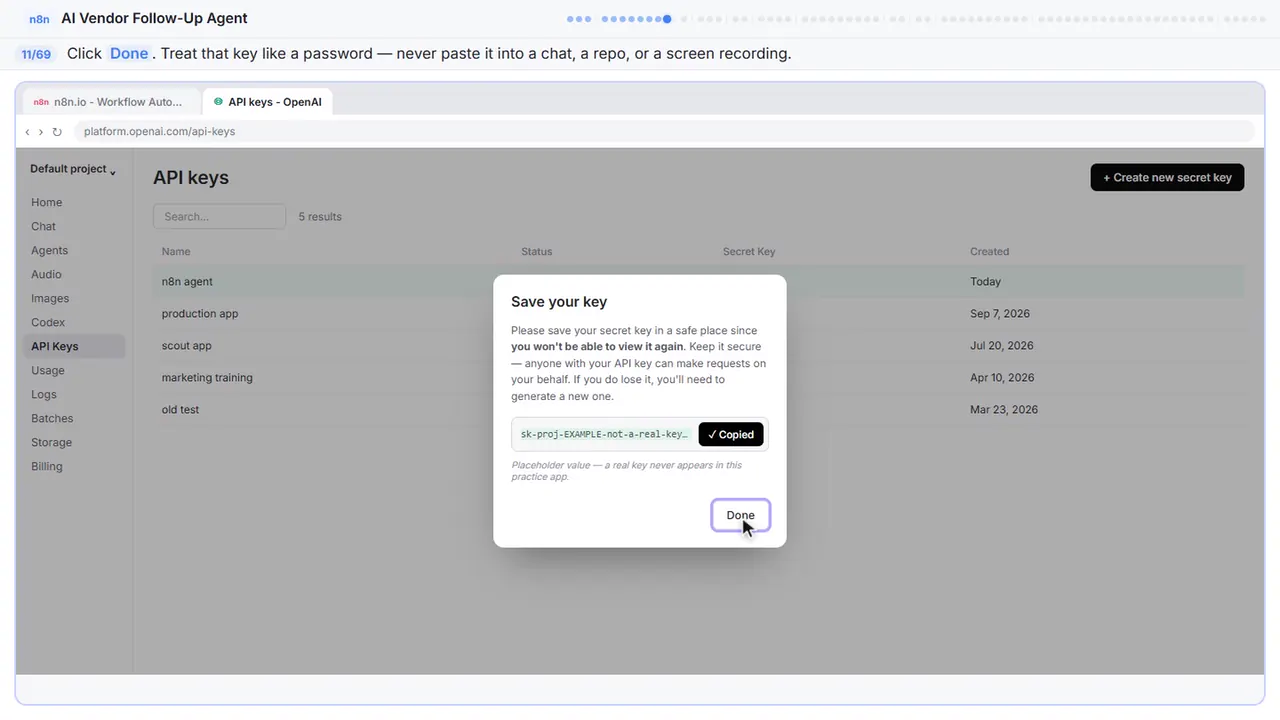
One last warning — this key can spend your money. Never commit it to code, never paste it into a chat, and if it ever shows up on screen while you are recording, revoke it before you publish.
Part 3: New workflow
Step 12: Start a new workflow
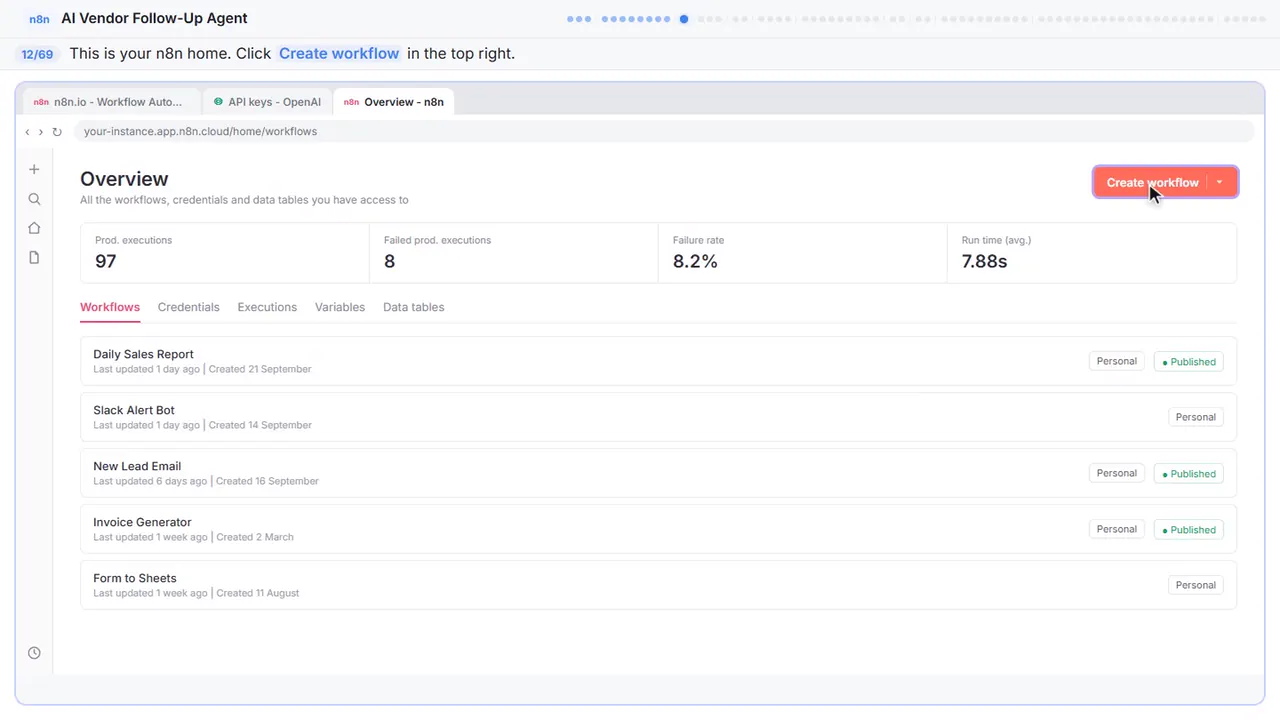
Now you are inside n8n. This overview page lists every workflow you have. Top right, click create workflow, and you land on an empty canvas.
Part 4: Chat trigger
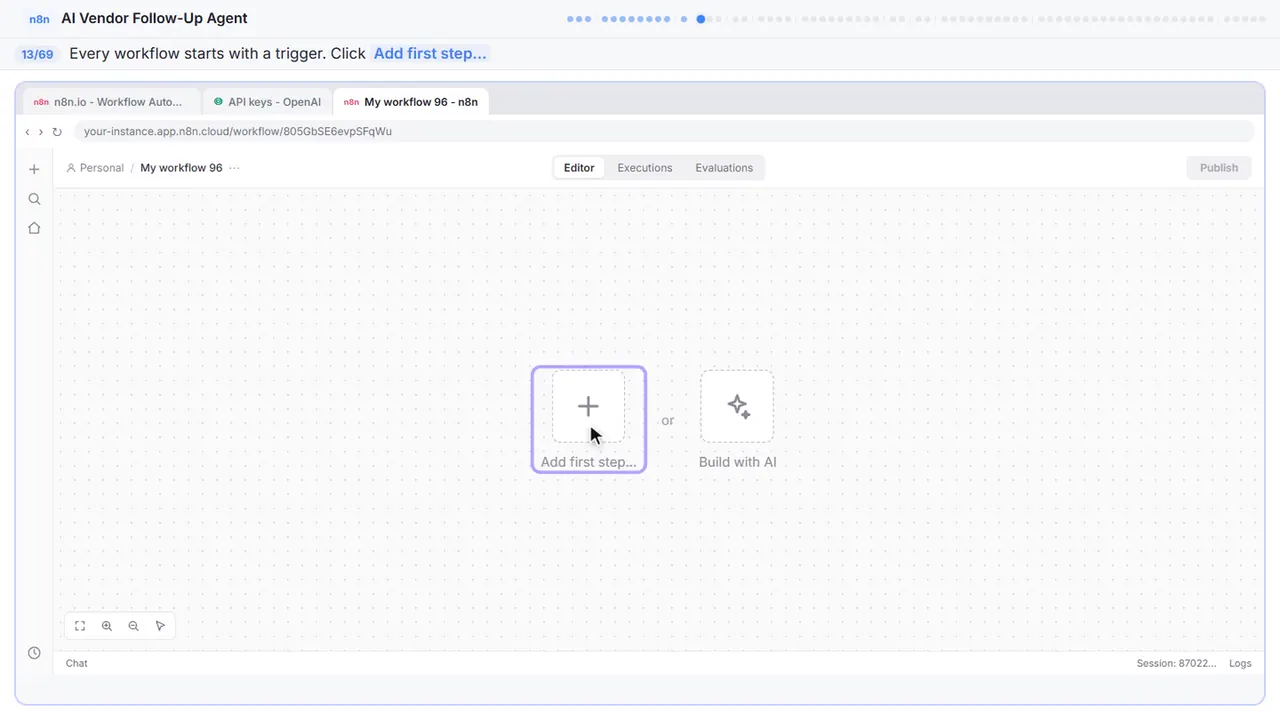
Step 13: Add the first step
Every workflow needs a trigger — the thing that kicks it off. We want a chat trigger so you can tell the agent which orders are late or pending.
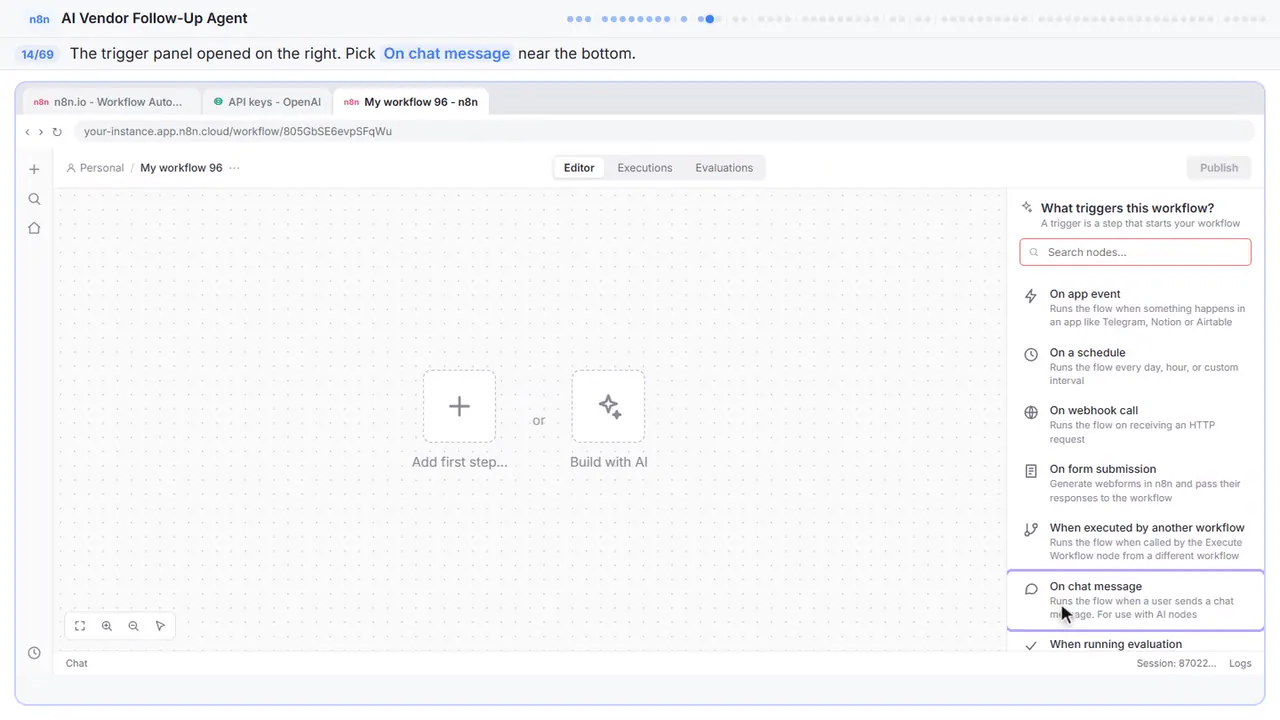
Step 14: Trigger on a chat message
A panel slides in with every way a workflow can start — manually, on a schedule, on a webhook. We want on chat message, so we can have a conversation with the agent.
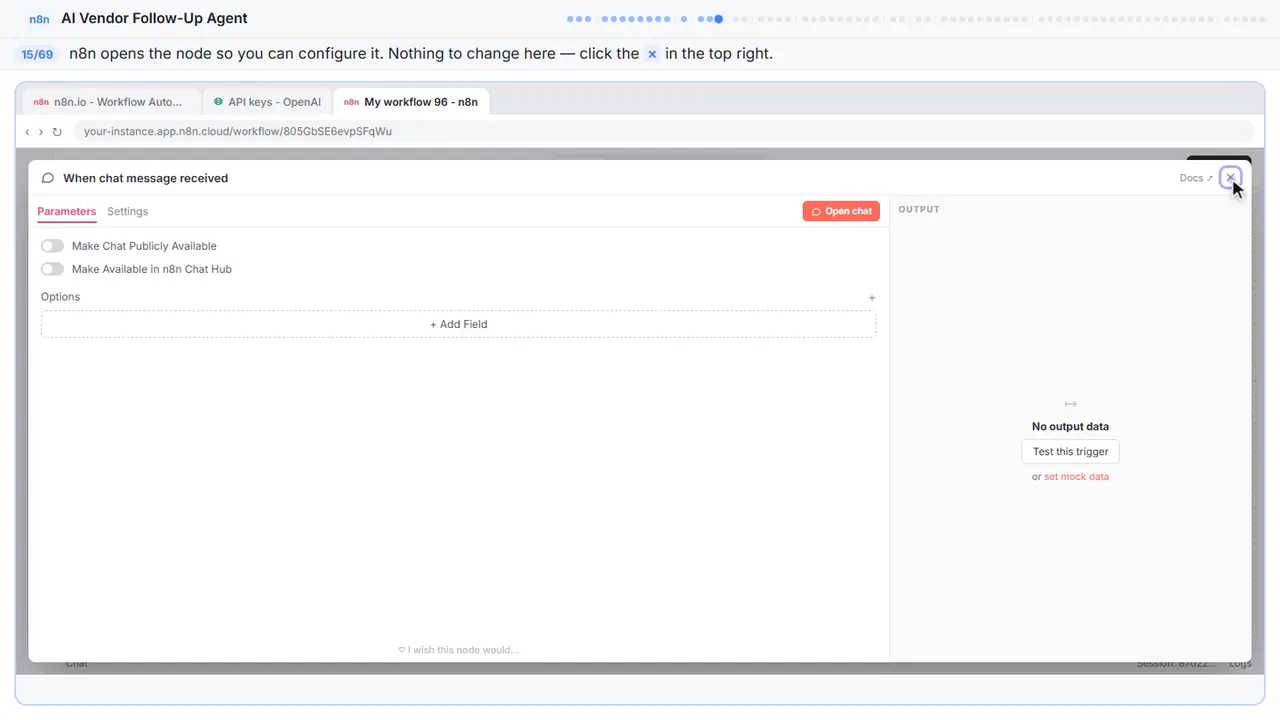
Step 15: Back to the canvas
n8n opens the node so you can configure it. There is nothing we need to change here, so close it with the X in the top right and get back to the canvas.
Part 5: AI Agent
Step 16: Add the next node
Now we decide what happens when a message comes in.
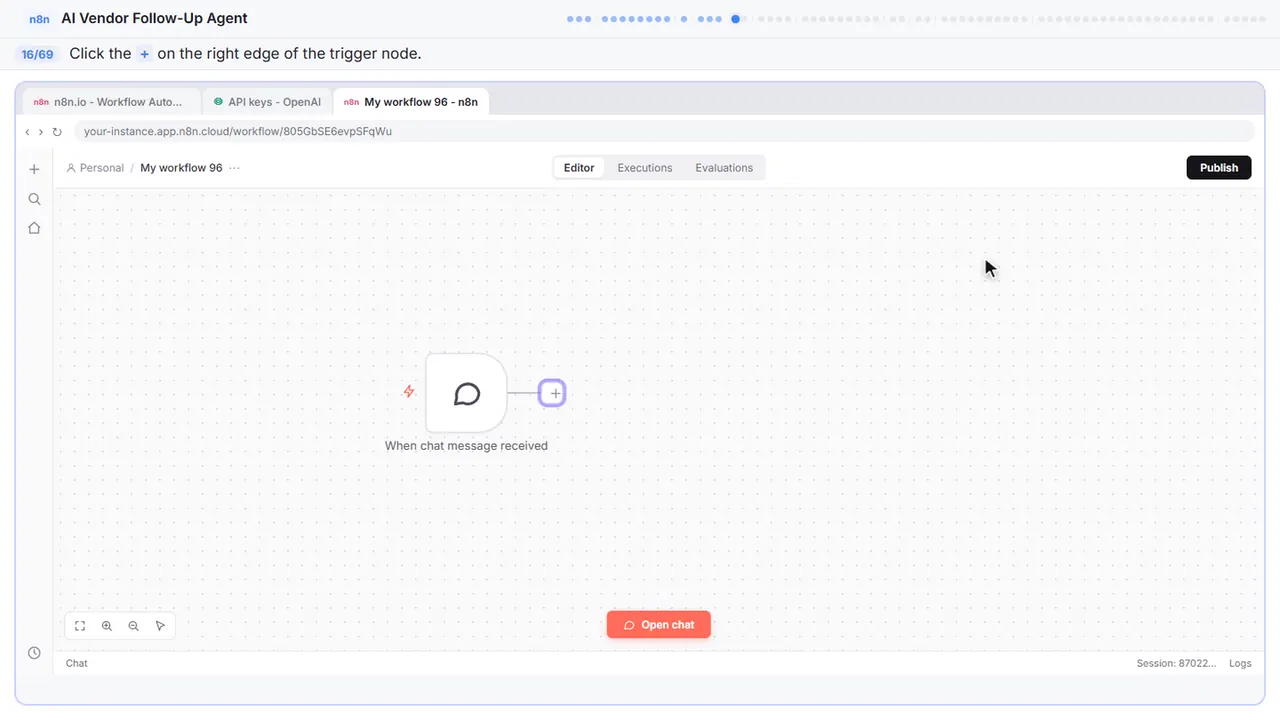
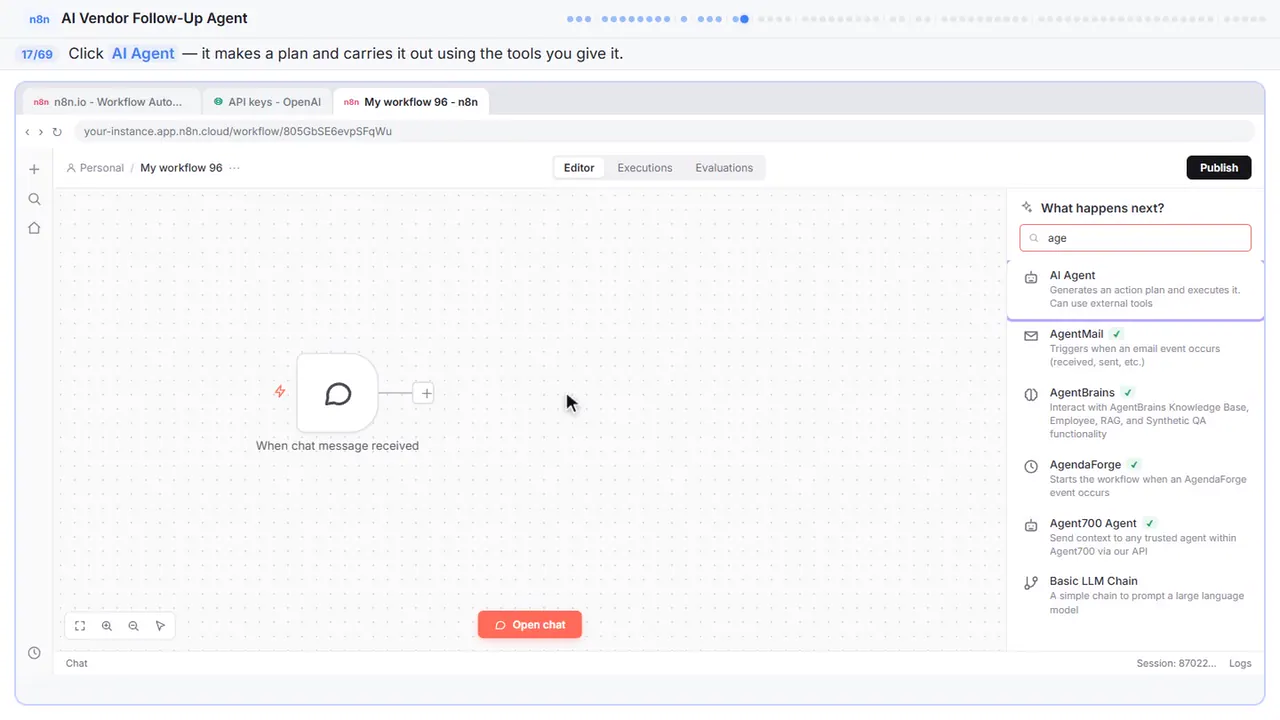
Step 17: Add the AI Agent
There it is — AI Agent. This is the piece that can plan and then carry out actions using whatever tools you give it. You give it your open orders, and it can write the follow-ups and save them to a spreadsheet — all in one step.
Part 6: System prompt
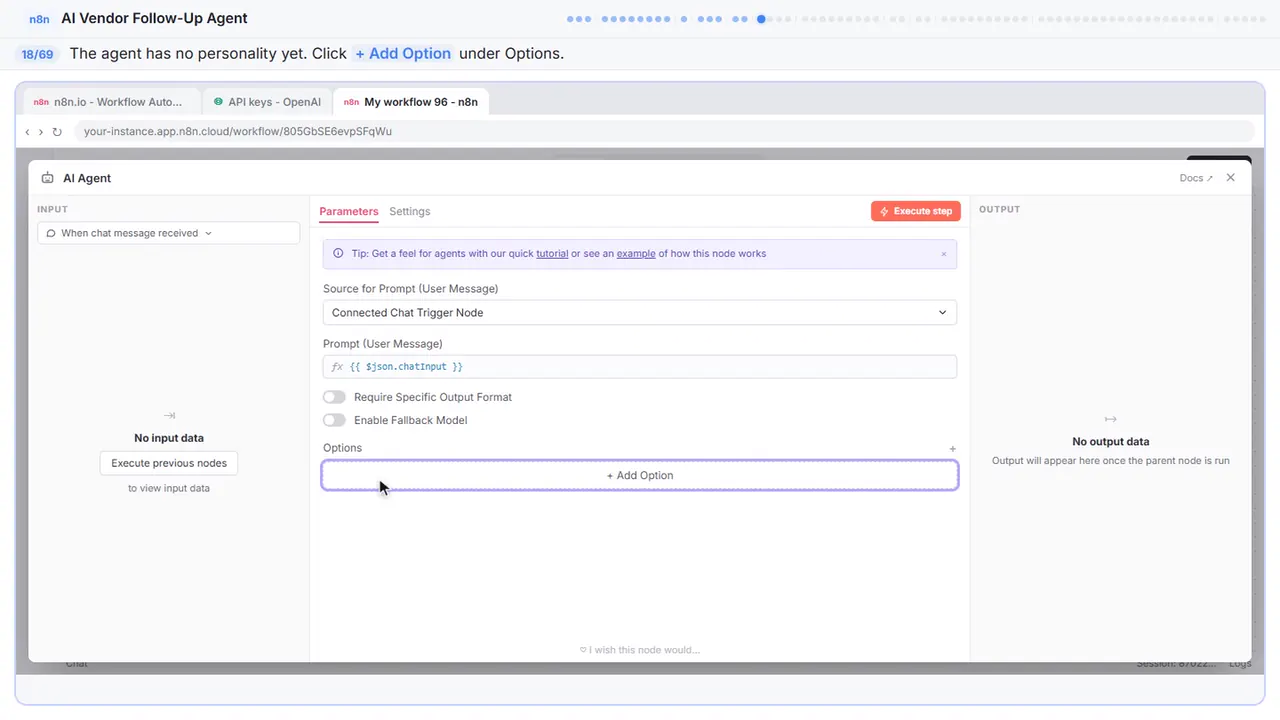
Step 18: Open the options
Right now this agent has no personality and no orders. It does not know it works for Ridgeline Supply.
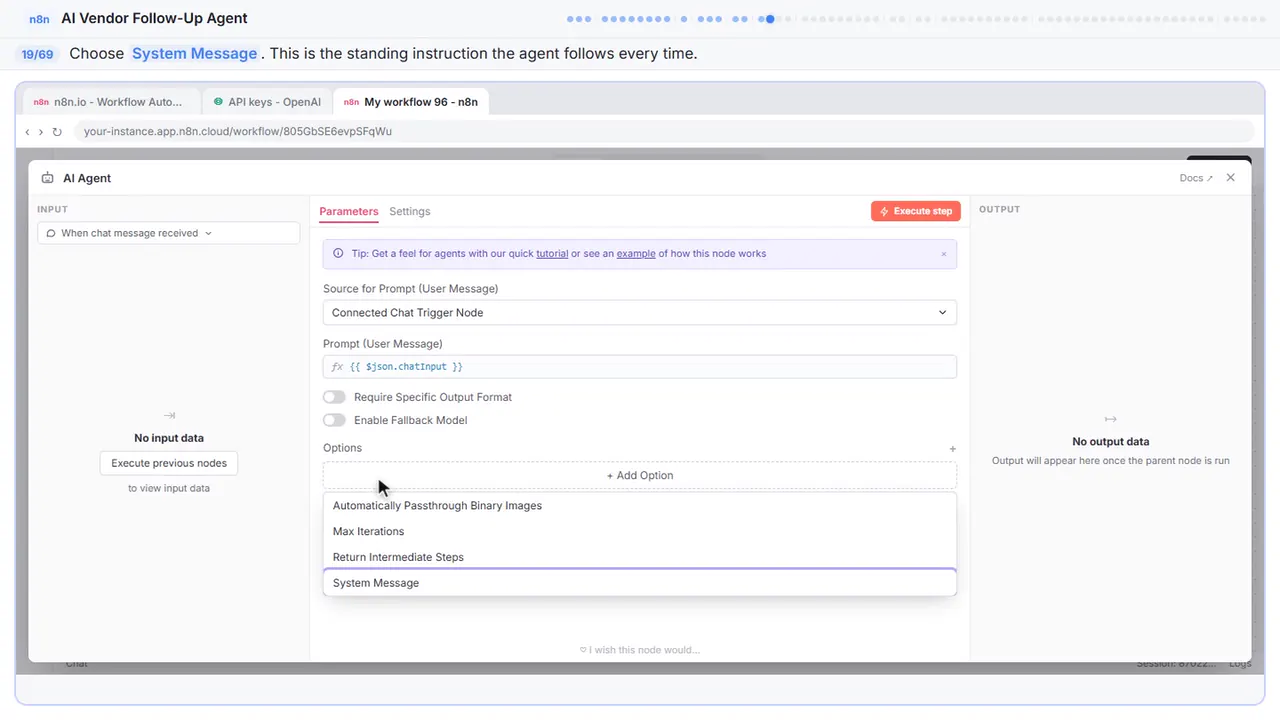
Step 19: Add a system message
Pick system message. This is the standing instruction the agent reads before every request. It is where we tell it who Ridgeline Supply is, how the messages should sound, and how to format them.
Step 20: Write the system prompt
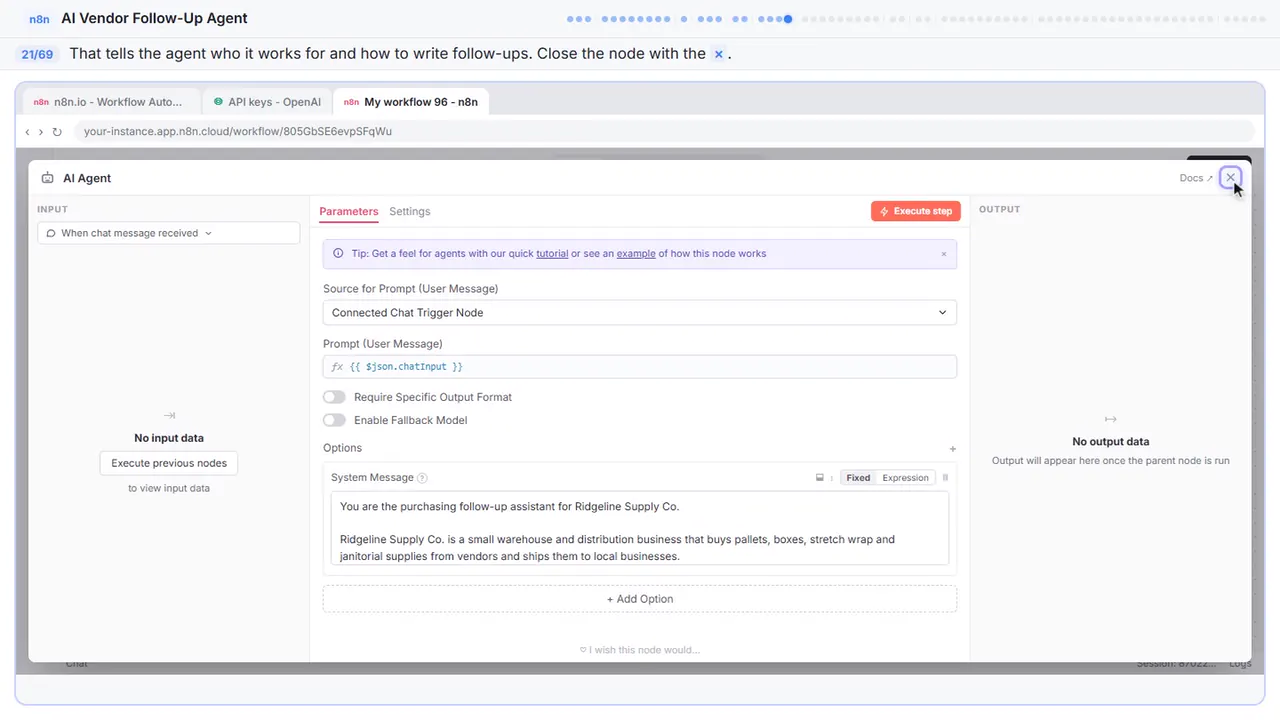
Here is the actual prompt. It describes Ridgeline Supply, sets a polite but firm tone, and tells the agent what to return: vendor, order, issue, follow-up message, and due date. It also tells the agent to use the Google Sheets tool when you ask it to save.
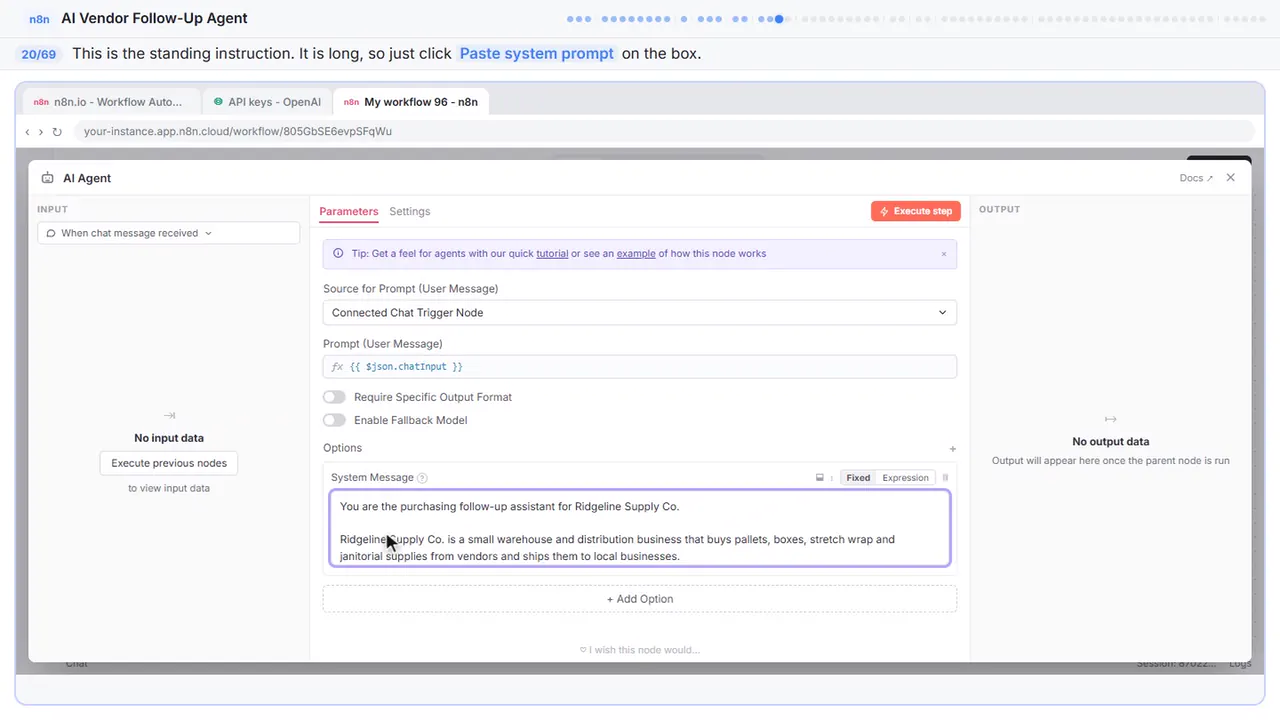
You are the purchasing follow-up assistant for Ridgeline Supply Co.

Ridgeline Supply Co. is a small warehouse and distribution business that buys pallets, boxes, stretch wrap and janitorial supplies from vendors and ships them to local businesses.

The audience is vendor sales reps and customer service teams.

The tone should be polite, plain, firm and brief. Sound like an operations manager who values the relationship but needs an answer.

Your job is to write a follow-up message for each late or pending purchase order the user gives you.

For each message:
- Name the PO number and what was ordered
- State the problem in one sentence
- Ask one clear question: a ship date, a tracking number, or a fix
- Give a reply-by date: 1 business day if late, 2 if pending

For each follow-up, return:
- Vendor
- Order
- Issue
- Follow-up Message
- Due Date

When the user asks you to save the follow-ups, use the Google Sheets tool to store each one.

Do not threaten to cancel orders or invent penalties. Keep each message under 80 words.
Step 21: Back to the canvas
That gives the agent everything it needs to know about Ridgeline Supply. Close the node.
Part 7: Chat model
Step 22: Give the agent a brain
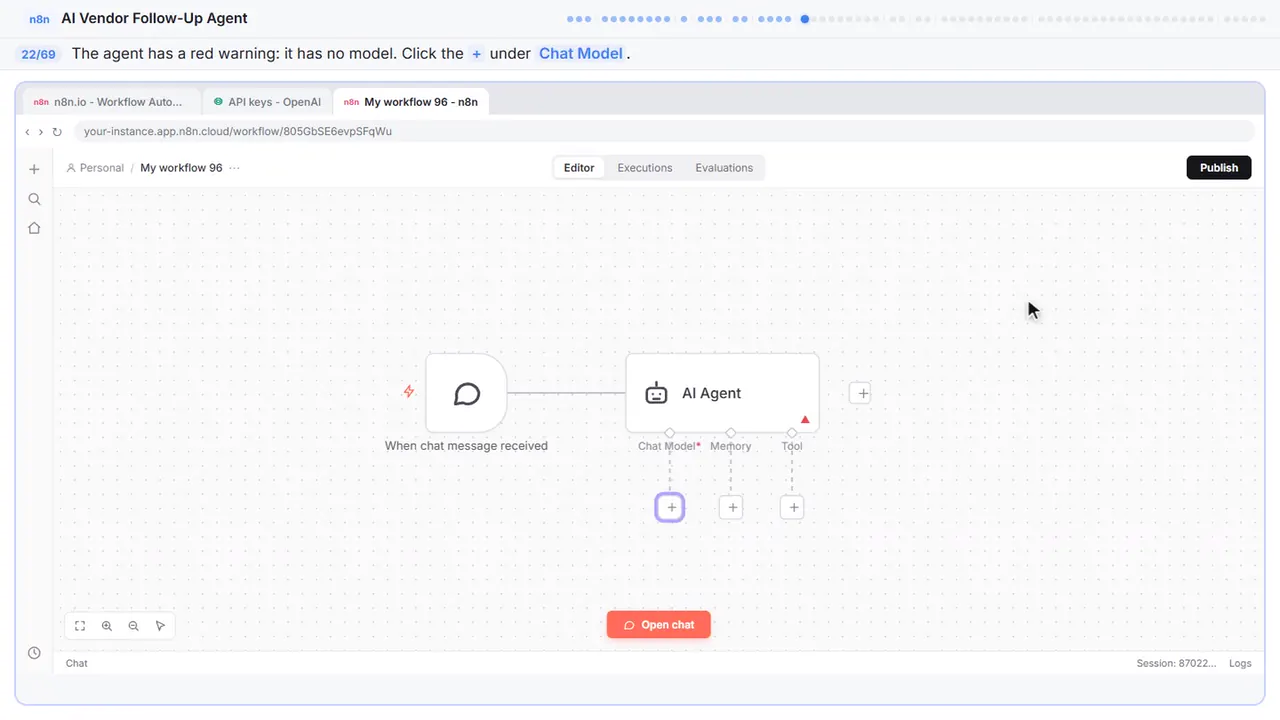
See that red triangle on the agent? It is complaining because it has no model. An agent can plan, but it cannot think without a language model underneath it.
Step 23: Pick OpenAI
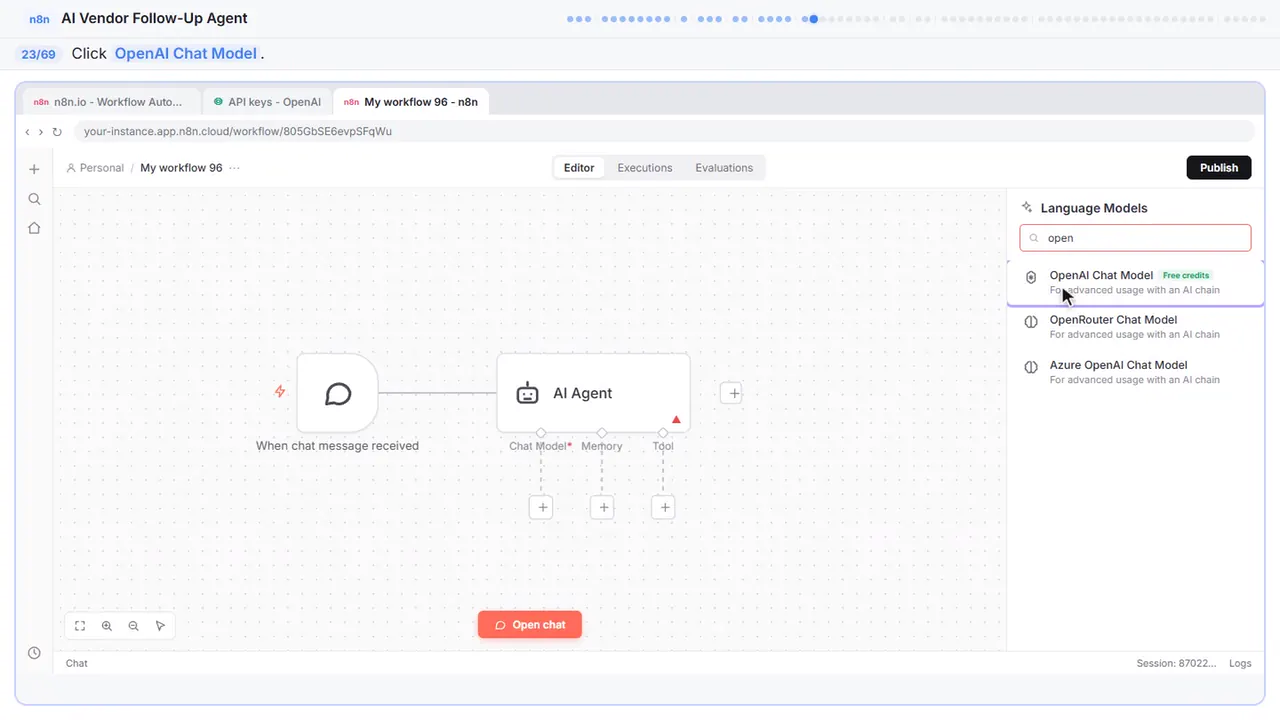
OpenAI chat model. This is where that API key finally gets used.
Step 24: Open the credentials
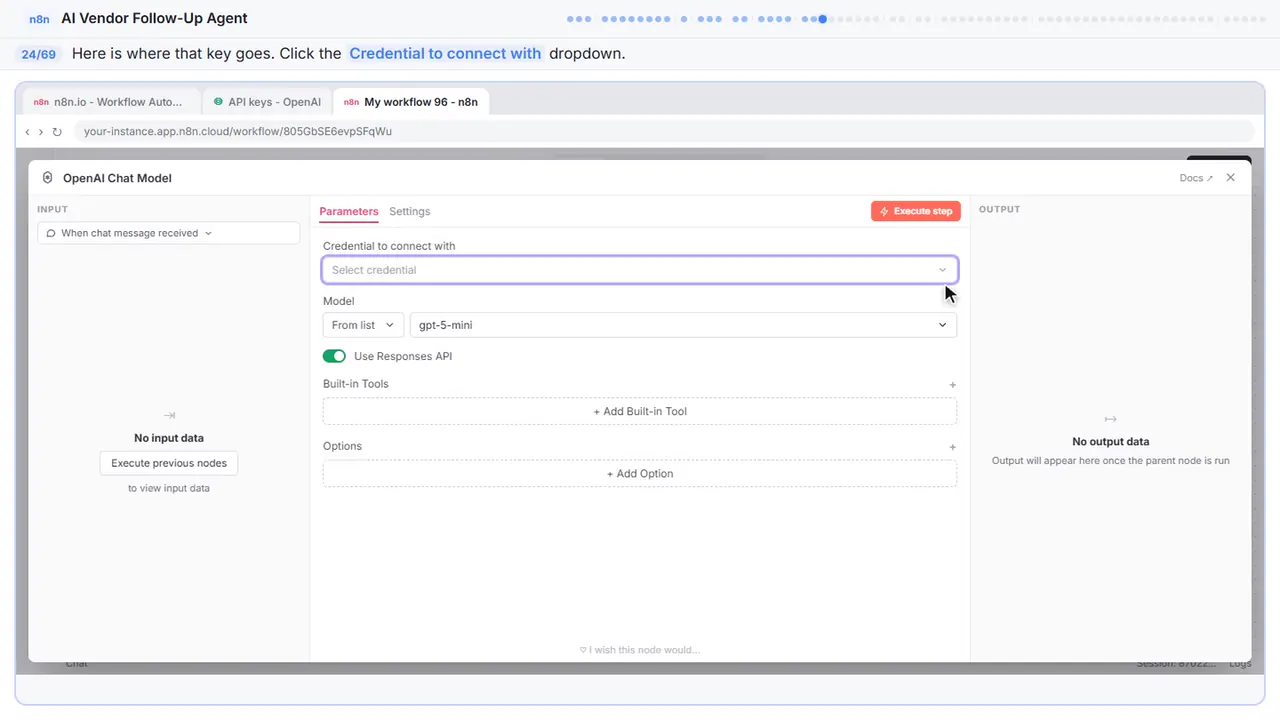
And here is where that key you copied finally goes.
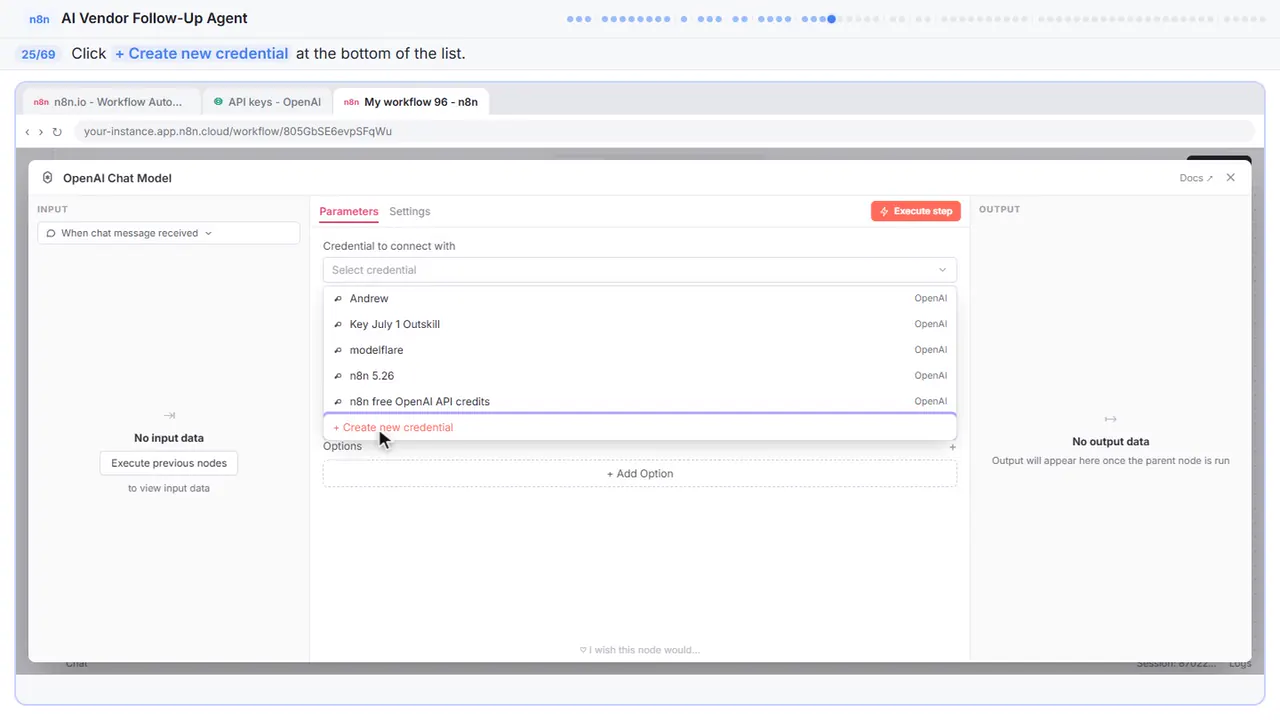
Step 25: Create a new credential
You want create new credential, right at the bottom.
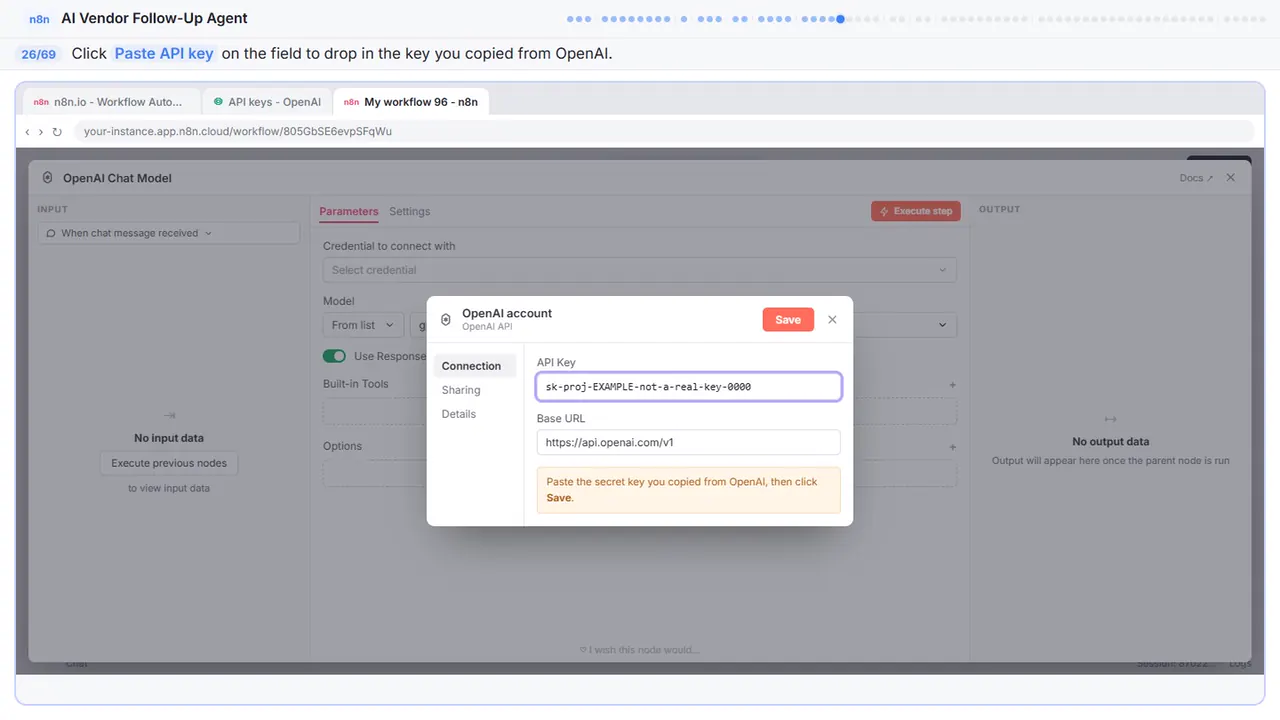
Step 26: Paste the key
This is the one moment it matters that you copied it — remember, OpenAI never shows it to you again.
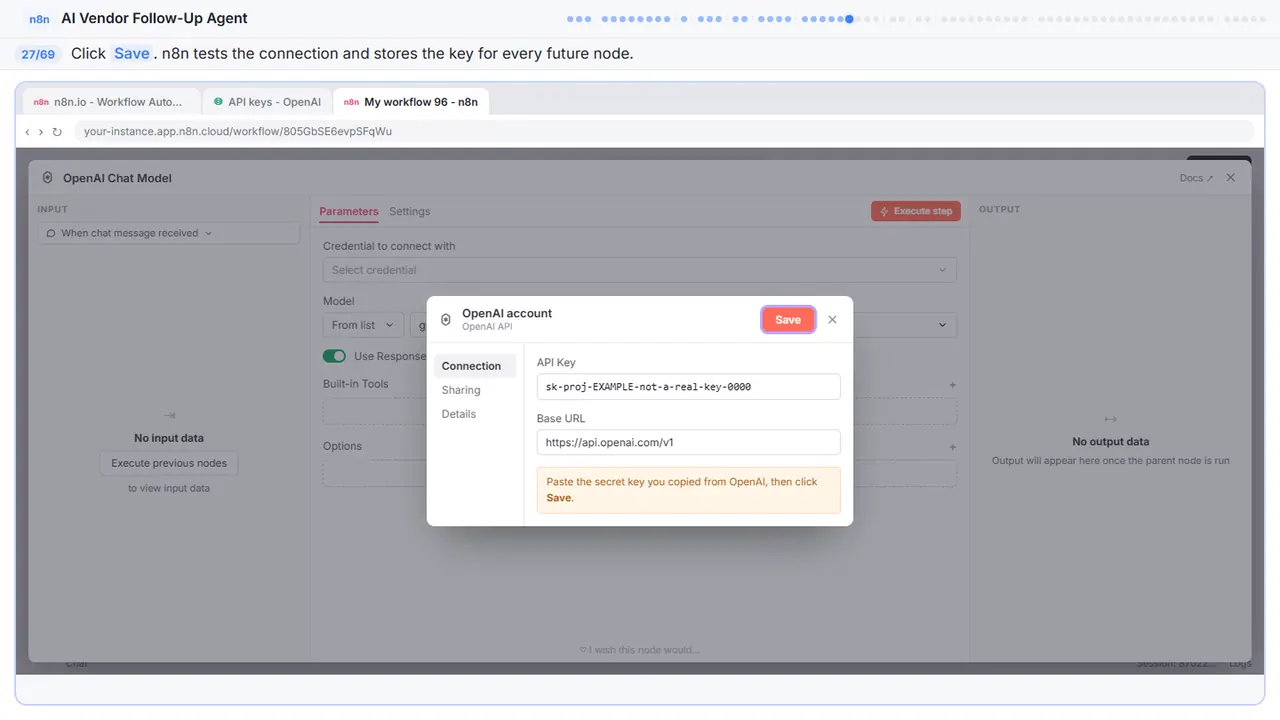
Step 27: Save the credential
n8n tests the connection straight away, and from now on this credential is available to every node in every workflow — you only do this once.
Step 28: Open the model list
Now the model dropdown.
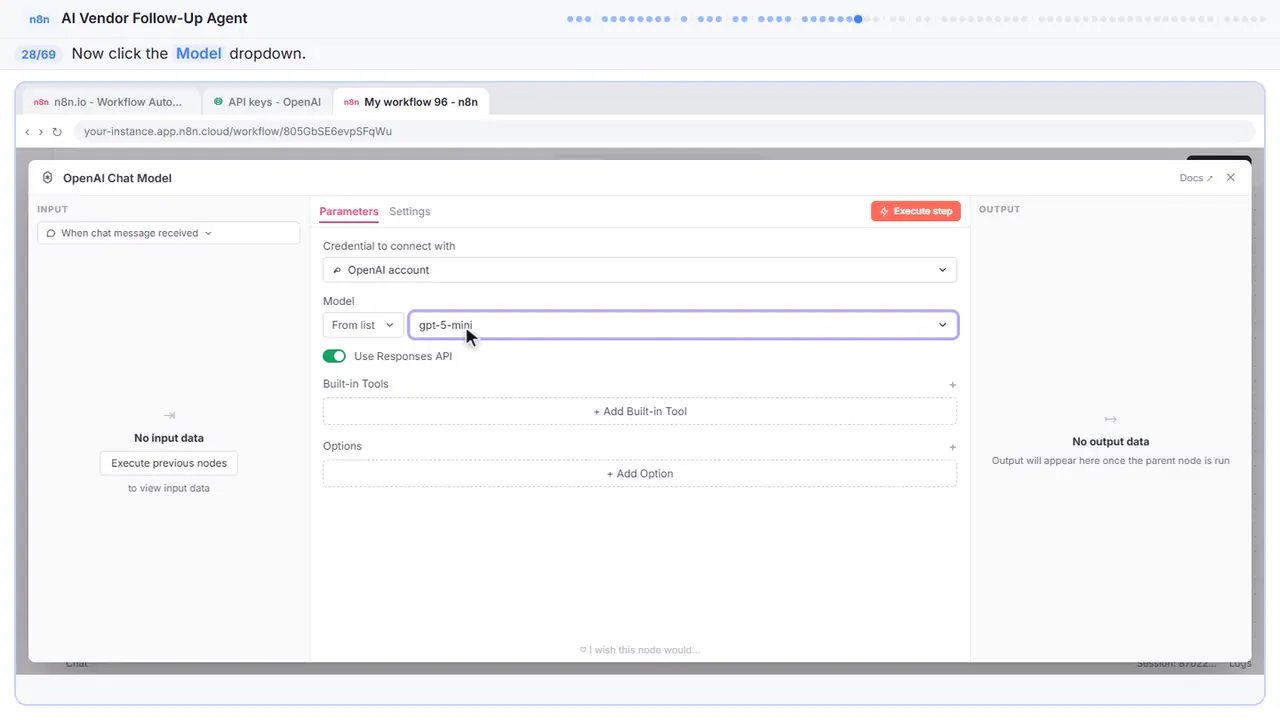
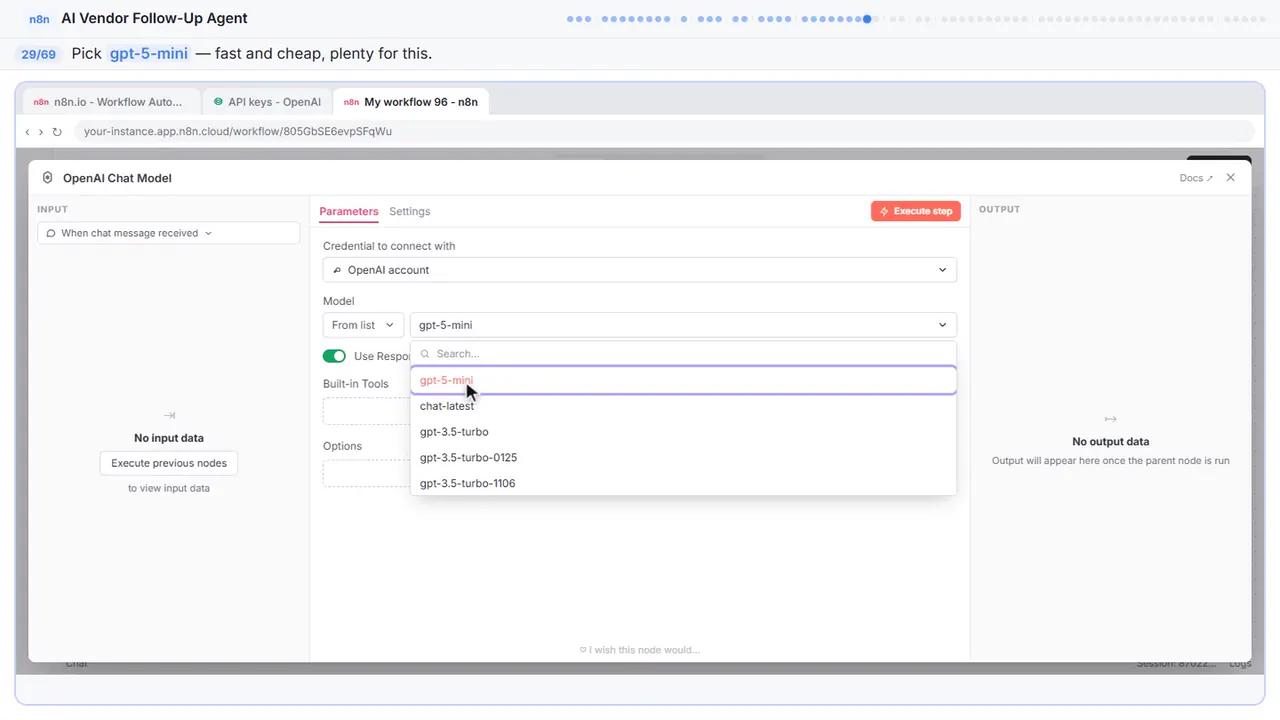
Step 29: Choose the model
GPT five mini. Fast, cheap, and plenty for short follow-up messages. Do not reach for the expensive model until you have a reason.
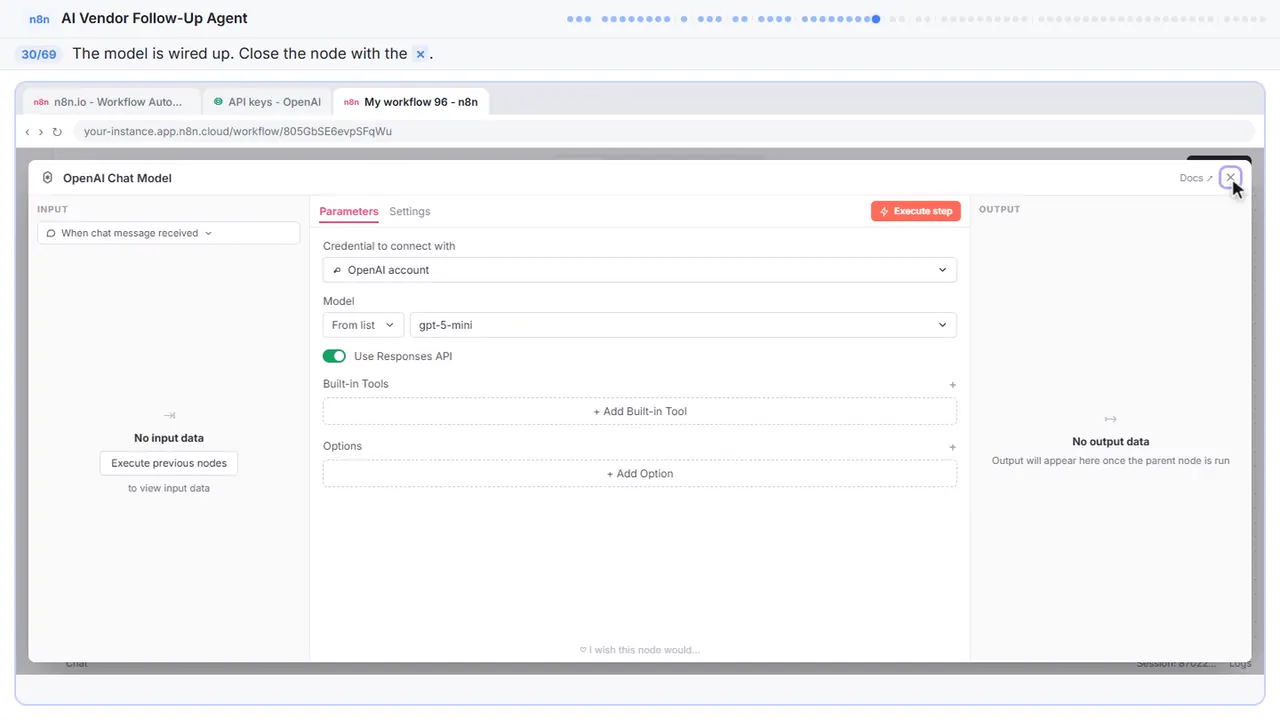
Step 30: Back to the canvas
That is the brain wired in. Close it up.
Part 8: Memory
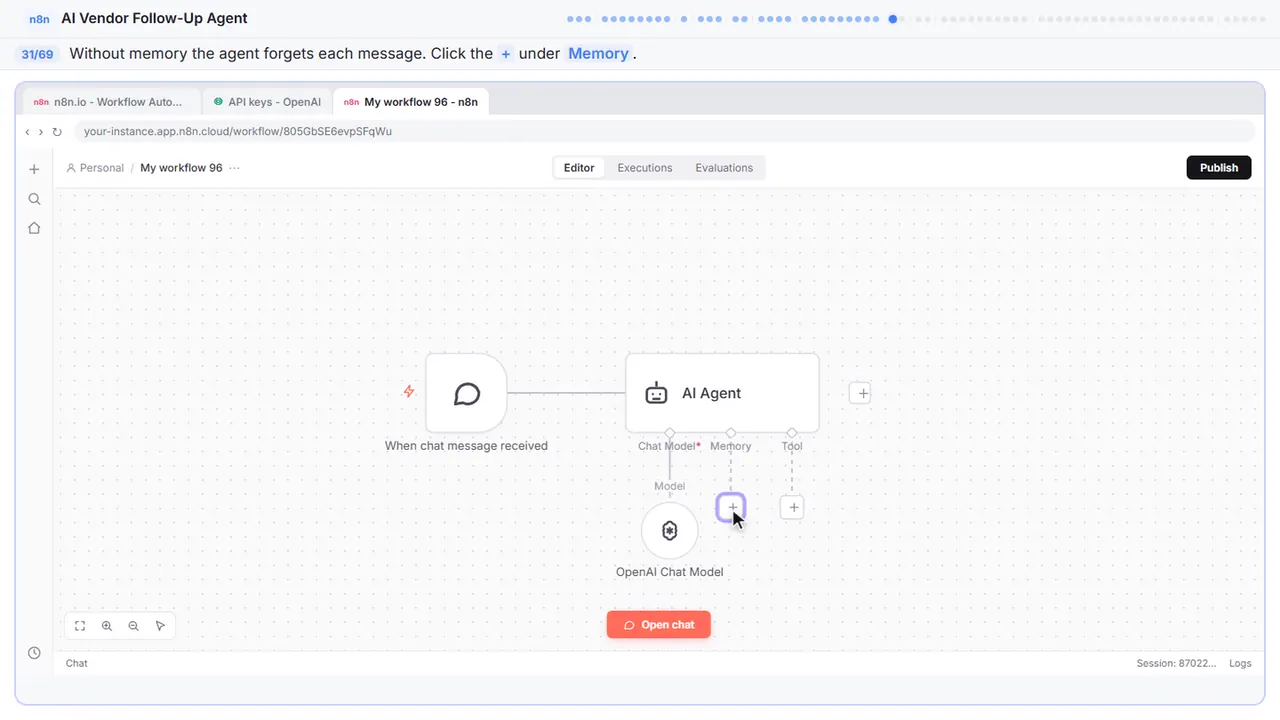
Step 31: Add memory
Next, memory. Without this, every message starts from nothing — you could not say save those follow-ups, because it would not remember which ones you meant.
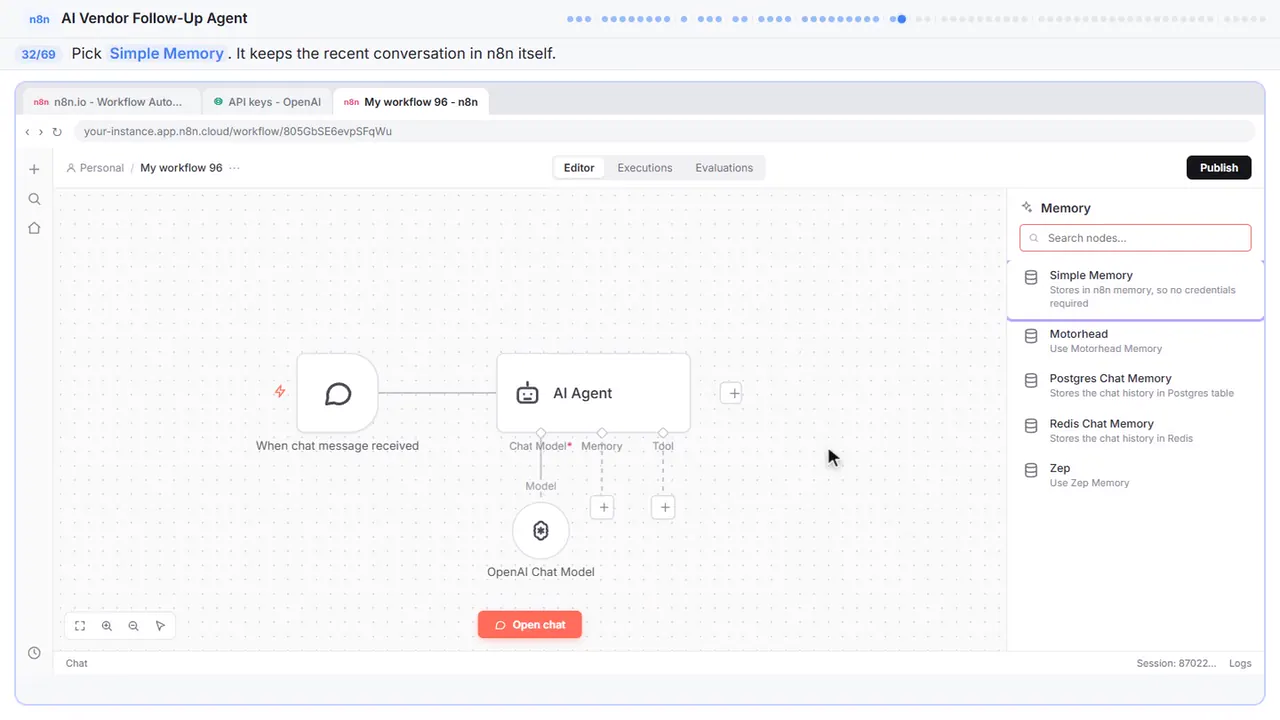
Step 32: Simple Memory
Simple memory is fine here — it keeps the recent conversation inside n8n, no database, no extra credentials.
Part 9: Sheets tool
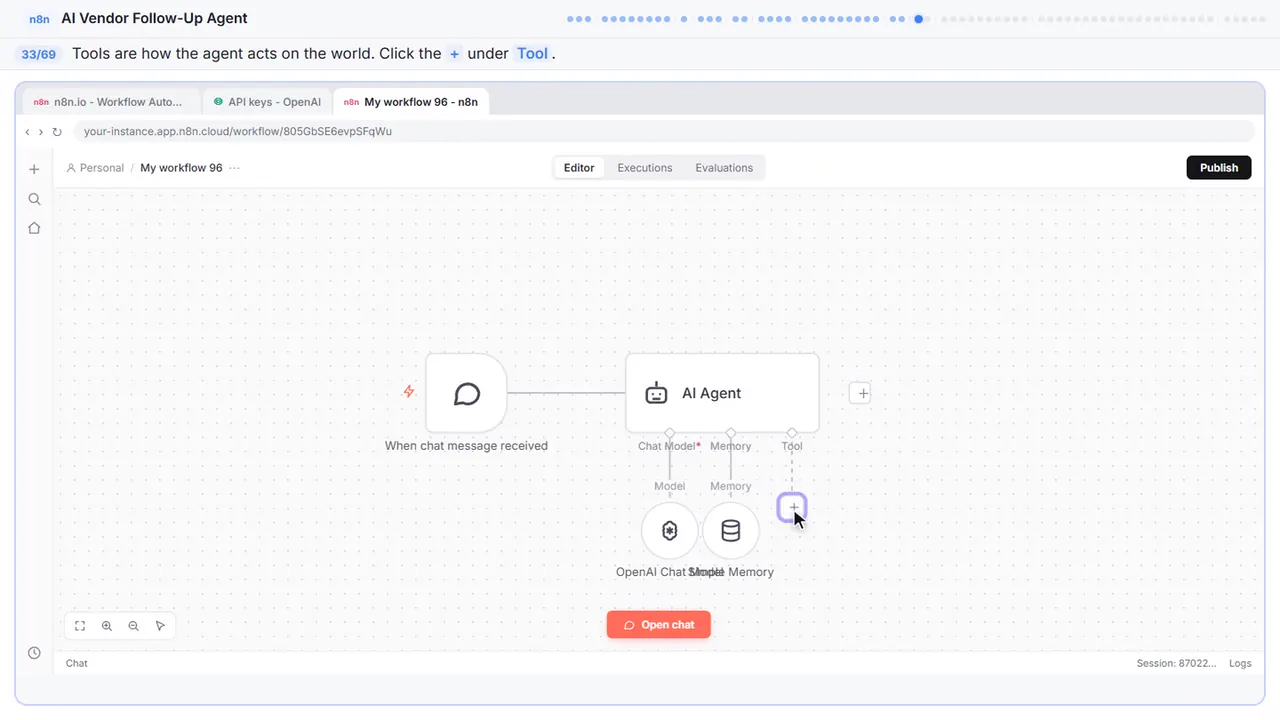
Step 33: Add a tool
And now the good part — tools. This is what separates an agent from a chatbot. A chatbot just talks. An agent does things. We are going to give it Google Sheets so it can log every follow-up in a spreadsheet your team can track.
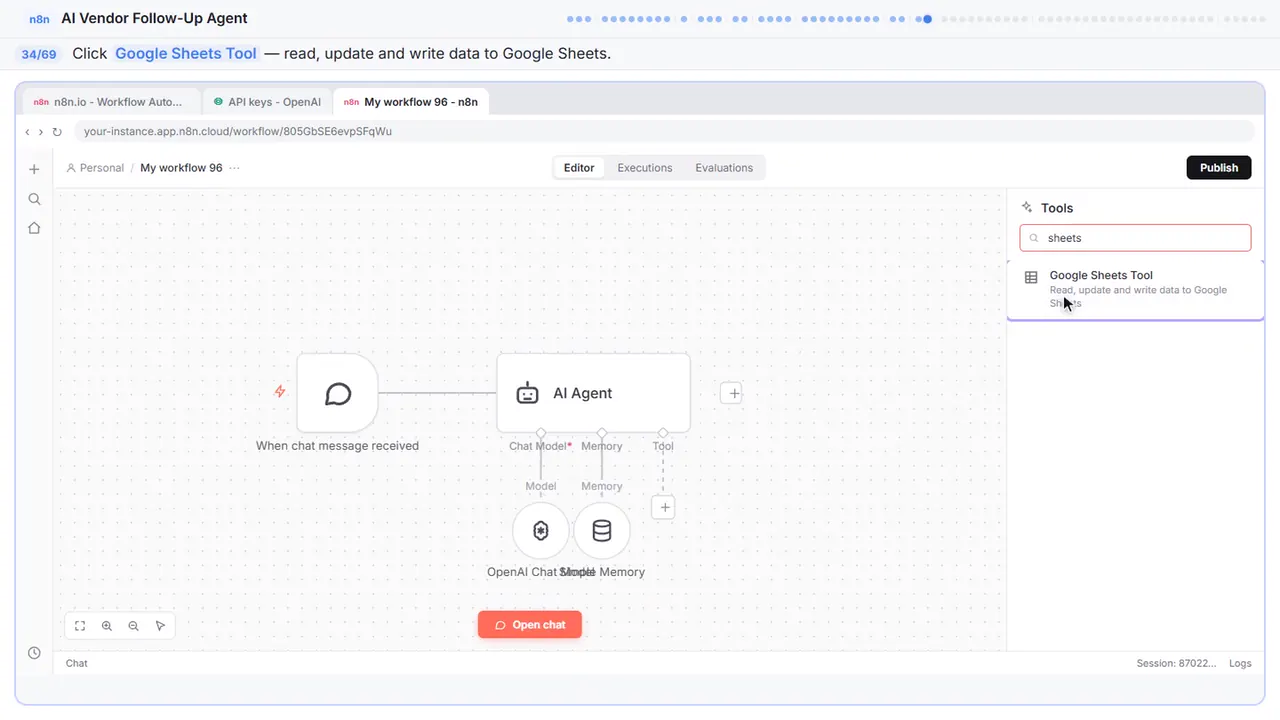
Step 34: Add Google Sheets
Google Sheets tool. Now the agent can write rows into a real spreadsheet, with columns matching what the system prompt tells it to return. When you say save those follow-ups, each one becomes a row.
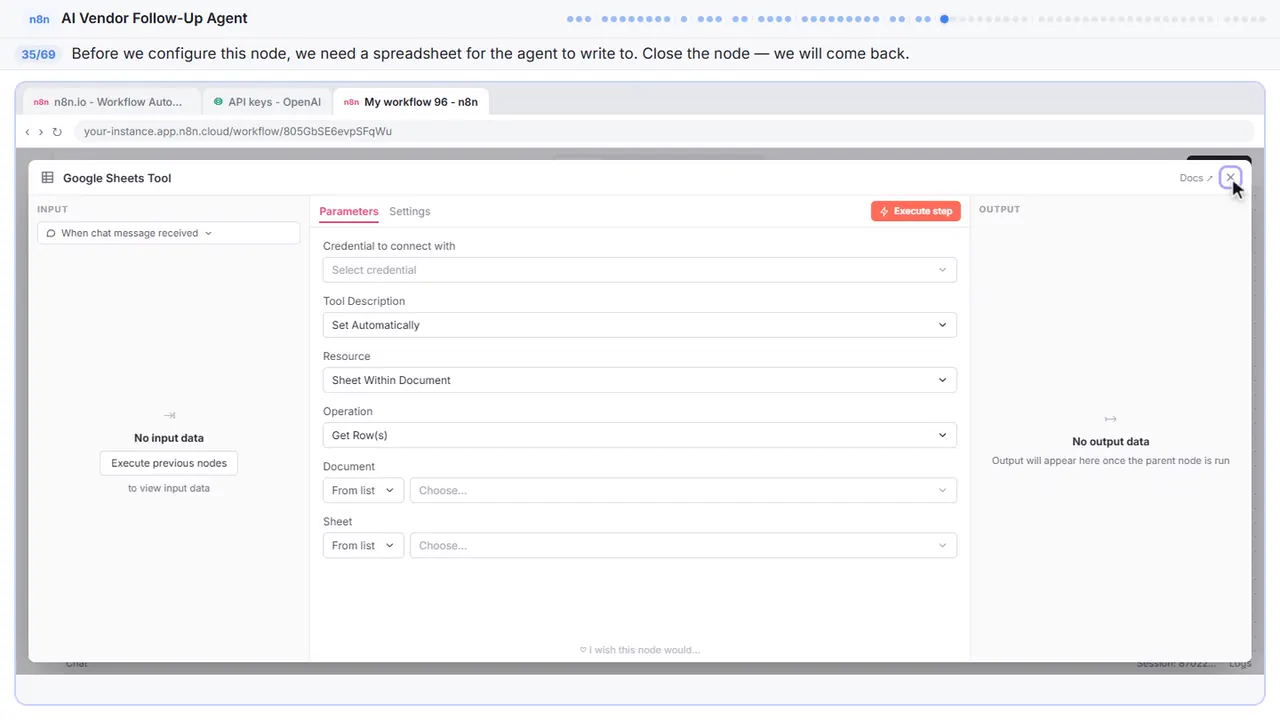
Part 10: Create the spreadsheet
Step 35: Back to the canvas
Before we set this up, we need to actually create the spreadsheet. Close this node for now — we are going to hop over to Google Sheets and make one.
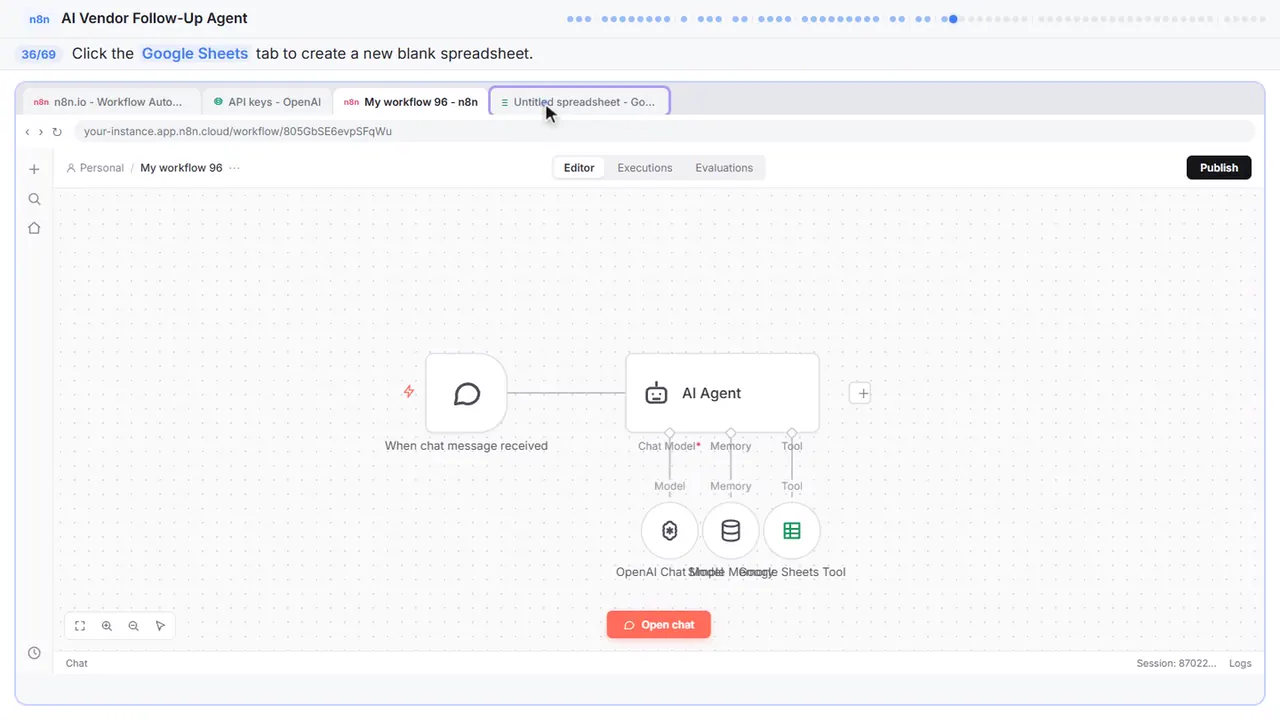
Step 36: Open Google Sheets
Switch to Google Sheets. You need to create the spreadsheet that this node will write to.
Step 37: Name the spreadsheet
First, name it so you can find it later.
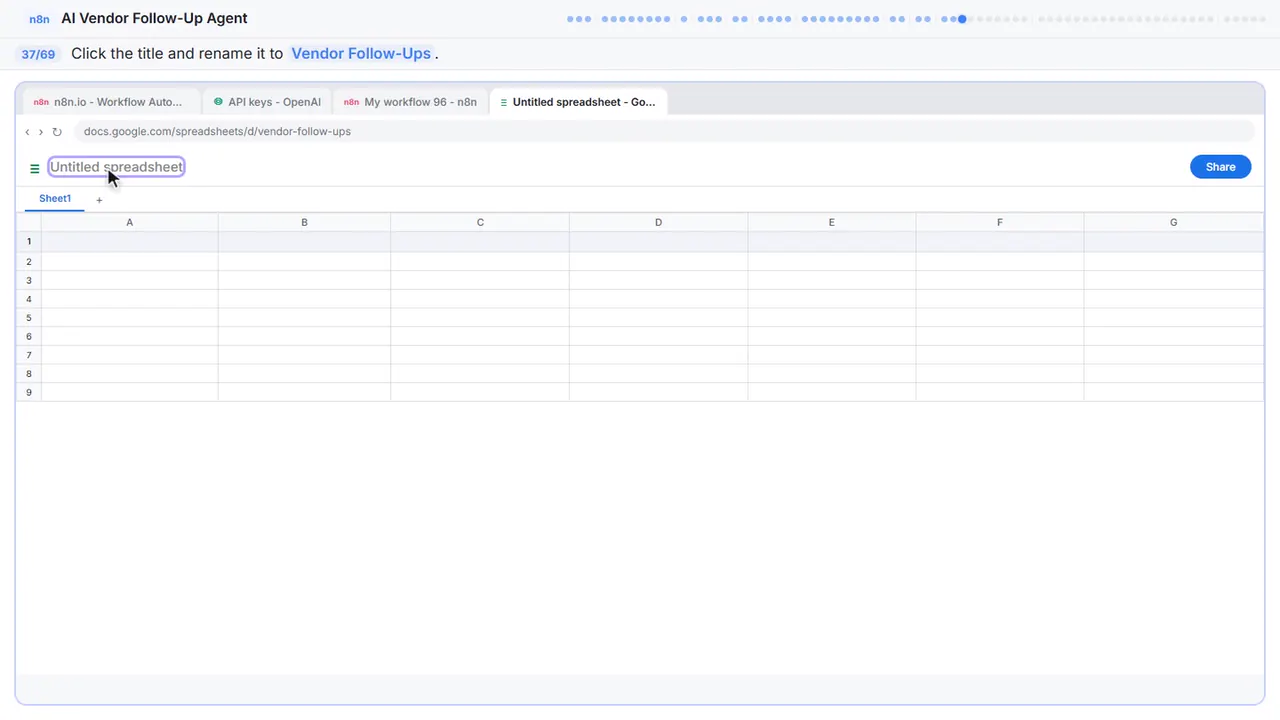
Step 38: Type the first column header
Now set up the column headers. These need to match what the system prompt tells the agent to return. In A1, type Vendor.
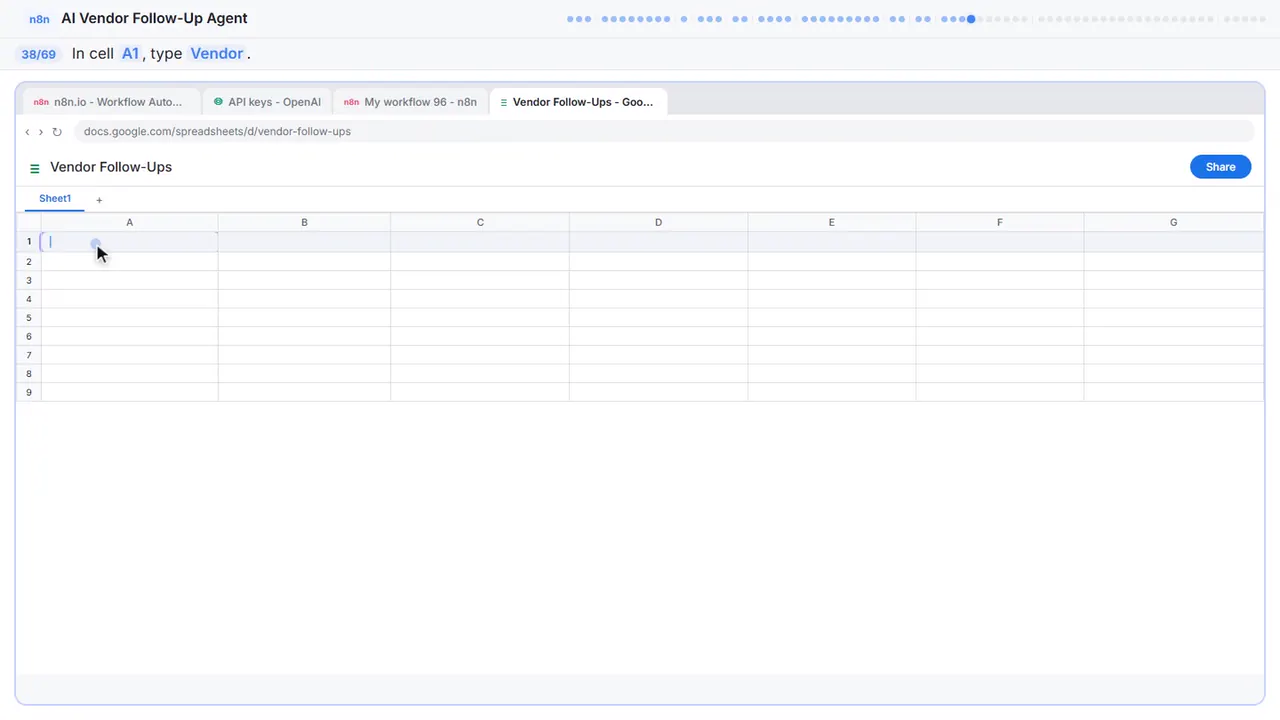
Step 39: Order
B1 — Order.
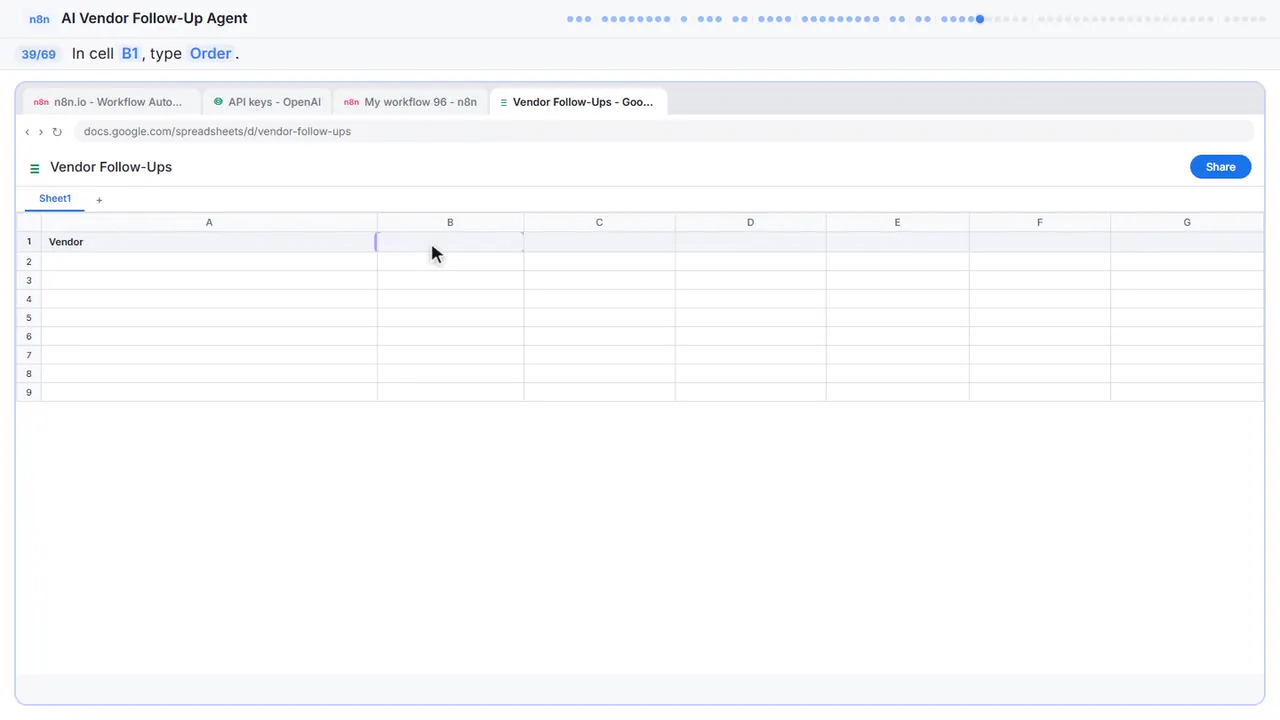
Step 40: Issue
C1 — Issue.
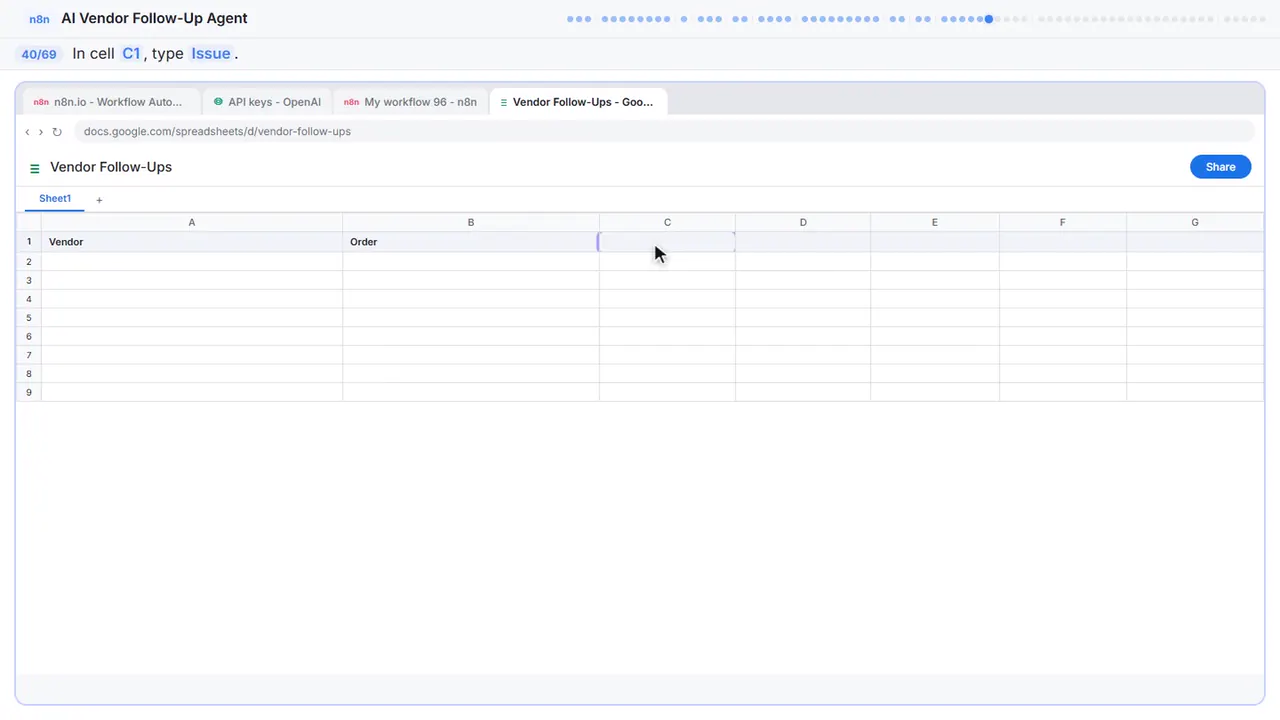
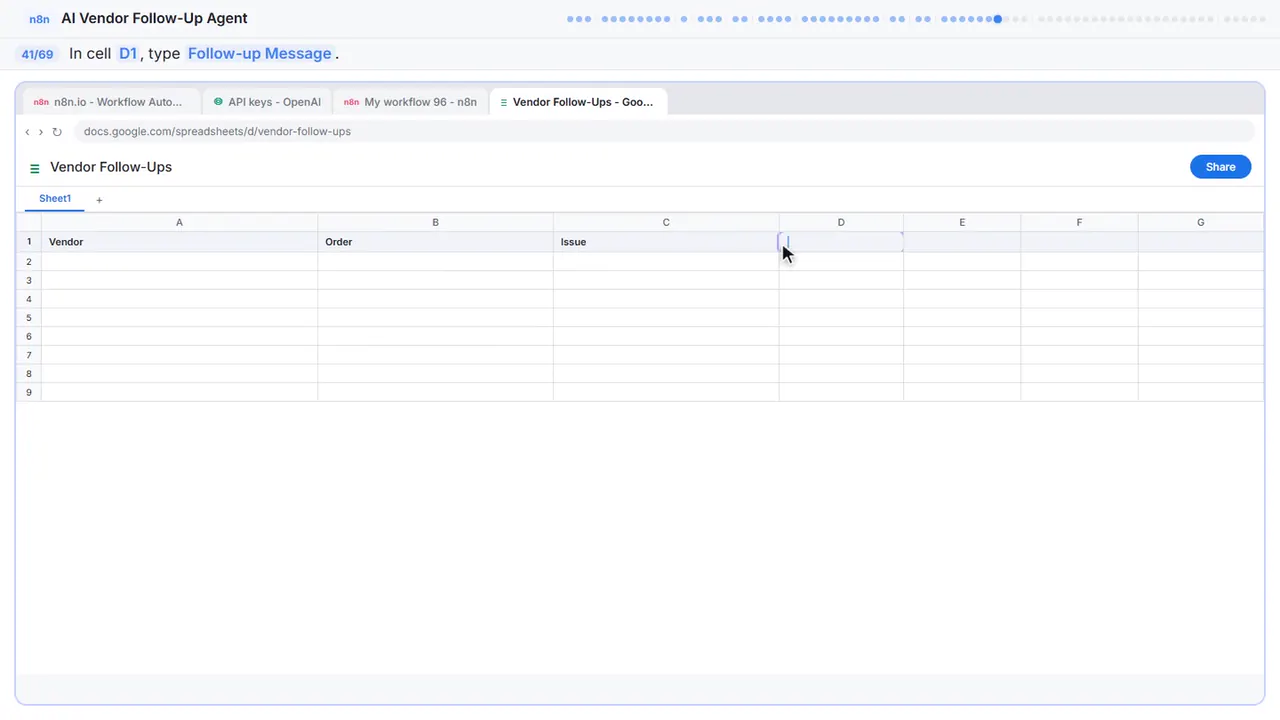
Step 41: Follow-up Message
D1 — Follow-up Message.
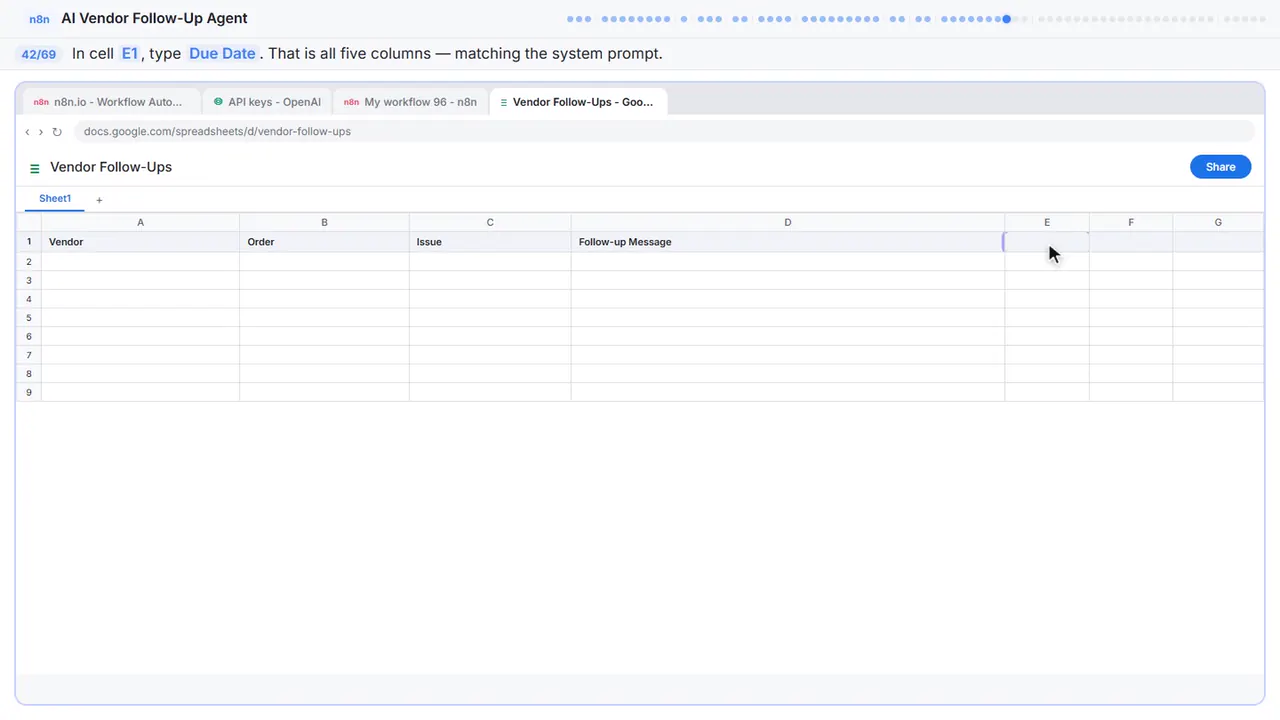
Step 42: Due Date
And E1 — Due Date. Five columns, matching exactly what the system prompt tells the agent to return. Each follow-up becomes a row in this sheet.
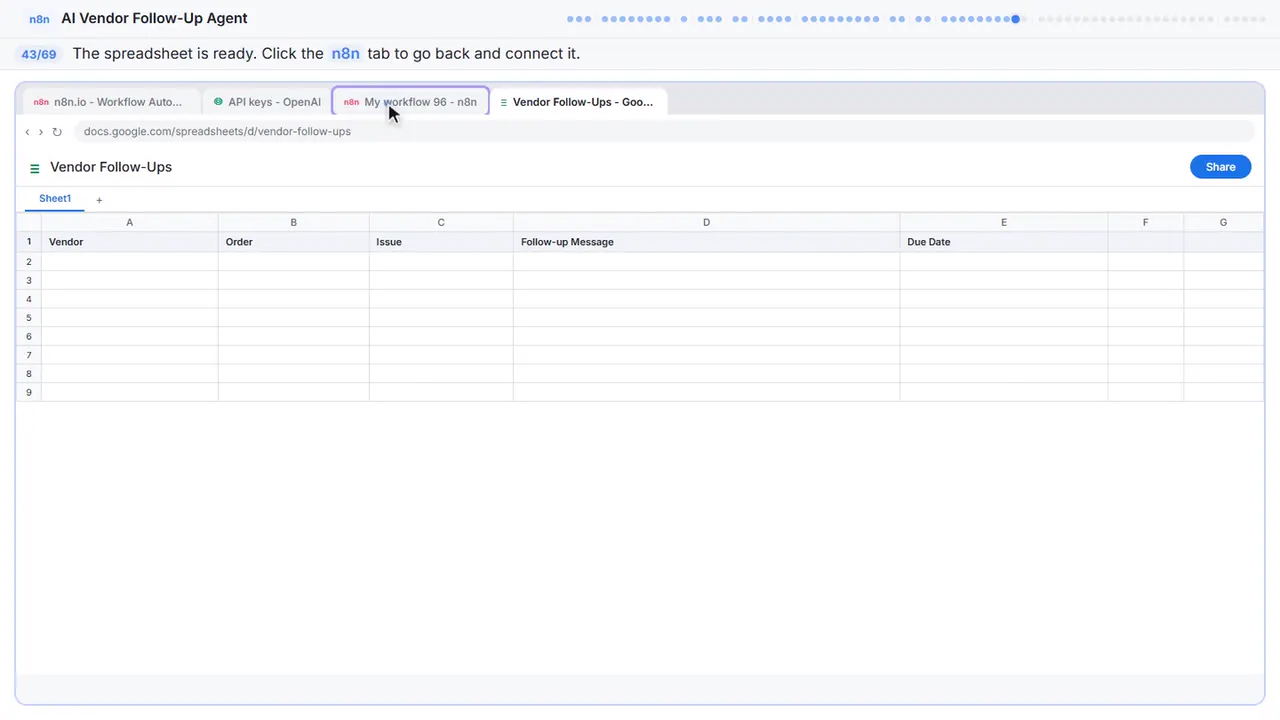
Step 43: Back to n8n
The spreadsheet is ready. Switch back to n8n and connect the Google Sheets node to it.
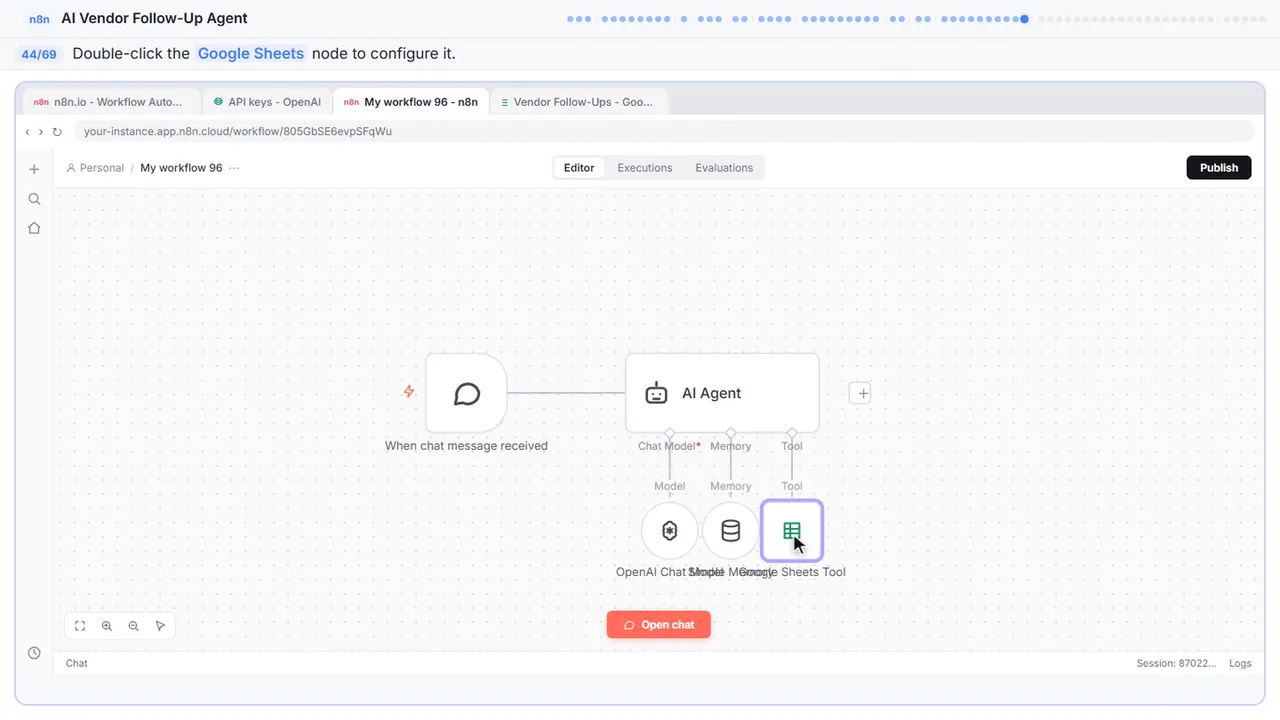
Step 44: Open the Sheets node
Double click the Google Sheets node to open it back up. Now we can connect it to the spreadsheet we just made.
Part 11: Configure Sheets
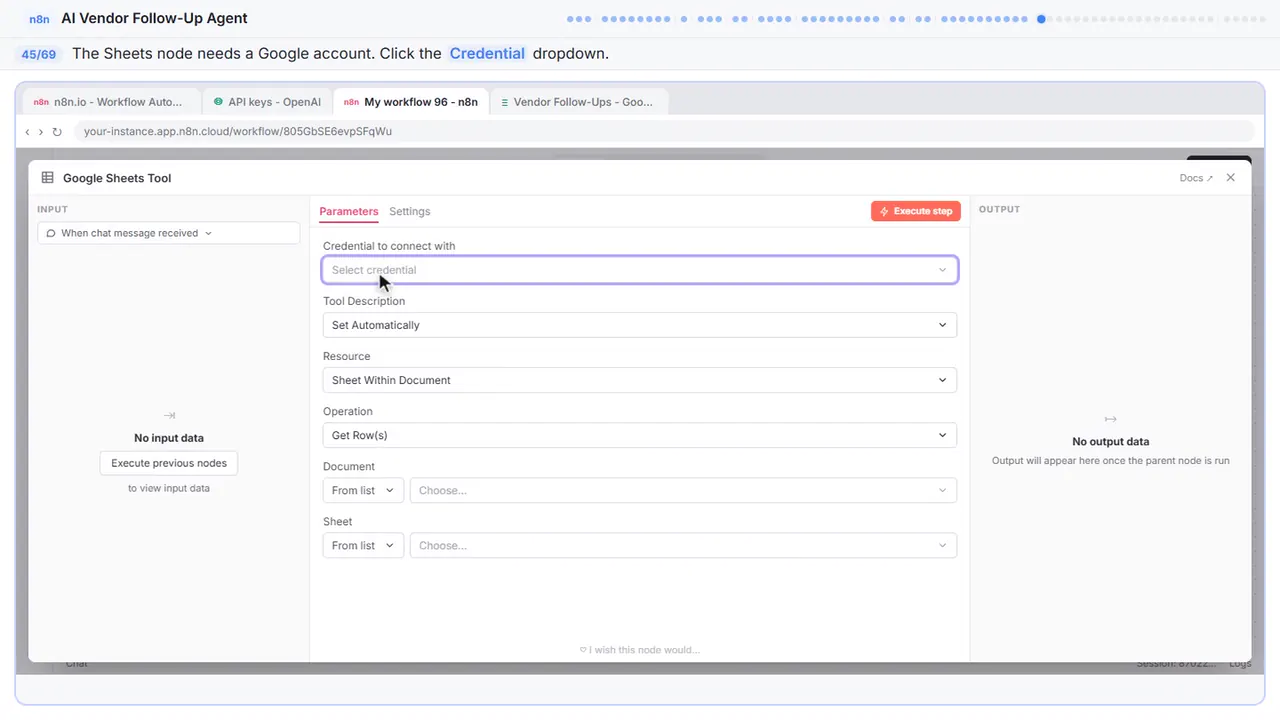
Step 45: Add a credential
Now we need to connect this to a real Google account.
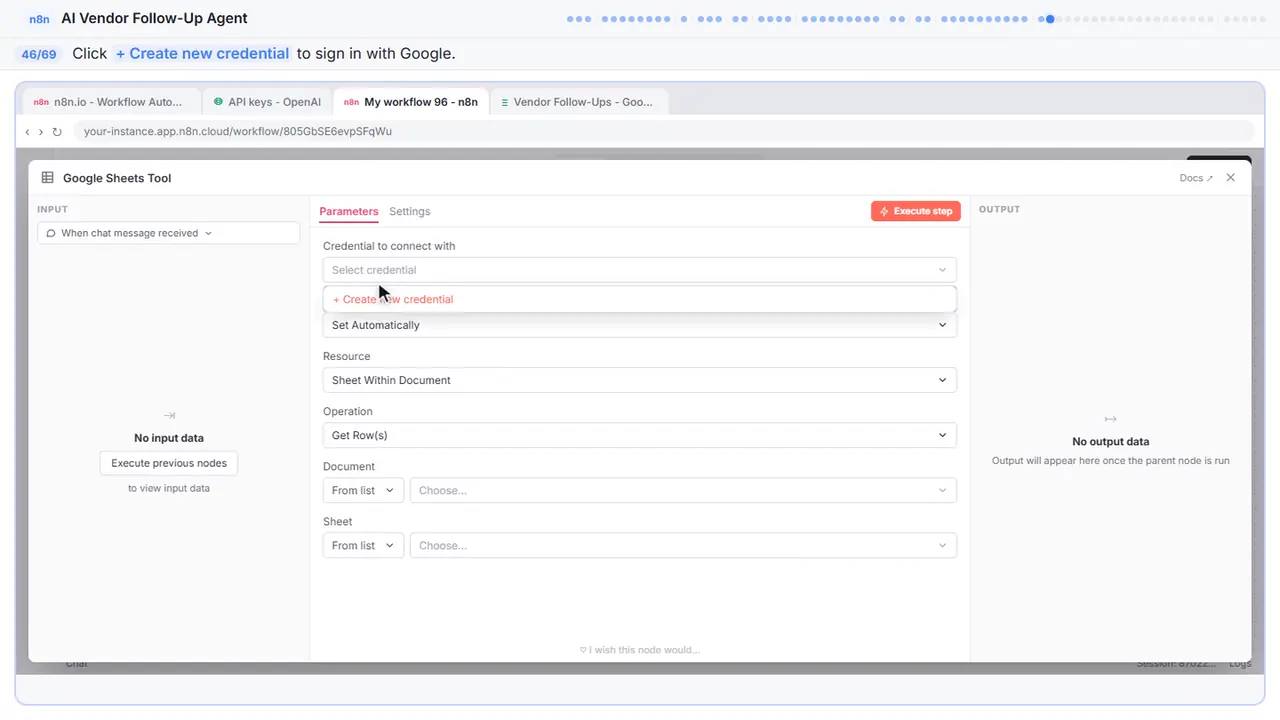
Step 46: Create a new credential
Create new credential — this one uses Google OAuth instead of an API key, so it is going to open a sign-in window.
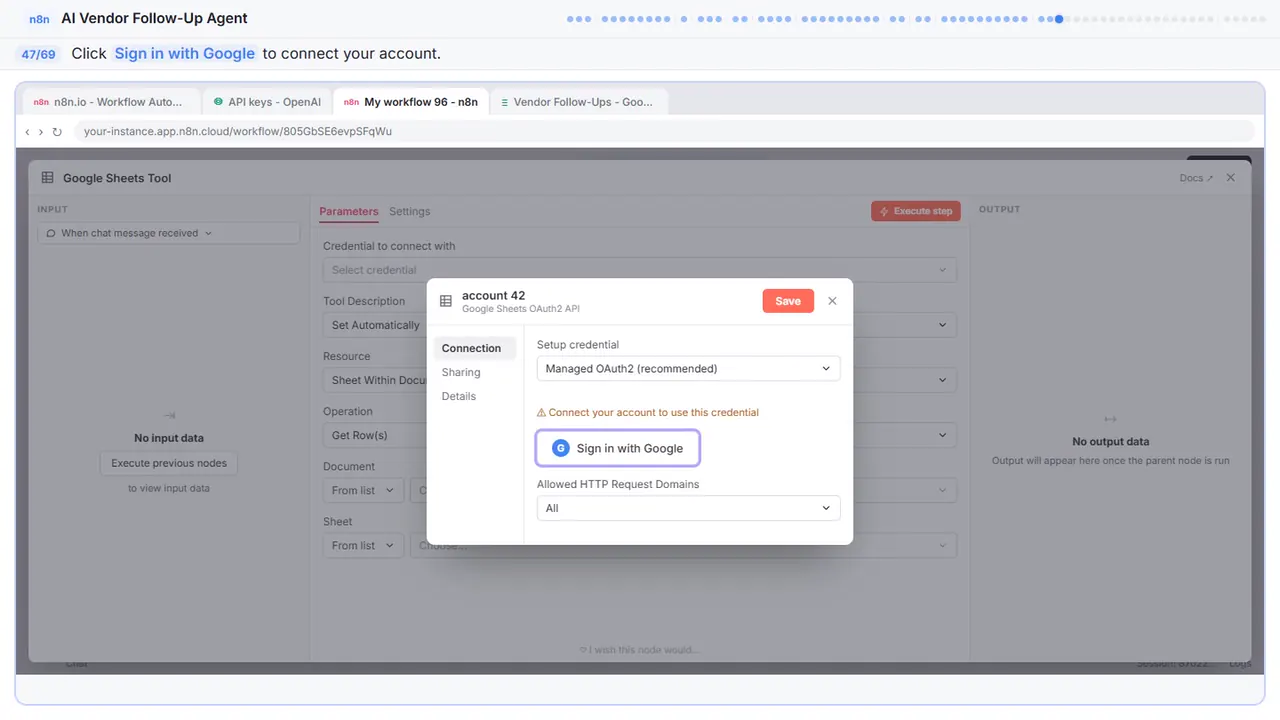
Step 47: Sign in with Google
This opens the Google account chooser so you can pick which account to connect.
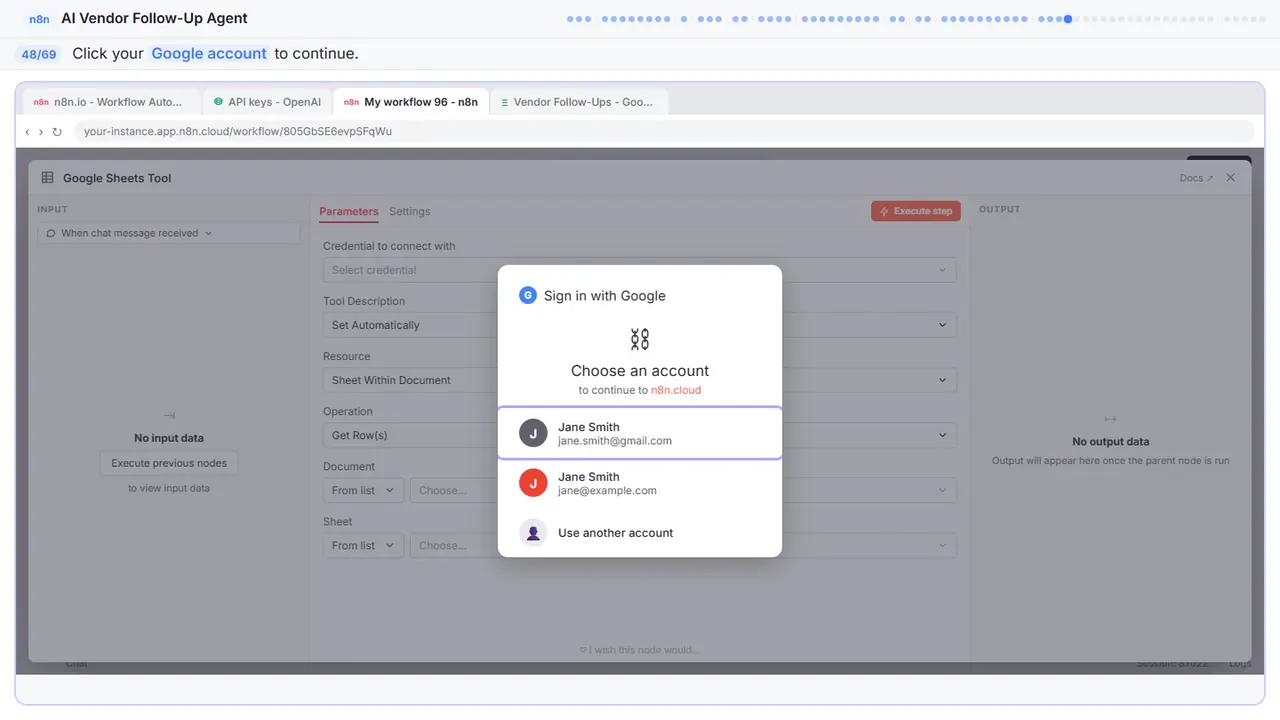
Step 48: Choose your account
Pick the Google account you want n8n to use. This is the account that owns the spreadsheet.
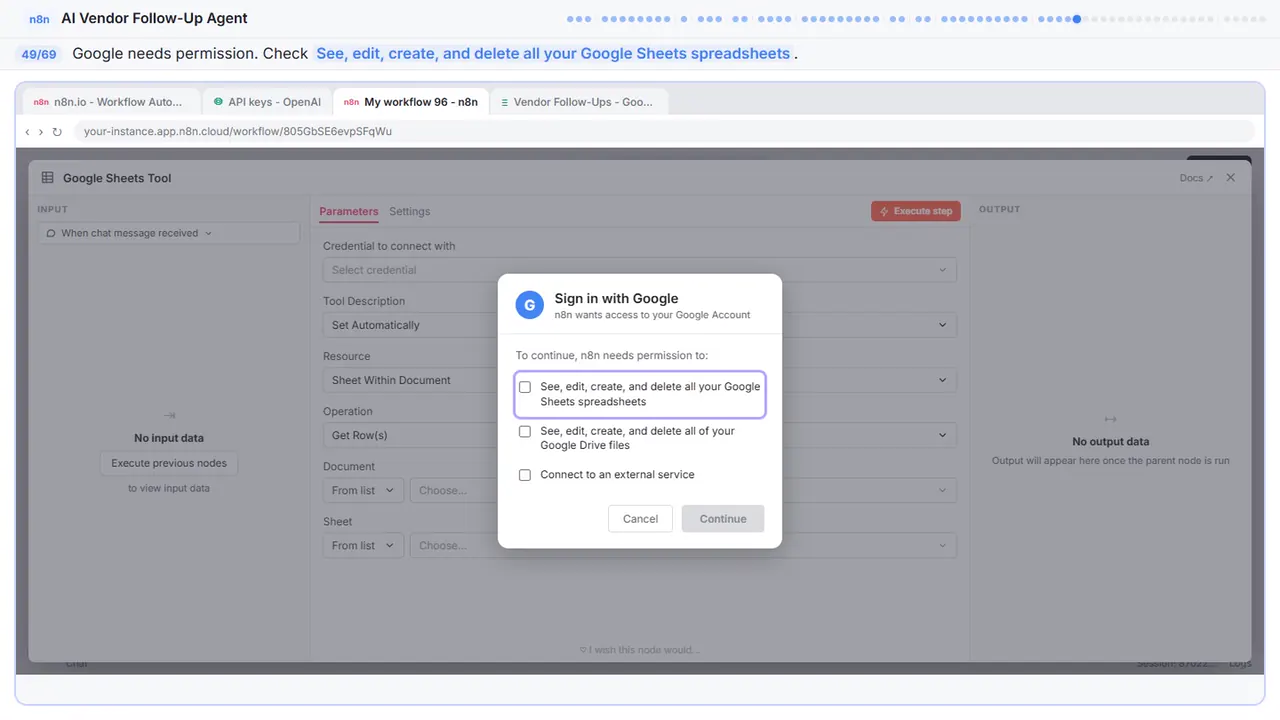
Step 49: Allow Sheets access
Google is asking what n8n is allowed to do. Check the first box — this lets n8n read and write your spreadsheets.
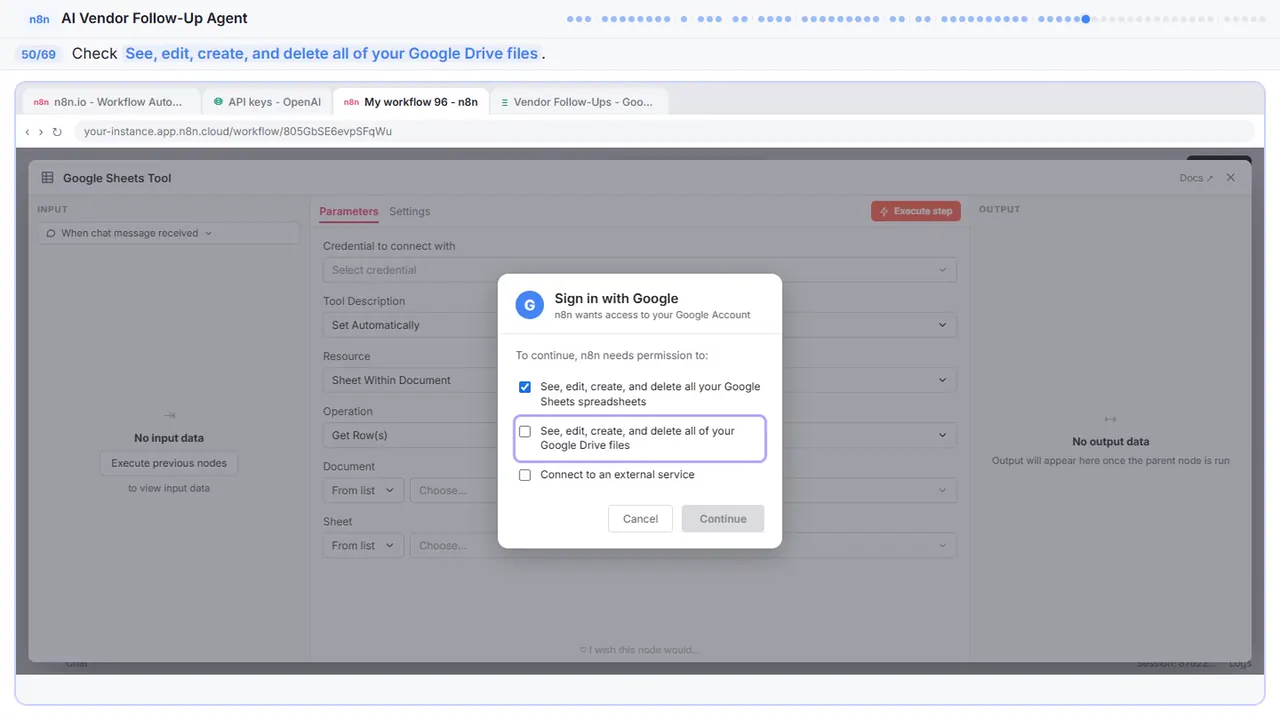
Step 50: Allow Drive access
Second box — n8n needs Drive access so it can find your spreadsheets by name.
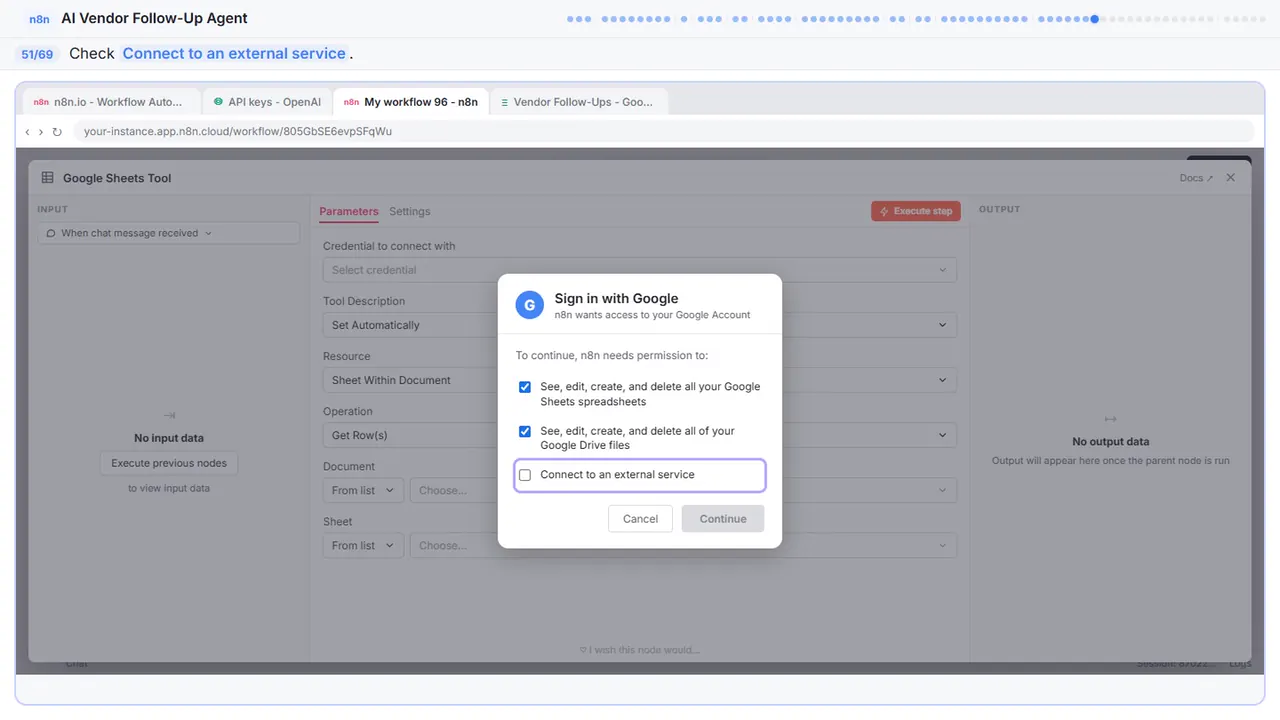
Step 51: Allow external service
Last one — this lets Google connect to n8n as an external service. Check it.
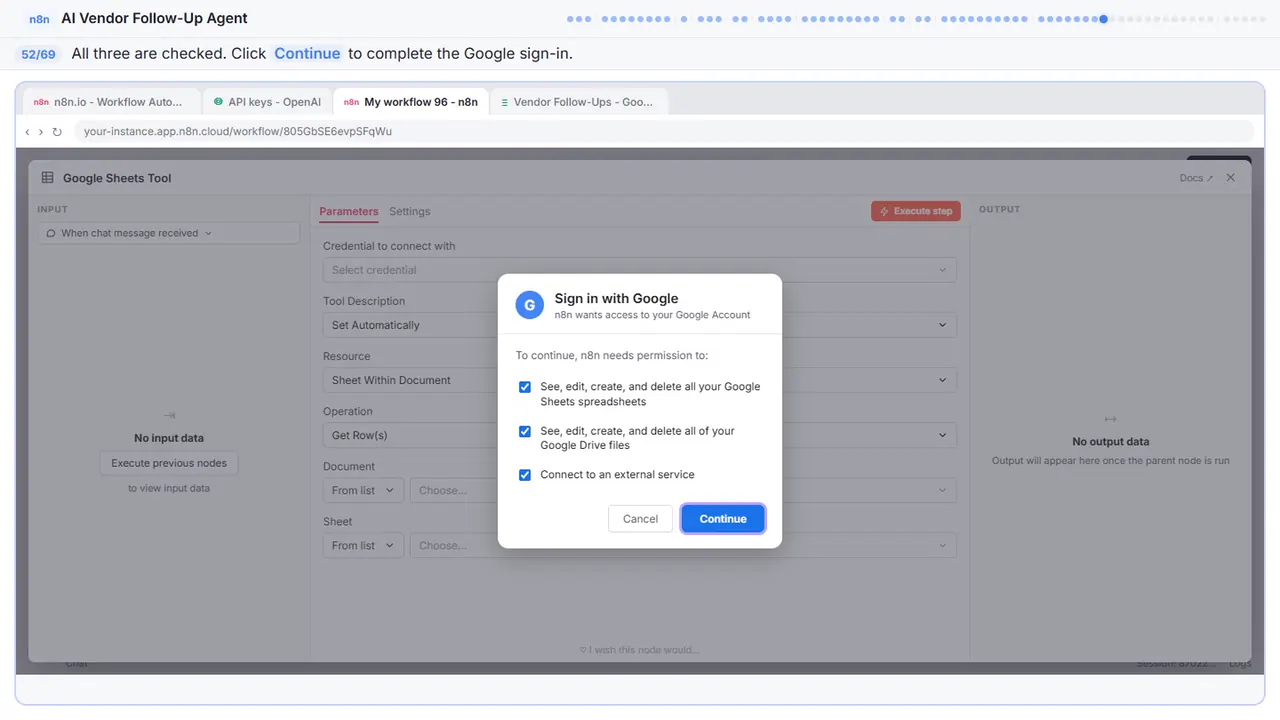
Step 52: Sign in
All three checked.
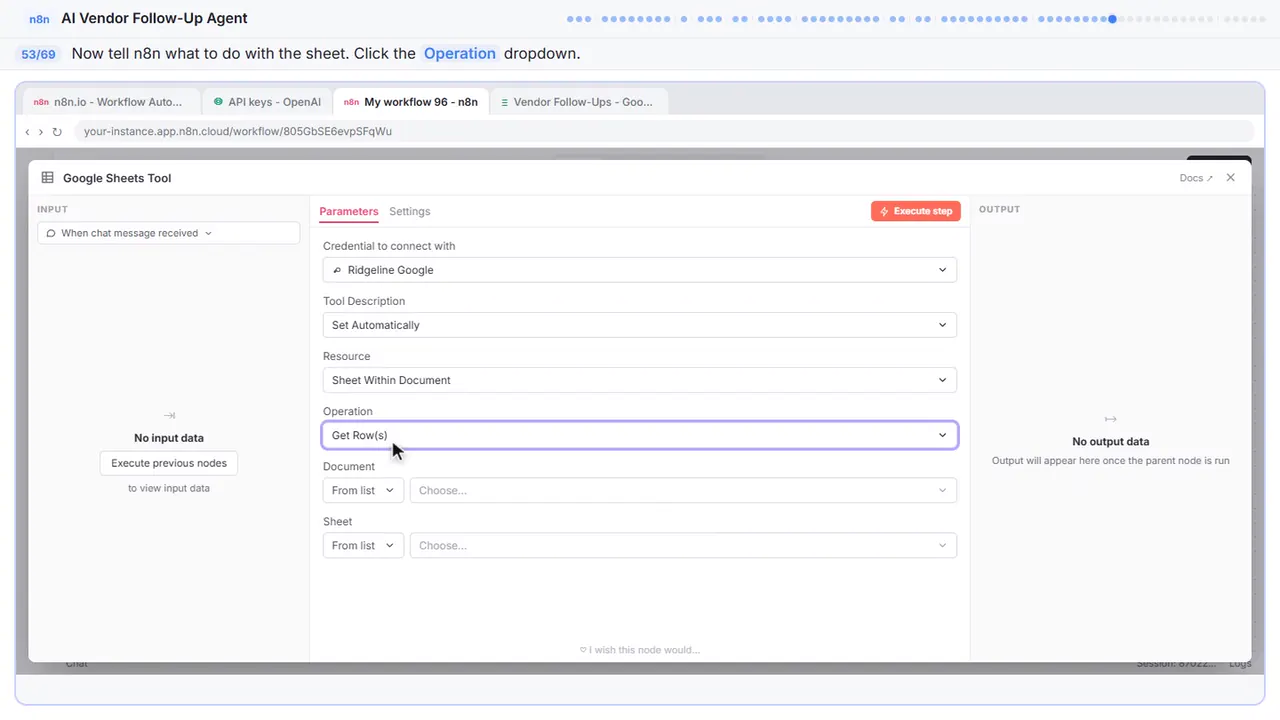
Step 53: Pick the operation
Now we tell the node what to do. By default it reads rows, but we want to add rows.
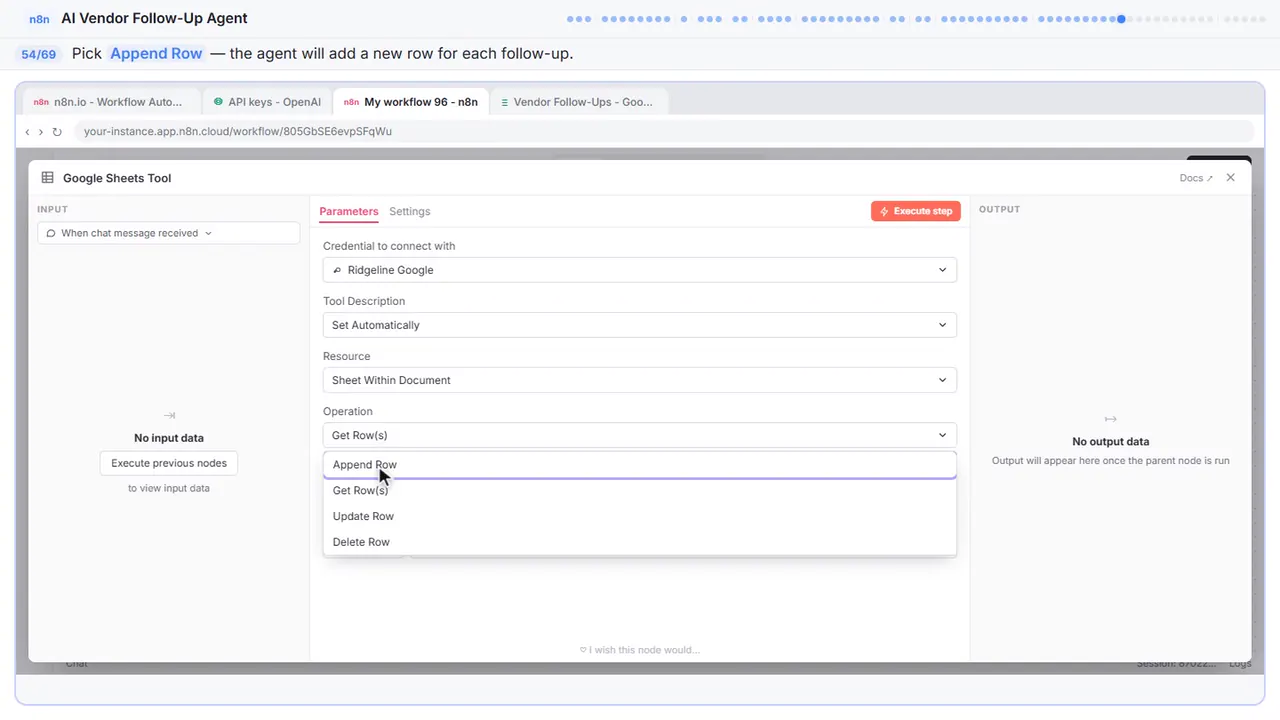
Step 54: Append Row
Append row. Every follow-up the agent writes gets added as a new row at the bottom of the sheet.
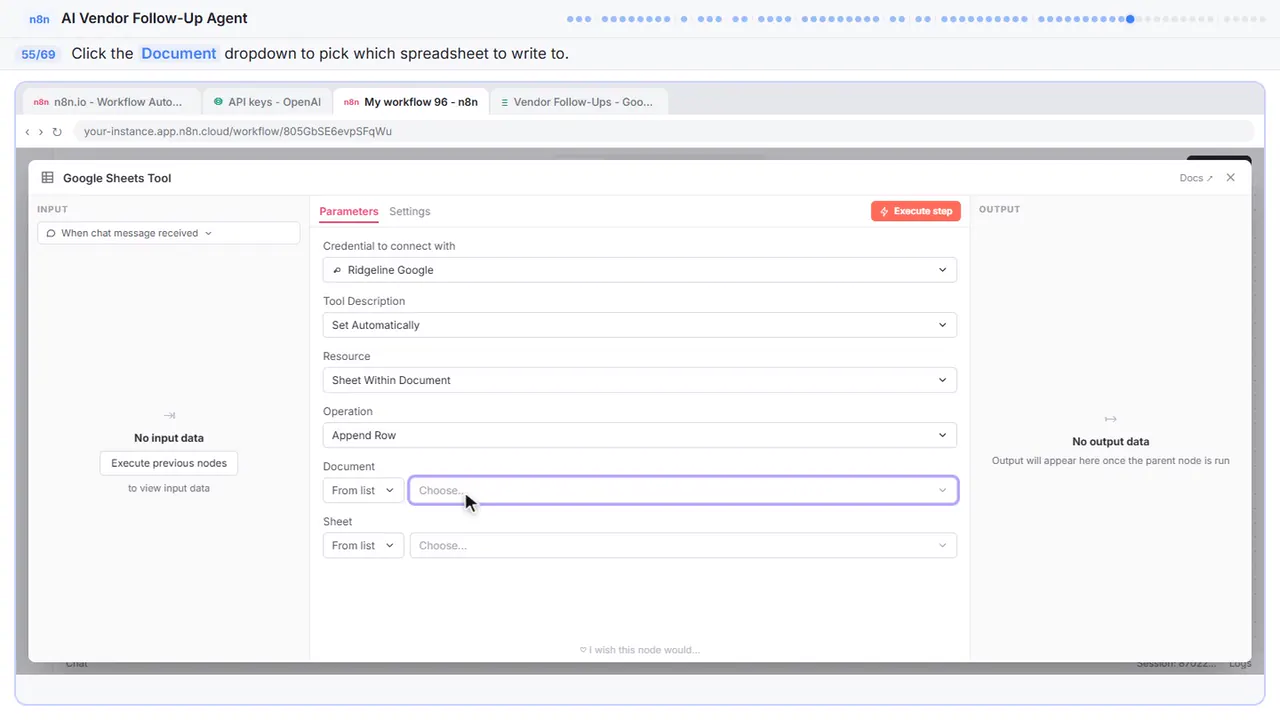
Step 55: Choose the spreadsheet
Now pick the spreadsheet.
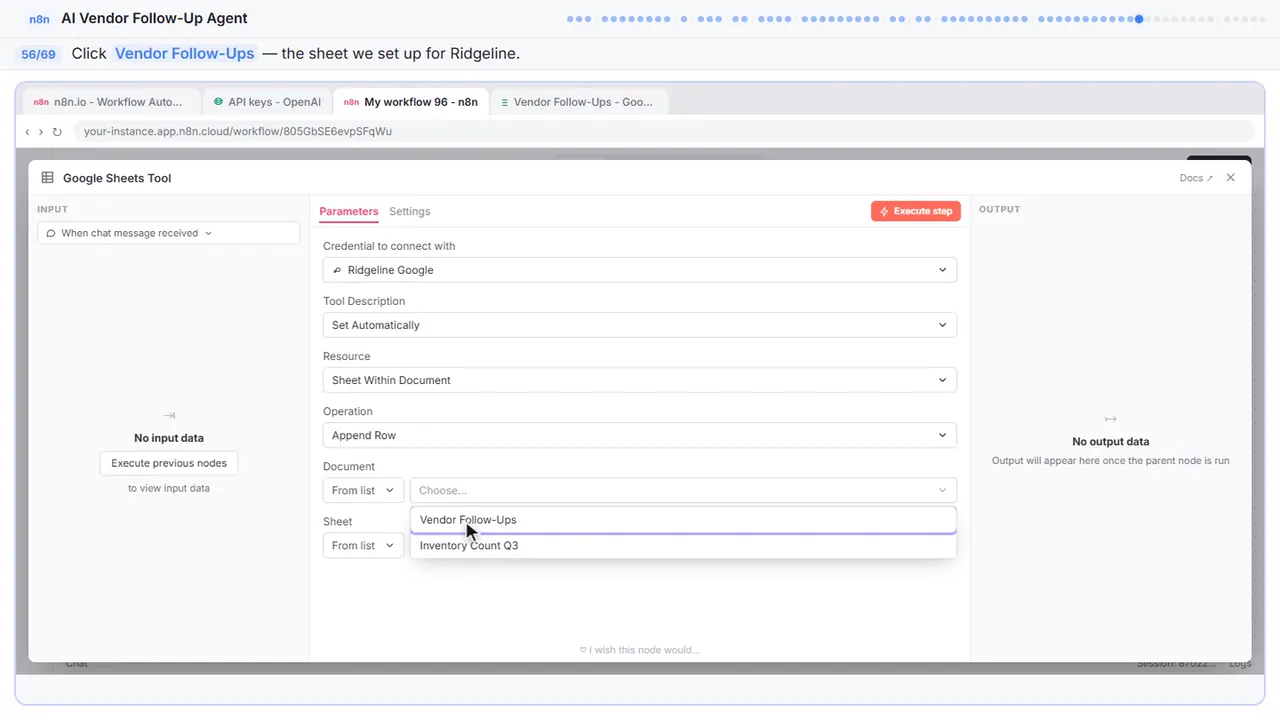
Step 56: Vendor Follow-Ups
Vendor Follow-Ups — the sheet we set up with columns for vendor, order, issue, message, and due date.
Step 57: Pick the sheet tab
Now pick which tab inside that spreadsheet.
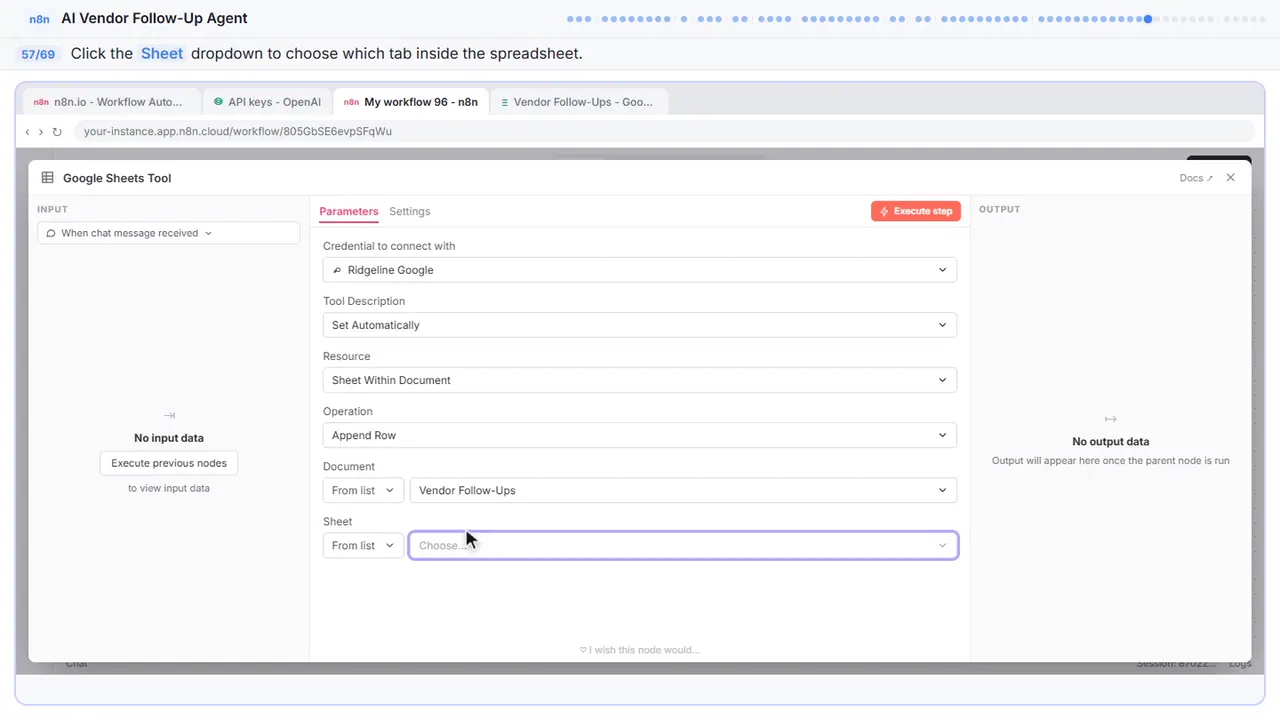
Step 58: Sheet1
Sheet one — it is the only tab, so this is simple.
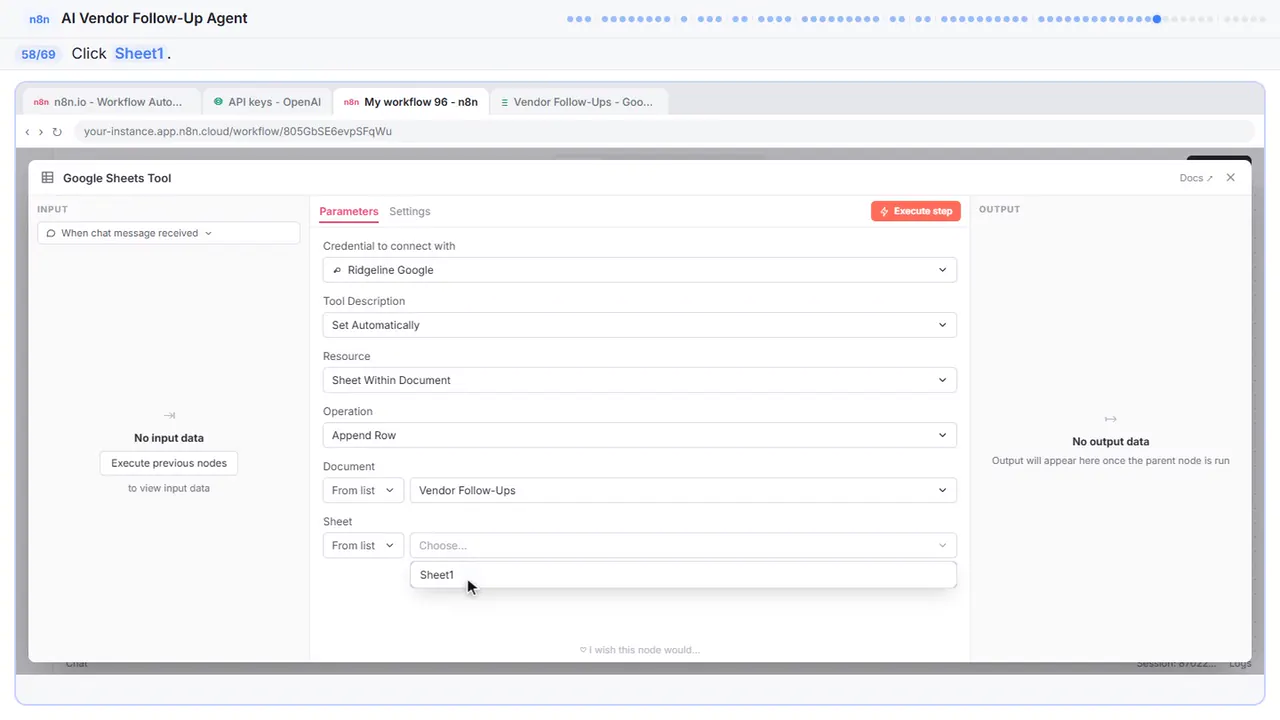
Step 59: Map the Vendor column
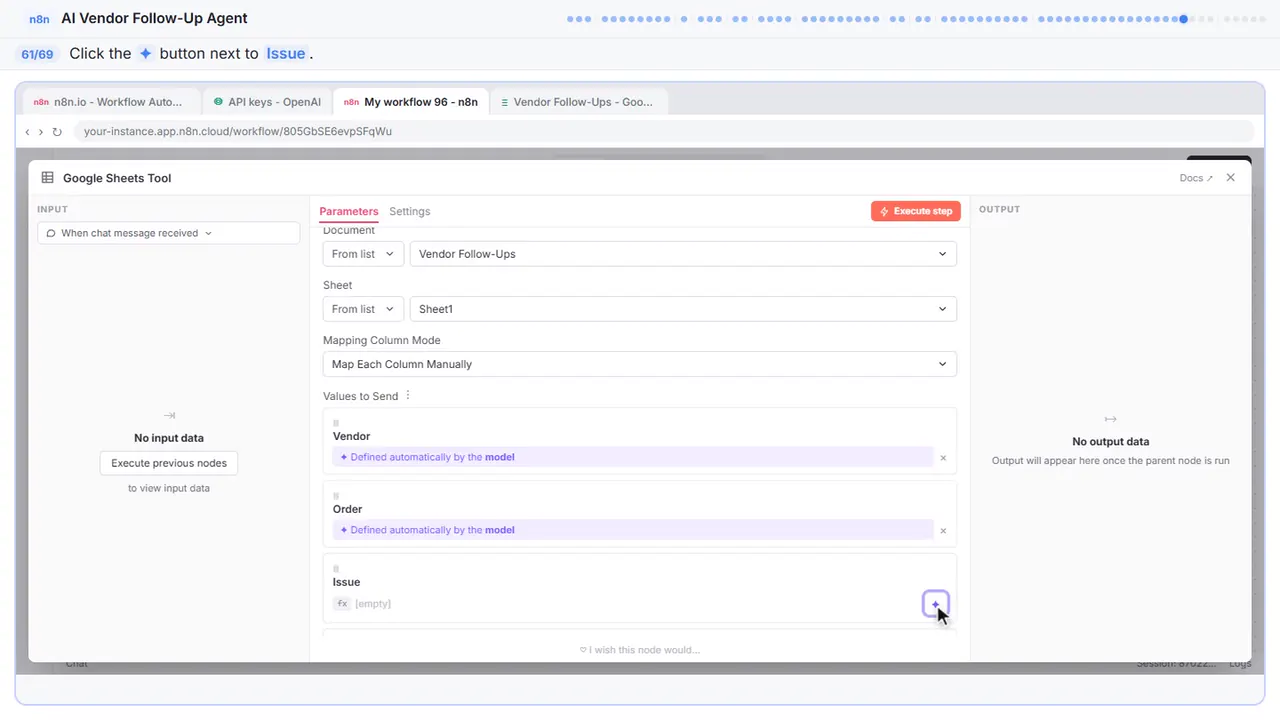
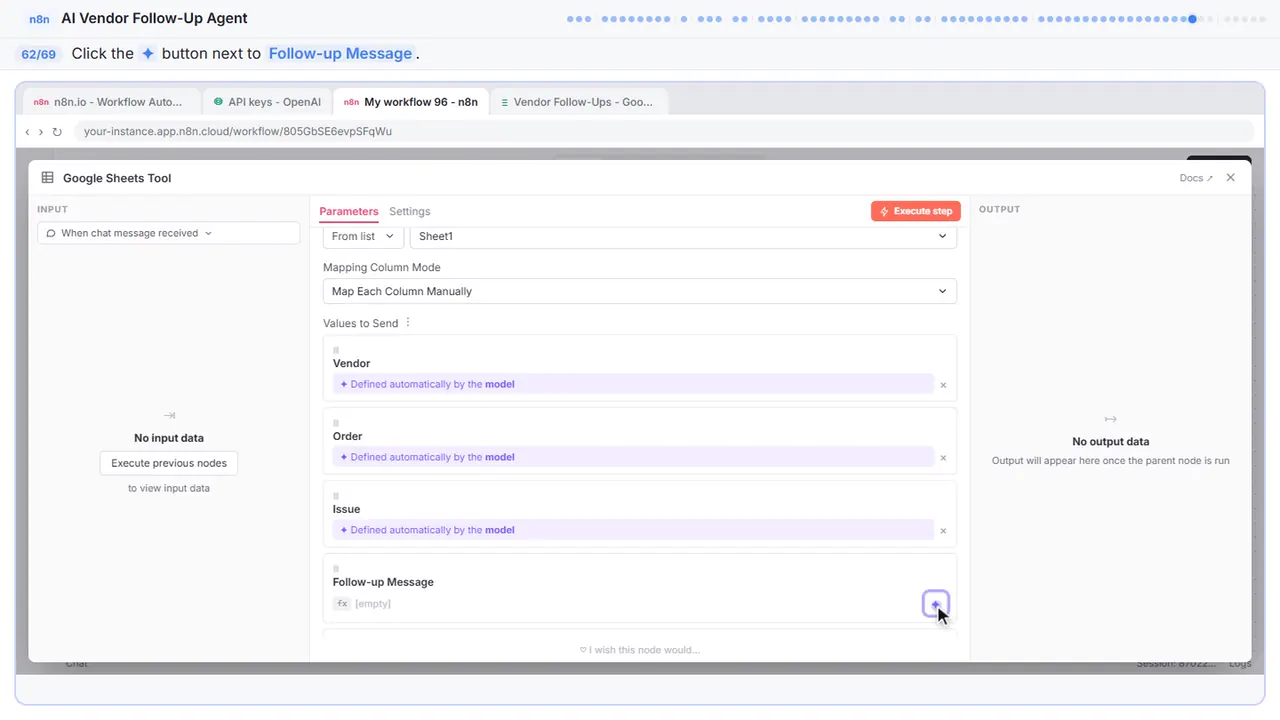
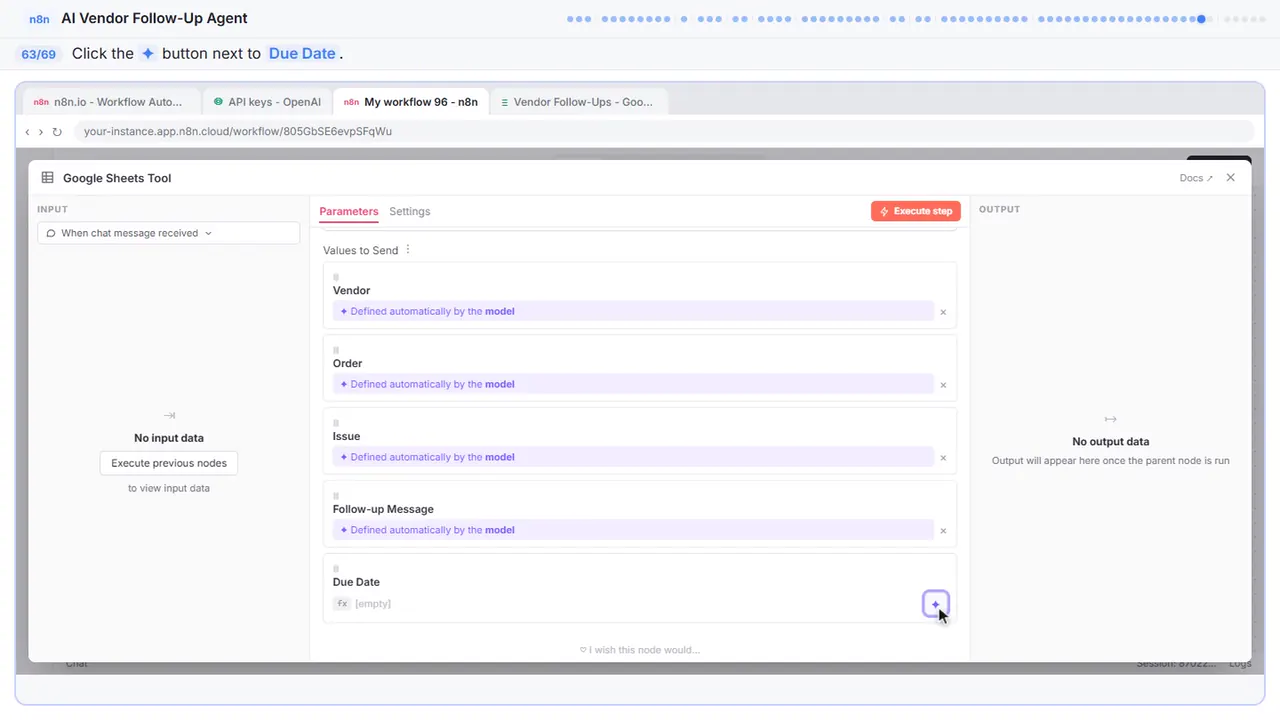
Now the columns. Each column has a purple button — click it and the AI agent figures out what data goes there.
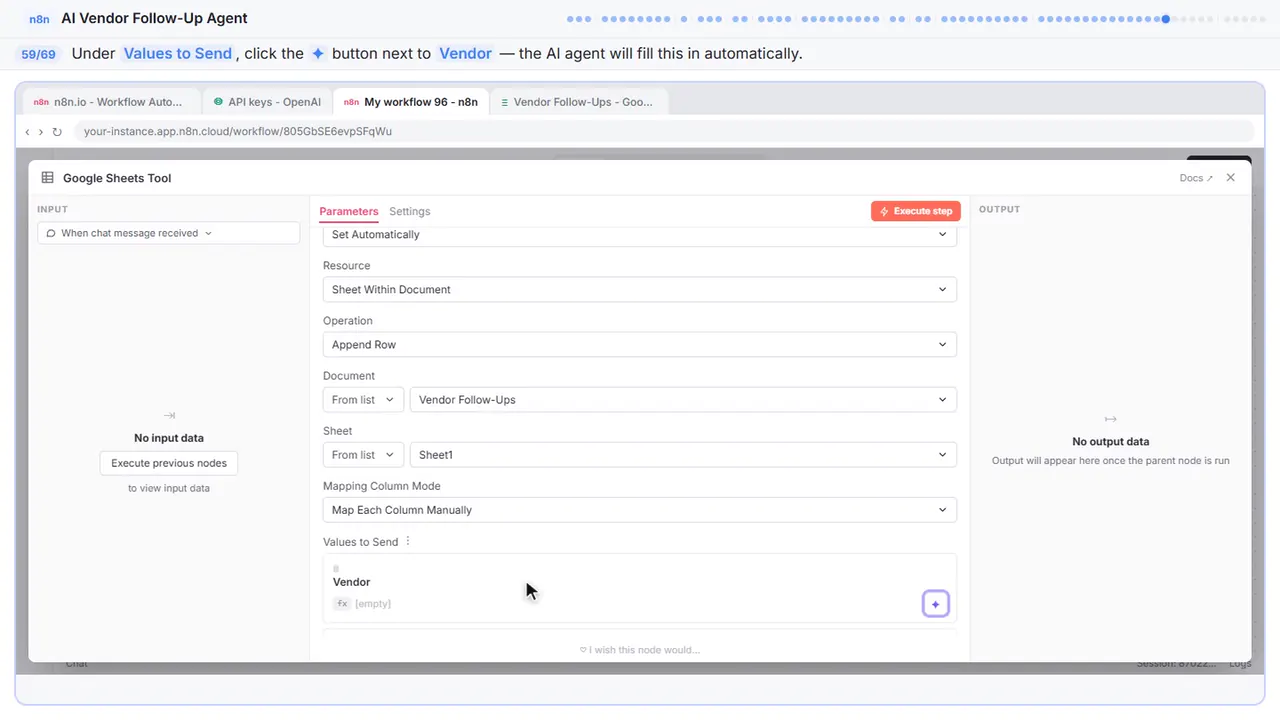
Step 60: Map the Order column
Order. Same thing — click the purple button.
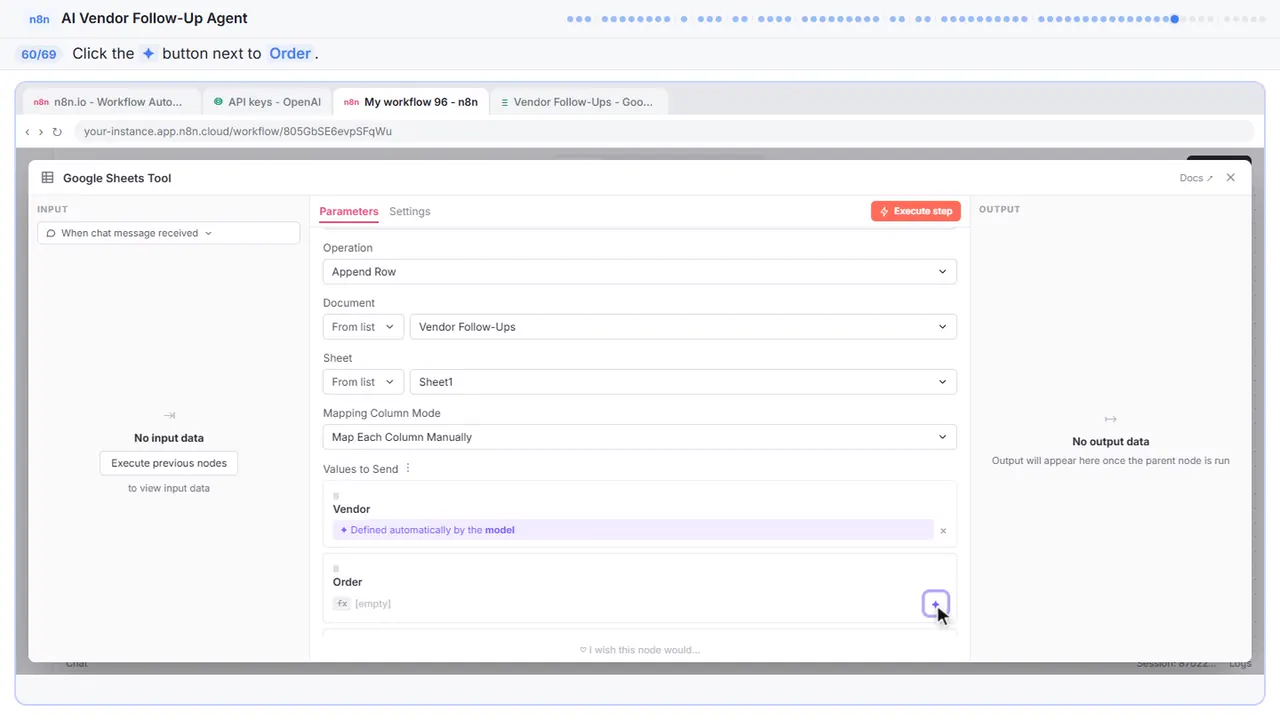
Step 61: Map the Issue column
Issue.
Step 62: Map the Follow-up Message column
Follow-up message.
Step 63: Map the Due Date column
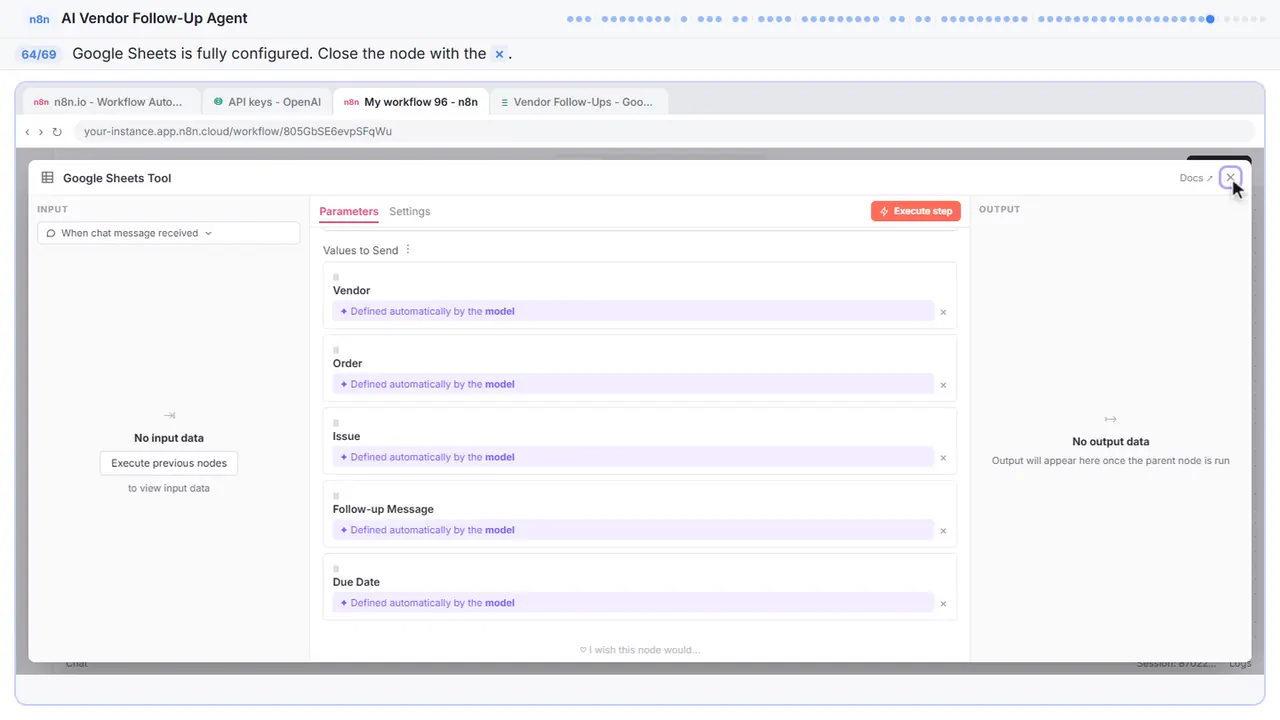
And due date. Each one is now set to defined automatically by the model — the agent reads your column headers and figures out what goes where.
Step 64: Back to the canvas
The sheets tool is fully wired up — credential, operation, spreadsheet, sheet, and column mapping. Close it and let us test this thing.
Part 12: Test the agent
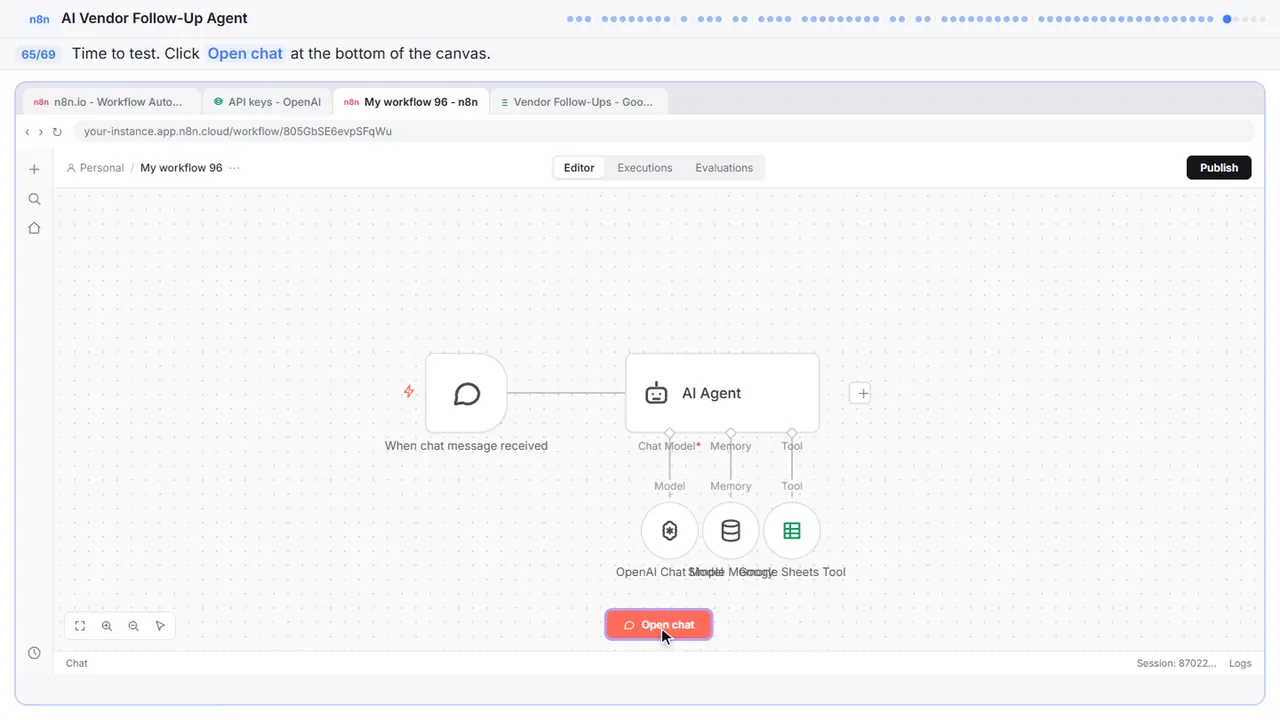
Step 65: Open the chat
Everything is connected. Time to see if it works.
Step 66: Ask for follow-ups
Give it your late and pending orders.
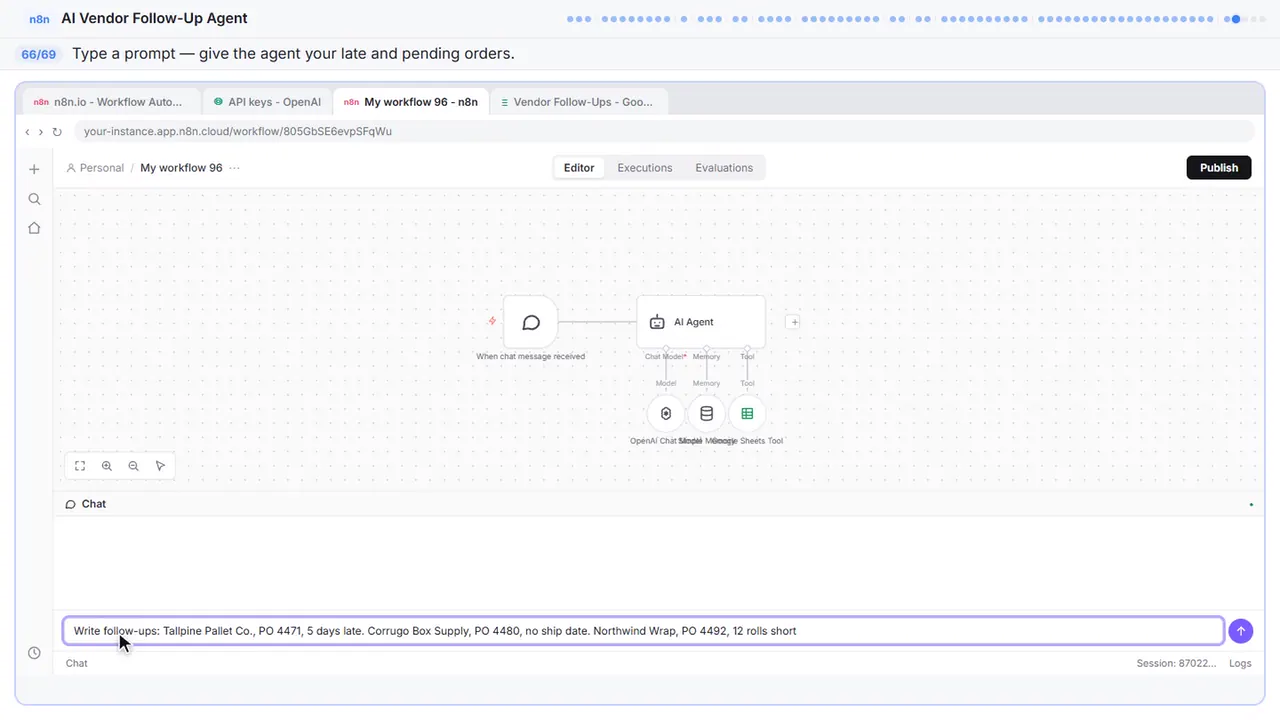
Write follow-ups: Tallpine Pallet Co., PO 4471, 5 days late. Corrugo Box Supply, PO 4480, no ship date. Northwind Wrap, PO 4492, 12 rolls short.
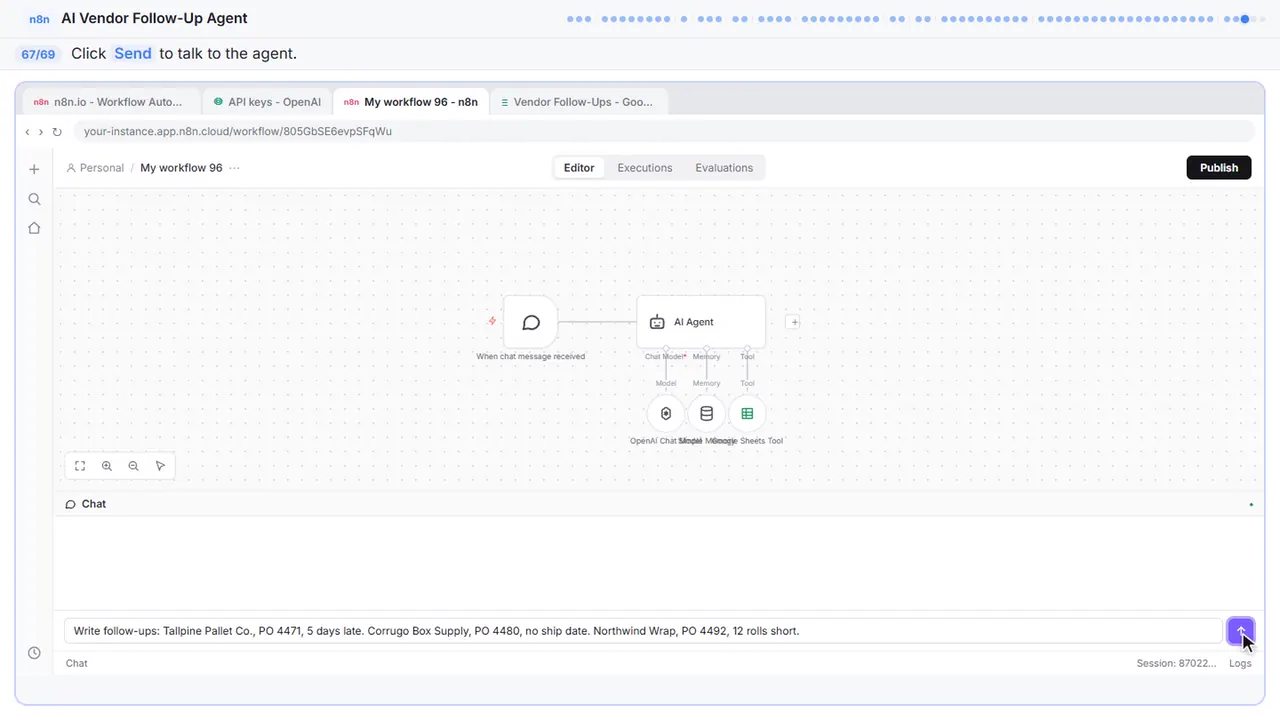
Step 67: Send the message
Send it off. The agent reads your system prompt and writes a follow-up for each order in the exact format you asked for.
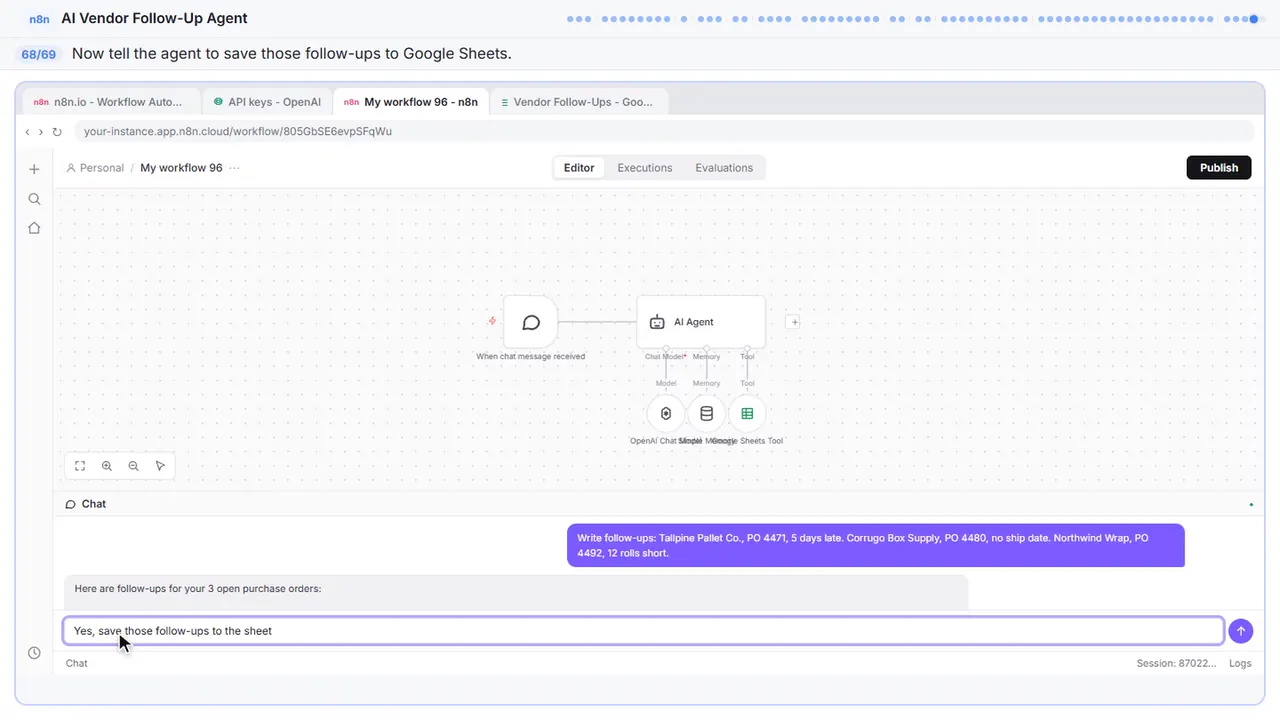
Step 68: Save to the sheet
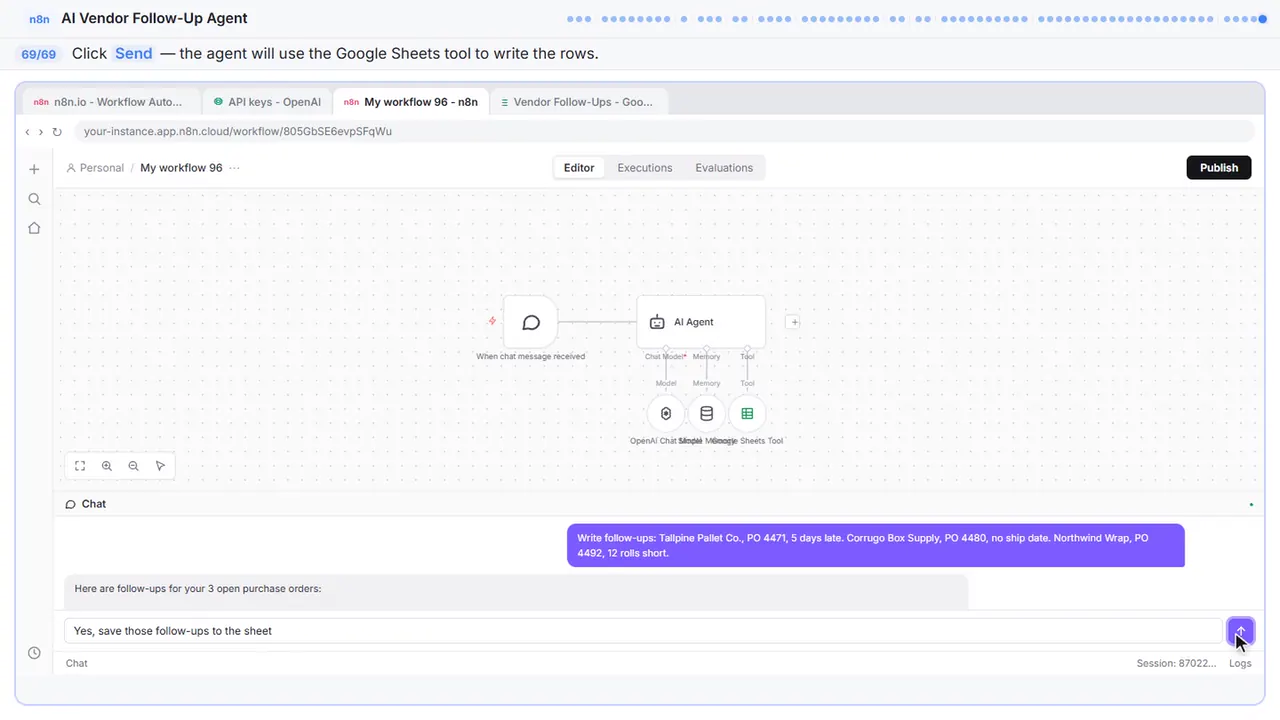
Three follow-ups — a late order, a missing ship date, and a short shipment, each with one clear question and a reply-by date. Now tell it to save them. This is where the Google Sheets tool kicks in.
Step 69: Send it
Send it. The agent uses the Google Sheets tool to write each follow-up as a row — vendor, order, issue, message, and due date.
Now do it yourself, free
Reading the steps is a start. Doing them is how it sticks. The interactive lesson puts you in a practice copy of n8n: you do every step yourself, it checks your work, and “Do it for me” finishes any step you get stuck on. Nothing touches your real accounts.
Practice “Build an AI Vendor Follow-Up Agent in n8n” step by stepBuild an AI Vendor Follow-Up Agent in n8n: lesson overview · All free tutorials